Peonies…..without the Ants!!!

Posted on

Birthday Peonies, www.LaurasStampPad.com

I love how Designer Series Paper can make a card so fabulous and it was really easy to create! This card consists of a few layers, a stamped greeting and tying some ribbon yet it is so beautiful!!! I’m not 100% sure if those are Peonies on the paper but I do love Peonies (minus the ants)!!!

For this card, I started with a card base of Watermelon Wonder. Then I cute out a piece of Old Olive measuring 4-1/8″ x 5-3/8″. I added some of the Birthday Bouquet Designer Series Paper (retiring) to the bottom portion and Blushing Bride cardstock to the top portion. Before adhering it on, be sure to stamp your greeting. I used the Happy Birthday Everyone Hostess Stamp Set (retiring) and stamped it in Watermelon Wonder. Then I adhered it all on the Old Olive. Using some Whisper White Seam Binding (retiring), I tied a knot around the overlap of the 2 papers. Then I adhered this piece to the card base and that’s it!!! Quick and Simple!!!

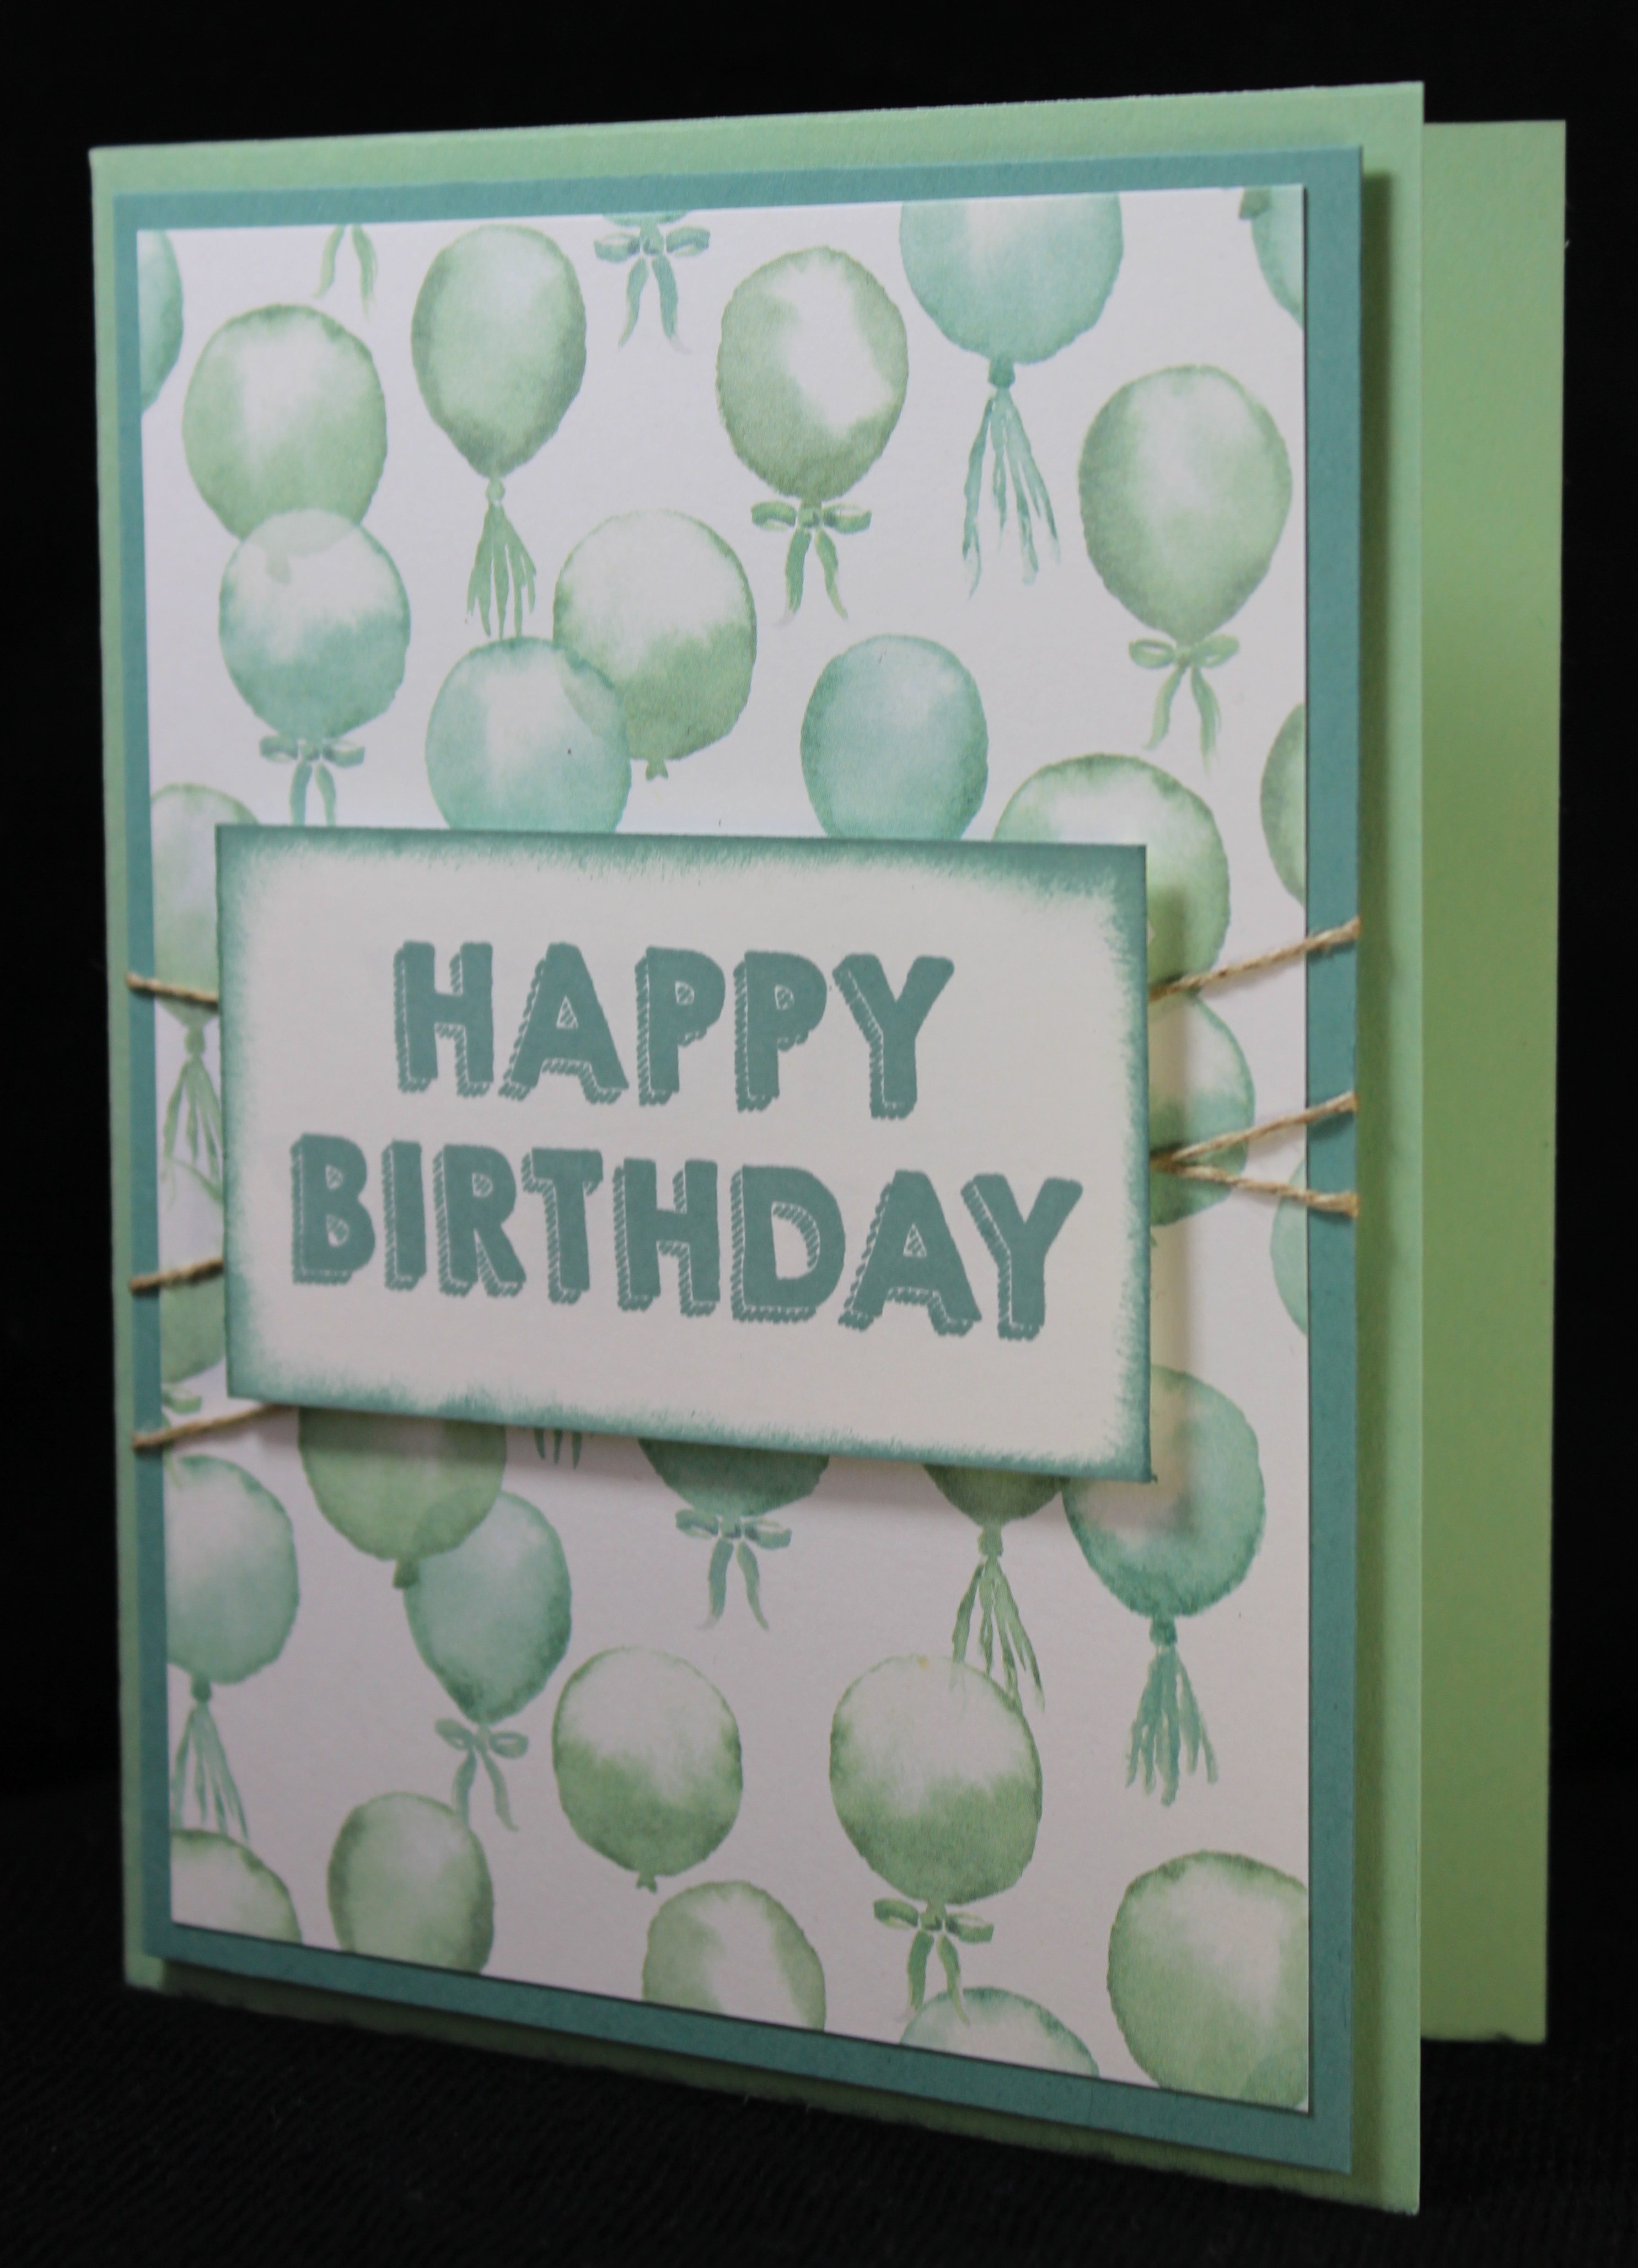
This card is pretty basic and would be great for any occasion! What occasion would you use it for – Wedding? Birthday? Sympathy? Thinking of You? Let me know in the comments below!

Also, be sure to check out my Video today about how I use Rubbing Alcohol in my Craft Room! Don’t forget to give it a thumbs up if you liked it! Be sure to subscribe so you don’t miss out on any of the videos! I post a video every Tuesday and Thursday!

Happy Stampin’

~Laura

Button Retire

Be sure to check out the Retiring Items that will no longer be available after May 31st!


Technique Tuesday – Puzzle Pieced Roses!!!

Posted on

Happy Tuesday everyone!!! We are back at it with another Technique after last week’s celebration!! This technique uses my favorite Framelits – Rose Garden and some bling!!!! Check this out!

Glimmer Roses, www.LaurasStampPad.com

Aren’t those roses just stunning? I am still on the fence as to whether this card is a bit much or just fabulous! My husband says its a bit much and only one rose was needed. Let me know in the comments below what you think. Be honest!!!

SUPPLIED NEEDED: Rose Garden Framelits, Big Shot, Snail Adhesive, Paper of Your Choice

I used the Silver Foil Paper and Blushing Bride Glimmer Paper for these roses! I die cut the rose with the Big Shot once in the Silver Foil and once in the Blushing Bride Glimmer Paper. Then I popped out all of the pieces with the Big Shot Die Brush. Be very gentle with the Glimmer Paper. It could brush off a little glitter and we want all the bling!!! Be sure to keep track of all of the little pieces that you pop out. Then I took a piece of Blushing Bride cardstock measuring 4″ x 5-1/4″ and placed one of the rose frames in the corner where I wanted it. I took a pen and marked little dotted lines around the INSIDE of the rose frame. This was my guide for adding Snail Adhesive to the area. I took away the rose frame and filled the entire area with adhesive. Then I placed the Glimmer Rose down and started putting together the rose with the Silver Foil pieces inside. It really is like a puzzle!

Blush Rose, www.LaurasStampPad.com

You will repeat the same thing in the opposite corner with the Silver Foil Rose frame and glimmer puzzle pieces. If for some reason you don’t have enough adhesive, you can always add a dab of glue from the Fine Tip Glue Pen. I just found it to be much easier and less messy to use the Snail Adhesive for the majority of it, rather than gluing each piece in. Once I had my roses complete, I added some Whisper White Organza Ribbon around the middle and stamped my greeting. The greeting is from the Number of Years Stamp Set and I stamped it in Rose Red (stamp off once). I added this to a Whisper White Card base and Viola!!! Love it!!!

Silver Rose, www.LaurasStampPad.com

I played around with a few other looks as well. Here is a Black Glimmer Paper (ops….retired from the Holiday Mini Catalog) and Real Red Cardstock. You could always do Real Red Foil Paper or all cardstock!! I think this one is amazing!!!

Red Rose, www.LaurasStampPad.com

And then I just had to do a Pink Rose!!!! I used one of the other Framelits in the Rose Garden Set. The border is Dazzling Diamonds Glimmer Paper and the puzzle pieces are Melon Mambo and Pear Pizzazz cardstock! I LOVE IT!!!!

Pink Roses, www.LaurasStampPad.com

If you would like to see this all in action, check out my Video Tutorial below or click here! Don’t forget to give it a thumbs up if you liked it and be sure to subscribe so you don’t miss out on any future videos!

Let me know in the comments below which one your favorite is!!! I’m between the Red and Melon Mambo one….they are both amazing!!!

Happy Puzzle Piecin’

~Laura

Going Going Gone, www.LaurasStampPad.com

Be sure to check out the Retiring Items before they are gone at the end of May!


In The Meadow!!!

Posted on

Deer in the Trees, www.LaurasStampPad.com

I really struggle with Man Cards so when I saw the In The Meadow Stamp Set, I though I need that set!!! It is the perfect masculine look. I have lots of family and friends who are outdoorsy so this is perfect!!!

I started with a piece of Very Vanilla cardstock measuring 3-1/2″ x 4-1/2″ and I stamped the deer and trees with Basic Gray Archival Ink. I like the lighter look of gray over black for this card! You can always add in a little bit of the grass to fill in if you would like to. All of the images are from the In The Meadow Stamp Set from the Occasions Mini Catalog. The greeting was stamped in Chocolate Chip from the Rose Wonder Stamp Set! I colored in the images with an Aqua Painter! I did the deer in Crumb Cake, the grass and leaves in Old Olive, and the tree trunk in Chocolate Chip. You can always make one of the deer a different color to off set them a little more. I’m really starting to like coloring with an Aqua Painter! I took a Crumb Cake card base and added a piece of the Corrugated Cardstock (4″ x 4″) with opposing corner touching the sides. I thought I would do an off set look rather than just layering it on there. I added the Very Vanilla to the card front with Stampin’ Dimensionals. This adds texture and dimension to the card but also makes for a smooth look on the corrugated paper. Love it!

I plan on making lots of these for Father’s Day, Birthdays, and maybe even Sympathy. If you would like to see this in action, check out my Video Tutorial below or by clicking here! Don’t forget to give this video a thumbs up if you liked and be sure to subscribe if your new!

Happy Stampin’

~Laura


My Love For Dimensionals!!!

Posted on

Birthday Boy Balloons, www.LaurasStampPad.com

You all know how much I love Stampin’ Dimensionals!!! Well today I am showing all the fabulous ways to use them and some of the reasons why I use them! One of the reasons is so that my cards looks smooth when I add Ribbon or Linen Thread to a card like the one above. I wrapped the Linen Thread around the cardstock three times and added it to the card base with Stampin’ Dimensionals rather than Snail Adhesive so it wouldn’t be all bumpy over the thread! See!!! Perfect!

So for this card, I used a Mint Macaron card base. Then I took a piece of the Birthday Bouquet Designer Series Paper from the Occasions Mini Catalog (3-3/4″ x 5″) and adhered it to a piece of Lost Lagoon (4″ x 5-1/4″). I wrapped some Linen Thread around 3 times. I think this is the perfect Man Card ribbon! 🙂 I added this piece to my card base with Stampin’ Dimensionals. For the greeting, I used the Party Wishes Stamp Set and Lost Lagoon Ink. Also, I brushed the edges of the greeting with Lost Lagoon and a Sponge Dauber. I added the greeting to the card with Stampin’ Dimensionals too! Again, I like using them when placing on top of ribbon so that it’s nice a smooth. This is a great man card in a paper pack full of flowers and other beautiful patterns!!!

If you would like to see an Up Close & Personal on Dimensionals and other ways I use them, check out the video tutorial below or click here!! Don’t forget to give it a thumbs up if you liked it and be sure to subscribe so you don’t miss any other videos!

Do you all love Stampin’ Dimensionals as much as me? Or do you think you will start using them more now?? I sure hope so! 🙂

Happy Stampin’

~Laura


Technique Tuesday – Drapery Fold!!!

Posted on

Happy Tuesday!!! That means I have a fabulous technique to share with you today!!! This one is super fun because you can use every bit of the Designer Series Paper AND you can see both sides of this fabulous stuff!!! No worries on deciding which side to use!!!

Drapery Fold Cards, www.LaurasStampPad.com

Look how fabulous these cards are!!! You can see both sides of the It’s My Party Designer Series Paper and you can create 2 cards from each piece!!! I got the idea for these cards from fellow demonstrator Margo Richardson at the last Team Meeting! I love sharing ideas with others! Let’s get started!

SUPPLIES NEEDED: Designer Series Paper, Stampin’ Trimmer, Simply Score Tool

You will start with a piece of Designer Series Paper measuring 4″ x 11-1/2″. I used the It’s My Party Designer Series Paper from the Occasions Mini Catalog. Then using either the Score Blade on your Stampin’ Trimmer or the Simply Score Tool, you will score at 3″, 4 “, 6″, 7″, 9″, and 10″ along the long side. Then on the right short side, you will make a mark 1” down from the top. Then using a ruler and scissors or your Stampin’ Trimmer, you will cut a diagonal line from the 1″ down mark to the 3″ score line you created. Now you have your two pieces for the cards above!

It's My Party Drapery Fold, www.LaurasStampPad.com

Now you will fold the Designer Series Paper in a zigzag pattern so that you can see both sides of the paper. I placed this larger piece on a Melon Mambo card base. I added adhesive on the back and on a few of the folds. The top and left side are right to the edge of the card. I stamped the greeting from the Tin of Cards Stamp Set in Basic Black in the right corner. I added some Crushed Curry Baker’s Twine around the top and as the balloon strings. The balloons were punched out from the Balloon Bouquet Punch and I put them on with Stampin’ Dimensionals. I added the little white mark for a glossy look on the balloons with the Chalk Marker! I added a few of the It’s My Party Enamel Dots for a little POP!!

Balloon and Candles, www.LaurasStampPad.com

With the other piece that you cut off, you can create another fabulous card! I used a Mint Macaron card base for this one. When I punched out the balloons for the last card, I punched all three colors with both sizes of balloons. I used one big and two smalls for the Melon Mambo Card and I used the two big ones and one small for the Mint Macaron Card. I stamped the greeting from the Party Wishes Stamp Set in Basic Black and finished it off with a few It’s My Party Enamel Dots!

If you would like to see this technique in action, check out the Video Tutorial below or click here!! Be sure to give it a thumbs up if you liked it and be sure to subscribe so you don’t miss any future videos!

Happy Stampin’

~Laura


A Little Mishmash!!!

Posted on

Timeless Textures, www.LaurasStampPad.com

This card was very difficult for me because it’s just a little mishmash of images all stamped together! I used the Timeless Textures Stamp Set from the Occasions Mini Catalog!!! It is a lot of fun and I created a really cool look but I have a tendency to over do it. I stamp a little here and there and then think it needs more over here and then over there. I really need to stop after the here and there!!

I started with a Smoky Slate card base. I cut a piece of Whisper White measuring 4″ x 5-1/4″ and stamped on this piece. I used Elegant Eggplant, Perfect Plum and Smoky Slate ink for the various images from the Timeless Textures Stamp Set. Some of the images I stamped off once to get a lighter shade. Don’t worry about making it perfect….that’s the point of this card – a random mishmash. This is why I struggle. 🙂 The greeting is actually from the Party Pants Sale-A-Bration Stamp Set. That promotion ended last month. You could always use any greeting of your choice. This card would be great for lots of different occasions!!! To finish it off, I added a few Rhinestones for some bling!!

If you would like to see this in action, check out my Video Tutorial below or click here! Be sure to give it a thumbs up if you liked it and don’t forget to subscribe to my channel so you don’t miss out on any future videos. I post every Tuesday and Thursday…..and sometimes one here and there! 🙂

What color combination would you use? Blue and Gray? Green and Black? Pink and Brown? Endless possibilities!!! Let me know in the comments below!

Happy Stampin’

~Laura


Technique Tuesday – Painting Roses!!!

Posted on

Happy Tuesday!!! That means I have a fabulous technique to share with you!! This one is super fun, simple, and mistakes are okay!!! How fabulous is that? Check out this beauty!!!

Painted Rose, www.LaurasStampPad.com

How lovely is that rose??? Of course I used the Rose Wonder Bundle from the Occasions Mini Catalog!!! I am loving that set. You can see more samples here and here and here! Let’s get started on the beauty!

SUPPLIES NEEDED: Rose Wonder Stamp Set, Rose Garden Framelits, Aqua Painter, Ink and Cardstock

Don’t forget that you can Bundle & Save 15% when you purchase the stamp set and framelits together! Trust me you totally want them! I am loving them! So I die-cut the large rose framelit with some cardboard/thick cardstock. I used the piece that comes in the Designer Series Paper Pack on the back. It is that thicker cardboard type stuff that holds the paper stiff. I ran that through the Big Shot a couple times to ensure a nice cut on this thicker material. Then I popped out all of the pieces with the Big Shot Die Brush. I then laid the die onto a piece of Whisper White measuring 3-3/4″ x 5″. You can lay it on there with parts falling off or with the entire piece. Either way it will look fabulous. You will need to pick a color for your rose and for the leaves. I used Daffodil Delight and Old Olive. Then using a Aqua Painter, pick up some color and then paint in the holes of the framelit. It doesn’t need to be delicate and perfect. It just a little swish swish over the top of the template and into the holes. Some might be dark and some might be light. Sometimes your Aqua Painter will slide under the template and sometimes the template might move on you a bit. It’s all good. It will still come out fabulous!!! Once you have done both colors, you can stamp your greeting in the corner. I used a greeting from the Rose Wonder Stamp Set. I stamped it in Old Olive. You might want to set it aside to dry a little before assembling. I layered mine onto a piece of Daffodil Delight measuring 4″ x 5-1/4″ and then Old Olive measuring 4-1/8″ x 5-3/8″. I placed it onto a card base of Whisper White. I really like how colorful and POPy all of those layers make it. I love it and think it would be fabulous in purple or orange or pink. Oh I’m getting excited for doing more. You could even cut Black and White layers and then make them any color. Oh the options! This card would be perfect for lots of occasions as well!

If you would like to see this in action, check out my Video Tutorial below or click here! Don’t forget to give it a thumbs up if you liked it and be sure to subscribe so you don’t miss future videos. I posted them every Tuesday and Thursday!!!

Happy Stampin’

~Laura


Pocketful of Cheer!!!

Posted on

March Paper Pumpkin, www.LaurasStampPad.com

Look at all of these beautiful cards!!!!! I am loving the color combination of Bermuda Bay and Cucumber Crush!! The Pocketful of Cheer – March 2016 Paper Pumpkin Kit arrived and I was super excited. You can see the reveal of the kit in this video! When it came time to make the kit, I realized I’m not really a big gift card giver so I don’t need that many. I do have some graduates this May that I will give giving either a gift card or cash and it would look super cute but what I really need is cards so that is what I made!

Pocketful of Cheer, www.LaurasStampPad.com

These 4 cards I created just like the instructions! I loved the look and enjoy just following along and not having to think when crafting sometimes. That is one of the reasons I love Paper Pumpkin!!! I don’t always have to come up with the ideas but I can mix it up if I want to! 🙂 I love the patterned paper with the flowers and the green pearls are super fabulous!!!

Gift Card Envelopes, www.LaurasStampPad.com

Then for my graduates, I created these little cards!!! I think the kit really meant for these cards to go with the other holders but I liked this better. I stamped the little note cards and adhered the pocket inside the envelope. How cool is that??? The envelope holds the card and the gift. It’s an all in one!!! LOVE IT!!! There were 4 of these!

Flower Background Cards, www.LaurasStampPad.com

Then I took all of the leftover pieces and some Whisper White cardstock and created tons of cards! How cute are these?!?!?! I stamped the flowers on the background and added some pieces. I cute the polka dot crumb cake piece from the other gift card holders. I used the Decorative Label Punch and Scallop Circle Punch for the greetings. Even the Cucumber Crush Baker’s Twine came in the kit!

CAS Cards, www.LaurasStampPad.com

Here are a few more that I created with the leftover pieces. After all of these everything was used up except 2 of the Crumb Cake Gift Cards Holders and 2 circle stickers. So I just created them into little pockets or gift card holders! The striped inside is super cool looking as well!

Mini Gift Card Holders, www.LaurasStampPad.com

So from this 1 Paper Pumpkin Kit, I was able to get 13 Cards, 4 Gift Card Holders and Cards, and 2 Gift Card Holders. That is amazing!!! I only used my own Whisper White cardstock and Envelopes! I love it!!!

Be sure to sign up for the April Kit before April 10th because there is going to be a BONUS Stamp Set! That means 2 Stamp Sets, at least 1 ink spot, and the project inside for just $19.95 (plus tax, no shipping)!!! That is a steal!!! Click here to get started!

If you are a Paper Pumpkin Subscriber, you can purchase refill kits of this kit so you can make samples like mine or have more gift card holders on hand! Click here to get yours today!

Happy Stampin’

~Laura


Lovin’ The Silver Bling!!!

Posted on

Perfect Pairings, www.LaurasStampPad.com

I love bling and let me tell you the Sale-A-Bration Glitter Tape is AMAZING!!!! I am blown away at how awesome this stuff is. It is thick and durable but still easy to tear. It is bling-y but yet not chunky and falling off. It is amazing to add that little POP!

For this card I started with a Melon Mambo card base! Then I took a piece of Whisper White measuring 4″ x 5-1/4″ and stamped the rustic image from the Timeless Textures Stamp Set all around the edge in Crushed Curry! There is no perfect way to stamp the border. It’s okay if you overlap a little or miss a spot. It looks fabulous either way! Then I laid down a piece of the Silver Glitter Tape across the card. You can cut the ends or tear it and wrap it to the back side! I stamped the greeting from the Sale-A-Bration Perfect Pairings Stamp Set in Melon Mambo. I like how the greeting looks a little rustic so it fits perfect!! Then I added some Bermuda Bay Stitched Ribbon around the card and tied into a knot! I did this after the greeting so it didn’t get in the way when I stamped the greeting. Then I added this to my card front! Simple and fabulous!!!

Textured Border, www.LaurasStampPad.com

Here is another one with a Bermuda Bay greeting from the same Perfect Pairings Stamp Set! Don’t forget that TODAY is the last day of Sale-A-Bration! Every $50 order will earn you a FREE Sale-A-Bration item! Now is the time to stock up or get those items that have been on your wish list for a while! Click here to shop now!

To see this card in action and how I created the rustic border, check out this Video Tutorial below or click here! Don’t forget to give it a thumbs up if you liked it!

Happy Stampin’

~Laura


Technique Tuesday – Loving Flowers!!!

Posted on

Happy Tuesday everyone!!! In celebration, I’m sharing some fabulous FLOWER Cards!!! I just love flowers and you can never go wrong with them because they are so versatile. They are perfect for any occasion! I used the Sale-A-Bration What I Love Stamp Set for this card!!
What I Love, www.LaurasStampPad.com

Isn’t it fabulous? You could change up the greeting on the top for any occasion. You could change the colors of the flowers to whatever your favorite color is, whatever you have on hand, or whatever matches the occasion. I love it!

For this card, I started with a Whisper White card base measuring 4-1/4″ x 11″ and then I layered on a piece of Old Olive measuring 4-1/8″ x 5-3/8″. I took another piece of Whisper White measuring 4″ x 5-1/4″. On the bottom 2/3 of this piece of cardstock, I stamped the flower from the What I Love Stamp Set. I stamped the outline image in Rich Razzleberry and I stamped the second image in Rich Razzleberry (stamped off once). Then I stamped the leaves in between the flowers in Old Olive. I stamped the greeting from the One Big Meaning Stamp Set in Old Olive. For the ribbon, I placed a piece of Rich Razzleberry Cotton Ribbon across the card and adhered the ends behind the card. Then I took another piece of ribbon and created a Fork Bow. I attached the bow with a Mini Glue Dot! I love it!

CAS Card, www.LaurasStampPad.com

Here is another version of the same card but quick and simple. This card doesn’t have any layers or use of adhesive! Same great look but less product and layers! I used Calypso Coral and Old Olive. The ribbon is Daffodil Delight Cotton Ribbon and I just tied it around and into a knot!

If you would like to see this card in action, check out the video tutorial below or click here! Don’t forget to give it a thumbs up if you liked it and be sure to subscribe to my channel!

Don’t forget that Sale-A-Bration ends on March 31st so click here to start shopping and earning your Free Product! To see samples using the the Sale-A-Bration items, click here!

Happy Sale-A-Bratin’

~Laura