Technique Tuesday – Big Shot Promotion!

Posted on

Happy Tuesday and Happy Big Shot Week here on my blog! Click here to see yesterday’s post! Today I’m going to show you an amazing technique with your Big Shot and Embossing Folders! Don’t forget about the amazing Big Shot Promotion Stampin’ Up! has going on this month! Today we are going to talk about using your Embossing Folders with your Big Shot! I love embossing my projects because I really think it takes a simple card to a WOW card with just the crank of the Big Shot!

Decorative Dots Work of Art, www.LaurasStampPad.com

Okay first off check out this amazing card! LOVE IT! It is soooo simple too! I just used a 4-1/4″ x 11″ piece of Whisper White Cardstock and stamped the amazing flower with my Work of Art Stamp Set! I used Blackberry Bliss & Mossy Meadow Ink (for the various shades of purple I stamped a few times before going back to the ink pad)! Then I placed the card front into the Decorative Dots Embossing Folder and ran it through my Big Shot! How amazing?!?! I love it! No adhesive required! 🙂

Lucky Stars Inked Folder, www.LaurasStampPad.com

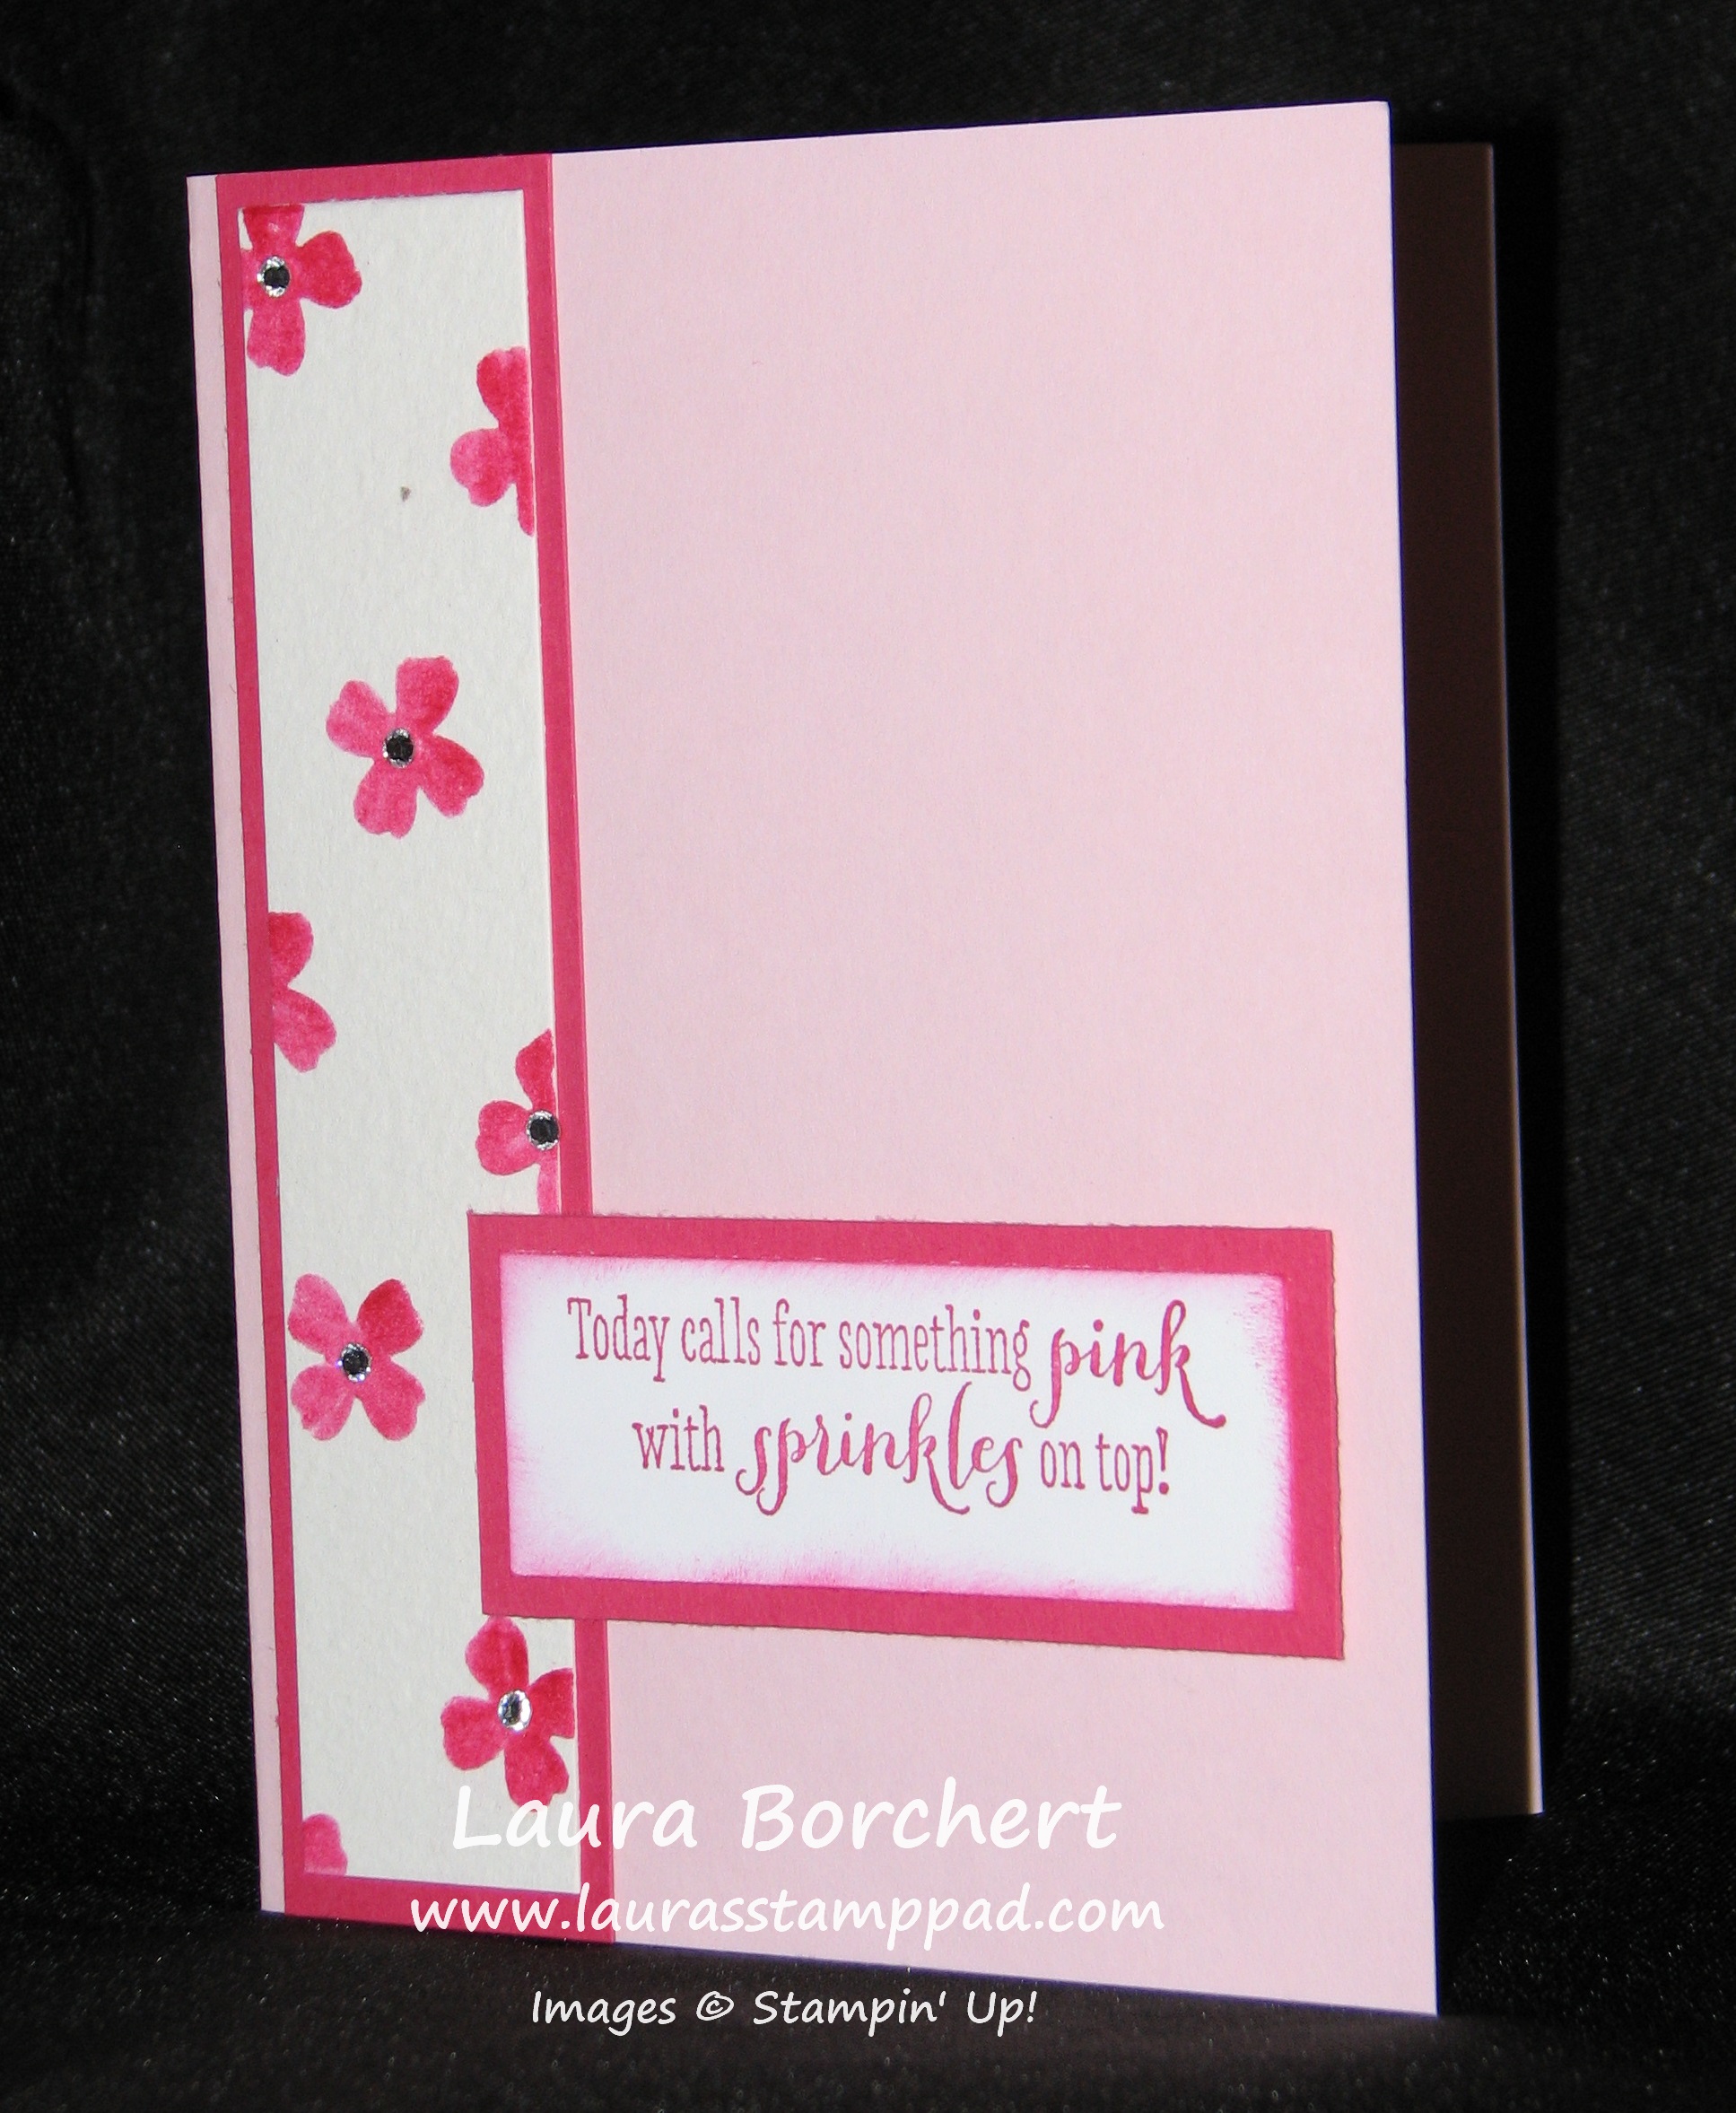
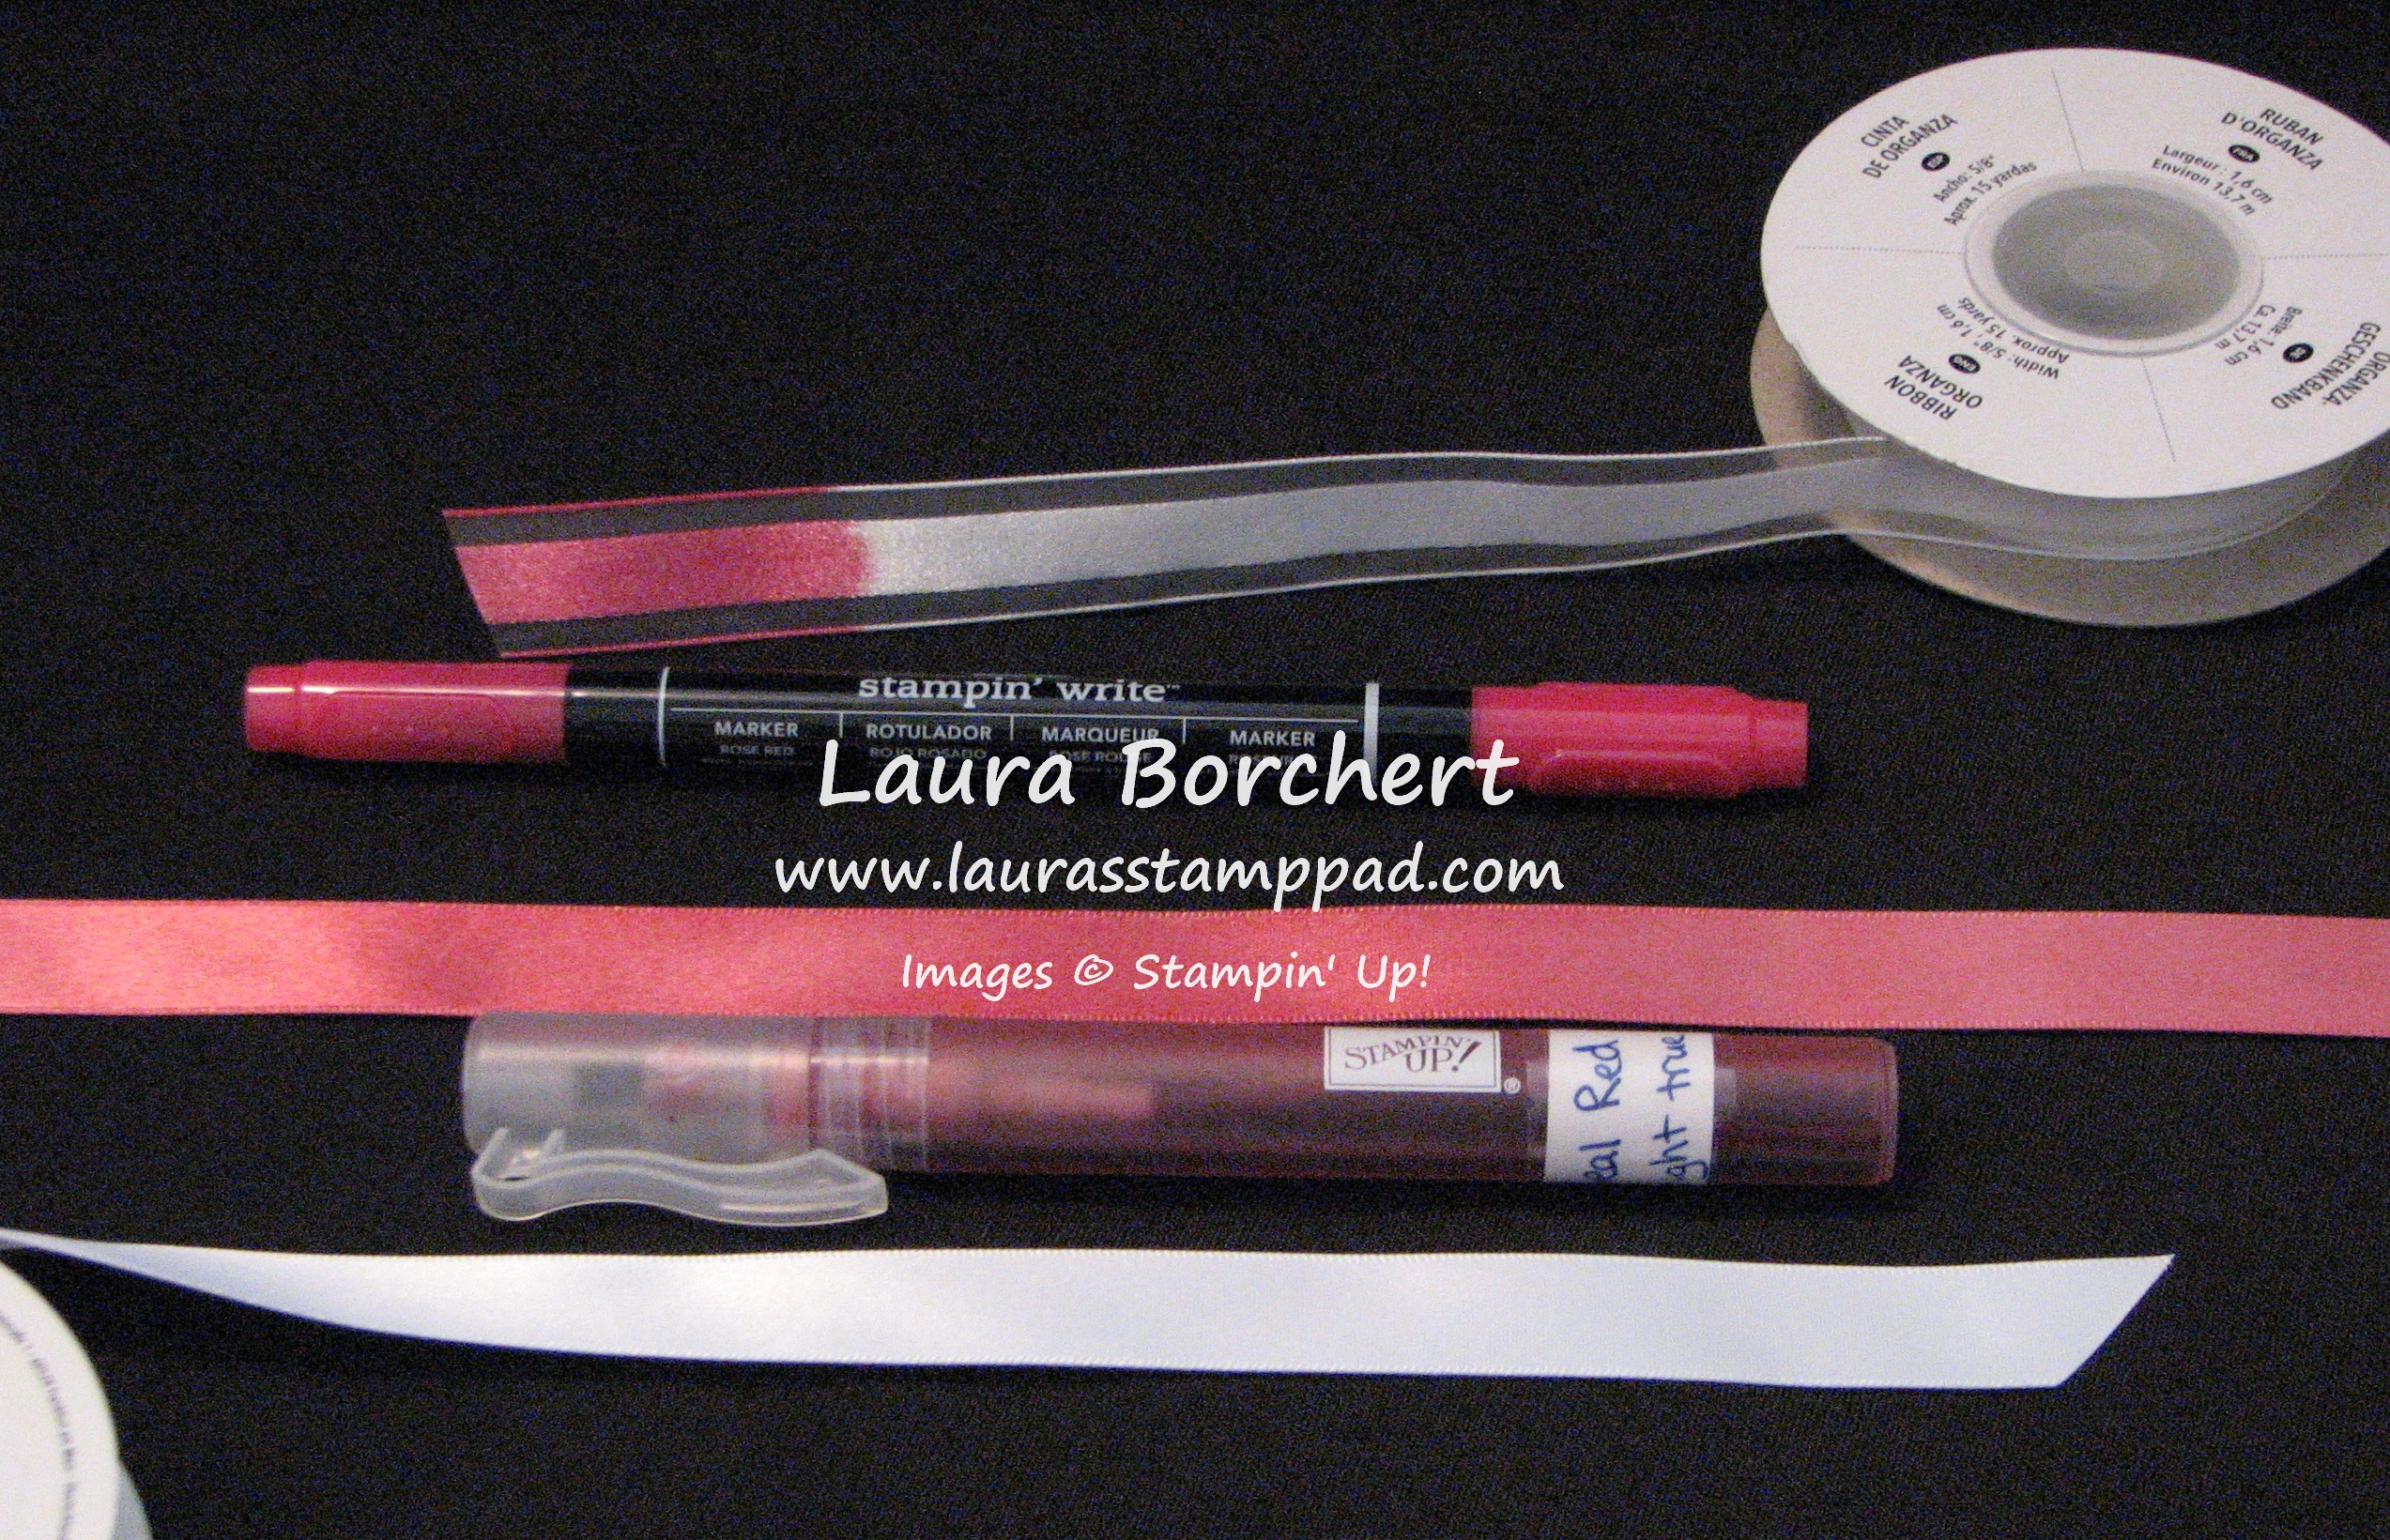
Now this one was done a little differently! I used the NEW Lucky Stars Embossing Folder which is coming out in the Holiday Mini Catalog on August 28th! I opened up the embossing folder and on the side where the stars pop up I lightly tapped my ink pad over top! You don’t want to press too hard or the ink will go down into the flat area of the embossing folder. Now you will place your piece of cardstock into the non-inked side and close the folder. You can either close the folder and just press and viola you are done or you can close it and run it through the Big Shot for a colored and textured look! I then assembled this piece onto Daffodil Delight Cardstock and Night of Navy card base! I used my Night of Navy Marker to color the Whisper White Organza Ribbon to match! Check out this post for more on that! The greeting is from the Petite Pairs Stamp Set which I punched out with my Decorative Label Punch and added a few punched stars from the Itty Bitty Punch Pack! Check out the video tutorial below to see this in action!!! Don’t forget to give it a thumbs up if you like this video and want to see more! Click the subscribe button so you don’t miss out on more Big Shot Videos this week!

Only 13 more days to get your Big Shot and a Free Bundle! Check back tomorrow for some more Big Shot Fun!

Happy Stampin’

~Laura


Lots & Lots of Circles & Dots!

Posted on

Work of Art Circles, www.LaurasStampPad.com

 I love everything about this card – Polka Dots on the Moonlight Designer Series Paper, the Work of Art Stamp Set, Satin Stitched Ribbon, Itty Bitty Punch Pack flower, and a Rhinestone! I used my Circle Framelits which are perfect for layering because of the graduating sizes. I am just blown away at all of the different looks, styles, and images you can achieve with the Work of Art Stamp Set! It is just amazing! If you don’t have your own set by now, click here to get it today!!! You can check out more samples here, here, and here or you can always click on the Work of Art tag on your right to see all the samples! And I’m not done yet! There are lots more that I can’t wait to share with you!!!!

Happy Stampin’

~Laura


Technique Tuesday – Make Your Own Stencil!

Posted on

Happy Tuesday!!! That means I have a fabulous technique to share with you today!!! I’m going to show you how to create your own stencils because how cute is this card?

Punch Stencil Card, www.LaurasStampPad.com

Okay so I know this card is super cute already because its PINK, has flowers, has some bling, and says the word sprinkles in the greeting! Love it! Now let me know tell you how to create this amazing card!

Supplies Needed: Itty Bitty Punch Pack, Scrap Paper, Watercolor Paper or regular cardstock, Sponge Dauber, Blender Pens, or a Maker

I used the Flower from the Itty Bitty Punch Pack for my sample but you could really use any punch image. Punch the image from a piece of scrap paper! This is not your stencil! For the sample above, I used Watercolor Paper and my Blender Pens to get the look! You could use regular cardstock and a marker or your SPONGE DAUBERS! You know how I love my sponge daubers. I then moved the stencil all over the paper for a random look (some falling off the edges or in the corners). Also, I used my sponge daubers for the edge of the greeting just to add a little color! How simple is that? So you may be asking, why can’t you just punch the image in any color of cardstock for the same look? You can most certainly do that as well. It would give a more textured look because each punched image would be raised up! So many fabulous possibilities!!! Here is another sample created by Vel at one of my stamp classes!!!!

Punch Stencil Card, www.LaurasStampPad.com

I love the colors together! So beautiful and the Daffodil Delight really pops and brightens the card up! This card is sure to brighten anyone’s day! We both used the Remembering Your Birthday Stamp Set for our greetings! Both cards have a coordinating greeting on the inside as well! I hope you try this out with some of your punches and leave a comment down below or send me your photos! I would love to hear and see what you come up with!

Happy Stampin’

~Laura


Love Is In The Air!!!!

Posted on

Summer time is definitely wedding season! We had one in June, another in July and we have one in August!!!! I love love love weddings though so I’m okay with that. AND then I get to use the fabulous Big New Stamp Set for my wedding cards!!!! I am really loving this set because of the giant greetings and I love the sayings!!!

Big New Wedding Card, www.LaurasStampPad.com

How cute is this? I used Pacific Point and Soft Sky for the colors! These colors matched my wrapping paper ;)! You could always match it to the wedding or just use whatever paper is your favorite color that day!

Wedding Card, www.LaurasStampPad.com

I embossed the background with my Beautifully Baroque Embossing Folder which I love because it has this elegant pattern to it! Then I stamped my greeting and added a little heart from the Itty Bitty Punch Pack on the front and inside!!! This is a MUST for your next order if you don’t have it! A little heart, star, and flower…..they are just perfect for a little something added to your project! Perfect size and perfect images! Love them!!!! I will be making lots of these for all of my upcoming weddings! Stay tuned!

Happy Stampin’

~Laura


Technique Tuesday – Coloring Ribbon!

Posted on

Happy Tuesday!!! That means I have a fabulous technique to share with you! This technique is one of those Ah Ha moments! If you need a specific color of ribbon and either don’t have it on hand or the ribbon doesn’t come in that color….no worries anymore! All you need is Whisper White Satin or Organza Ribbon or another type of white ribbon!

Ribbon Coloring, www.LaurasStampPad.com

See how I have matched the ribbon to the card! It’s so much fun!

Supplies Needed: White Ribbon (Satin, Organza, Baker’s Twine, Seam Binding, & Cotton), Markers or Spritzers or Sponge Daubers

Now this technique has the Ah Ha moment because you only need a few supplies and it is the easiest thing ever to color your ribbon. You will wonder why you hadn’t thought of this before. You can color your ribbon either by coloring it with your markers, tapping your sponge dauber in the ink and rubbing it on, or spritzing it with your Spritzer. For the Spritzer, you will just add Re-inker and Alcohol (70 Proof or less) and spritz away! 🙂 I have found that the colors sometimes come out lighter or darker than you may expect so sometimes you might need to go light or pick a lighter color to match your project!

In the photo above, I used my Crisp Cantaloupe, Rich Razzleberry, and Rose Red Markers to color the Organza Ribbon! For the card on the right and left, I used my Work of Art Stamp Set (LOVE), Small Butterfly Punch, Moonlight Designer Series Paper Stack, and Rhinestones! For the middle card, I used the Hello There Hostess Stamp Set!

Ribbon Coloring Technique, www.LaurasStampPad.com

Here I used my Red Marker on the Organza Ribbon and the Spritzer on the Satin Ribbon.

I hope you try this out the next time you need a specific color of ribbon! Let me know what you think in the comments below!

Happy Colorin’

~Laura


Precious Baby Boy!!

Posted on

Epic Baby Card, www.LaurasStampPad.com

Or Girl!!! Is this card not precious or what? I created this for a friend of mine who is going to be a Grandma to a little baby boy! I used the Epic Alphabet Stamp Set which is a photopolymer set so that means it is completely clear and you can see your stamping placement perfectly!!! Love it! I stamped the letters in Stazon so I could color them in with my Pear Pizzazz & Pool Party markers! I added the “it’s a boy” greeting from A Dozen Thoughts Stamp Set (which also has an it’s a girl greeting)! You could always leave off the gender greeting and make this card in yellow and gray or another gender neutral color to have on hand for your next baby card need! I thought the card needed just a little something more so of course I pulled out my Itty Bitty Punch Pack star punch and added a little Daffodil Delight star on there! Adorable!!!!

What are some of your favorite saying or words that you like to spell out on your cards with the Alphabet Stamps? Leave me a comment down below! I’m having a hard time coming up with short words although I did do this super cute card!!!

Happy Stampin’

~Laura


Scrapbooking the Little Ones!!!

Posted on

I have created a little 6″ x 6″ Scrapbook for my Mom and Dad that includes just a few pages of every grandchild when they were born! It includes the baby’s information and of course family photos. I love how you can see the changes in each photo as the family grows! Even though the last grandchild (my niece) was born last September, I just finished her pages now! I’m not that far behind…in the world of scrapbooking that’s practically caught up! 🙂

Lullaby Scrapbook, www.LaurasStampPad.com

I used the new Lullaby Designer Series Paper which is just precious. I also noticed that you shouldn’t be fooled by the name….there really isn’t anything that says BABY in this paper. If you like yellows, corals, blues, and browns this is the paper for you! Then for the journal tags, I used a few from my Project Life Everyday Adventure Card Collection. This is another wow item! This card collection comes with 100, (that’s right) one hundred double sided cards! Some of these cards are just designs and others have patterns or words already on them but they are fabulous!!! Of course, they are the perfect size to slide into your Project Life Photo Pocket Pages but you can use them on other projects like this one or even cards! For my little decoration, I used the Itty Bitty Punch Pack flower in Crisp Cantaloupe and some pearls! Love it!

Lullaby Scrapbook, www.LaurasStampPad.com

Here is the second page (double page spread). Again I used the Lullaby Paper for my backgrounds! I added in the heart from the Itty Bitty Punch Pack and added my greeting on a piece of Hello Honey punched out with the Modern Label Punch!

I was able to complete these 4 pages in a matter of minutes with my Designer Series Paper (and the list of coordinating colors in the catalog), some punches, and the Project Life Card Collection! Scrapbooking made easy let me tell you! I hope you give it a try either as a new scrapbooker or a seasoned scrapbooker!

Thank you to everyone who wished me well on my Anniversary last week. The WINNER are: Deb P, Vicki M, and Tanishae T!

Happy Scrapbookin’

~Laura


Share Your Love!!!

Posted on

Okay please tell me you have the Itty Bitty Punch Pack because if not, you need it….like yesterday…NOW!!!! I just can not put these 3 little punches down. Every time I go to make a card, I’m like it needs just a little something more. Hmmm….a heart (star or flower) and then it looks perfect!!!! Click here to get your’s NOW! Then you can make this amazing card!

Sending A Kiss, Heart Punch, www.LaurasStampPad.com

Aren’t these little hearts adorable? I punched them out with the Moonlight Designer Series Paper Stack. The solid Hello Honey one on the bottom left is actually punched on the Whisper White Cardstock and so the yellow is popping through. Isn’t that clever? I know. 😉 The greeting is from the Petite Pairs Stamp Set! I just thought this card needed a little greeting like that. The card base is Blackberry Bliss and the center band is Lost Lagoon embossed with the Decorative Dots Embossing Folder! This card would make a great Anniversary Card, Valentine’s Day Card and even a random card sent to someone you love. I send cards to my husband’s grandma on his mom’s side and grandparents on his dad’s side randomly just to brighten their day and let them know how we are doing and that we love and think about them (my grandparents are angels watching over us and I don’t have their address)! I hope you enjoyed this card and try it out! If you need more reasons to get the Itty Bitty Punch Pack, check out this sample and this sample! Click here to get your’s today!

Happy Stampin’

~Laura


Technique Tuesday – Spiral Pop Out Card!!!

Posted on

Happy Tuesday!!!! You know what that means….I have a fabulous technique to share with you! I created this one awhile back and have just kept it in my back pocket but NOW it’s time to share!!!! Who doesn’t like a card that POPS out???

Spiral Flower Pop Out Card, www.LaurasStampPad.com

Okay I know this card doesn’t seem super WOW or POPPIN’ OUT but just wait…….

Pop Out Cards, www.LaurasStampPad.com

How fabulous is that inside of the card? LOVE IT!!!! I used the Spiral Flower Die to create this adorable Pop Out piece.

SUPPLIES NEEDED: Spiral Flower Die, Cardstock, Stampin’ Dimensionals, Mini Glue Dots, and Decoration

You will start with a piece of cardstock measuring 4″ x 4-1/4″. Place that in the center of the Spiral Flower Die and run it through the Big Shot. The actual Spiral Flower piece can be tossed aside for another project because all you will need for this one is the reverse image/left over piece. Now take 4 Dimensionals and place them on the corners and place this down onto the inside of your card. Now you will need to create your decoration. In the cards above I used the Itty Bitty Punch Pack for the flowers and stars. I placed a Mini Glue Dot on the star and then slide it underneath the center tip of the spiral. The glue dot should be facing up. Now you will close your card and press in the middle so that that Mini Glue Dot sticks to the top/lid of the card. This makes the placement of the spiral perfect every time. If you tried to measure or guess where to glue it, it could be off a little and then it wouldn’t close properly or lay flat. Now you can decorate the rest of your spiral! In the 2 pictured above, I took my marker and added a little decoration around the edge just to make it POP some more. The greetings for the outside and inside are from the Age Awareness Stamp Set!!!

And because sometimes it is just easier to see how it is done, I have created a Video Tutorial for you here!!! Be sure to “LIKE” the Video and “SUBSCRIBE” to my Channel so you don’t miss out on my water color tricks which are coming soon!

For more on the Spiral Flower Die, check out this post!

Happy Stampin’

~Laura


Adorable Baby Cards!!!!

Posted on

Big New Baby Cards, www.LaurasStampPad.com

How precious are these cards? I’ll just answer that for you…beyond precious! All together now…..Awwwwwww! Okay lets get started on how to create these fabulous cards! I used the Big New Stamp Set (check out these samples) which I am currently LOVING! The greetings are amazing and BIG so you just need a little foo foo and then you have a fabulous card! Here I stamped both greetings in Stazon Ink so I could color them in with my markers (Melon Mambo & Pink Pirouette and Pear Pizzazz & Tempting Turquoise). What is with me and Pear Pizzazz lately??? It is my go-to color. For the little girl card, I used the flower from the Itty Bitty Punch Pack and added a few Rhinestones (you could do Pearls too). I brushed the edges of the Whisper White with my sponge daubers (love!) and added some of the NEW Cotton Ribbon in Melon Mambo! For the little boy card, I brushed the edges with my sponge dauber and used the star from the Itty Bitty Punch Pack! These are great cards to have on hand for when a little one comes! You could also do one in yellow and gray (oh great idea) or other neutral colors so it could go either way! I love when you can create the same card in both boy and girl styles! LOVE IT!

Let me know what your favorite go-to color is right now in the comments below! Pear Pizzazz for me!

Happy Stampin’

~Laura