Technique Tuesday – Pull Out Card!!!

Posted on

Happy Tuesday!!! You know what that means…..I have a fabulous technique to show you!!!! I love this technique because there is a major WOW factor and it still fits into a regular sized Medium Envelope (A2 sized card)!!! Also, I think this card would be super fun and cute for kids but also for adults! I know I love it!!!

Pull Out Card Papillion Potpourri, www.LaurasStampPad.com

See this card looks like a normal card….but it is not!!! 🙂 It isn’t super easy to see in the photo but when you pull on the left side, the card opens up!!!! (Check out the video below to really see how amazing this is!) This idea came from a fellow stamper friend, Julie Davison! You can check here out here!

Supplies Needed: Cardstock, Stampin’ Trimmer, and stamps and embellishments to decorate

  1. Starting with a 4” x 9-3/4” piece of Whisper White Cardstock and the 4” at the top of your Stampin’ Trimmer, line the cardstock up at 1-1/2” and CUT from 3” to 7-1/2”.
  2. Turn the cardstock 90 degrees. Line up the cardstock at 3” and SCORE to the cut line at 2-1/2”.
  3. Move the cardstock over to 5-1/4” and SCORE all the way.
  4. Move the cardstock over to 7-1/2” and SCORE from the 2-1/2” score line to the edge.
  5. Fold on all score lines. From left to right, the first score line will be folded “mountain” style and second score line will be folded “valley” style.
  6. Now you can decorate as you wish with Stamps, Designer Series Paper, etc. The DSP on the bottom measures 1” x 5-1/4”. I used some of the Birthday Basics Designer Series Paper! I also stamped with the Papillion Potpourri Stamp Set! For the greeting, I used the border image from the Label Love Stamp Set in Summer Starfruit and then “Sending Many Thanks” came from the Petite Pairs Stamp Set! I love this stamp set because it has coordinating greetings. When you pull open the card, it says “for everything you are to me.” 🙂
  7. Fold the card. Apply adhesive on the very back (not the part that will pull out) and adhere to the card backing (4-1/4” x 5-1/2”).

Pull Out Card Papillion Potpourri, www.LaurasStampPad.com

Also, be sure to check out this Video Tutorial on this Pull Out Card Technique! Like and Subscribe to the video because that would be amazing!!!

Happy Stampin’

~Laura


Technique Tuesday – Treat Basket

Posted on

Happy Tuesday everyone!!!! You know what that means…..I’m sharing a fabulous technique with you! This week it is the adorable little basket! You can use it for candy, treats, homemade goodies, or any type of gift!!! It is always fairly quick and simple too!

Treat Basket Tutorial, www.LaurasStampPad.com

Supplied Needed: Cardstock, Scissors, Scoring Tool (Stampin’ TrimmerSimply Scored Tool, or Bone Folder), Sticky Strip, Hole Punch, Brads, decorations/embellishments, and TREATS!

Using an 8” x 8” piece of cardstock, you will score at 2”, 4”, and 6” on both sides of the square. This will give you 2” squares all over. Cut up 2” to the first score line on all sides. This will make the corners fall off. Apply Sticky Strip to one of the squares on all four sides. Fold the sides together to make a point (overlapping 2 squares together). For the handle, cut a ½” x 8” piece of cardstock and attach with brads. Decorate as you wish! I used the Scallop Circle Punch on all four sides. Then I stamped the butterfly from Papillion Potpourri and punched it out with my Elegant Butterfly Punch. Of course I attached the butterfly with Stampin Dimensionals to add some texture and allow for bending the wings forward!!! Super cute and it would look great as treats for a Bridal Shower, Baby Shower, or any other events with Treat Bags. You could always put the name of the guest on one of the sides and it could double as a place card!!! Here is a video for you to watch how this was created!!! Be sure to “Like” this video and “Subscribe” to my Channel so you don’t miss out on any of my Video Tutorials!

Happy Stampin’

~Laura


Technique Tuesday – Stair Step Card

Posted on

Happy Tuesday!!! That means I have a fabulous technique to share with you! Today it is this amazing Stair Step Card. I have done a stair step before where there wasn’t an inside to the card because it was all steps. This one is still a regular sized card (A2) and there is still an inside for you to write your greeting!

Stair Step Card, www.LaurasStampPad.com

I love how the butterflies look like they are flying all around and it seems more like a garden scene than a card! Here is how it was made:

Supplies Needed: All you need is cardstock and your Paper Trimmer with cutting blade and score blade (or you can use your bone folder for the scoring)

You will start with a 5-1/2” x 8-1/2” sheet of cardstock. Using your Paper Trimmer, along the 5-1/2” side you will go in 2-3/4” and CUT from the 1” line to 5-1/4” line.  Now using your Score Blade (bone folders, Simply Score Tool), SCORE from the 2-3/4” vertical line to the right edge at 1”. Go another 1” up from there and SCORE again from the 2-3/4” to the right edge.  Then go to the top of 2-3/4” cut line and SCORE to the edge. Now along the 8-1/2” side, you will score at 4-1/4” up to the 2-3/4” cut line.

Stair Step Card, www.LaurasStampPad.com

This folds your card in half. Now it is time to decorate! I used the Papillion Potpourri Stamp Set and Elegant Butterfly Punch! I then attached the butterflies onto strips of Window Sheets (the clear pieces) and attached those to the stair steps! The flowers and greenery were stamped using the Secret Garden Stamp Set! I can’t wait to try this out with a “birthday party” scene with balloons and a cake or….I keep going back to flowers! I love love love my flower stamp sets!

I hope you try out this technique. Please share with me your ideas on what “scene” would be the best in the comments below!

Happy Stampin’

~Laura


Bright Butterflies!!!

Posted on

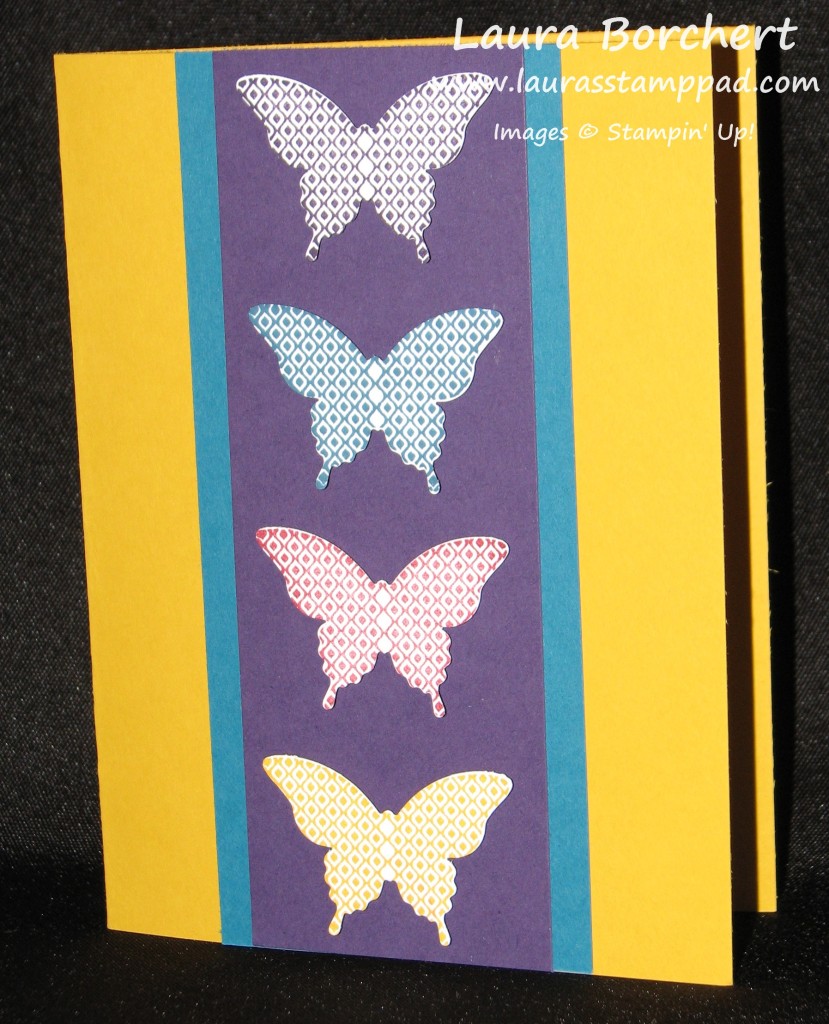
This card is so amazing because it has BUTTERFLIES (which I have recently fallen in love with) and lots of color! I just feel like cards need to be colorful and POP! Another bonus for this card, it uses up some of the scraps you have laying around!

Papillion Portpourri, www.laurasstamppad.com

The fabulous card was created with the Papillion Portpourri Stamp Set and matching Elegant Butterfly Punch! I stamped the same butterfly image 4 times on scraps of Whisper White Cardstock using Crushed Curry, Cherry Cobbler, Island Indigo and Elegant Eggplant (all in the Regals Collection). You could always use different butterfly images so you don’t have to keep cleaning to stamp before going to the next color (be sure to clean it well for the Crushed Curry 😉 ) I love how bright and cheery this card is and again it could be used for any occasion! Can’t wait for spring so I can use this stamp set more and more! For more samples using this stamp set, click here and here!

Happy Stampin’

~Laura


15% off on the Butterfly Bundle

Posted on

Butterfly Bundle

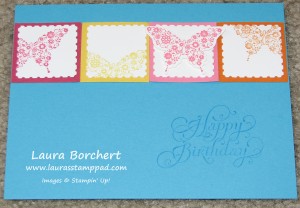
Oh Butterflies…..I love them so much! And now they are even better because they are on sale!!! Purchase the Papillion Potpourri Stamp Set and Bitty Butterfly Punch Bundle and you will receive 15% off!!!! This stamp set also coordinates with the Elegant Butterfly Punch too! Here are a few samples I have created with this fabulous stamp set!!! And here is another post with Butterflies!

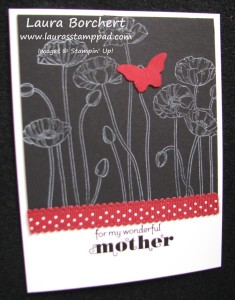
Poppy Butterfly Card www.laurasstamppad.com


Butterfly Card


I hope you enjoy the butterflies as much as me!!!!

Happy Stampin’

~Laura


Technique Tuesday – Reverse Masking!

Posted on

It is Tuesday and so I’m sharing a fabulous technique with you!!! This week it is Reverse Masking!

Reverse Masking Technique www.LaurasStampPad.com

Reverse masking is a technique that I recently tried out and fell in love!!! It gives such an amazing look! In the card above I feel like it makes a perfect scene for this Poppy. It give me a feeling of evening sunset. I have done many more of these cards using the Sympathy greeting in the Simply Sketched Stamp Set – so elegant and uplifting!!!

Butterfly Reverse Masking www.LaurasStampPad.com

This second card was created using the same technique! I created the template with the Oval Framelits! I cut out an oval for the template and then I used that oval and the next size up to create the Black frame! Also, the fabulous Butterflies came from the Papillon Potpourri Stamp Set! Check out the special on that Stamp Set this month here! You could really create a fabulous window look with this technique too! I want to try it out with a rainbow of colors next! To create your template, use the cardboard backing used in your Designer Series Paper Packaging, cut out your image (oval, rectangle, Circle, etc) and then you are good to go!!!

Frames for Reverse Masking www.LaurasStampPad.com

I hope you enjoy this technique and try it out soon!

Happy Stampin’

~Laura