Check out these quick and simple cards for Christmas that can be made in no time at all. Just whip it up and send it out!!!

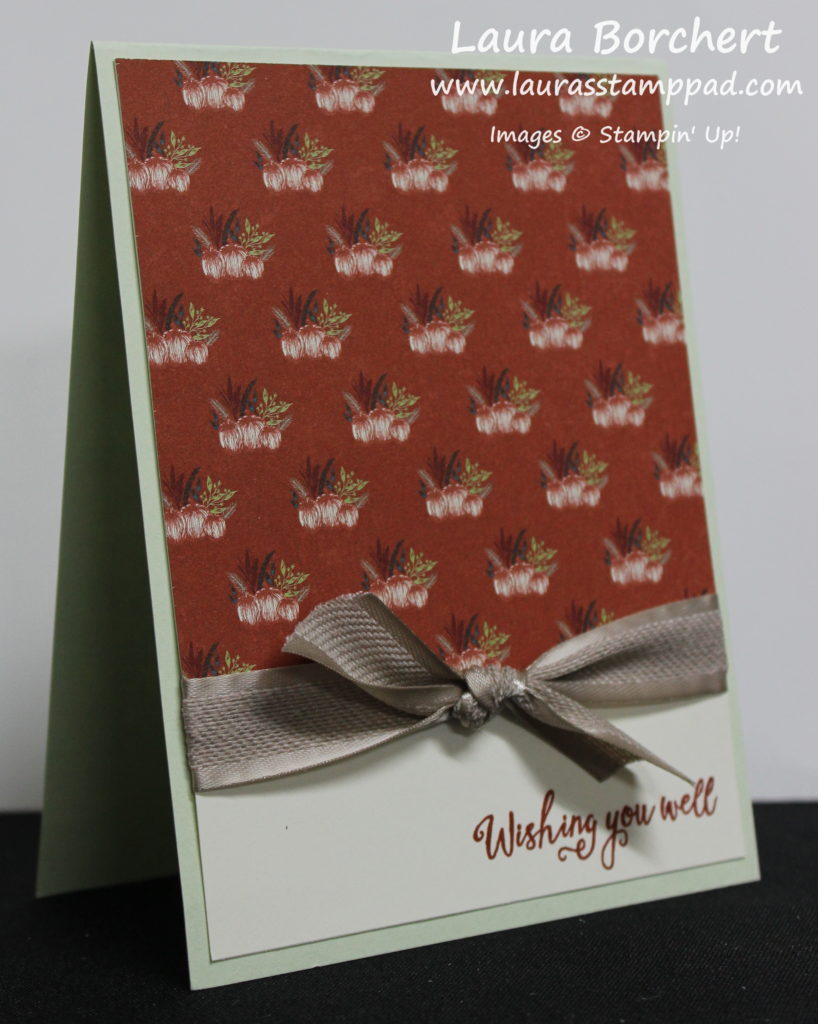
I used the Night Before Christmas 6″ x 6″ Designer Series Paper Stack for these cards! Simply cut a piece that is 5-1/2″ x 1-1/2″ and mix and match which side you use for each card! The paper pack states that these colors are used in the pack so you can pick those for the accent cardstock and ink color!
Cherry Cobbler, Crumb Cake, Crushed Curry, Early Espresso, Mossy Meadow, Night of Navy, Old Olive, Poppy Parade, Pretty Peacock, Very Vanilla

I ripped one edge of the cardstock to give the card a little bit of texture and fun! The greetings were both from the Itty Bitty Christmas Stamp Set. This set is perfect for a large array of greetings that fit just about anywhere! I love it. To finish off the card, I added a few metallic pearls.
To make some of these quick and simple cards, check out the supplies below. Just whip it up! Also, Stampin’ Up has FREE SHIPPING today on all orders of $50 or more! Woot Woot!!!!
Happy Stampin’
~Laura
Product List")
 Designer Series Paper")


 Curly Ribbon")
 Double-Stitched Ribbon")


")

 Shimmer Ribbon")
")


")


")


 Textile Ribbon")


