Technique Tuesday – Puzzle Pieced Roses!!!

Posted on

Happy Tuesday everyone!!! We are back at it with another Technique after last week’s celebration!! This technique uses my favorite Framelits – Rose Garden and some bling!!!! Check this out!

Glimmer Roses, www.LaurasStampPad.com

Aren’t those roses just stunning? I am still on the fence as to whether this card is a bit much or just fabulous! My husband says its a bit much and only one rose was needed. Let me know in the comments below what you think. Be honest!!!

SUPPLIED NEEDED: Rose Garden Framelits, Big Shot, Snail Adhesive, Paper of Your Choice

I used the Silver Foil Paper and Blushing Bride Glimmer Paper for these roses! I die cut the rose with the Big Shot once in the Silver Foil and once in the Blushing Bride Glimmer Paper. Then I popped out all of the pieces with the Big Shot Die Brush. Be very gentle with the Glimmer Paper. It could brush off a little glitter and we want all the bling!!! Be sure to keep track of all of the little pieces that you pop out. Then I took a piece of Blushing Bride cardstock measuring 4″ x 5-1/4″ and placed one of the rose frames in the corner where I wanted it. I took a pen and marked little dotted lines around the INSIDE of the rose frame. This was my guide for adding Snail Adhesive to the area. I took away the rose frame and filled the entire area with adhesive. Then I placed the Glimmer Rose down and started putting together the rose with the Silver Foil pieces inside. It really is like a puzzle!

Blush Rose, www.LaurasStampPad.com

You will repeat the same thing in the opposite corner with the Silver Foil Rose frame and glimmer puzzle pieces. If for some reason you don’t have enough adhesive, you can always add a dab of glue from the Fine Tip Glue Pen. I just found it to be much easier and less messy to use the Snail Adhesive for the majority of it, rather than gluing each piece in. Once I had my roses complete, I added some Whisper White Organza Ribbon around the middle and stamped my greeting. The greeting is from the Number of Years Stamp Set and I stamped it in Rose Red (stamp off once). I added this to a Whisper White Card base and Viola!!! Love it!!!

Silver Rose, www.LaurasStampPad.com

I played around with a few other looks as well. Here is a Black Glimmer Paper (ops….retired from the Holiday Mini Catalog) and Real Red Cardstock. You could always do Real Red Foil Paper or all cardstock!! I think this one is amazing!!!

Red Rose, www.LaurasStampPad.com

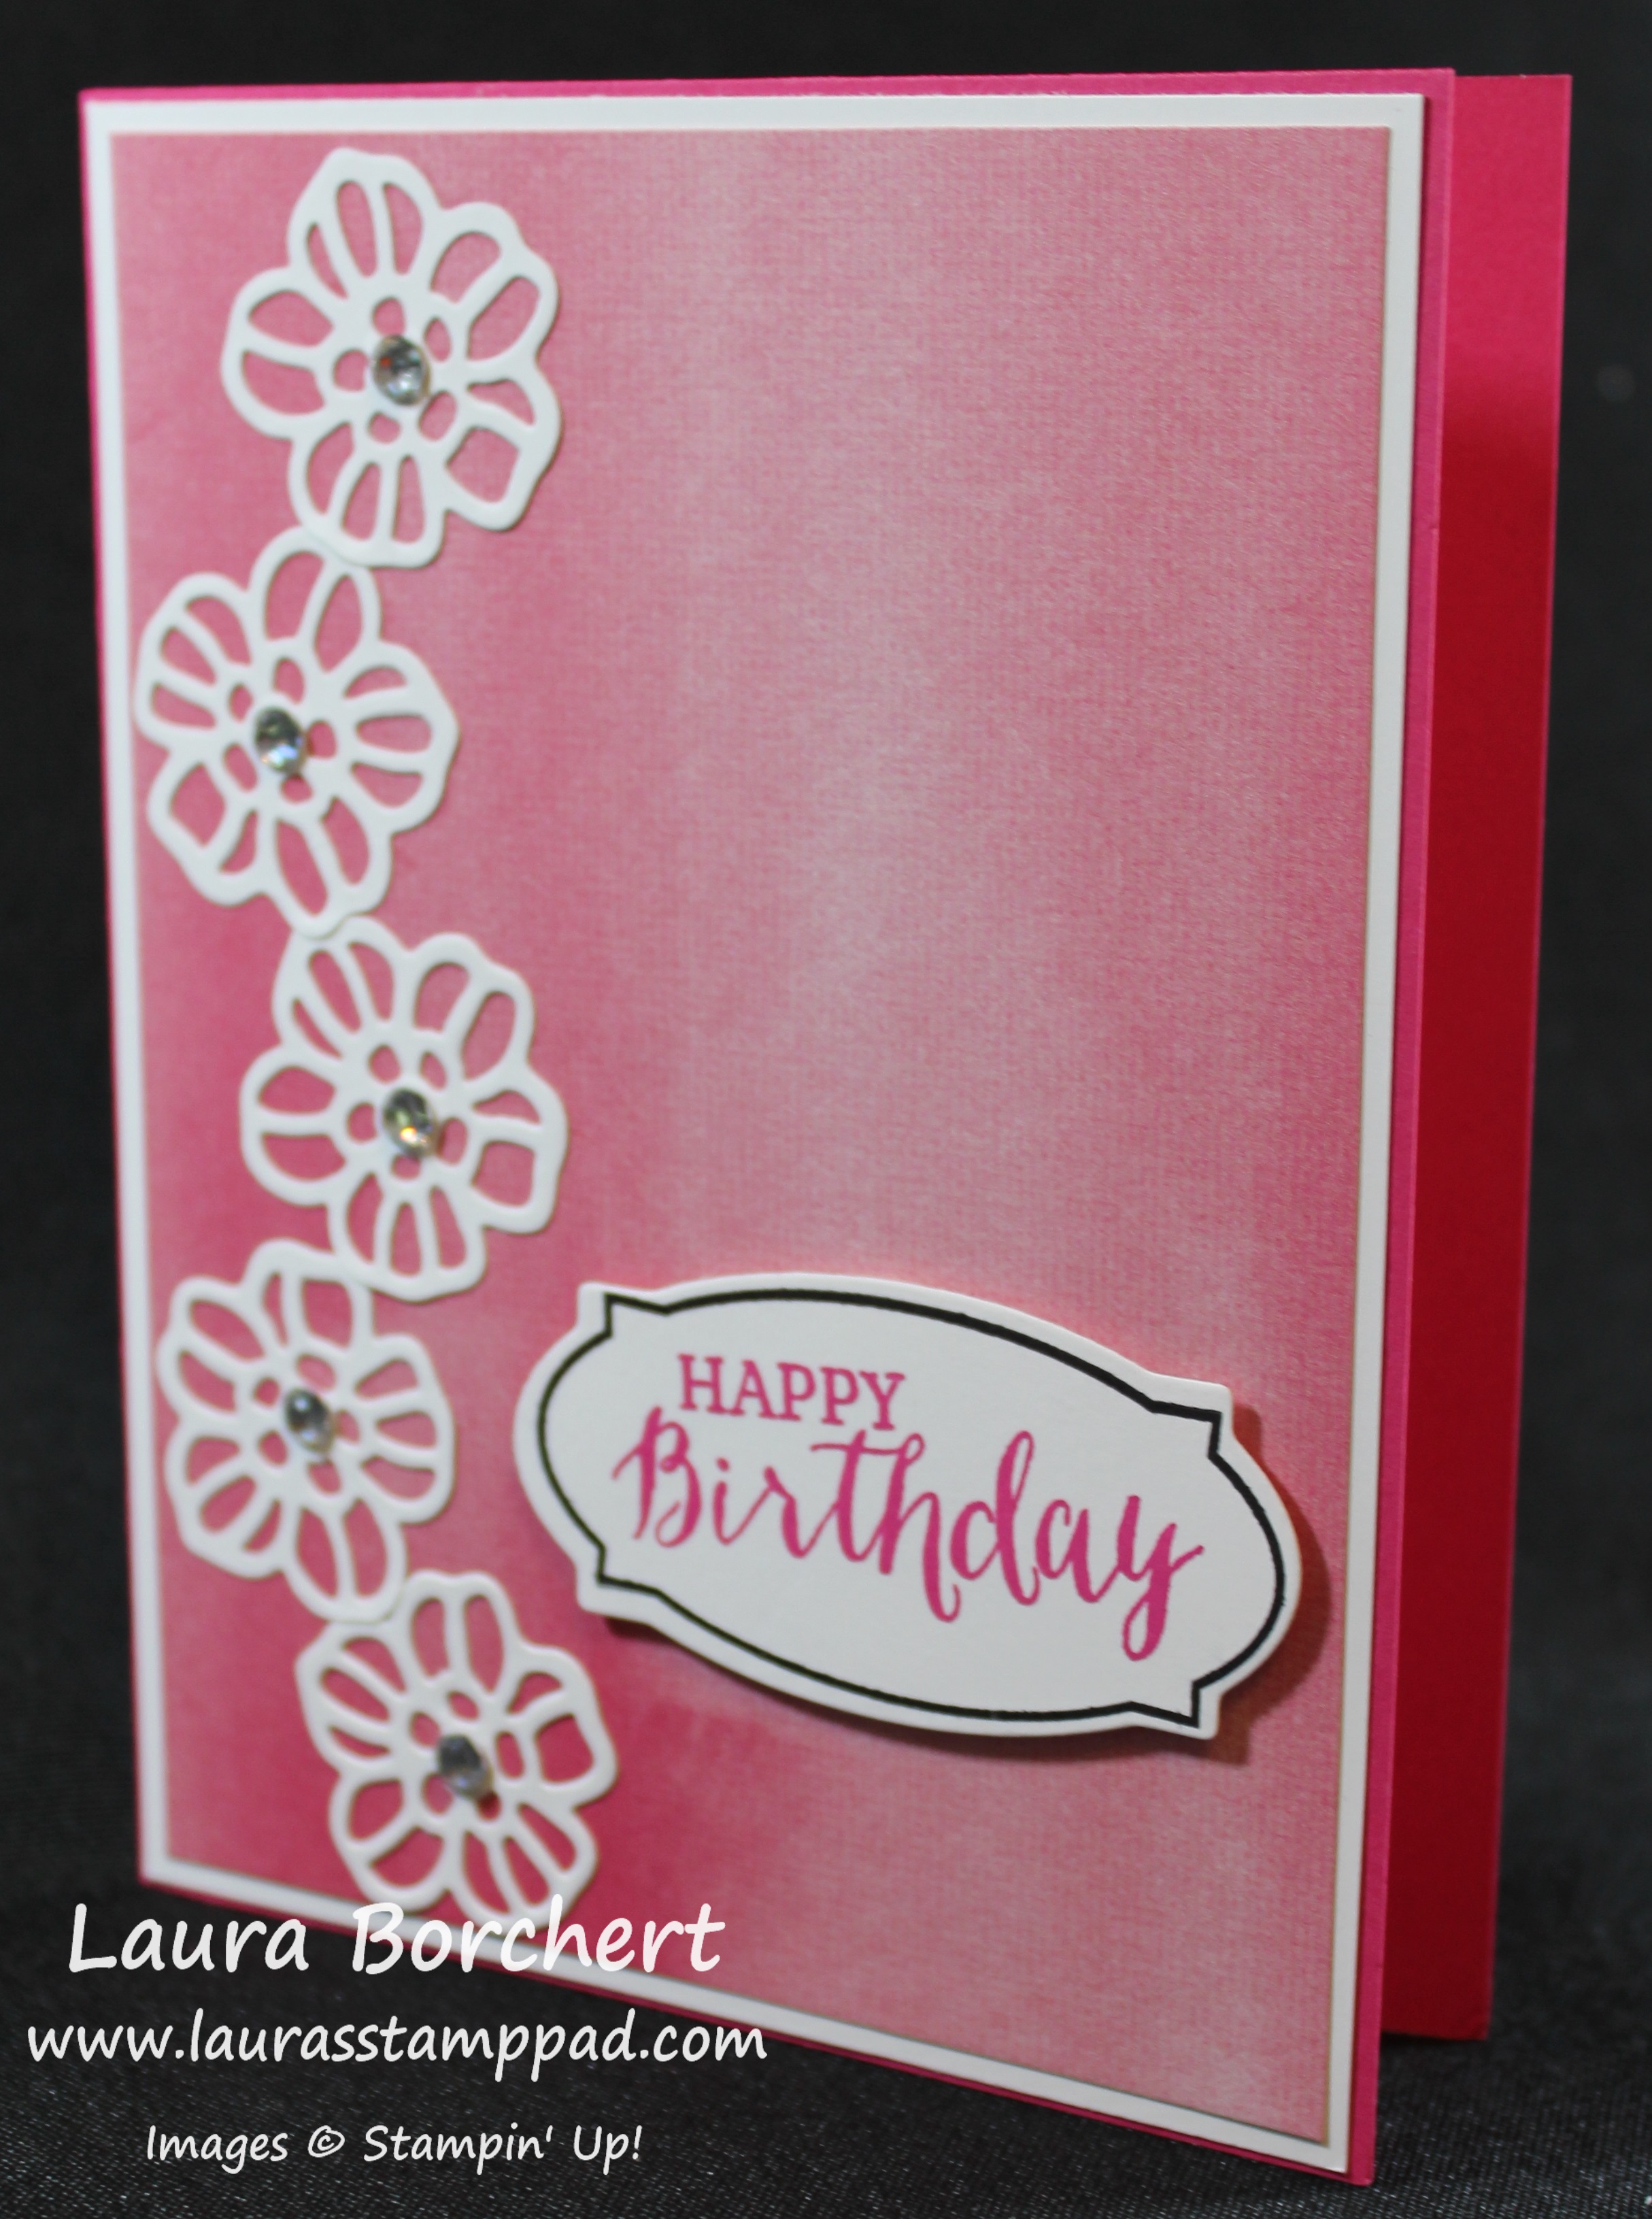
And then I just had to do a Pink Rose!!!! I used one of the other Framelits in the Rose Garden Set. The border is Dazzling Diamonds Glimmer Paper and the puzzle pieces are Melon Mambo and Pear Pizzazz cardstock! I LOVE IT!!!!

Pink Roses, www.LaurasStampPad.com

If you would like to see this all in action, check out my Video Tutorial below or click here! Don’t forget to give it a thumbs up if you liked it and be sure to subscribe so you don’t miss out on any future videos!

Let me know in the comments below which one your favorite is!!! I’m between the Red and Melon Mambo one….they are both amazing!!!

Happy Puzzle Piecin’

~Laura

Going Going Gone, www.LaurasStampPad.com

Be sure to check out the Retiring Items before they are gone at the end of May!


Background Blues!!!

Posted on

Birthday Boy Card, www.LaurasStampPad.com

You all know how I struggle with a good man card because I just love flowers, ribbons and bling! Well check out this one!!!! I love it and I think it’s a perfect Man Card!!! I will be making multiples of this one to have on hand!!!

I started with a Soft Sky card base. Then I cut a piece of Night of Navy measuring 4″ x 5-1/4″ and White White measuring 3-3/4″ x 5″. On the Whisper White, I stamped the tea cup stain image from the Timeless Textures Stamp Set all over in Soft Sky and Night of Navy. Just randomly stamp and be sure to fall off the sides to make it look like the pattern continues. I adhered this piece to the Night of Navy and then wrapped some Linen Thread around the 2 pieces a few times and tied a knot (no bow since it’s a Man Card)! 😉 I added this piece to the card base with Stampin’ Dimensionals. You all know I love those things and I like to use them when there is ribbon (or something wrapped around) because it allows for it to still look smooth! For the greeting, I stamped the Happy Birthday in Night of Navy and die cut with the Deco Label Framelits. I brushed the edges with a Sponge Dauber and Soft Sky Ink and attached it with Stampin’ Dimensionals as well! Just perfect!!!!

What do you like to use for your Man Cards? Let me know in the comments below! I always need help with Man Cards! Also, if you would like to see more samples using the Timeless Texture Stamp Set, click here and here!

Happy Stampin’

~Laura

Project Life Retire

Be sure to check out the Retiring Items before they are gone at the end of May!


Blue Botanicals!!!

Posted on

Just for You, www.LaurasStampPad.com

You all know how much I love flowers! 🙂 I just can’t get enough of them! Here I used the Botanicals Bundle from the Occasions Mini Catalog. The greeting is from the coordinating Botanicals For You Sale-A-Bration Stamp Set (promotion ended in March). You could use this card for any occasion!!!

I started with a Pool Party card base and then took a piece of Whisper White measuring 4″ x 5-1/4″ and stamped on it. I stamped the greeting from the Botanicals For You Stamp Set in Basic Gray. The little flowers are from the same set and I stamped them in Crushed Curry. For the main flowers, I used the Botanical Builder Framelits and Botanical Blooms Stamp Set. The leaf is done in Pear Pizzazz and I stamped the vein in the same color. The larger flower is Pool Party with a Bermuda Bay smaller flower and Crushed Curry mini flower. I added the leaf with regular Snail Adhesive. I popped up the big flower with Stampin’ Dimensional. I layered the rest of the flowers on top with the Fine Tip Glue Pen. Love it!!!

You could mix up the colors to be your favorites or whatever color you have on hand. With the simple Just For You, it could be used for just about anything!

Happy Stampin’

~Laura


Happy 12th Anniversary!!!

Posted on

Happy Tuesday everyone! We are going to take a mini break on the Technique Tuesday because today is even more special! Today marks my 12th Anniversary with Stampin’ Up! These past 12 years have been amazing. I started out as a demonstrator who was just enjoying the discount on my scrapbooking stuff. I was still in college and loving every minute of it. I graduated college, got a full time job but still enjoyed the creative outlet. I started doing classes in my very small apartment. Thank you to all of those who came because it was tight, the lighting was poor, and the stairs to get up to the apartment were dark. You are amazing for sticking with me! I moved to a bigger, much nicer place. I quit my full time job that was making my life miserable. Now I am doing my Stampin’ Up business full time and I’m happier than ever and enjoying every moment! I love meeting new people. I love the moments that have taken place. It truly has been an amazing 12 years and I look forward to the next 12!!! Thank you to all of my customers, blog followers, and YouTube Subscribers. Thank you to my fabulous upline – Meg for asking me to join you in the fun! Thank you to Stampin’ Up for being an amazing company that I’m so proud to say I work for!

Me and Boo

Here is a picture of me and my biggest Stampin’ Up! Supporter – Brad! I was looking for a picture of just me and all I could find were selfies with my sweetie so here you go! 🙂 Today I’m going to share my Top 12 Favorite Products from Stampin’ Up!!!! Let’s get started!

  1. Tin of Cards Stamp Set – I bought this to create the Tin of Cards Project Kit but I have been reaching for this set for lots of cards because I love the greetings!
  2. Wink of Stella Brush – I love me some bling and this brush just adds the perfect amount with no messes!
  3. Stampin’ Dimensionals – These things are just amazing. You can see a video dedicated to my love for them here!
  4. #ImBringingBirthdaysBack – This is a fabulous movement and I am excited to join in. I love sending cards even more now.
  5. Aqua Painters – I never saw this one coming since I don’t normally have the patience to color. Lately I want to color more and more and I have been having lots of fun with these!
  6. Big Shot Die Brush – This thing is super amazing and makes die cutting those intricate pieces so much more fun! You can check out this video on it!
  7. Fine Tip Glue Pen – This glue is amazing for those intricate details. The fine tip is perfect and so far mine has never clogged.
  8. Balloon Bouquet Punch – Balloons are perfect for every occasion and this punch is perfect for creating bouquets of them!
  9. Rose Wonder Bundle – This is another stamp set that I grab for each time I’m creating a card. I love the scroll-y font and amazing greetings. The coordinating Rose Garden Framelits are super fun too and I have done lots of amazing creations with them. Check those out here, here, and here!
  10. Linen Thread – I have been using this more and more. It’s perfect for Man Cards and it goes with so many different looks!
  11. It’s My Party Designer Series Paper Stack – I love this color combination and the prints in this stack. It’s a 12″ x 12″ Stack of amazing paper for all occasions!
  12. Birthday Bouquet Designer Series Paper – Flowers, Pretty Colors….need I say more??? Love the designs and pastels for Spring!

You can check out a complete video of these favorites here or click below!! Last year I did my Top 11 and you can check that out here. I actually didn’t duplicate any of the items…..and that wasn’t on purpose. I checked after I did my Top 12! 🙂 Be sure to give the video a thumbs up if you liked and don’t forget to subscribe!

Let me know in the comments below what your favorite products are….same as mine? Something different? I would love to hear from! Here to many more amazing years stamping!

Don’t forget the Retiring Products List is out so you will want to check that out! Click here to see the items!!

Happy Stampin’

~Laura


Love Blossoms!!!

Posted on

Silver Wedding Card, www.LaurasStampPad.com

You all know I’m loving the Rose Wonder Bundle! Here is another fabulous sample using the Rose Wonder Stamp Set and coordinating Rose Garden Framelits (Bundle & Save 15%)!!

For this card, I started with a Whisper White card base! Then I took a piece of the Love Blossoms Designer Series Paper (3-7/8″ x 5-1/8″) and layered it onto Smoky Slate (4″ x 5-1/4″). This gives a very small border but still sets it off and makes it stand out more. Then I placed a piece of Silver Satin Ribbon across the middle of the paper and wrapped the ends to the back before adhering it to the card base. For the greeting, I stamped the frame image from the Rose Wonder Stamp Set in VersaMark Ink and poured Silver Embossing Powder over the top. I set the powder with the Heat Tool and let it cool before die cutting it with the Rose Garden Framelits. Then I stamped the greeting in Blushing Bride in the center. I also die cut out two flowers with the Rose Garden Framelits in Silver Foil Paper. I added the flowers to the card front with the Fine Tip Glue Pen and the greeting with Stampin’ Dimensionals! Love it!

You can check out other samples using the Bundle here, here, and here! More samples using this Designer Series Paper Stack can be seen here, here and here!

Happy Stampin’

~Laura


Technique Tuesday – Painting Roses!!!

Posted on

Happy Tuesday!!! That means I have a fabulous technique to share with you!! This one is super fun, simple, and mistakes are okay!!! How fabulous is that? Check out this beauty!!!

Painted Rose, www.LaurasStampPad.com

How lovely is that rose??? Of course I used the Rose Wonder Bundle from the Occasions Mini Catalog!!! I am loving that set. You can see more samples here and here and here! Let’s get started on the beauty!

SUPPLIES NEEDED: Rose Wonder Stamp Set, Rose Garden Framelits, Aqua Painter, Ink and Cardstock

Don’t forget that you can Bundle & Save 15% when you purchase the stamp set and framelits together! Trust me you totally want them! I am loving them! So I die-cut the large rose framelit with some cardboard/thick cardstock. I used the piece that comes in the Designer Series Paper Pack on the back. It is that thicker cardboard type stuff that holds the paper stiff. I ran that through the Big Shot a couple times to ensure a nice cut on this thicker material. Then I popped out all of the pieces with the Big Shot Die Brush. I then laid the die onto a piece of Whisper White measuring 3-3/4″ x 5″. You can lay it on there with parts falling off or with the entire piece. Either way it will look fabulous. You will need to pick a color for your rose and for the leaves. I used Daffodil Delight and Old Olive. Then using a Aqua Painter, pick up some color and then paint in the holes of the framelit. It doesn’t need to be delicate and perfect. It just a little swish swish over the top of the template and into the holes. Some might be dark and some might be light. Sometimes your Aqua Painter will slide under the template and sometimes the template might move on you a bit. It’s all good. It will still come out fabulous!!! Once you have done both colors, you can stamp your greeting in the corner. I used a greeting from the Rose Wonder Stamp Set. I stamped it in Old Olive. You might want to set it aside to dry a little before assembling. I layered mine onto a piece of Daffodil Delight measuring 4″ x 5-1/4″ and then Old Olive measuring 4-1/8″ x 5-3/8″. I placed it onto a card base of Whisper White. I really like how colorful and POPy all of those layers make it. I love it and think it would be fabulous in purple or orange or pink. Oh I’m getting excited for doing more. You could even cut Black and White layers and then make them any color. Oh the options! This card would be perfect for lots of occasions as well!

If you would like to see this in action, check out my Video Tutorial below or click here! Don’t forget to give it a thumbs up if you liked it and be sure to subscribe so you don’t miss future videos. I posted them every Tuesday and Thursday!!!

Happy Stampin’

~Laura


Technique Tuesday – Vine Cut Out!!!

Posted on

Happy Tuesday everyone! You all know what that means….I have a fabulous technique to share with you today!!! We are playing with the Botanical Bundle and creating a fabulous cut-out!!! Check this out!!!
Vine Pop Out, www.LaurasStampPad.com

Isn’t this card just beautiful??? I love it!!! I can not take credit for this idea though. I got it from another fabulous demonstrator – Wendy Weixler. Thanks Wendy for the amazing idea!!! Let’s get started!

For this card, I used all 3 products from the Botanical BundleBotanical Blooms Stamp Set, Botanical Garden Designer Series Paper, and Botanical Builder Framelits. I started with a piece of Whisper White cardstock measuring 4-1/4″ x 11″ and I folded it in half for my card base! I laid this piece of cardstock onto the Precision Base Plate on my Big Shot and placed the vine framelit from the Botanical Builder Set on the left hand side, solid leaves on the outside, and a little diagonal. You will want to place it falling off your cardstock in the top left corner near your fold. Run it through the Big Shot and there you have that fabulous vine cut-out. I love using the Big Shot Die Brush to pop out the cardstock from the Framelit and get rid of all of those little paper hairs. Now you can decorate as you wish. I used a piece of the Botanical Garden Designer Series Paper measuring 2″ x 5-1/2″. You can make your piece smaller or larger, just make sure it is enough to back the vine cut-out. This piece of DSP will go on the inside left of your card. On the front, I used the little flowers stamp and stamped all up and down the card in Blackberry Bliss. For the other flowers, I used the Botanical Builder Framelits and 3 shades of Purple – Blackberry Bliss, Perfect Plum, and Wisteria Wonder! I added some Crushed Curry Candy Dots to the center of the flowers for a little POP! The greeting is from the Botanicals For You Sale-A-Bration Stamp Set. I used my markers to only ink up the “You’re Awesome” and omit the “…because”. I love this card!!!

If you would like to see this in action, check out my Video Tutorial below or by clicking here! Don’t forget to give it a thumbs up if you liked it!! Also, be sure to subscribe so you don’t miss out on future videos. I post every Tuesday and Thursday!

Happy Stampin’

~Laura


Corrugated Creation!!!

Posted on

Masculine Birthday Card, www.LaurasStampPad.com

So if you have been following me for even a week, you know I am IN LOVE with the Rose Wonder Bundle! I love the greetings and the flowers! You might look at it and think it’s flowers and girly. While I would agree, I like to think out of the box and see if I can create some Man Cards with it as well. I DID IT!!!

I started with a card base of Pear Pizzazz and stamped the leaf from the Rose Wonder Stamp Set (Bundle & Save 15%) in Pear Pizzazz. I also die cut some of the leaves from the coordinating Rose Garden Framelits and added those to the card front. I used the Fine Tip Glue Pen to adhere them. Then I added a strip of the Corrugated Kraft Paper. This paper is super fun because it adds texture to your project but it isn’t too bumpy and it cuts super easy with the Stampin’ Trimmer! It has a very masculine look to it as well! For the greeting, I stamped the label in Pear Pizzazz and the greeting in Crumb Cake and then die cut it with the Rose Garden Framelits! I added the greeting with Stampin’ Dimensionals!

I have done lots of cards with this bundle, you can check them out by clicking here, here, and here! Let me know which one your favorite is in the comments below!

Happy Stampin’

~Laura


Hawaiian Birthday!!!

Posted on

Birthday Flowers, www.LaurasStampPad.com

This card seems to scream fun, flirty, and Hawaiian. Is that a Hawaiian flower?? Either way I am in love with it and it’s PINK!!! I started this card off with a Melon Mambo card base. I layered a piece of Whisper White on top measuring 4-1/8″ x 5-3/8. Then I used some of the Perfectly Artistic Designer Series Paper (no longer available). You could always create some of your own paper like this with Sponge Daubers or the Watercolor Wash Stamp Set. This piece measures 4″ x 5-1/4″. I die cut the flowers from the Rose Garden Framelits. Of course, I used the Die Brush to help pop the image out of the framelits and pop all the paper out of the holes! I love that little tool! Check it out in action here! I used the Fine Tip Glue Pen to adhere the flowers to the card front and added a Rhinestone for a little bling!! For the greeting, I used the Rose Wonder Stamp Set (Bundle & Save 15%). I stamped the label in Basic Black and the greeting in Melon Mambo and then die cut it with the Rose Garden Framelits! I am in love with the Rose Wonder Bundle. The greetings, the flowers, the leaves…..I love it all!!! If you would like to see more samples, click here, here, and here!

Happy Stampin’

~Laura


Tempting Techniques – Sponged Roses!!!

Posted on

Happy Tuesday!!! You know what that means! I have a fabulous technique to share with you today! It is super fabulous because it combines lots of things I love – flowers, bling, and sponge daubers!!! Woot Woot!

Sponged Rose, www.LaurasStampPad.com

Look at this beauty!!! You can do this technique in any color you wish for that stunning look! Let’s get started!

SUPPLIES NEEDED: Sponge Dauber, Rose Garden Framelits, Big Shot, Die Brush, Fine Tip Glue Pen, Rose Wonder Stamp Set

To get started, you will need to take a piece of scrap Whisper White cardstock and run it through the Big Shot with the rose image from the Rose Garden Framelits. Once that is die cut, you can use the Die Brush to pop it out of the framelit, pop out all the little pieces and get all the little “hairs” off. Now using the leftover outline of the image as a template, place it on a piece of Whisper White measuring 4″ x 5-1/4″. You can place it on there half off or in any corner. It is all up to you. Then with a Sponge Dauber and your color choice, POUNCE the ink onto your card. You won’t want to rub or brush because it could make your template move. For this sample, I used Wild Wasabi for the leaves and Rose Red for the flower. Just add the color all around and stop at the breaking point of the leaves and flower. It is okay if some spots look darker than others. The variation in color really looks fabulous once it is all complete. Now that you are done adding color to the cardstock, I then took the Wink of Stella Brush and added glitter to the entire rose.

Wink of Stella Rose, www.LaurasStampPad.com

Then you can add the die cut rose. I used the Fine Tip Glue Pen to adhere the rose on. This is the perfect glue!! Now you can add any greeting that you would like. I really think this card is perfect for all occasions! I used the Rose Wonder Stamp Set (Bundle & Save 15%). I stamped the frame and greeting in Basic Black and die cut it with the Rose Garden Framelits! I added it to the card front with Stampin’ Dimensionals. Love it!!!

If you would like to see this in action, check out my Video Tutorial below or click here! Don’t forget to give it a thumbs up if you liked it!!!

What color would you make your rose??? I think I want to do a Melon Mambo one next or maybe Elegant Eggplant!!!

Happy Stampin’

~Laura