Happy Tuesday!!! You know what that means…..I have a fabulous technique to share with you today! This isn’t a new one but it is with a new look! I know how much you all love my One Sheet Wonder Techniques so I am sharing another fabulous one!

Look at these beauties!!! You all know I love flowers and this paper from the Birthday Bouquet Designer Series Paper Stack is amazing!!! What better way to use this amazing paper than with a One Sheet Wonder Technique so you can use every bit of it and both sides!! I made 14 cards with this ONE piece of 12″ x 12″ paper. Here is the template!

I have modified it a little bit but cutting 2 pieces of 2″ x 5-1/2″ with that leftover gray piece on top. Also, I don’t always cut those little bits off in the second row either. You can do whatever you want to create these amazing cards!

These 6 cards were created with most of the bottom row on the template and those 2 pieces cut from the top gray portion. Quick and simple cards. I looked at the list of colors that are printed on the Designer Series Paper Pack for card bases – Blushing Bride, Mint Macaron, and Pool Party. I pulled out some scraps of each of those colors as well to use for layering and the greetings.

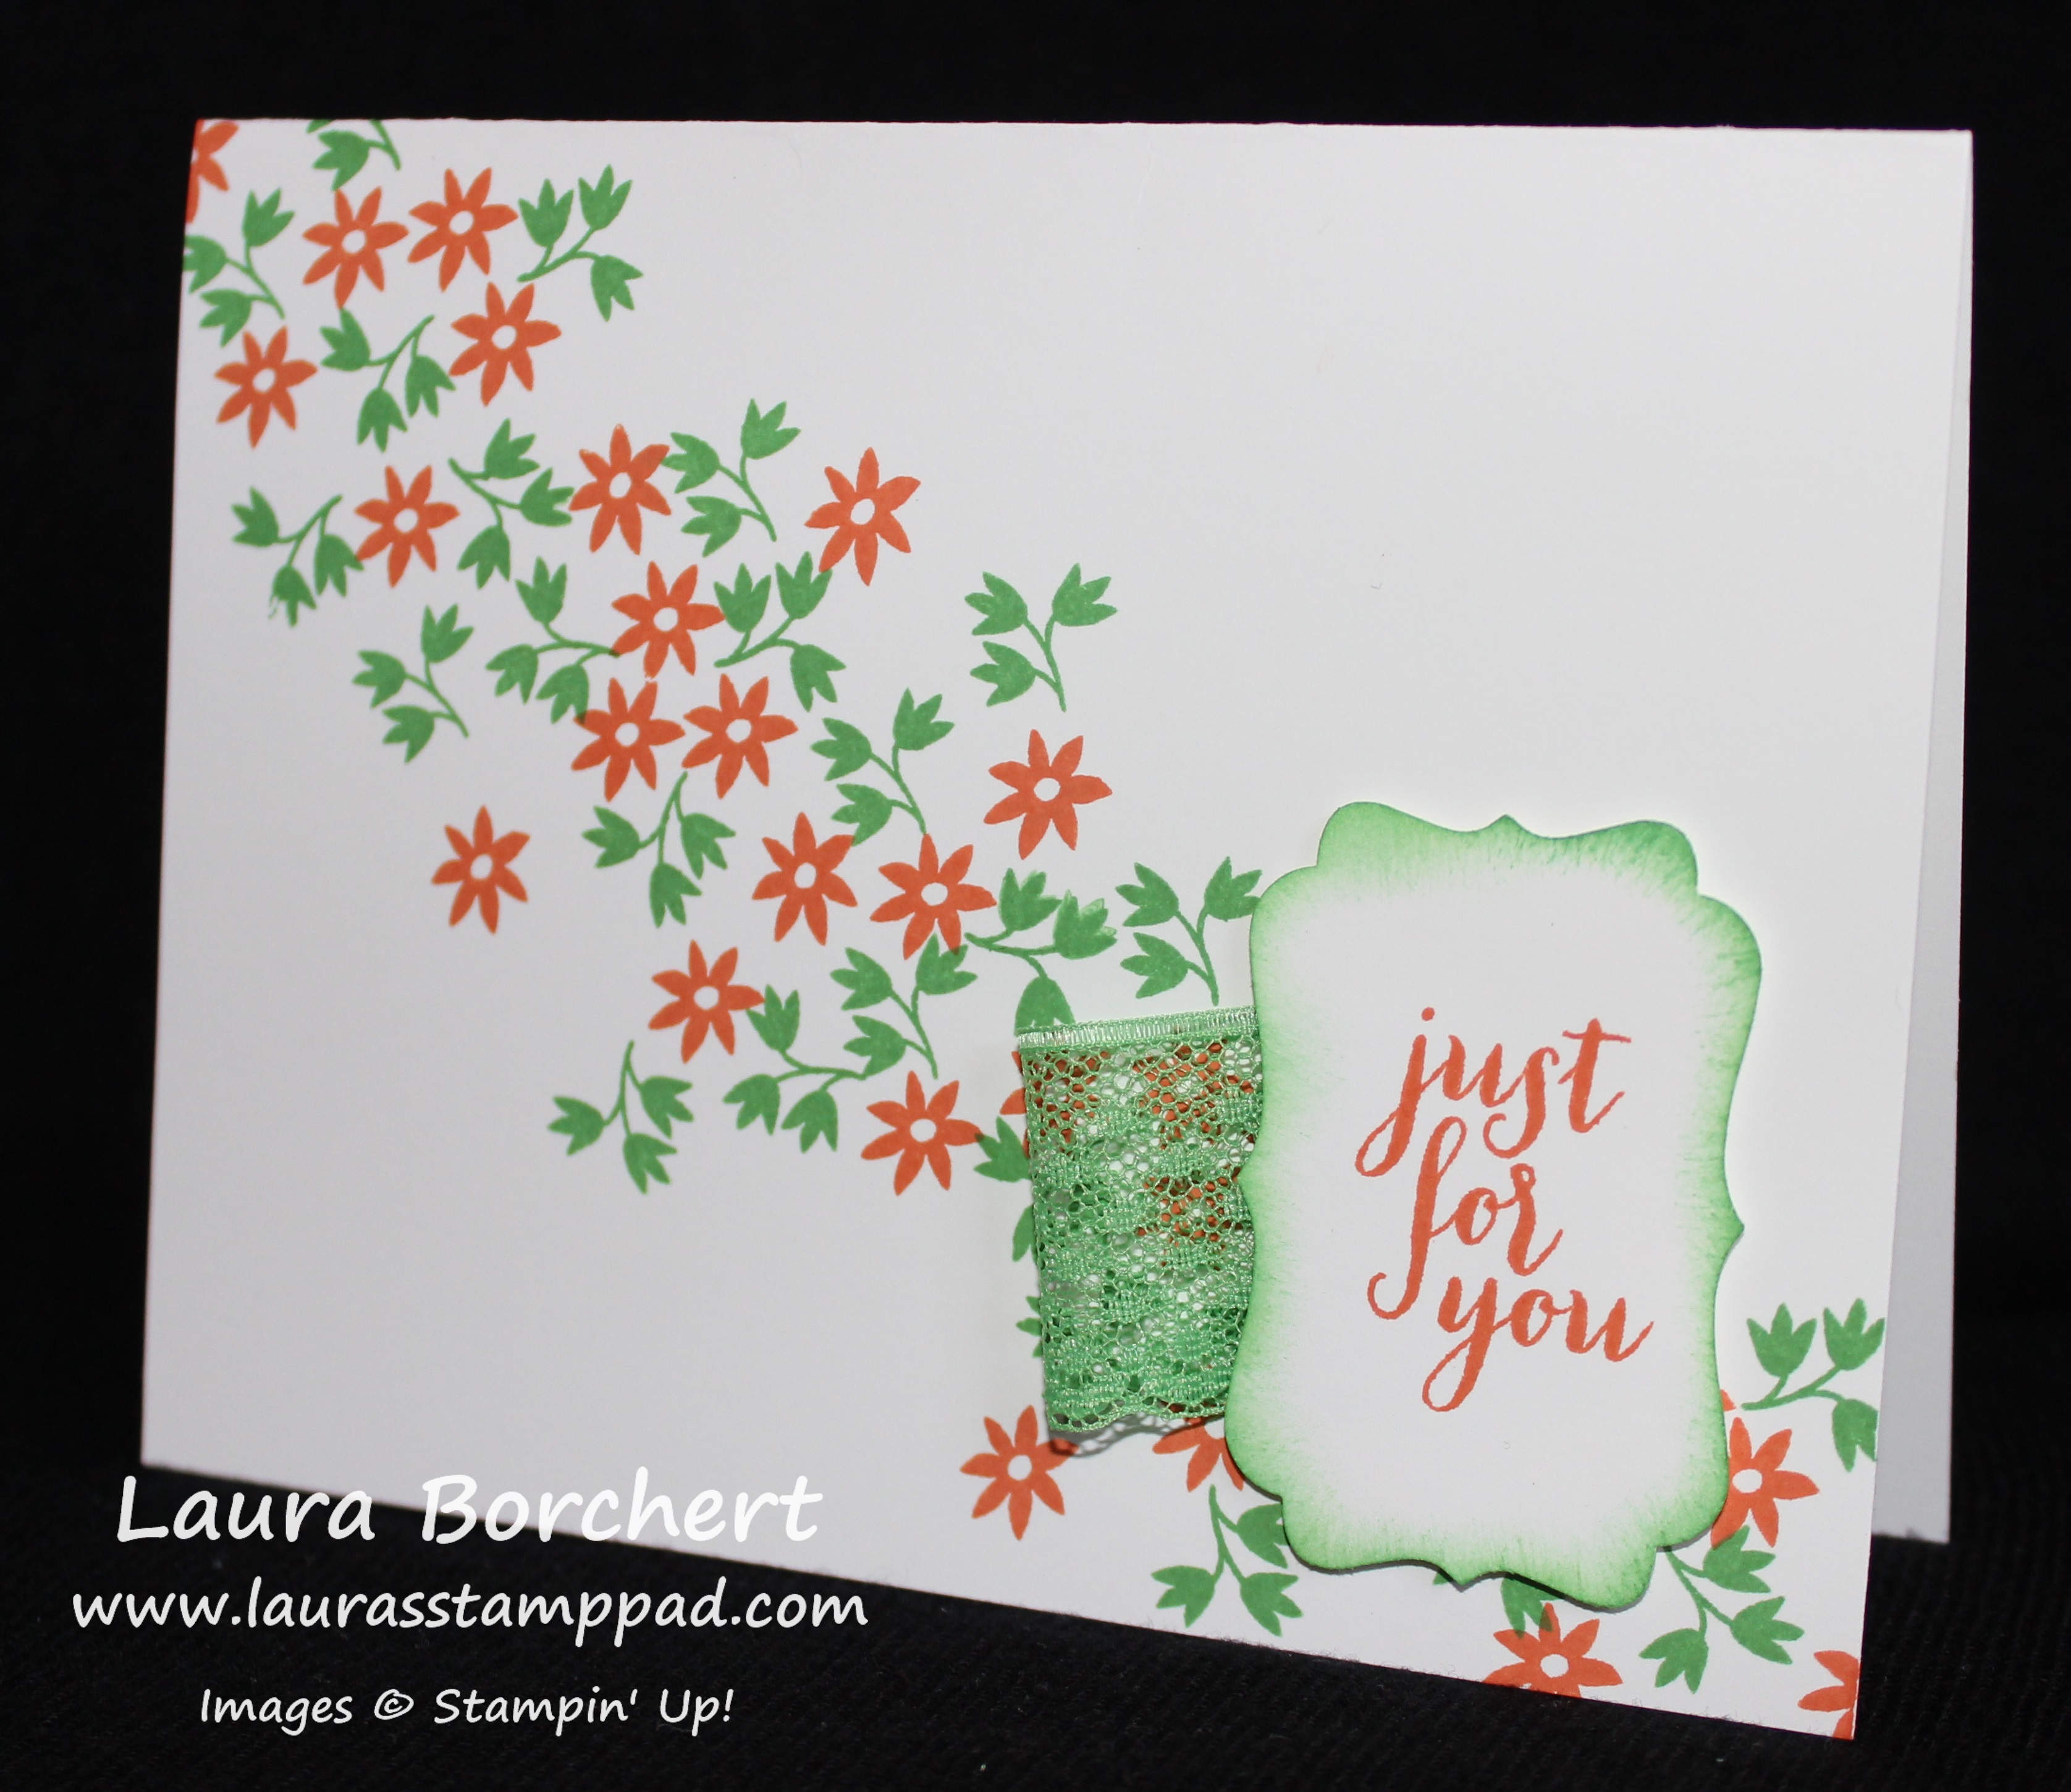
Here are the 2 samples using that far right corner. I just ripped it corner to corner and added it to my card base. I stamped the greeting from the Rose Wonder Stamp Set and added some ribbon – Whisper White Cotton Ribbon and Venetian Trim.

You can always leave the square pieces as strips if you don’t like this look. Here I took the little squares and backed them with cardstock for a little extra pop of color. I added some Linen Thread to the one in the middle.

Here I used some of the strips from the 2nd row on the template. You will notice that the Thoughts & Prayers image doesn’t fit in the Decorative Label Punch so I used that greeting when I could stamp it directly onto the card. I love how you can mix and match and create so many amazing cards so quickly!
If you would like to see this all in action, check out the Video Tutorial below or click here! Be sure to give it a thumbs up if you liked it and don’t forget to subscribe if you are new! I post every Tuesday and Thursday!
If you would like to see other One Sheet Wonder samples, click here, here and here! This technique is perfect for whipping up lots of cards quickly and beautifully!
Happy Stampin’
~Laura