I have been having lots of fun with the Affectionately Yours Suite! The papers are beautiful, the stamp set greetings are perfect for generic cards, and the embossing folders are detailed! This card is fairly simple but has lots of details and texture to still give it that WOW look!!!
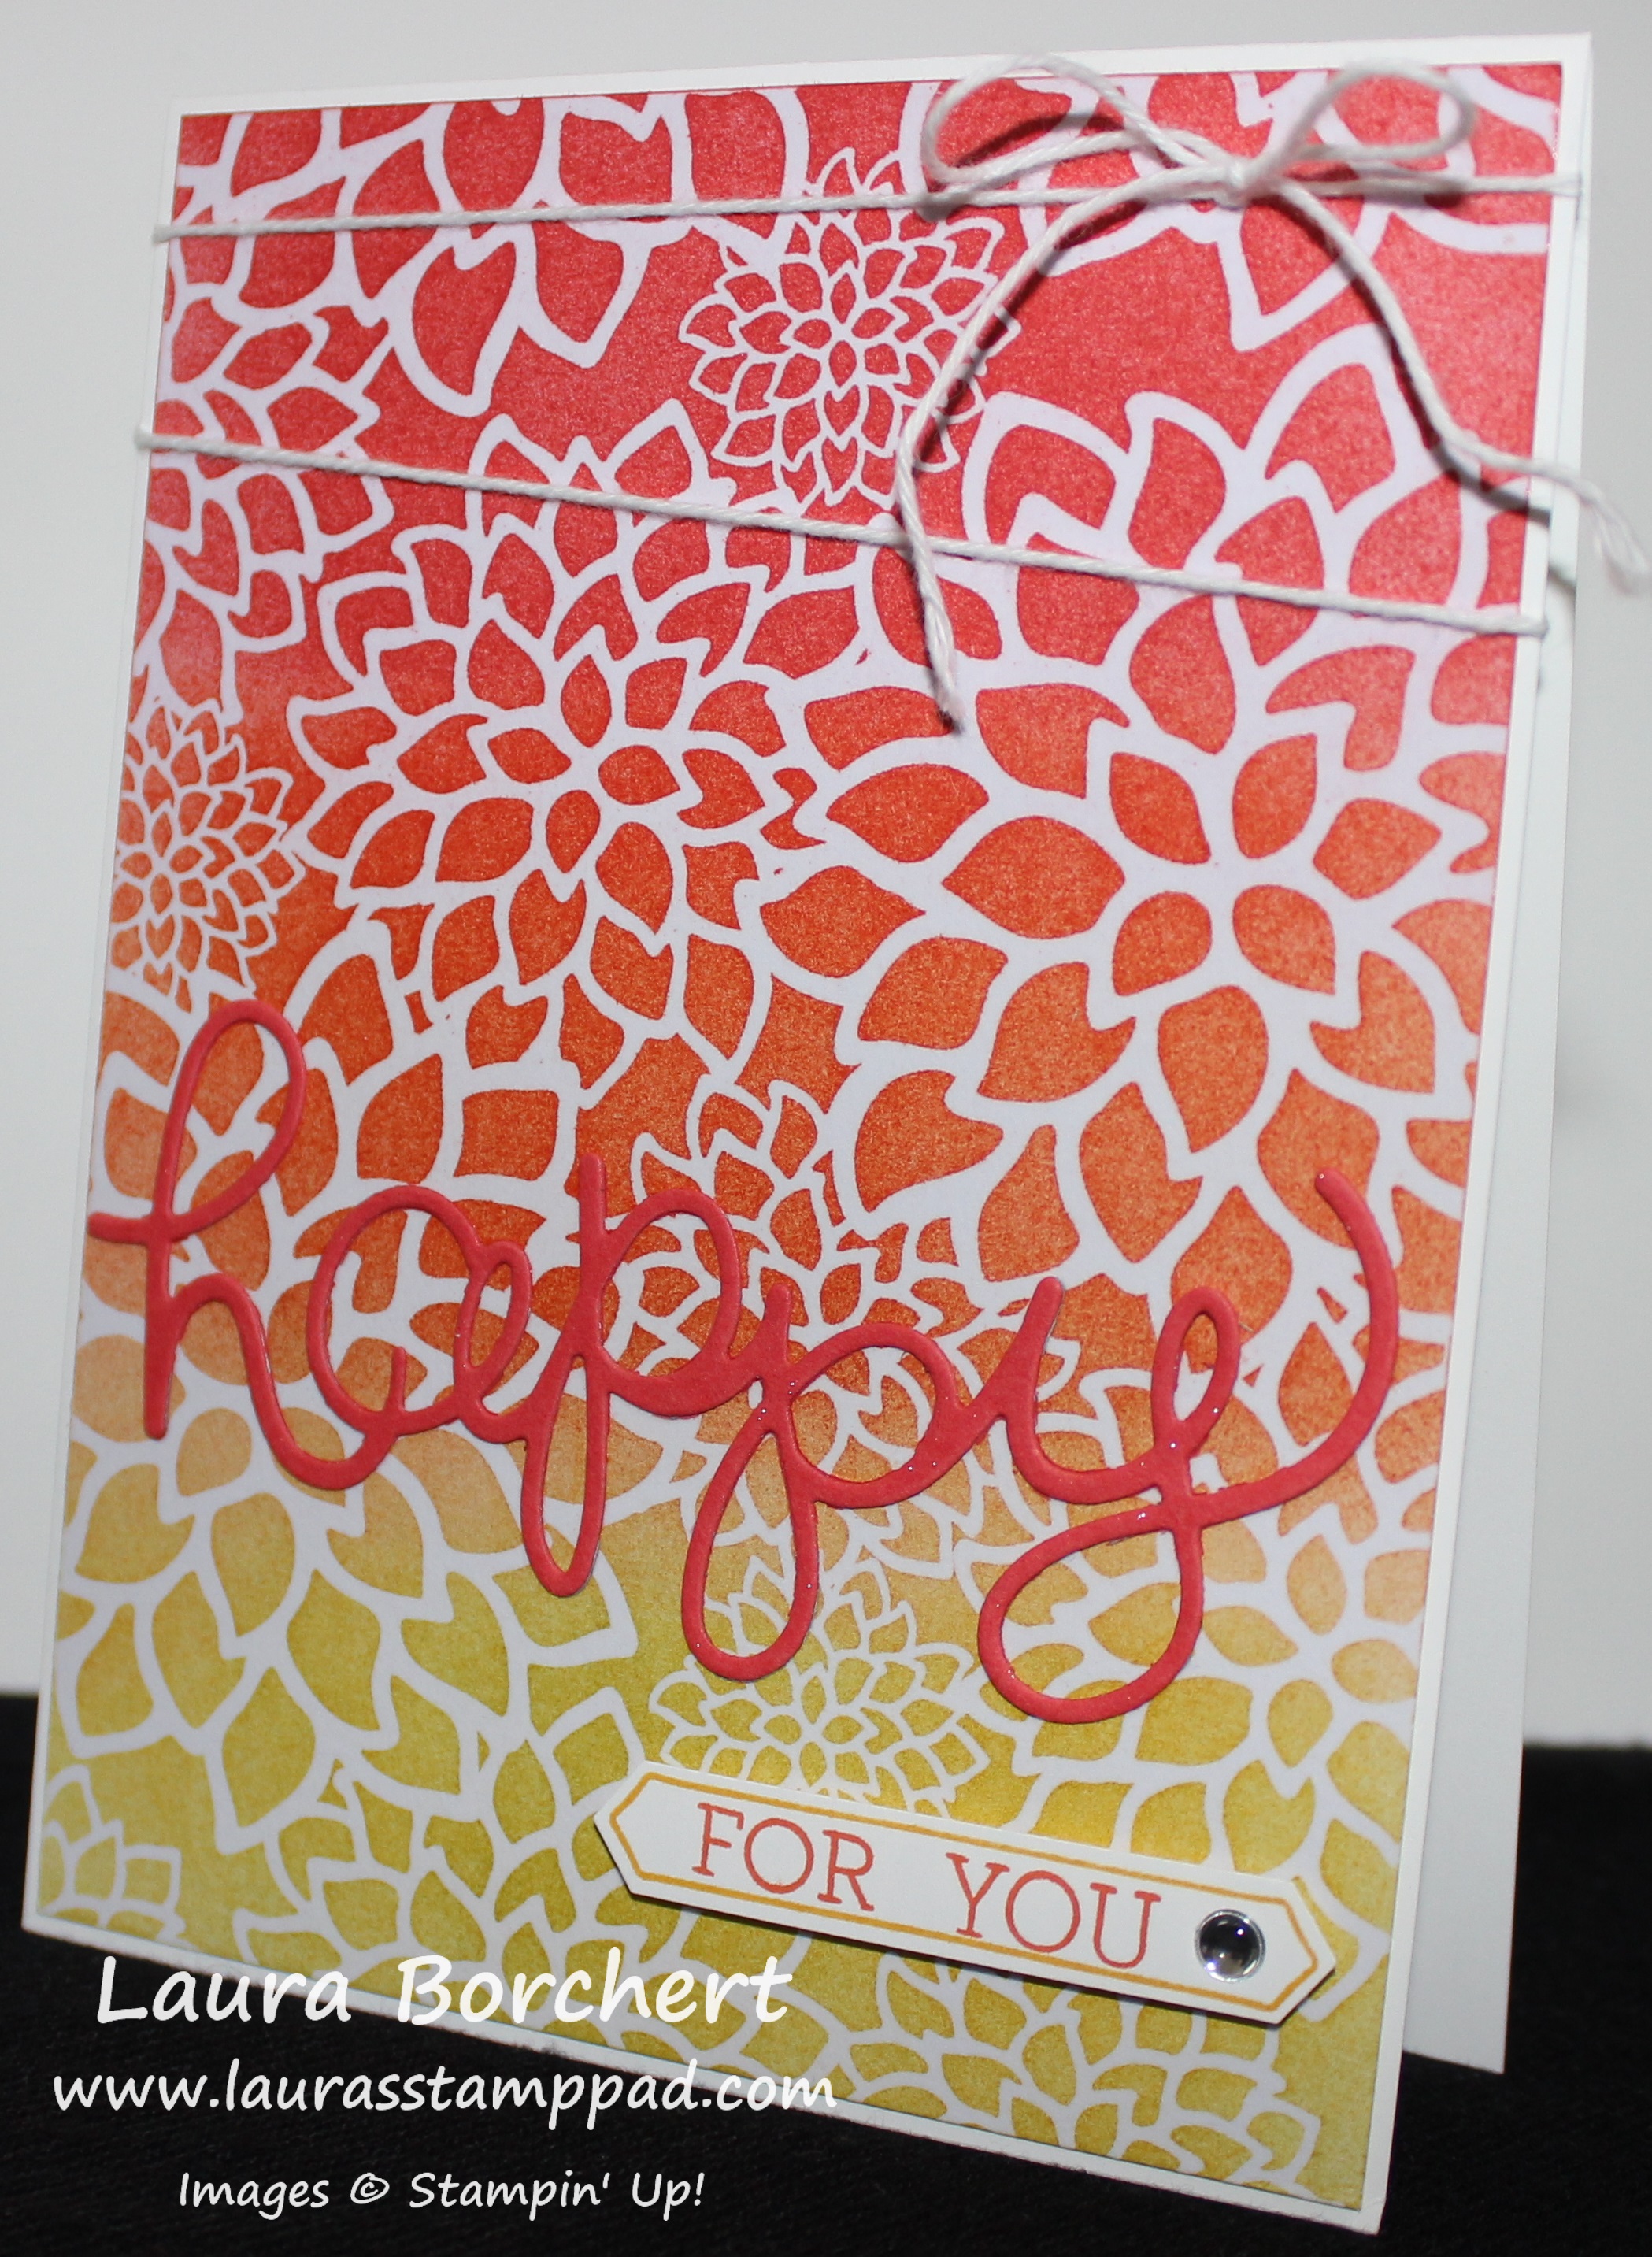
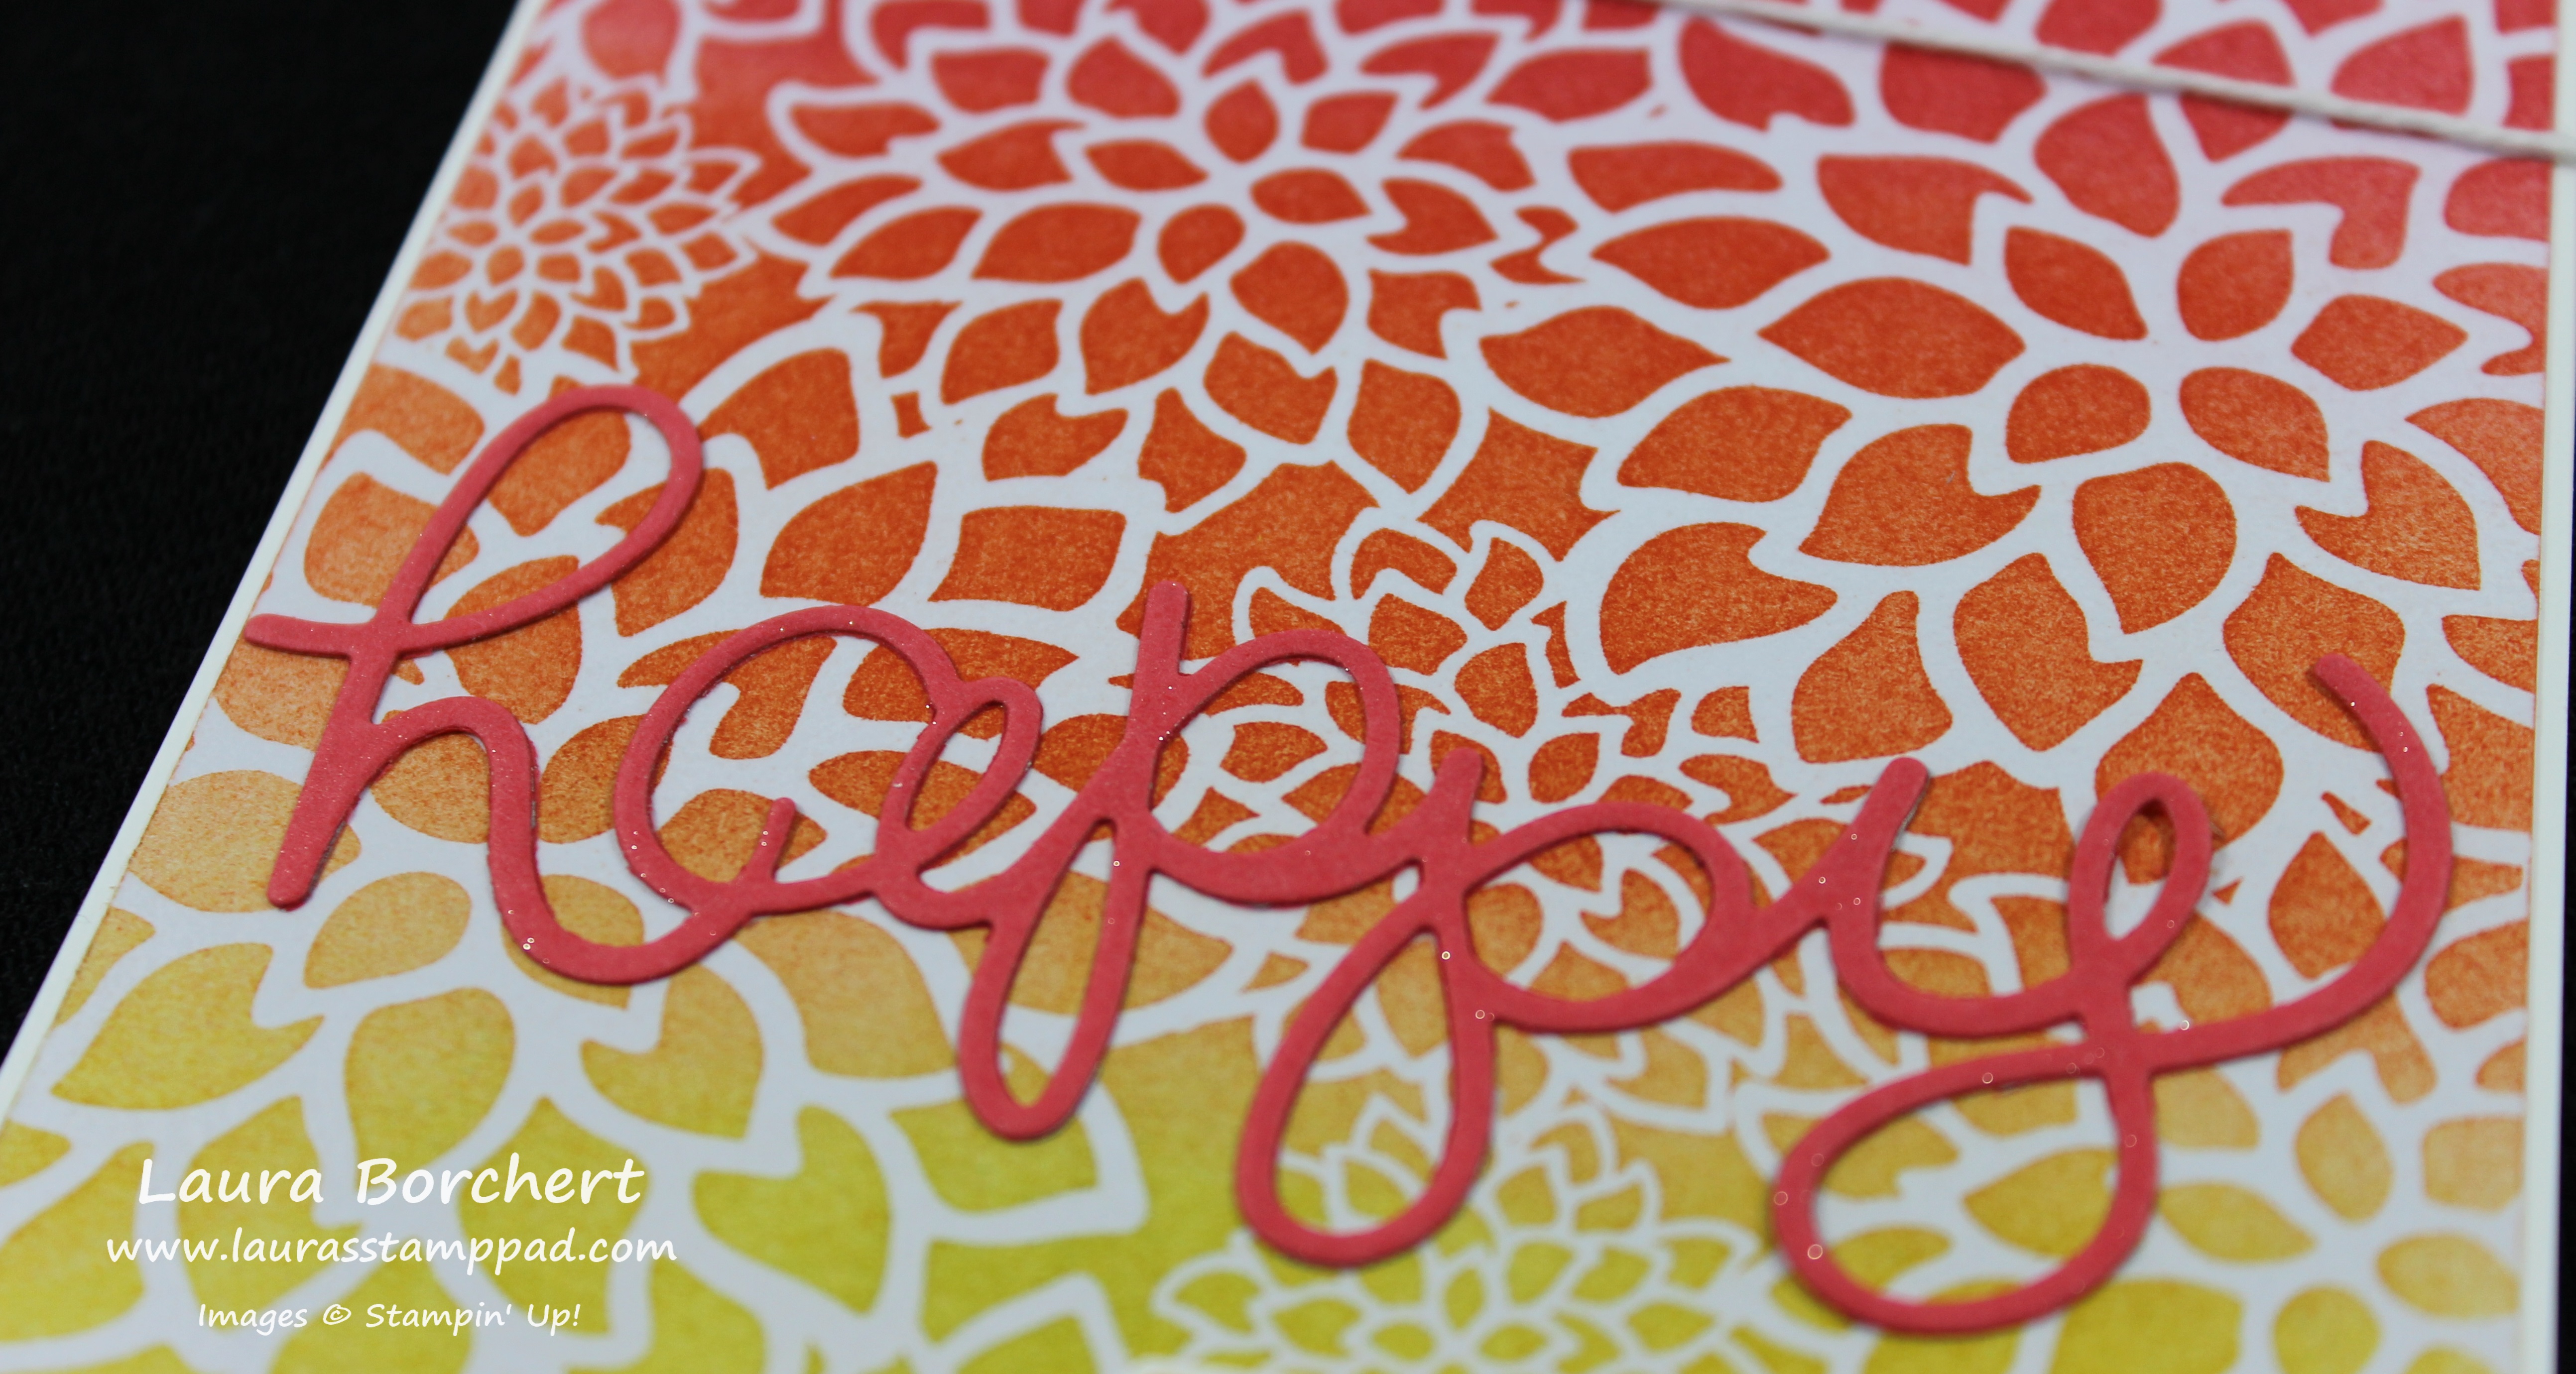
I started with a Mint Macaron card base and layered on a piece of the Affectionately Yours Designer Series Paper (4″ x 5-1/4″). I tied some of the Mint Macaron Sheer Linen Ribbon around the top of the card and into a knot. Then I took a piece of Crumb Cake cardstock (4″ x 2-1/2″) and ran it through the Big Shot in the Floral Affection Embossing Folder. These little folders are perfect for a great accent piece on your project! I added this piece to the card front. Then for the greeting, I used a scrap piece of Whisper White and stamped the greeting from the Love & Affection Stamp Set. I punched the banner tips on either end of the greeting with the Triple Banner Punch and attached it to the card with Stampin’ Dimensionals. To finish off the card, I added some Dapper Denim Enamel Dots to either side of the greeting! I love all of the textures and the colors!!!
You all know how much I love my flowers. You can check all the flower creations I have made by clicking here. Let me know your favorite stamp image – textures? backgrounds? greetings? flowers? in the comments below!!!
Happy Stampin’
~Laura