What’s On Your $125 Wish List???

Posted on

Today, I’m sharing a few of my favorites things! This is my pick for what I would get in my Stampin’ Up! Starter Kit if I signed up now during Sale-A-Bration!! It’s an amazing time to sign up! So….what’s on your $125 Wish List??

New Stamper Starter Kit, www.LaurasStampPad.com

Do you love Stampin’ Up! products and want the best deal ever?? Now is a fabulous time to join Stampin’ Up! and my Fabulous Friends Team!
You get to pick out $125 in any product that you wish!
PLUS any two Stamp Sets of your choice!
PLUS free shipping on your order which is a 10% savings!
All for just $99.00 (plus tax)!

A few other perks that you get when you join:
~A discount on all of your Stampin’ goodies!
~All the stamping fun you can handle!
~Access to pre-orders and new releases of product before others!
~The fun and fellowship of the Fabulous Friends Team!
~Being a part of an amazing company that is celebrating 30 years!

If I was a New Stamper, I picked the items in the photo above because I thought they were a great start for the beginner! This totals exactly $125.00!!!

Product List

Advanced Starter Kit, www.LaurasStampPad.com

If I was a seasoned stamper and had a nice collection of items but decided I wanted to enjoy the discount and have fun, I would pick the items in the photo above!!! I added in some Baker’s Twine to get closer to the total which you could pick any color you wish! This kit totals $124.50!

Product List

Wish List, www.LaurasStampPad.com

I really struggled on my picks for the 2 Free Stamp Sets! Of course, the most expensive ones is the best way to go! I went with Petal Palette and then I was back and forth on Beautiful Day or Magical Day! They are both super fabulous!

What are you picks??? Let me know what you would love to spend $125 on! Let me know in the comments below!

See all these goodies in action in my Video Tutorial below or click here! Be sure to give it a thumbs up if you liked it! I post a video every Tuesday and Thursday so subscribe so you don’t miss out out on any of them!

If you have any questions at all, please reach out to me! I’m always happy to answer them!
If you would like to join Stampin’ Up and my Fabulous Friends Team, click here!

Happy Stampin’

~Laura


Lots of Lavender!!!

Posted on

Yesterday I shared a fun way to use the Lots of Lavender Sale-A-Bration Stamp Set which you can see here! Today, I’m coloring with the set!

Lots of Lavender, www.LaurasStampPad.com

I just love flowers and since this card doesn’t have a greeting on the front, it can be used for lots of occasions! What occasion would you use it for – Thinking of You, Sympathy, Birthday, Anniversary, etc?? Let me know in the comments below!

I started with a Whisper White card base. Next, I took a piece of Rich Razzleberry cardstock (4″ x 5-1/4″) and embossed the left side with the New Petal Pair Embossing Folder. That little side border of texture is super fabulous!! Before adding this piece of the front of the card, I wrapped some Organza Ribbon around it and tied it into a knot!

Flowers Sale-A-Bration, www.LaurasStampPad.com

For the focal point, I took a piece of Whisper White and stamped the lavender bouquet from the Sale-A-Bration Lot of Lavender Stamp Set. It was stamped in Memento Black Ink since I used the Stampin’ Blends to color in the flowers! I used Rich Razzleberry for the lavender, Old Olive for the greenery, and Bermuda Bay for the ribbon! After coloring the flowers, I added this to a layer of Old Olive cardstock and then added it to the card front with Stampin’ Dimensionals! This gives it some more texture and a smooth look over the ribbon and embossed portion. Adding the Metallic Enamel Shapes is optional for a little bling……or necessary if you need to cover up a boo boo. I won’t say why I added them! 😉 You can guess and let me know in the comments though!

I know I love all the flower stamps but this one is super fun because it’s FREE with Sale-A-Bration and it can be colored in or stamped for color with the other images in the set! The versatility of the set is just amazing!

Happy Stampin’

~Laura

Product List


Technique Tuesday – Some Things Are Just Meant To Be!!!

Posted on

Happy Tuesday!!! This greeting is like my favorite of all time, I think! Some Things Are Just Meant To Be…Like The Two Of You Together! Come on now, aren’t you loving this?? I think it will be great for engagement, wedding, and anniversary!

Some Things Are Just Meant To Be, www.LaurasStampPad.com

I started with a Calypso Coral card base. Next, I took the Lots of Labels Framelits and die cut some of the Lemon Lime in the Fresh Florals Designer Series Paper Stack and some Whisper White! Depending on how much you want to show between the layers, you can pick the size of framelit.

Floral Border, www.LaurasStampPad.com

Now for the focal point, I stamped it all in Memento Black Ink! The greeting was stamped in the middle from the Petal Palette Stamp Set from the Occasions Mini Catalog and the floral edge pieces are from the Lots of Lavender Sale-A-Bration Stamp Set. Get the Petal Palette Bundle, save 10% and earn the Lots of Lavender Stamp Set for Free! How fabulous is that?!?!?! Woot woot! Using the images in the Lots of Lavender Stamp Set, I added color to the flowers with Calypso Coral and Lemon Lime Twist! The cool thing about these images are that they are textured and not a perfect match. This makes it easier to stamp and gives it a watercolor look almost. Tip: The greenery has a stamp for the top and the bottom so if it looks like it totally doesn’t line up, try the other side!!

After finishing the stamping and coloring, I added ribbon from the Sale-A-Bration Shimmer Ribbon Pack to the back as well as some Silver Sequin Trim! Simply start on one end and secure it with Stampin’ Dimensonals, run it to the other side and make a loop and secure it with Stampin’ Dimensionals. Keep filling in until you have a loop on either side and the ends on opposite sides. Once all the ribbon is secure, peel off the Stampin’ Dimensionals and add it to the card front. I had a few sequins fall off the ends so I added those around the base with the Fine Tip Glue Pen.

If you would like to see this all in action, check out the Video Tutorial below or click here! Be sure to give the video a thumbs up if you liked it and don’t forget to subscribe if you are new. If you would like a notification when I post a new video, be sure to click the bell right next to the subscribe!!! Don’t forget to check back tomorrow to see another sample using the Lots of Lavender Stamp Set!

Happy Stampin’

~Laura

Product List


Birds On A Branch!!!

Posted on

Happy Monday!!!! I had a wonderful weekend stamping with an amazing group of ladies on Saturday Morning, celebrating my Mother In Law’s birthday, and going to IKEA for some baby stuff!!! 🙂 Now it’s back to the work week and fun stamping time! Let’s start with this fun Birds on a Branch card!

Bird on a Branch, www.LaurasStampPad.com

I started with a Melon Mambo card base and layered on a piece of Tangerine Tango measuring 4″ x 5-1/4″. Then I took a piece of Whisper White measuring 3-3/4″ x 5″ and stamped all over it. Using Memento Black Ink, I stamped the images from the Bird Banter Stamp Set! Then using the Stampin’ Blends, I colored everything in. I used different color combinations – Rich Razzleberry, Calypso Coral, Old Olive, and Pumpkin Pie!

Stampin' Blends Combinations, www.LaurasStampPad.com

For the greeting, I added a strip of Painted with Love Designer Series Paper and stamped the greeting on Melon Mambo! I finished off each card with some Enamel Shapes for texture! These cards were super fun, I couldn’t not take a photo of all the different combinations! Enjoy!

All The Shades of Flowers, www.LaurasStampPad.com

Some of the flowers, I did in 2 and 3 tone colors!!! I really had  lots of fun! Let’s be honest, when you are coloring this many, you get bored and need to mix it up!

All The Birdies, www.LaurasStampPad.com

I hope this inspires you with your coloring!!!

Happy Stampin’

~Laura

Product List


My Mom’s Birthday Card!!!

Posted on

Happy Friday everyone!!! Today, I thought I would share my Mom’s Birthday Card that I made for her!!! I thought this little piggy was just adorable and while the card doesn’t say Happy Birthday on the front, it was the perfect greeting!

Mom's Birthday Card, www.LaurasStampPad.com

It was perfect and she loved it which makes it all amazing!!!

I started with a Whisper White card base. Next, I layered on a piece of Crumb Cake after running it through the Big Shot in the Pinewood Plank Embossing Folder. Now for the focal point of the little piggy! I stamped him…..or her from the The Little Piggy Stamp Set in Memento Black Ink! Using the Stampin’ Blends, I colored it all in. I used Pink Pirouette, Old Olive, Crumb Cake, and Pool Party. Check out this video for a tutorial on the blending!

After coloring the piggy and all, I layered it onto a piece of Pool Party cardstock and added it to the card front with Stampin’ Dimensionals! Next, I thought that the flower needed a cute center so I added a Clear Epoxy Jewel! Just perfect!

I hope you all have a wonderful weekend! Stamping with a fabulous group of ladies is on my to-do list which makes me happy and my heart full!!!

Don’t forget that Sale-A-Bration is still going on so you can earn a free item for every $50 you spend! Woot Woot! Of course, there is always earning Laura’s Loyal Stampers Stickers and even the January Free Stamp Set of the Month! See you back here on Monday!

Happy Stampin’

~Laura

Product List


Birthday Wishes For You!!!

Posted on

Laura’s Free Stamp Set for January is the Birthday Wishes For You Stamp Set!!! This stamp set can be earned with a $75 order (before shipping and tax) placed online or at one of my events. Click here to start shopping to earn your free set! 

Birthday Wishes For You, www.LaurasStampPad.com

The one thing that I love about this card is that it’s quick, simple, and can be changed up to any color you wish! If you have a lot of red cardstock on hand, make red ones. If you need masculine ones, use masculine colors! It’s so easy and fun!

First, I started with a Lemon Lime Twist card base. Then I stamped the banner greeting from the Birthday Wishes For You Stamp Set three times on the bottom right and 3 times on the upper right. The greeting was stamped twice before going back to the Basic Black Ink to give a variation of color. Notice that the third one isn’t really showing but that all depends on where it is stamped or the placement of the designer paper. If you want to stop at just stamping it twice, you certainly can!

Next, I stamped the large birthday greeting from the Birthday Wishes For You Stamp Set on a piece of Tutti-Frutti Designer Series Paper measuring 3″ x 4-1/4″ using Basic Black Ink! One ink pad makes for few supplies to get out which is even more fabulous! After stamping it, I added this piece to the center of the card. Then using some of the Pick A Pattern Designer Washi Tape, I added a strip to the top and bottom of the designer paper. I just ripped it on both ends so no need for scissors to get a nice clean cut! To finish off the card, I added some Basic Black Baker’s Twine along the inside of the card and tied it into a bow! I just love it!!!

Peek-A-Boo Peach, www.LaurasStampPad.com

Here is another sample in Peek-A-Boo Peach too! No matter what color, this card is just fabulous! What color would you use?? Let me know in the comments below! Don’t forget that you can earn this set for Free with a $75 order this month!!!! Click here to start shopping!

If you would like to see this all in action, check out the Video Tutorial below or click here! Be sure to give the video a thumbs up if you liked it and don’t forget to subscribe if you are new. If you would like a notification when I post a new video, be sure to click the bell right next to the subscribe!!!

Happy Stampin’

~Laura

Product List


Pink & Gray Warm The Heart!!!

Posted on

This card with the pink & gray warm the heart. It just feels so warm and like a big hug! I have really liked using the Sale-A-Bration Stamp Set Heartfelt Blooms for cards like this! That floral image and the 3 amazing greetings are just perfect!

Pink & Gray Warm The Heart, www.LaurasStampPad.com

I started with a Smoky Slate card base. Next, I took a piece of Whisper White measuring 3-3/4″ x 5″ and stamped the Watercolor Wash Stamp Set all over in Blushing Bride Ink. Using the Heartfelt Blooms Sale-A-Bration Stamp Set, I stamped the floral image and greeting in Basic Gray Ink. I added some of the Gray Ribbon from the Sale-A-Bration Shimmer Ribbon Pack around the cardstock between the two images and tied it into a knot. Then I layered this onto a piece of Blushing Bride cardstock measuring 4″ x 5-1/4″. Finally, I added this layer to the card base with Stampin’ Dimensionals for a some texture.

Sending Heartfelt Thoughts, www.LaurasStampPad.com

I thought it needed a little bit more so I ended up adding the three little Pearls as well. Do you think it’s too much or just right? Let me know in the comments below!

This card uses a lot of Sale-A-Bration items which is even more fabulous because those are FREE! Stamping is always more fun with free stuff! Both the Heartfelt Blooms Stamp Set and Shimmer Ribbon Pack (3 rolls) are at the $50 level! Stock up on cardstock or get a few items on that wish list and then enjoy these freebies so you can make this card! Click here to start shopping!!! Don’t forget that orders in increments of $40 will earn Laura’s Loyal Stampers Stickers and orders of $75 or more will earn my Free Stamp Set of the Month too!!! So much amazing stuff going on this month!

Happy Stampin’

~Laura

Product List


Technique Tuesday – Brusho Color Palette!!!

Posted on

Happy Tuesday!!! You all know what that means…..I have a fabulous technique to share with you today!!! I’m showing your how to create a Brusho Color Palette!!! I prefer to have more control and precision with my crafting so I love coloring with Brusho like this!!!

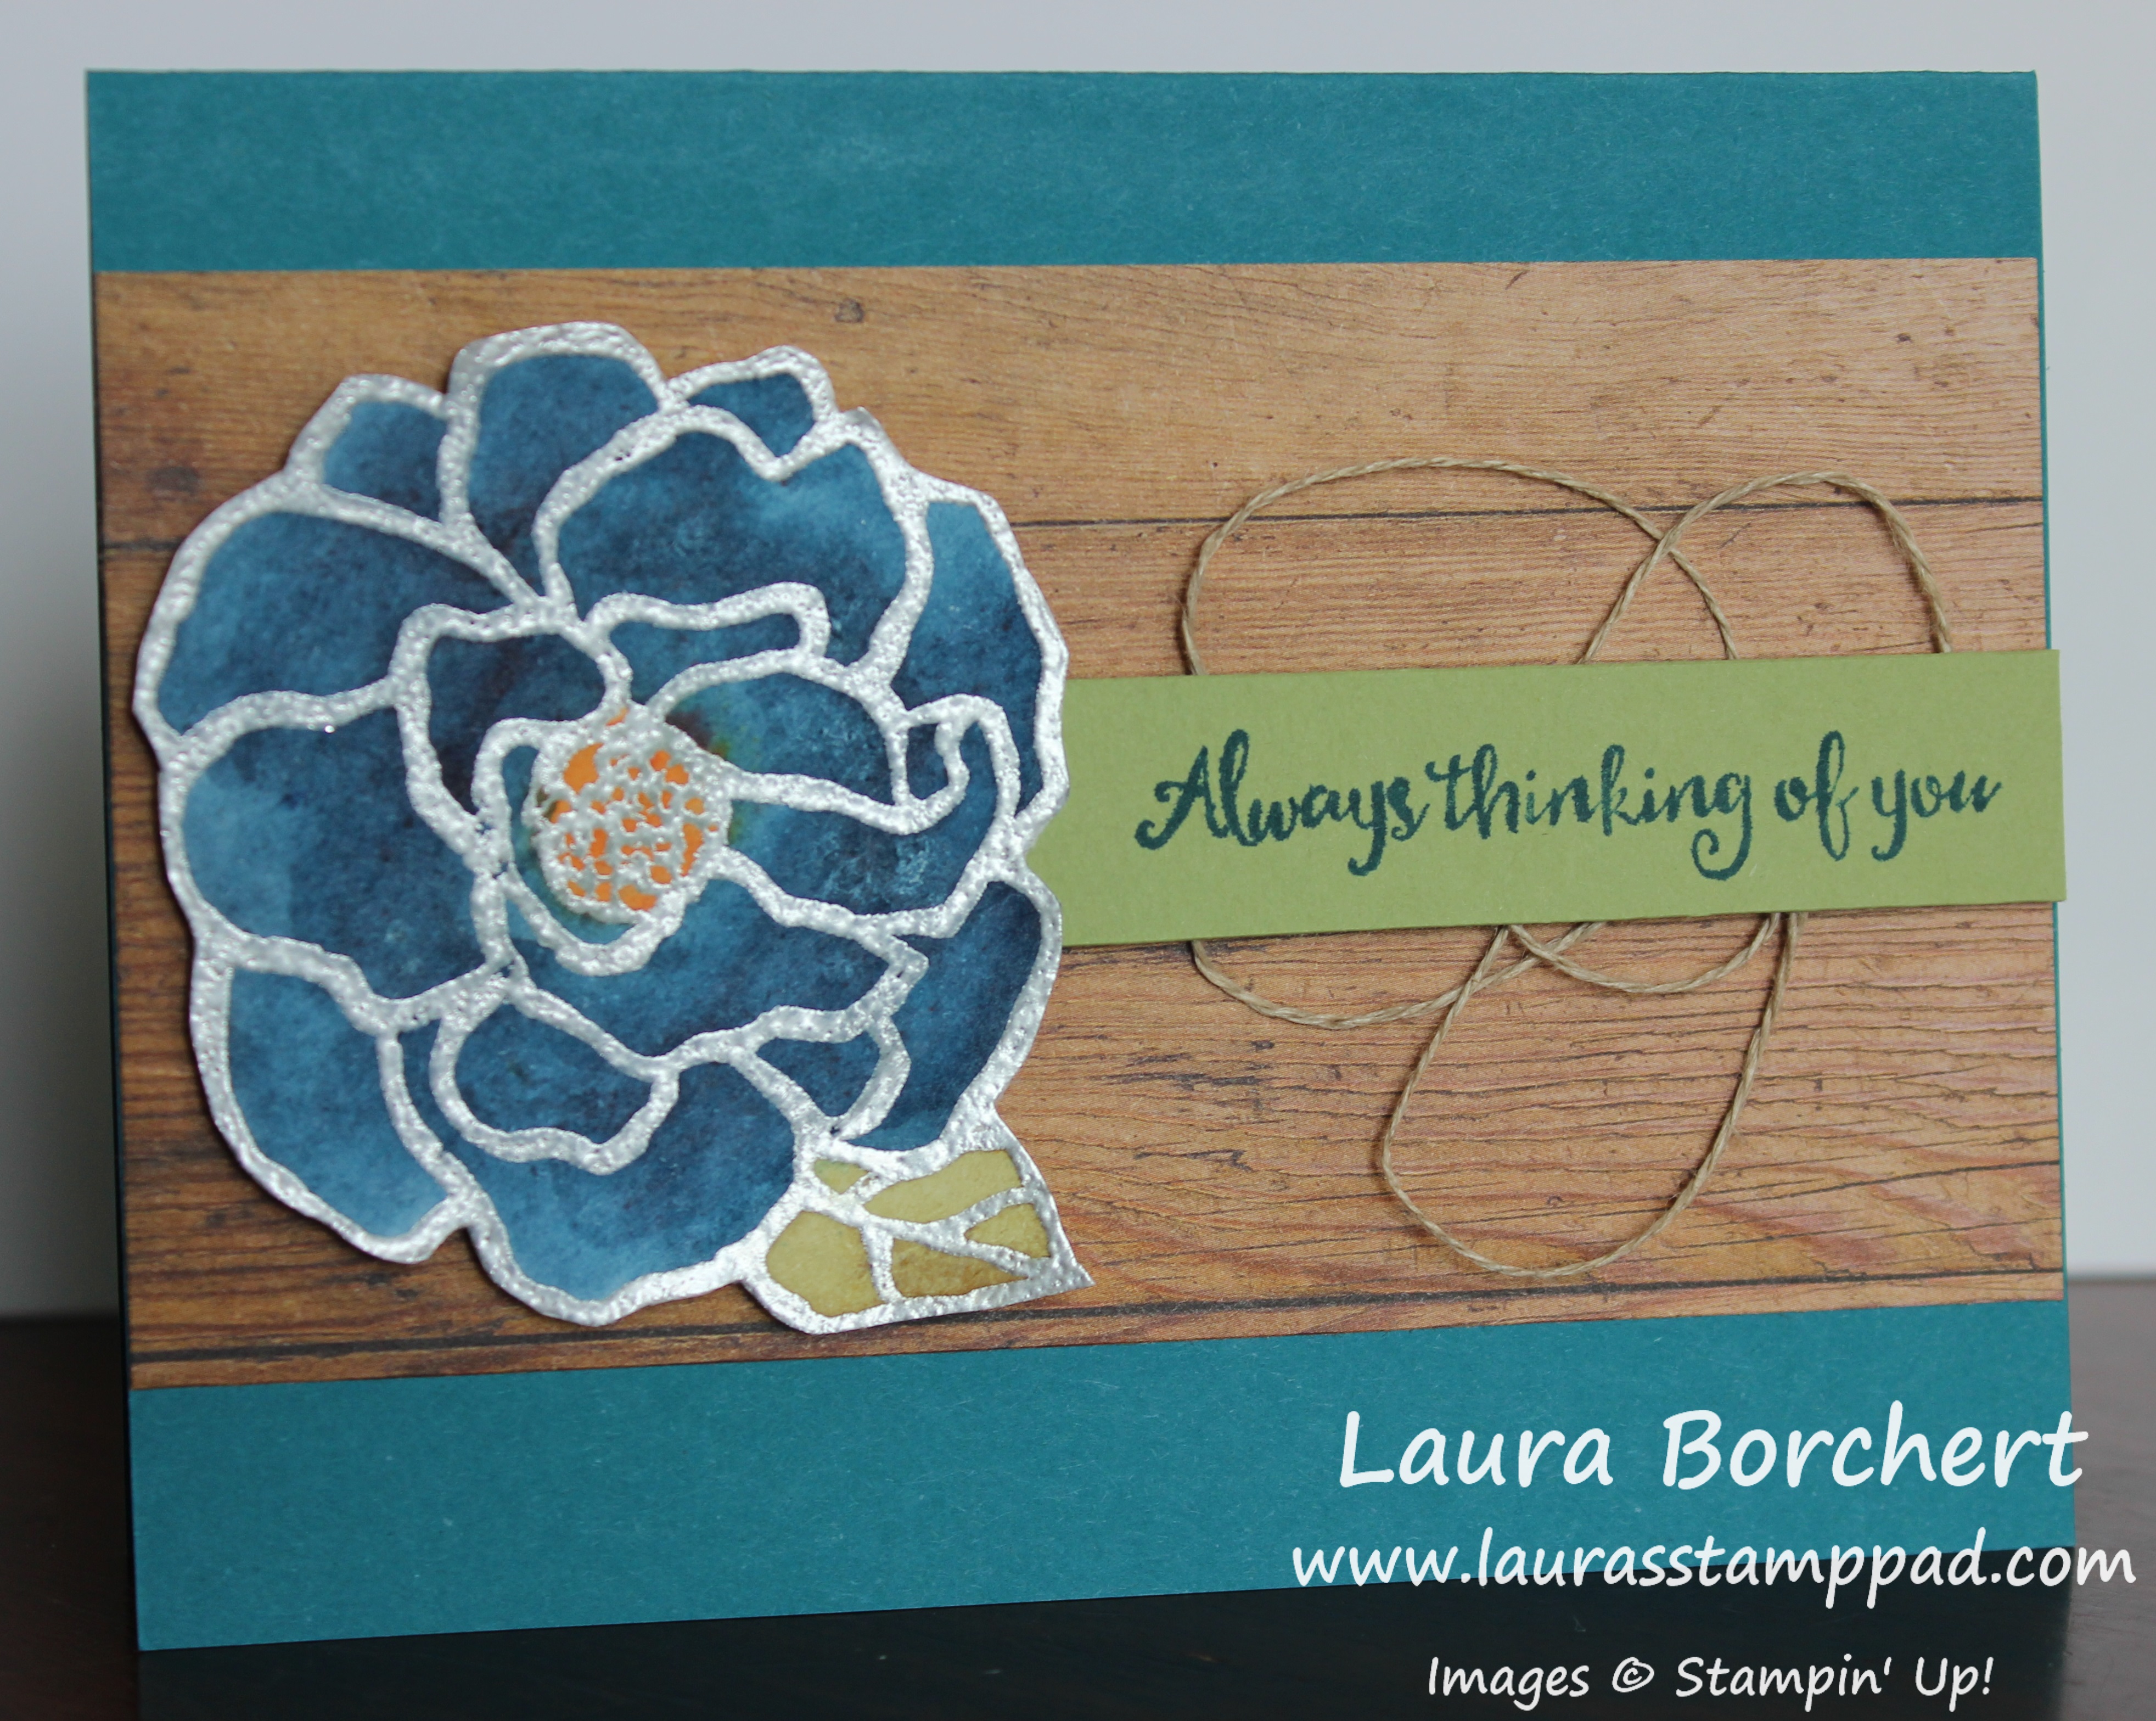
Brusho Color Palette, www.LaurasStampPad.com

I love the rustic look of this card with that metal shine from the silver embossing and bold color from the Brusho Crystal Colour. Let’s get started!!

I started with a Island Indigo card base. Next, I layered on a piece of the Wood Textures Designer Series Paper. For the greeting, I took a strip of Pear Pizzaz cardstock and stamped the greeting from the Beautiful Day Stamp Set in the Occasions Mini Catalog. The greeting was stamped in Island Indigo Ink. Then I took some Linen Thread and wrapped it around my fingers to create the loops. I slid the loops off my fingers and placed them on the back of the greeting. Using Stampin’ Dimensionals, I secured the loops all over the back and made sure the ends were held tight. The greeting was placed on the far right side of the card!

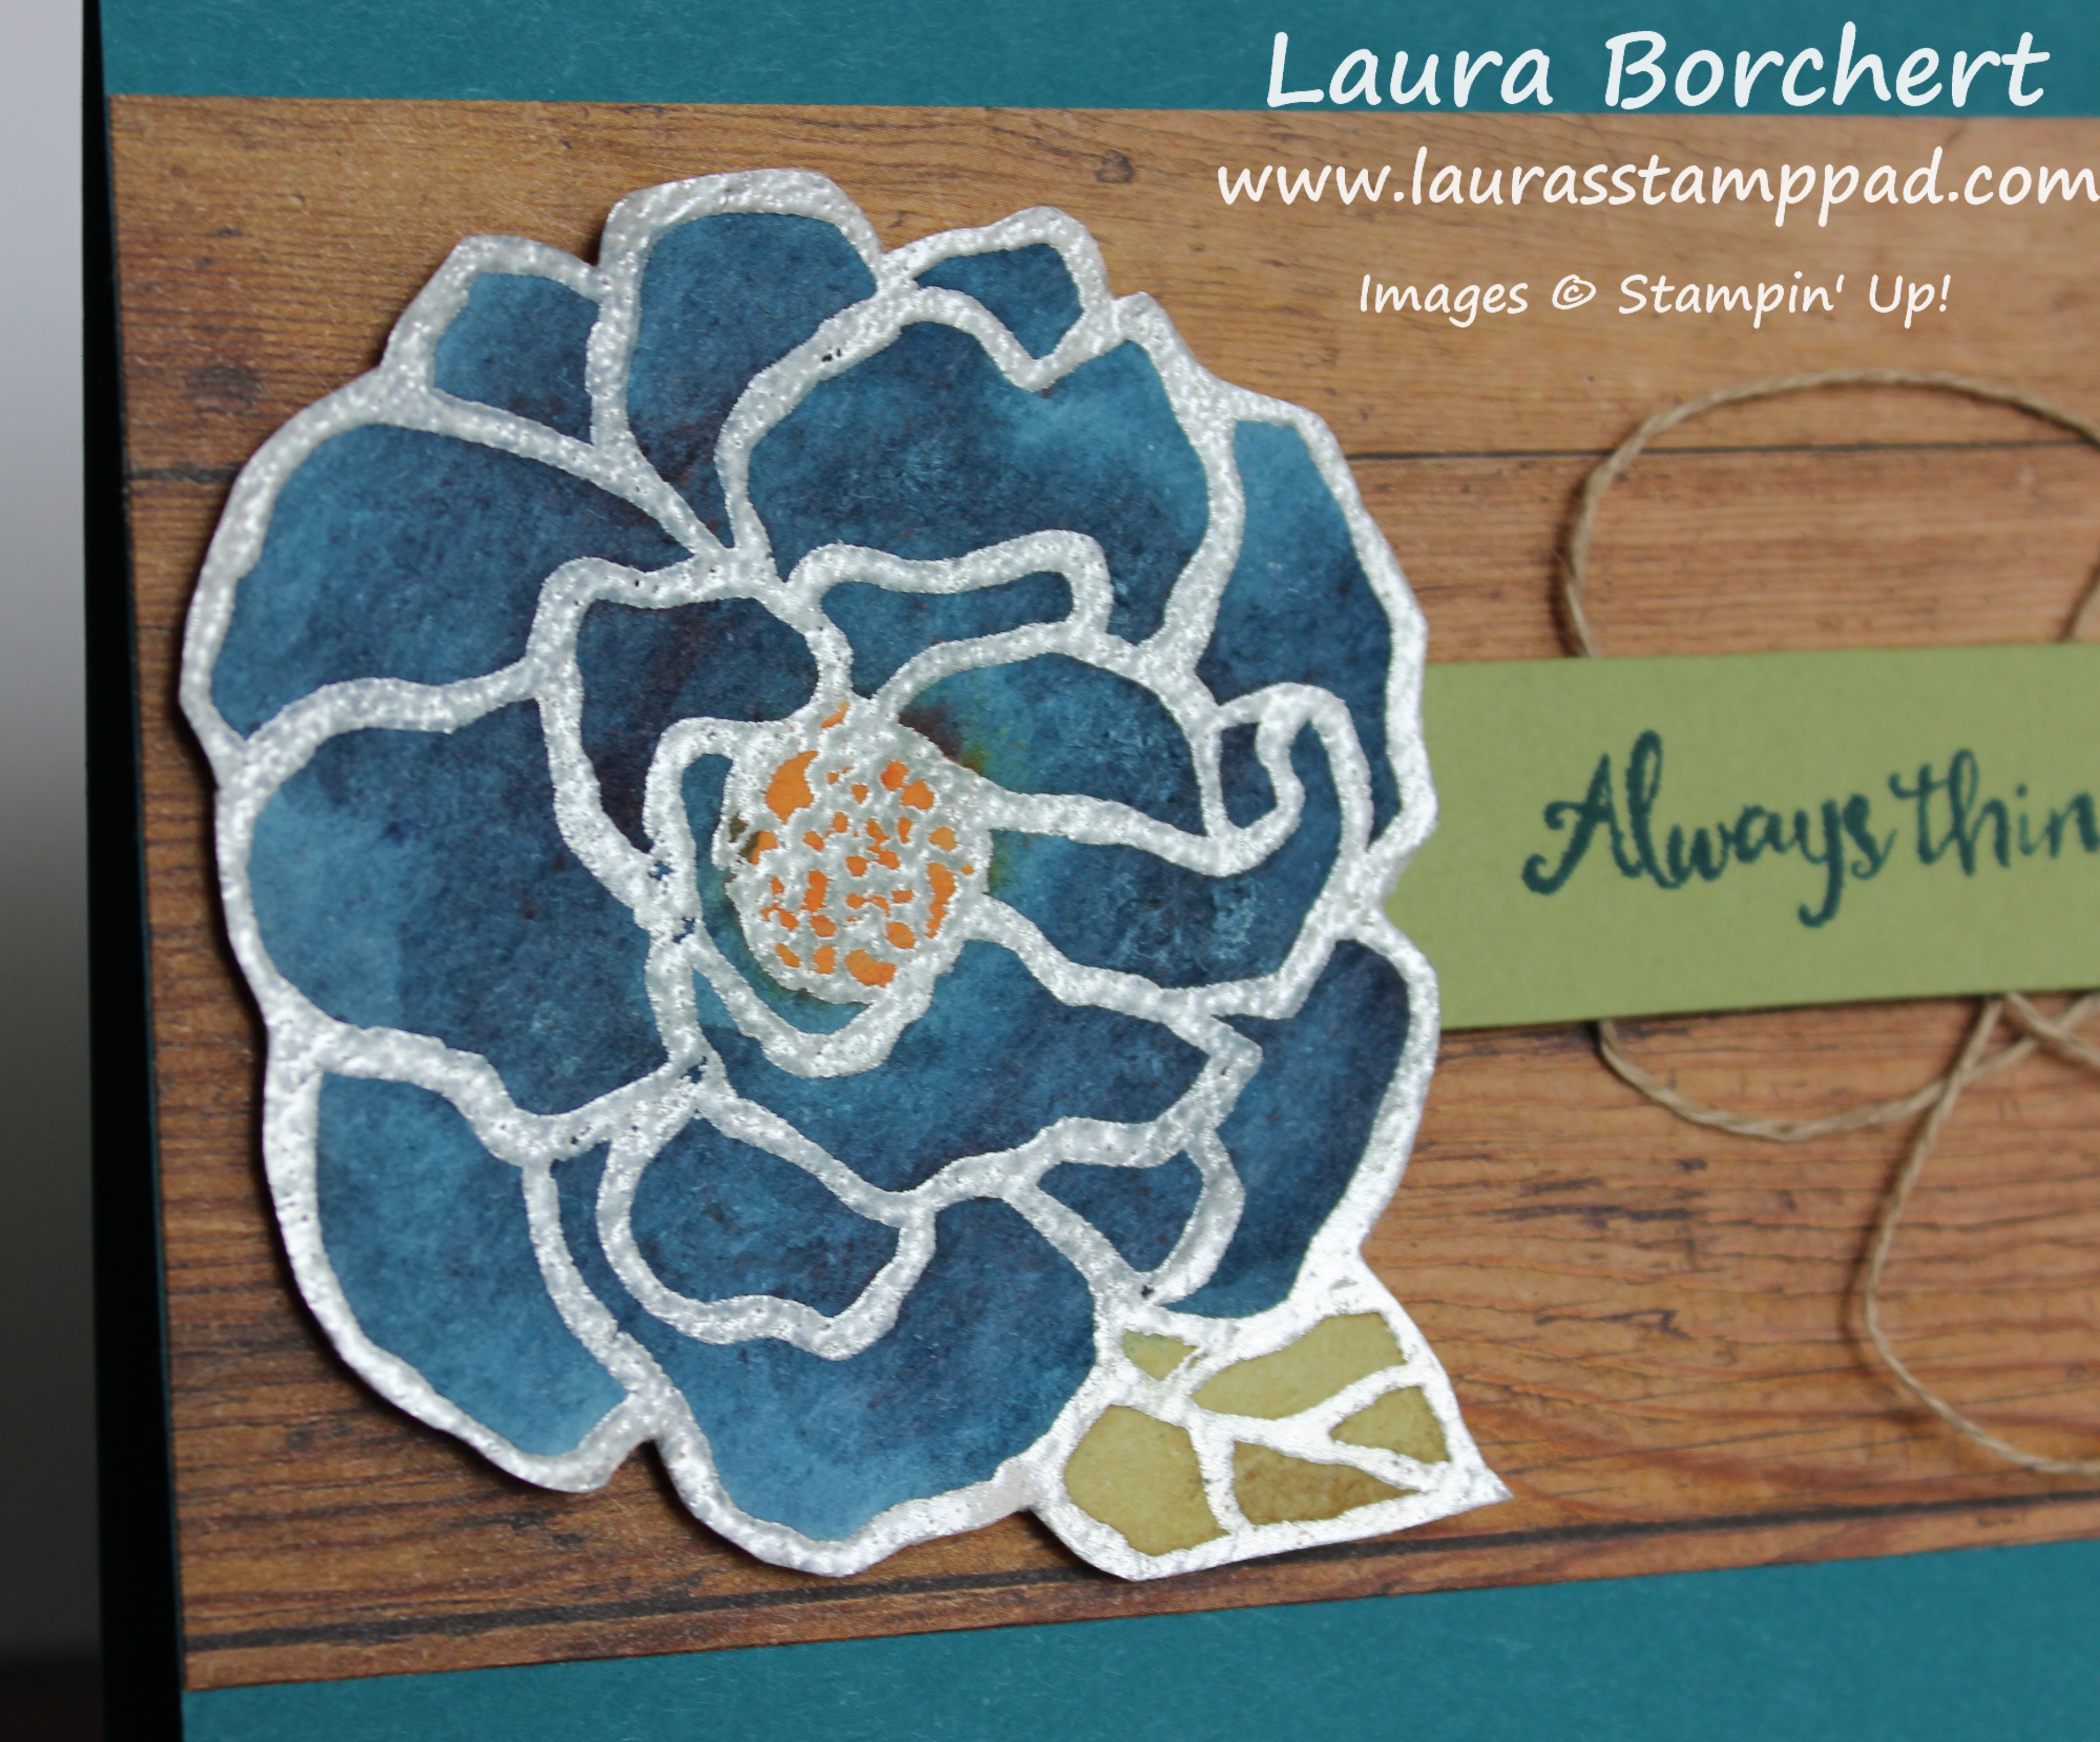
Rustic Flower, www.LaurasStampPad.com

Now for that stunning flower and amazing technique using the Brusho Crystal Colour. I stamped the flower from the Beautiful Day Stamp Set in Versamark Ink onto Watercolor Paper. Then I added Silver Embossing Powder and set it with the Heat Tool. Be sure to firmly stamp the flower since the watercolor paper is textured but of course don’t press so hard that you rock or end up with Versamark Ink all over. 🙂 It’s a delicate balance.

For the color palettes, I took a clear block, tapped a little Brusho Crystal Color onto it and added some drops of water from an Aqua Painter. Then I used the Aqua Painter to color the flower. I used the Brilliant Blue, Moss Green, and Yellow! To be honest, I prefer to use the green in this way because of the color combination used to create the green. I find that when I tap it on the purples and yellows pop too much and I prefer a more green look. After coloring the flower and allowing it to dry, I added some Stampin’ Dimensionals and placed it on the left hand side of the card!

If you would like to see this all in action, check out the Video Tutorial below or click here! Be sure to give the video a thumbs up if you liked it and don’t forget to subscribe if you are new. If you would like a notification when I post a new video, be sure to click the bell right next to the subscribe!!!

Happy Stampin’
~Laura
Product List


Golden Hearts are Best!!!

Posted on

Happy Monday!!!! These golden hearts just make me happy. Look at that bling and shine!!!

Golden Hearts, www.LaurasStampPad.com

I love the simple greeting on this card that makes it not so lovey dovey for Valentine’s Day! You can check out a few others I have done here and here! Valentine’s Day is a holiday I love to show how much someone means to me but I don’t always want it to be all mushy!

For this card, I started with a Whisper White card base. Then I layered a piece of Rich Razzleberry (4″ x 5-1/4″) and a piece of the Painted With Love Designer Series Paper (3-3/4″ x 5″)! Simple and easy to assemble!

For the greeting, I used the Label Me Pretty Stamp Set and coordinating Pretty Label Punch (Bundle & Save 10%). I stamped the greeting in Melon Mambo Ink onto Whisper White. Then I punched it out with the 1-1/4″ Circle Punch. Next, I layered that onto a Melon Mambo circle punched out with the 1-1/2″ Circle Punch. Finally, I added this to a piece of Calypso Coral that was stamped with the detailed label in Rich Razzleberry Ink and punched out with the Pretty Label Punch. All of these layers were put together with Snail Adhesive. Next, I flipped the greeting over and added loops of Gold Sequin Trim and secured them in place with Stampin’ Dimensionals! I added this to the lower right corner of my card!

Label Me Pretty, www.LaurasStampPad.com

This card was really easy to create so it would be perfect for making multiples! The Painted With Love Designer Paper has lots of different prints that you could mix and match as well. Want to see all the sheets on a full scale? Check out this video!

Are you a big fan of Valentine’s Day or not really? Let me know in the comments below!

Happy Stampin’

~Laura


Product List


Girls Night Out Stampin’ Fun!!!

Posted on

Happy Friday, everyone!!! Last week was my big Girls Night Out Stamp Event which is always a hit and lots of fun! The weather changed some of that and made the evening session a little trickier! Boo Winter! When Stampin’ Up! comes out with a new catalog, I like to have one of these events to show everything off!!!

Girls Night Out Stampin' Fun, www.LaurasStampPad.com

I love having this event each time. There is so much fun and excitement and its a great way for me to spoil my stampers!!! Starting in the living room, I have a table with cards on display, upcoming class samples, and the new kits! The Perennial Birthday Card Kit and the Lots of Happy All Inclusive Kit were both on display! I love love love the Perennial Kit because it’s so beautiful and the box is super handy and cute!

On the TV, I have photos of the samples cycling through. If you watch the TV long enough, all of the samples will show. Of course, touching and feeling the samples is totally different! 🙂 There are catalogs on the coffee table as well as the famous prize baskets! Everyone gets an item for coming! Did I mention I love spoiling my stampers?!?! When someone orders, books a party, joins Stamp Club, or joins Stampin’ Up, they get a second item from the blue basket or they can upgrade to one item from the purple basket. There are stamps, designer paper, scrap bags, (filled with designer paper, cardstock, and ribbon), ribbons, and more in the prize baskets!

Then moving into the hallway, there is a table with lots of product on display. I have designer paper showing. If you would like to see any of the Occasions Mini Catalog Designer Paper on a full scale, check out my videos I did here! The Stamparatus and Brusho Crystal Colour were on display to play with and check out too!

Then for the final treat…..the kitchen! Of course there are yummy sweet treats!!! There is also a table for creating the 2 make-and-take projects! One of them was a Birthday Card and the other said You’re the Best which is great for Valentine’s Day or any occasion!

Now for everyone that doesn’t live nearby or couldn’t attend due to the weather, I have a little treat for you!!! THIS WEEKEND (ending on Sunday at midnight), you can earn double Laura’s Loyal Stampers Stickers. Click here to start shopping!

Happy Stampin’! Have an amazing weekend and I’ll see you back here on Monday!

~Laura