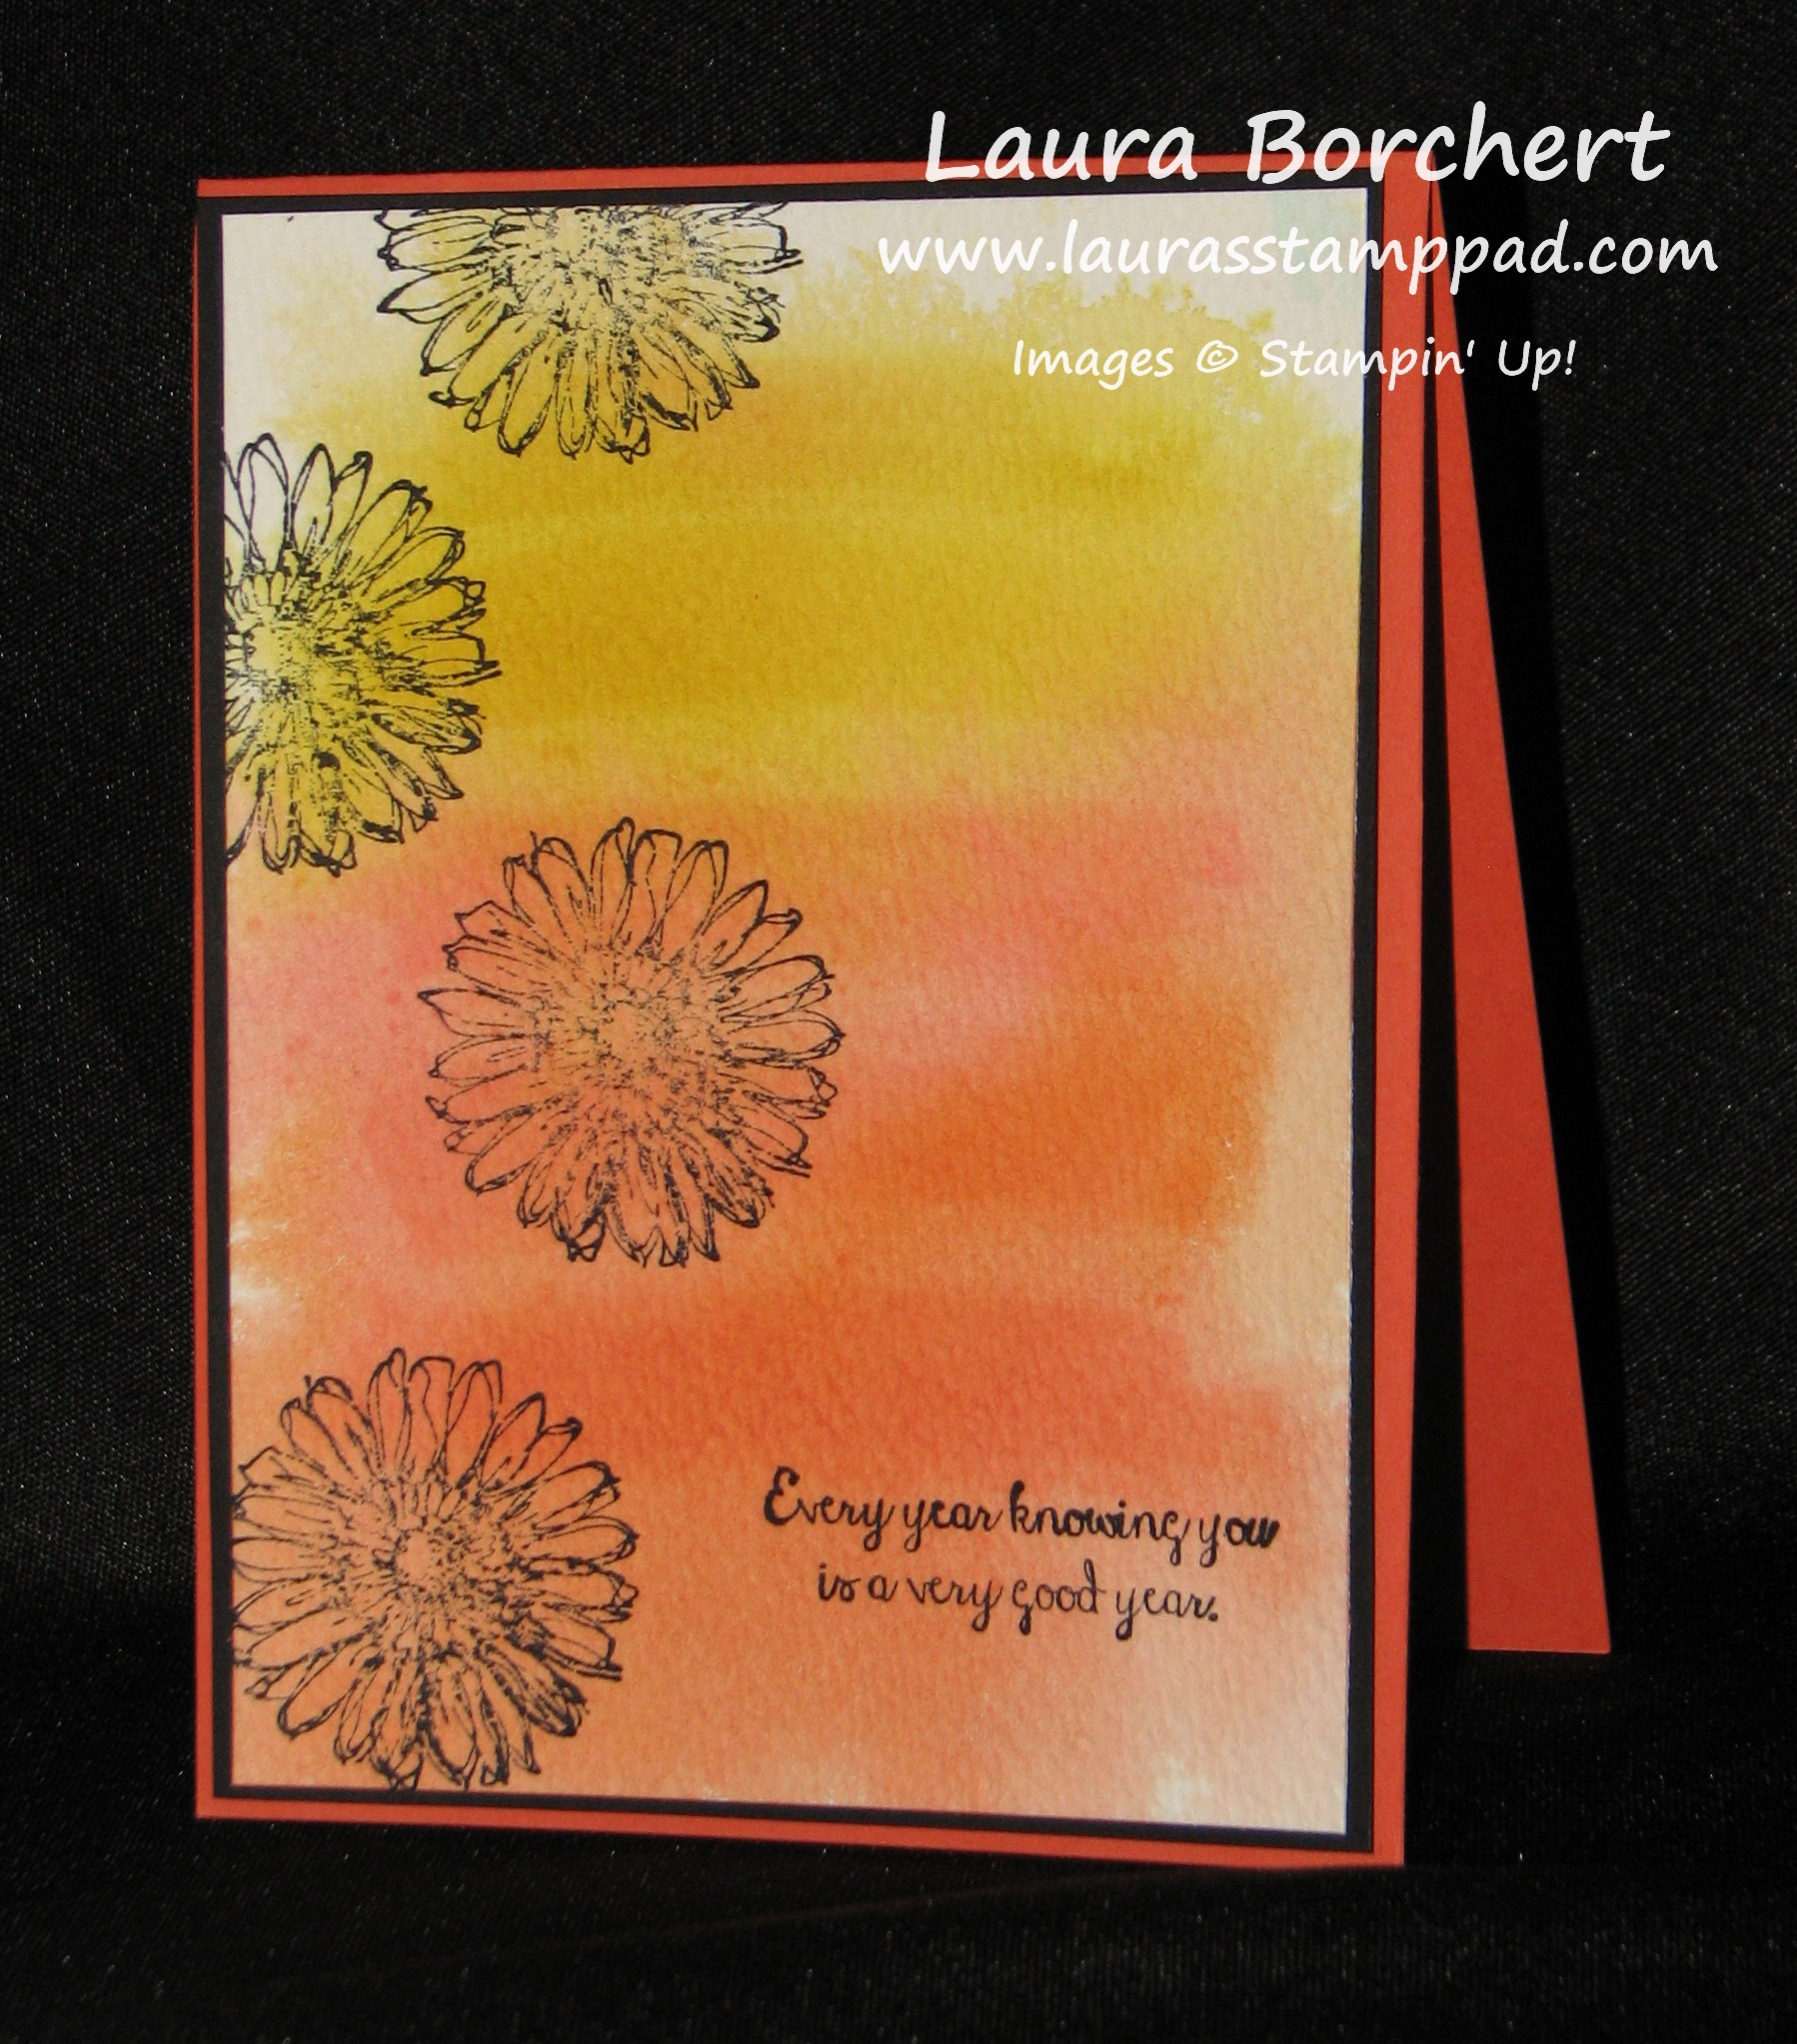
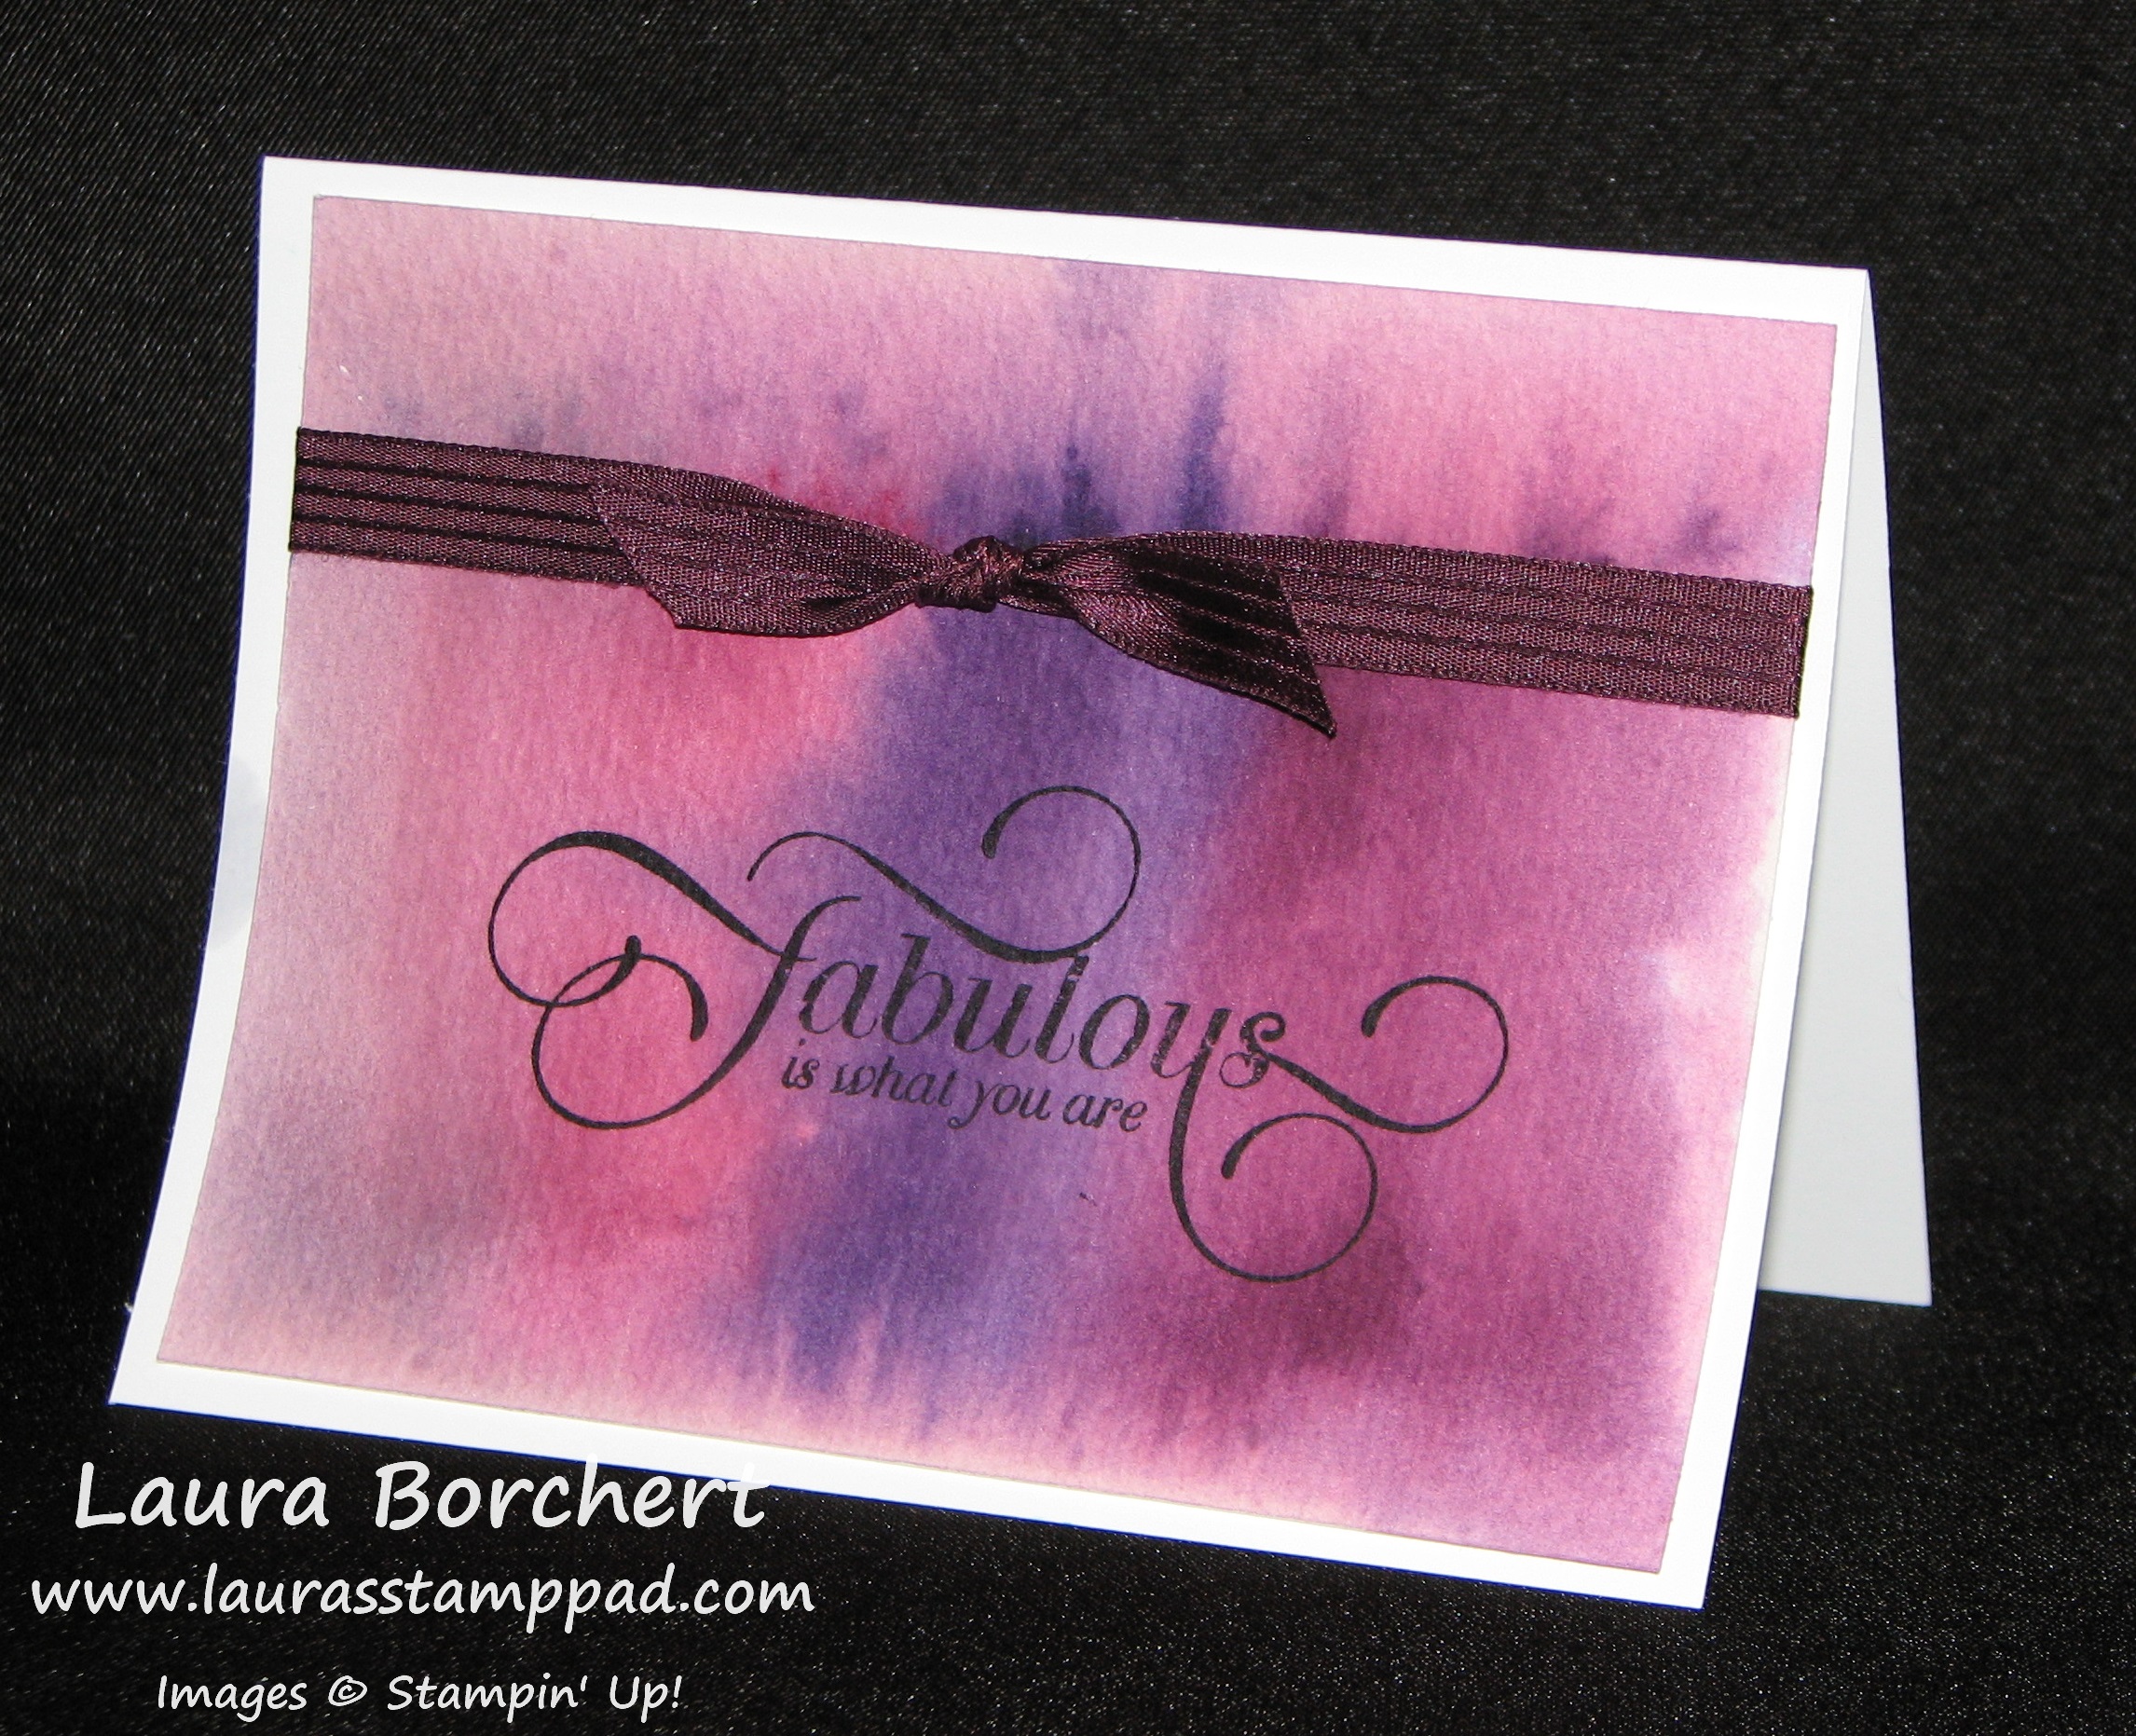
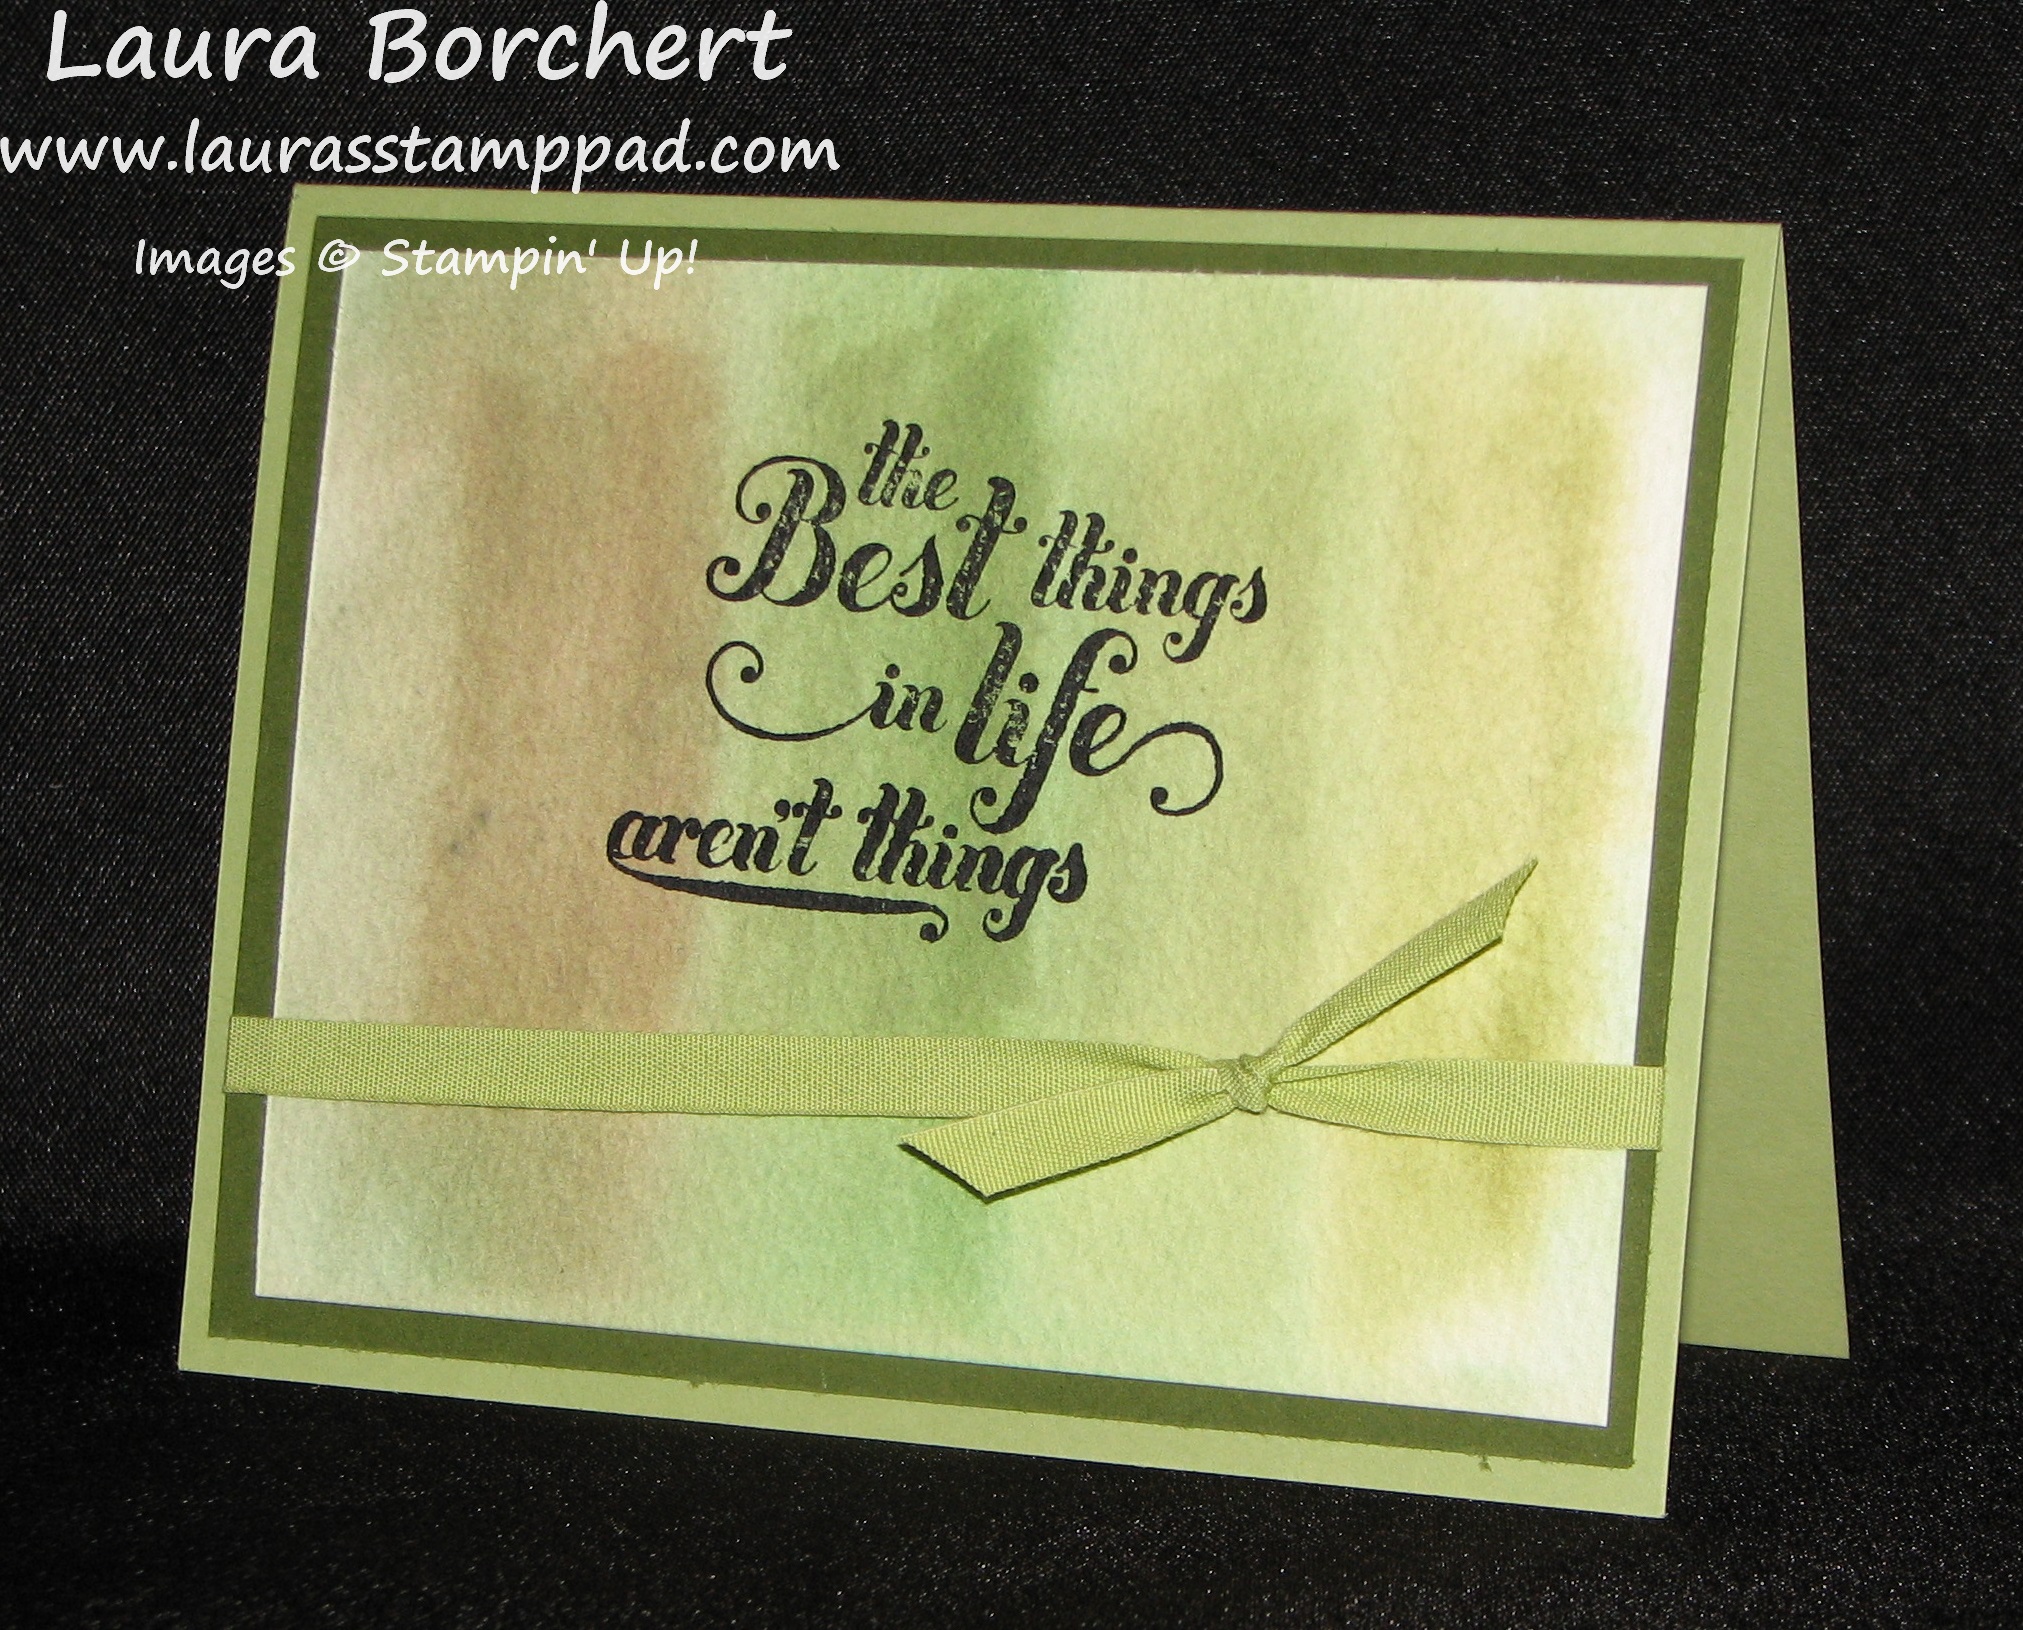
Amazing Work of Art!!!

Posted on

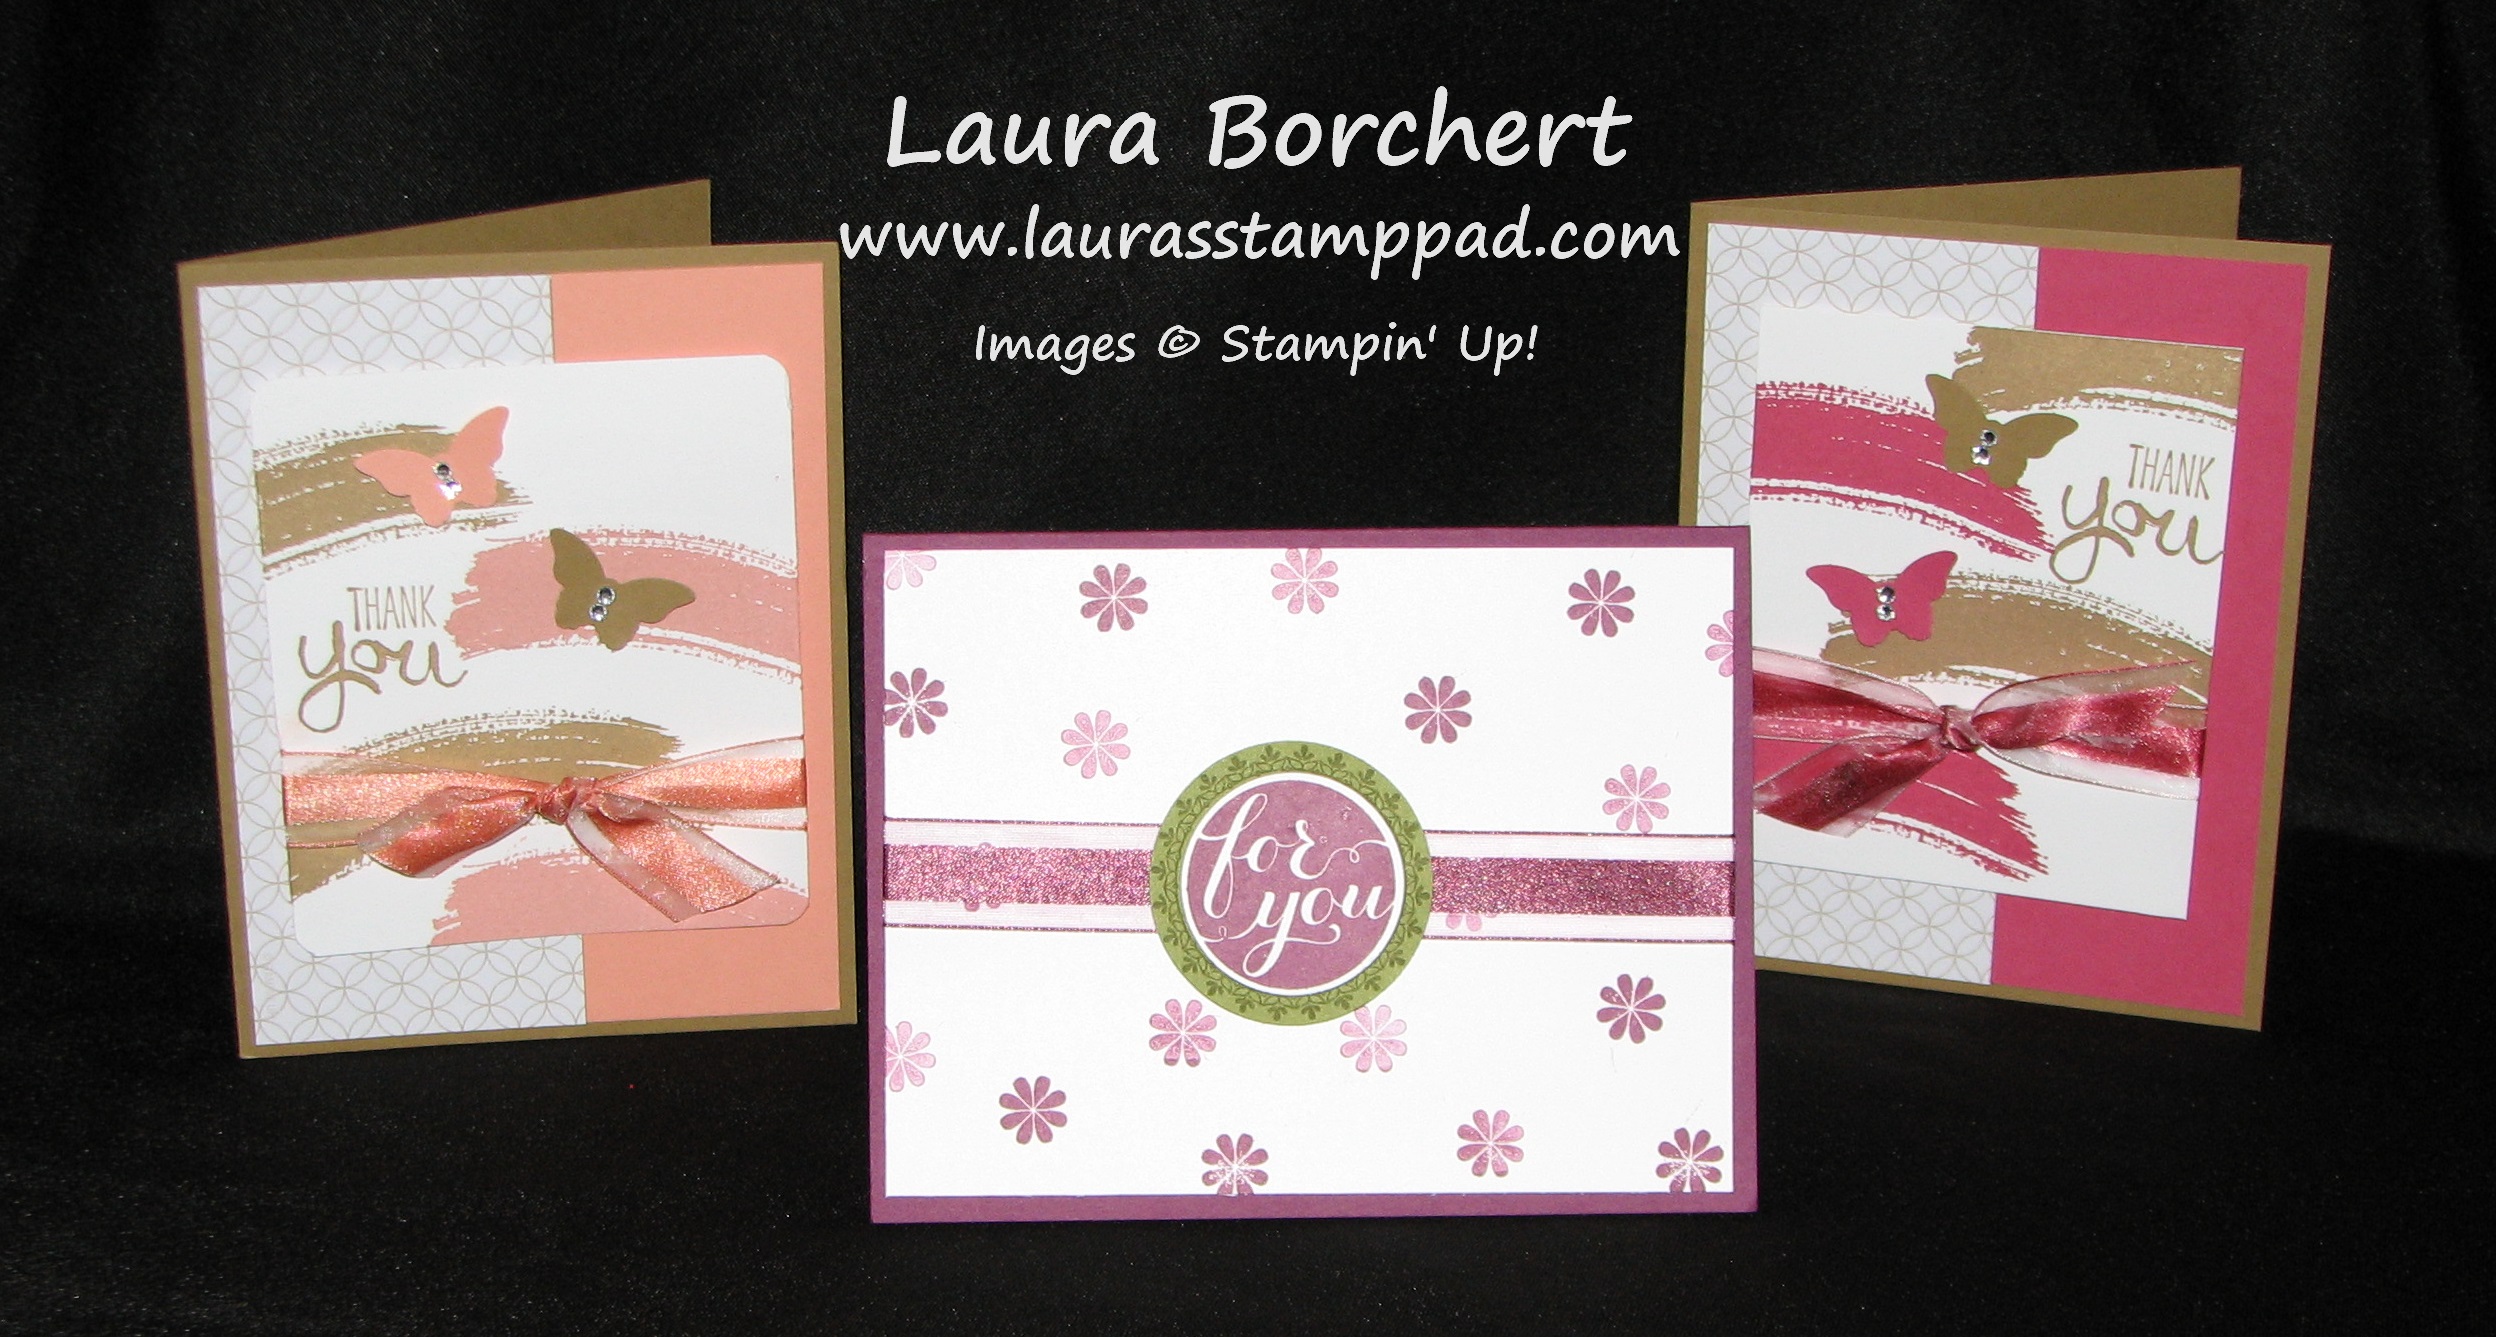
Okay so you have seen my Work of Art Note Cards which were amazing and simple! I just stamped on Note Cards so there was no adhesive or layers! You can check them out here and here! NOW, I’m going to show you more amazing cards with the Work of Art Stamp Set and these have layers and embellishments and more!!!!

Work of Art, www.LaurasStampPad.com

This is probably one of my Top Favorites! I really love them all but I think that Blackberry Bliss is my favorite In-Color so the cards that use that color are always on top! This card uses Blackberry Bliss as well as Mossy Meadow for all of the paper and ink! I used some of the new 3/8″ Stain Stitched Ribbon on here which I love because it is like half elegant and satin and half….mmm…not elegant? I don’t know how to describe it! It can be used for both looks and work out great! (if any of that made sense) The lighter heart was actually stamped, cut out, and popped up on dimensionals for little extra texture.

Work of Art, www.LaurasStampPad.com

This is my second top favorite!!! I love the hearts and Polka Dots from the Moonlight Designer Series Paper. I used Hello Honey and Blackberry Bliss ink and cardstock! I used that fabulous Satin Stitched Ribbon again and a few Rhinestones! I love the various shades of color you can achieve with a little stamping off or continuous stamping! So fabulous!!!

Be on the lookout for more Work Of Art cards! I just can’t put this stamp set down! If you don’t have this set yet, CLICK HERE to get yours now!!!!

Happy Stampin’

~Laura


Technique Tuesday – Watercoloring and Embossing!!!

Posted on

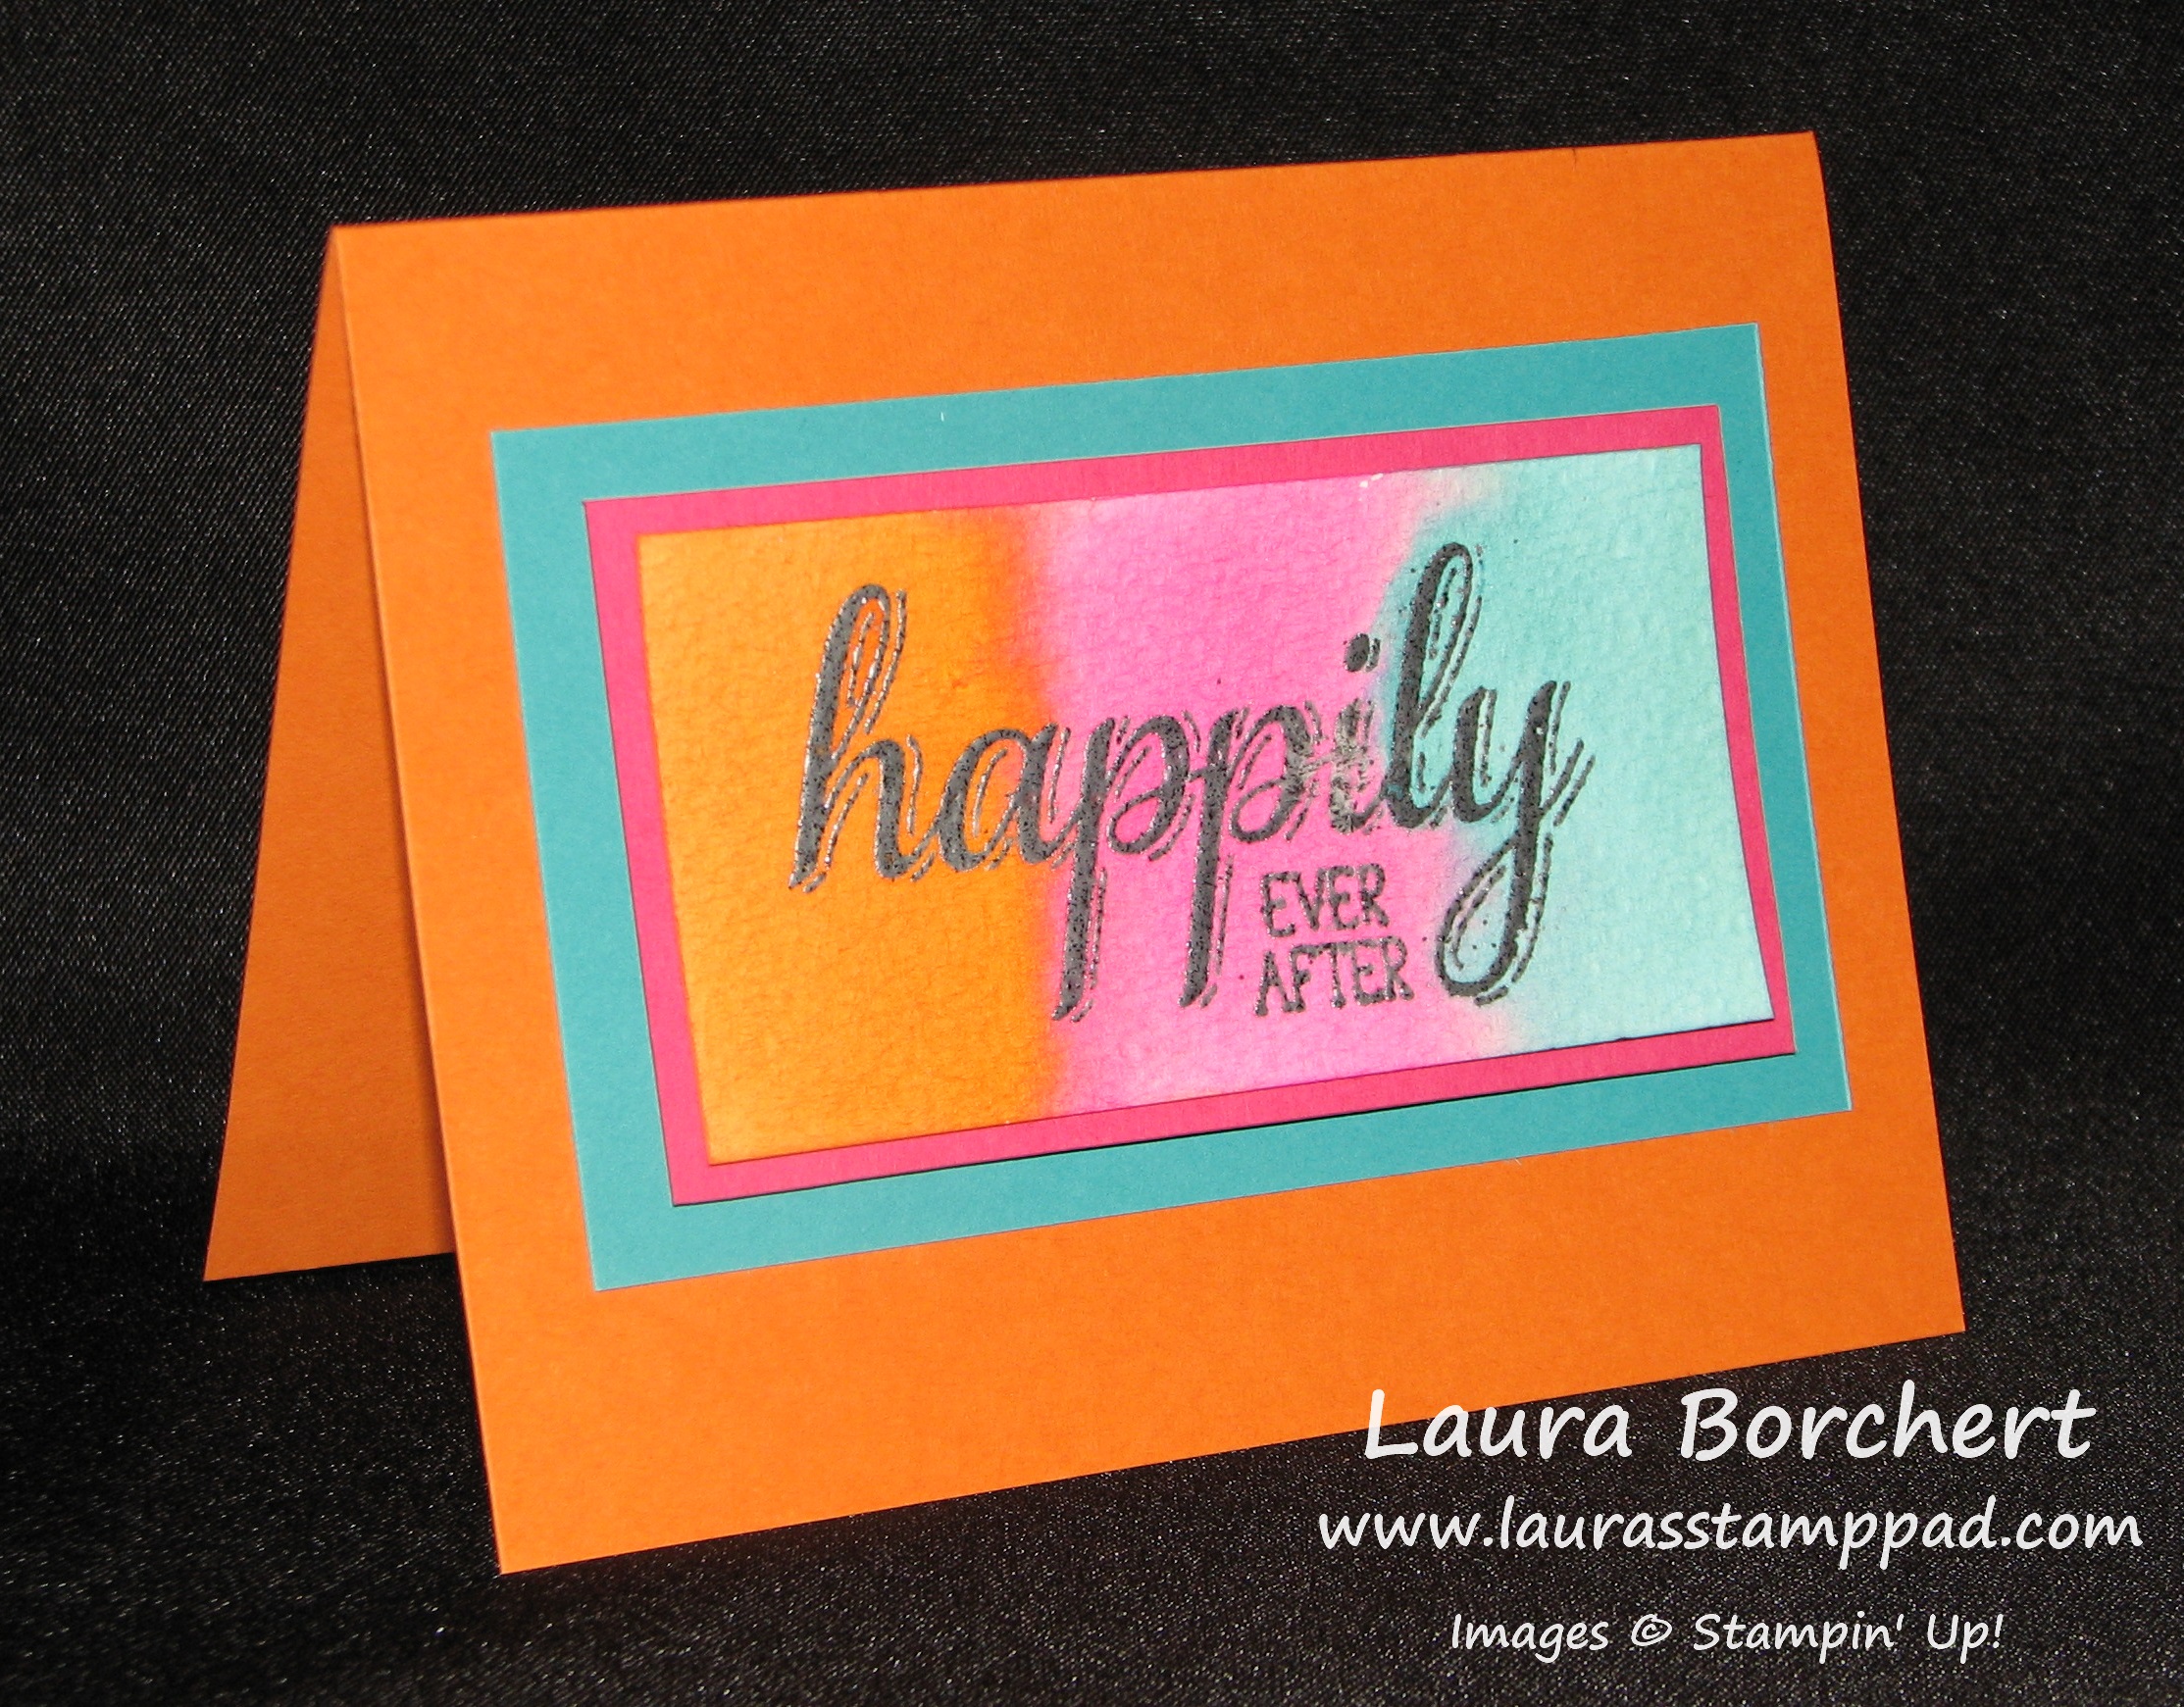
Happy Tuesday!!! That means I have a fabulous technique to share with you today!!!! I will be showing you emboss resist and watercoloring! I love love love these colors together because they are so bright and cheery!!!!

Emboss Watercolor, www.LaurasStampPad.com

SUPPLIES NEEDED: Watercolor Paper, VersaMark Ink, Stamp Set, Embossing Powder, Heat Tool, Aqua Painter and Ink Pads

You will want to start out with a piece of Watercolor Paper. The piece I have for the project above is 4″ x 2″. Stamp your image or greeting in VersaMark and then onto your watercolor paper. Be sure to press firmly so that the VersaMark gets in the texture of the paper. I used the greeting from the Big News Stamp Set. Then you will apply embossing powder and heat it with your Heat Tool. I used Gold Embossing Powder on this one and Silver on the sample in the video! 😉 Once it has cooled, you will take your Aqua Painter and your ink pad and paint on your color! Of course, the color and water will resist for the image and only appear around the image. This gives an awesome background. I used Melon Mambo, Bermuda Bay and Pumpkin Pie. If you are using similar colors and want them to bleed together you can overlap them, otherwise just swipe close to the color but not on top of it! This gives an amazing focal point to your project. You can always do this with flowers, greetings, or any other type of image! Here I did it in Silver Embossing Powder!

Silver Emboss Resist, www.LaurasStampPad.com

If you would like to watch a Video Tutorial of this technique, click here or watch below! Don’t forget to give the video a thumbs up if you like it! 🙂 Also, be sure to subscribe to my channel so you don’t miss out on any other videos that I post!

If you try this out at home, be sure to send me a picture! I would love to see what you come up with and see your ideas!

Happy Stampin’

~Laura

Scrapbooking the Little Ones!!!

Posted on

I have created a little 6″ x 6″ Scrapbook for my Mom and Dad that includes just a few pages of every grandchild when they were born! It includes the baby’s information and of course family photos. I love how you can see the changes in each photo as the family grows! Even though the last grandchild (my niece) was born last September, I just finished her pages now! I’m not that far behind…in the world of scrapbooking that’s practically caught up! 🙂

Lullaby Scrapbook, www.LaurasStampPad.com

I used the new Lullaby Designer Series Paper which is just precious. I also noticed that you shouldn’t be fooled by the name….there really isn’t anything that says BABY in this paper. If you like yellows, corals, blues, and browns this is the paper for you! Then for the journal tags, I used a few from my Project Life Everyday Adventure Card Collection. This is another wow item! This card collection comes with 100, (that’s right) one hundred double sided cards! Some of these cards are just designs and others have patterns or words already on them but they are fabulous!!! Of course, they are the perfect size to slide into your Project Life Photo Pocket Pages but you can use them on other projects like this one or even cards! For my little decoration, I used the Itty Bitty Punch Pack flower in Crisp Cantaloupe and some pearls! Love it!

Lullaby Scrapbook, www.LaurasStampPad.com

Here is the second page (double page spread). Again I used the Lullaby Paper for my backgrounds! I added in the heart from the Itty Bitty Punch Pack and added my greeting on a piece of Hello Honey punched out with the Modern Label Punch!

I was able to complete these 4 pages in a matter of minutes with my Designer Series Paper (and the list of coordinating colors in the catalog), some punches, and the Project Life Card Collection! Scrapbooking made easy let me tell you! I hope you give it a try either as a new scrapbooker or a seasoned scrapbooker!

Thank you to everyone who wished me well on my Anniversary last week. The WINNER are: Deb P, Vicki M, and Tanishae T!

Happy Scrapbookin’

~Laura


Fabulous Friday!!!!

Posted on

Happy Friday!!! Can’t believe this is the last weekend of July! Where has July and Summer gone? Although I am super excited because August is my Birthday Month (yes, I like to celebrate all month long)!!!! We can start celebrating now with these fabulous Weekly Deals!

Weekly Deals 7.20

I am beyond excited for this week’s Weekly Deals because there are LOTS of fabulous items! The Bitty Banners Framelits are adorable and great to use with the matching Itty Bitty Banners Stamp Set. You can check out this card that I just did a few weeks ago! The Curly Label Punch and Dotted Scallop Border Punches are amazing too! You can check out samples here! I always love ribbon and don’t forget that Halloween is around the corner and that Pumpkin Pie Ribbon would be fabulous on treat bags. Stock up now! Okay and now for the Banner Kit! I have the Bermuda Bay one and LOVE IT! It is hanging in my doorway where I have a banner hanging all the time now!

Banner Kit, www.LaurasStampPad.com

I just used a small portion of the Add On Kit! I still have lots of Designer Series Paper and other items left to use for another project! LOVE IT!!!

A Few Other Items:

Buy 3, Get 1 Free Designer Series Paper Special!

Sign Up for My Paper Pumpkin before September 10th and get your first 2 months at 50% Off!

Hope you all have a fabulous weekend! Happy Stampin’

~Laura


Coloring Designer Series Paper!!!

Posted on

So a few weeks ago I showed you this fabulous card using the Back to Black Designer Series Paper!!! I love my some black and white with a pop of color! BUT check this out!!!!

Colored Designer Series Paper, www.LaurasStampPad.com

Do you notice the difference? The POP of color is ON the Designer Series Paper! I used my Coastal Cabana (darkest one) Blendabilities Marker to color the Designer Series Paper! I had so much fun making these…as you can see with the 5 samples rather than just 1. 😉 I can’t wait to color in the flowers and other images in the Designer Series Paper! I LOVE IT!

Don’t forget about the Buy 3, Get 1 Free Designer Series Paper Special that ends on July 31st! While I love other Designer Series Paper Packs too, you could get 4 of the Back to Black Paper and have endless possibilities with your Blendabilities! 

Also, don’t forget about my Anniversary Special!

Happy Colorin’

~Laura


Share Your Love!!!

Posted on

Okay please tell me you have the Itty Bitty Punch Pack because if not, you need it….like yesterday…NOW!!!! I just can not put these 3 little punches down. Every time I go to make a card, I’m like it needs just a little something more. Hmmm….a heart (star or flower) and then it looks perfect!!!! Click here to get your’s NOW! Then you can make this amazing card!

Sending A Kiss, Heart Punch, www.LaurasStampPad.com

Aren’t these little hearts adorable? I punched them out with the Moonlight Designer Series Paper Stack. The solid Hello Honey one on the bottom left is actually punched on the Whisper White Cardstock and so the yellow is popping through. Isn’t that clever? I know. 😉 The greeting is from the Petite Pairs Stamp Set! I just thought this card needed a little greeting like that. The card base is Blackberry Bliss and the center band is Lost Lagoon embossed with the Decorative Dots Embossing Folder! This card would make a great Anniversary Card, Valentine’s Day Card and even a random card sent to someone you love. I send cards to my husband’s grandma on his mom’s side and grandparents on his dad’s side randomly just to brighten their day and let them know how we are doing and that we love and think about them (my grandparents are angels watching over us and I don’t have their address)! I hope you enjoyed this card and try it out! If you need more reasons to get the Itty Bitty Punch Pack, check out this sample and this sample! Click here to get your’s today!

Happy Stampin’

~Laura


Happy 1 Year Blog Anniversary!!!

Posted on

Today is my One Year Anniversary with my blog!!!! I can’t believe I have been sharing all my fabulous projects with your for a year now! You all have been amazing and I want to send out a BIG Thank You to all of my subscribers!!! You ROCK! So of course I have some fabulous goodies for you! 😉 All you have to do is Subscribe to my Blog AND comment below with your favorite product….could be a stamp set, tool, embellishment, etc to be entered into the drawing!!!! I will do the drawing on Friday!

Prizes

Also, if you would like to comment below with anything that you would like to see me do on my blog – projects, product information, tips and tricks, or any other ideas! I have blogged 270 times and am looking forward to this next year!!!

Happy Anniversary!

~Laura


Technique Tuesday – Sponge Daubers!!!

Posted on

Happy Tuesday!!! You know what that means…..I have a fabulous technique to share with you today!!! My Favorite Stampin’ Tool – SPONGE DAUBERS!!!! I’m sure you all knew that already! Well I’m here to show you why I love them so much and get you all to fall in love with them as well!!!

Sponge Dauber Color Swatch, www.LaurasStampPad.com

Isn’t this card just fabulous? That amazing ombre background is perfect for any type of card! You can create the look in many different colors or in a rainbow pattern….the possibilities are endless! Of course, I created this look with my SPONGE DAUBERS!

SUPPLIES NEEDED: Sponger Daubers, Ink, Cardstock (that’s it) 🙂

You always want to start with your lightest color first. I used Pear Pizzazz, Old Olive, Garden Green, and Mossy Meadow! Tap Tap Tap with your sponge dauber into your ink pad and then you will go back and forth over your cardstock. Be sure to go off the piece of paper so that your color goes all the way to the edge. Also, by going off the paper, you will have your darkest spots off the project and not have this darker edge, lighter center look (unless that’s what you are going for). Once you have achieved the look you want, move to the next color. You will want to overlap a little bit so that your colors blend well and you don’t have a distinct line between each color. Repeat until you have used all of your colors. How simple is that? Now you can embellish or stamp on it. I used the new Epic Alphabet Stamp Set for the name Luke! This card is for my nephew’s birthday…..no worries he is only going to be 8 and isn’t a blog follower….yet! I then wanted to add in a few birthday greetings so I used the Happy Birthday from my Teeny Tiny Wishes Stamp Set and the Wish Big from the A Dozen Thoughts Stamp Set! LOVE IT!

If you would like to see this in action, check out my Video Tutorial that I created using shades of purple!!! Be sure to Like and Subscribe to my channel so you don’t miss out on more fabulous video tutorials!

For more ways to use your sponge daubers, check out this Northern Lights post, this post and this one! You can also put Sponge Daubers into the Search bar and see the many posts I have done using these amazing things!

Happy Spongin’

~Laura


Make Your Own Background!!!

Posted on

We all love Designer Series Paper (especially when it is on sale Buy 3, Get 1 Free) but did you know that you can create your own Designer Series Paper? Using any stamp set really, you can create that perfect matching piece. If you want a Melon Mambo flower paper, take one of your favorite flower stamp sets and stamp all over Whisper White or even Melon Mambo cardstock. If you want random splotches, take your Gorgeous Grunge Stamp Set or a spritzer bottle if you like living on the edge! I am loving the Gorgeous Grunge Stamp Set because it has those splotch images that come out perfect every time. When I use my spritzers, it is not the same…..spray once – goes in the eye, spray twice – got the left corner, spray a third time – covered the whole piece in a wet mess. Am I the only person with this problem? My other problem is when it looks perfect, I think maybe a little more in that right corner and I go for it and then it becomes not so perfect. Ehh It’s handmade with love, not perfection! 🙂

Birthday Gorgeous Grunge, www.LaurasStampPad.com

Check out this amazing card. I used the itty bitty dotted stamp in Basic Gray on the background and then filled in with the larger splotch in Tempting Turquoise. My husband said I should have used another color (on the splotches or cardstock) rather than using just Tempting Turquoise. What do you think? Leave me a comment down below! Greeting was stamped from the Big New Stamp Set!

Birthday Gorgeous Grunge, www.LaurasStampPad.com

This card was created with the lines image from the Gorgeous Grunge Stamp Set (the one that looks like a car left black marks). The greeting was stamped from Age Awareness! With the lines, you can create an entire background or stamp vertical and horizontal and you will have a cool crisscross pattern! So many options for creating cool backgrounds! Which is your favorite?

Happy Stampin’!

~Laura


Fabulous Friday!!!

Posted on

Happy Friday!!! I’m excited for this weekend because I get to see my cousin and friend get MARRIED! You all know how I love love love weddings. They are just a wonderful day filled with family, friends, and lots of love!!!! Can’t wait! But before we head into the weekend, I have to share some fabulous deals with you starting with the Weekly Deals!!!!

Weekly Deals 7.15

Have you seen the NEW Photopolymer Stamp Sets??? One is an adorable Christmas one – Christmas Bliss!

Christmas Bliss, www.LaurasStampPad.com

I can’t wait to start playing with this stamp set. I love the stars and the greetings!!!!!

Dear Heart, www.LaurasStampPad.com

The Dear Heart Stamp Set (why it is named that I do not know, I would have gone with Boys will be Boys or something) is the other NEW one! Loving the little raccoon and alligator as well as all the little boy faces. Adorable.

And for the best Special……drum roll…….50% Off Your First Two Months when you sign up for PAPER PUMPKIN by September 10th! WOOT WOOT! That’s like getting one month for FREE!!!! Sign up today at mypaperpumpkin.com and be sure to put in my name – Laura Borchert as your demonstrator!!!

Of course there are still a few weeks left of the Buy 3, Get 1 Free Designer Series Paper Special too!!!

Have a fabulous weekend and Happy Stampin’

~Laura