I love weddings and being in love and gathering with friends and family. That is exactly why I had an amazing weekend celebrating the love of my two friends at their Bridal Shower!!!! I mentioned it on Friday and many of you requested photos so I will share (even though it was done with the retired Something Borrowed Designer Series Paper)! I loved the neutral color of the paper so I thought this was my opportunity to add in Pool Party for that look I’ve been dreaming to create!!!

Here are the invitations for the Bridal Shower! I printed the inside on a Whisper White card base. I layered a piece of the Something Borrowed Designer Series Paper (3-3/4″ x 5″) onto Pool Party cardstock (4″ x 5-1/4″). I added a 4-3/4″ piece of Whisper White Cotton Ribbon across the paper, adhering the ends to the back. Then I layered this onto the card base. I created the little bow with Pool Party Cotton Ribbon and the Fork Bow Technique! Click here to see the video tutorial! I added the bow to the card with a Mini Glue Dot! The greeting was punched out with the Large Oval Punch and layered onto a punched Scallop Oval Punch! I added that to the card with Stampin’ Dimensionals! I stamped a little flower from the Sprinkles of Life Stamp Set on the envelope to make it just as adorable!

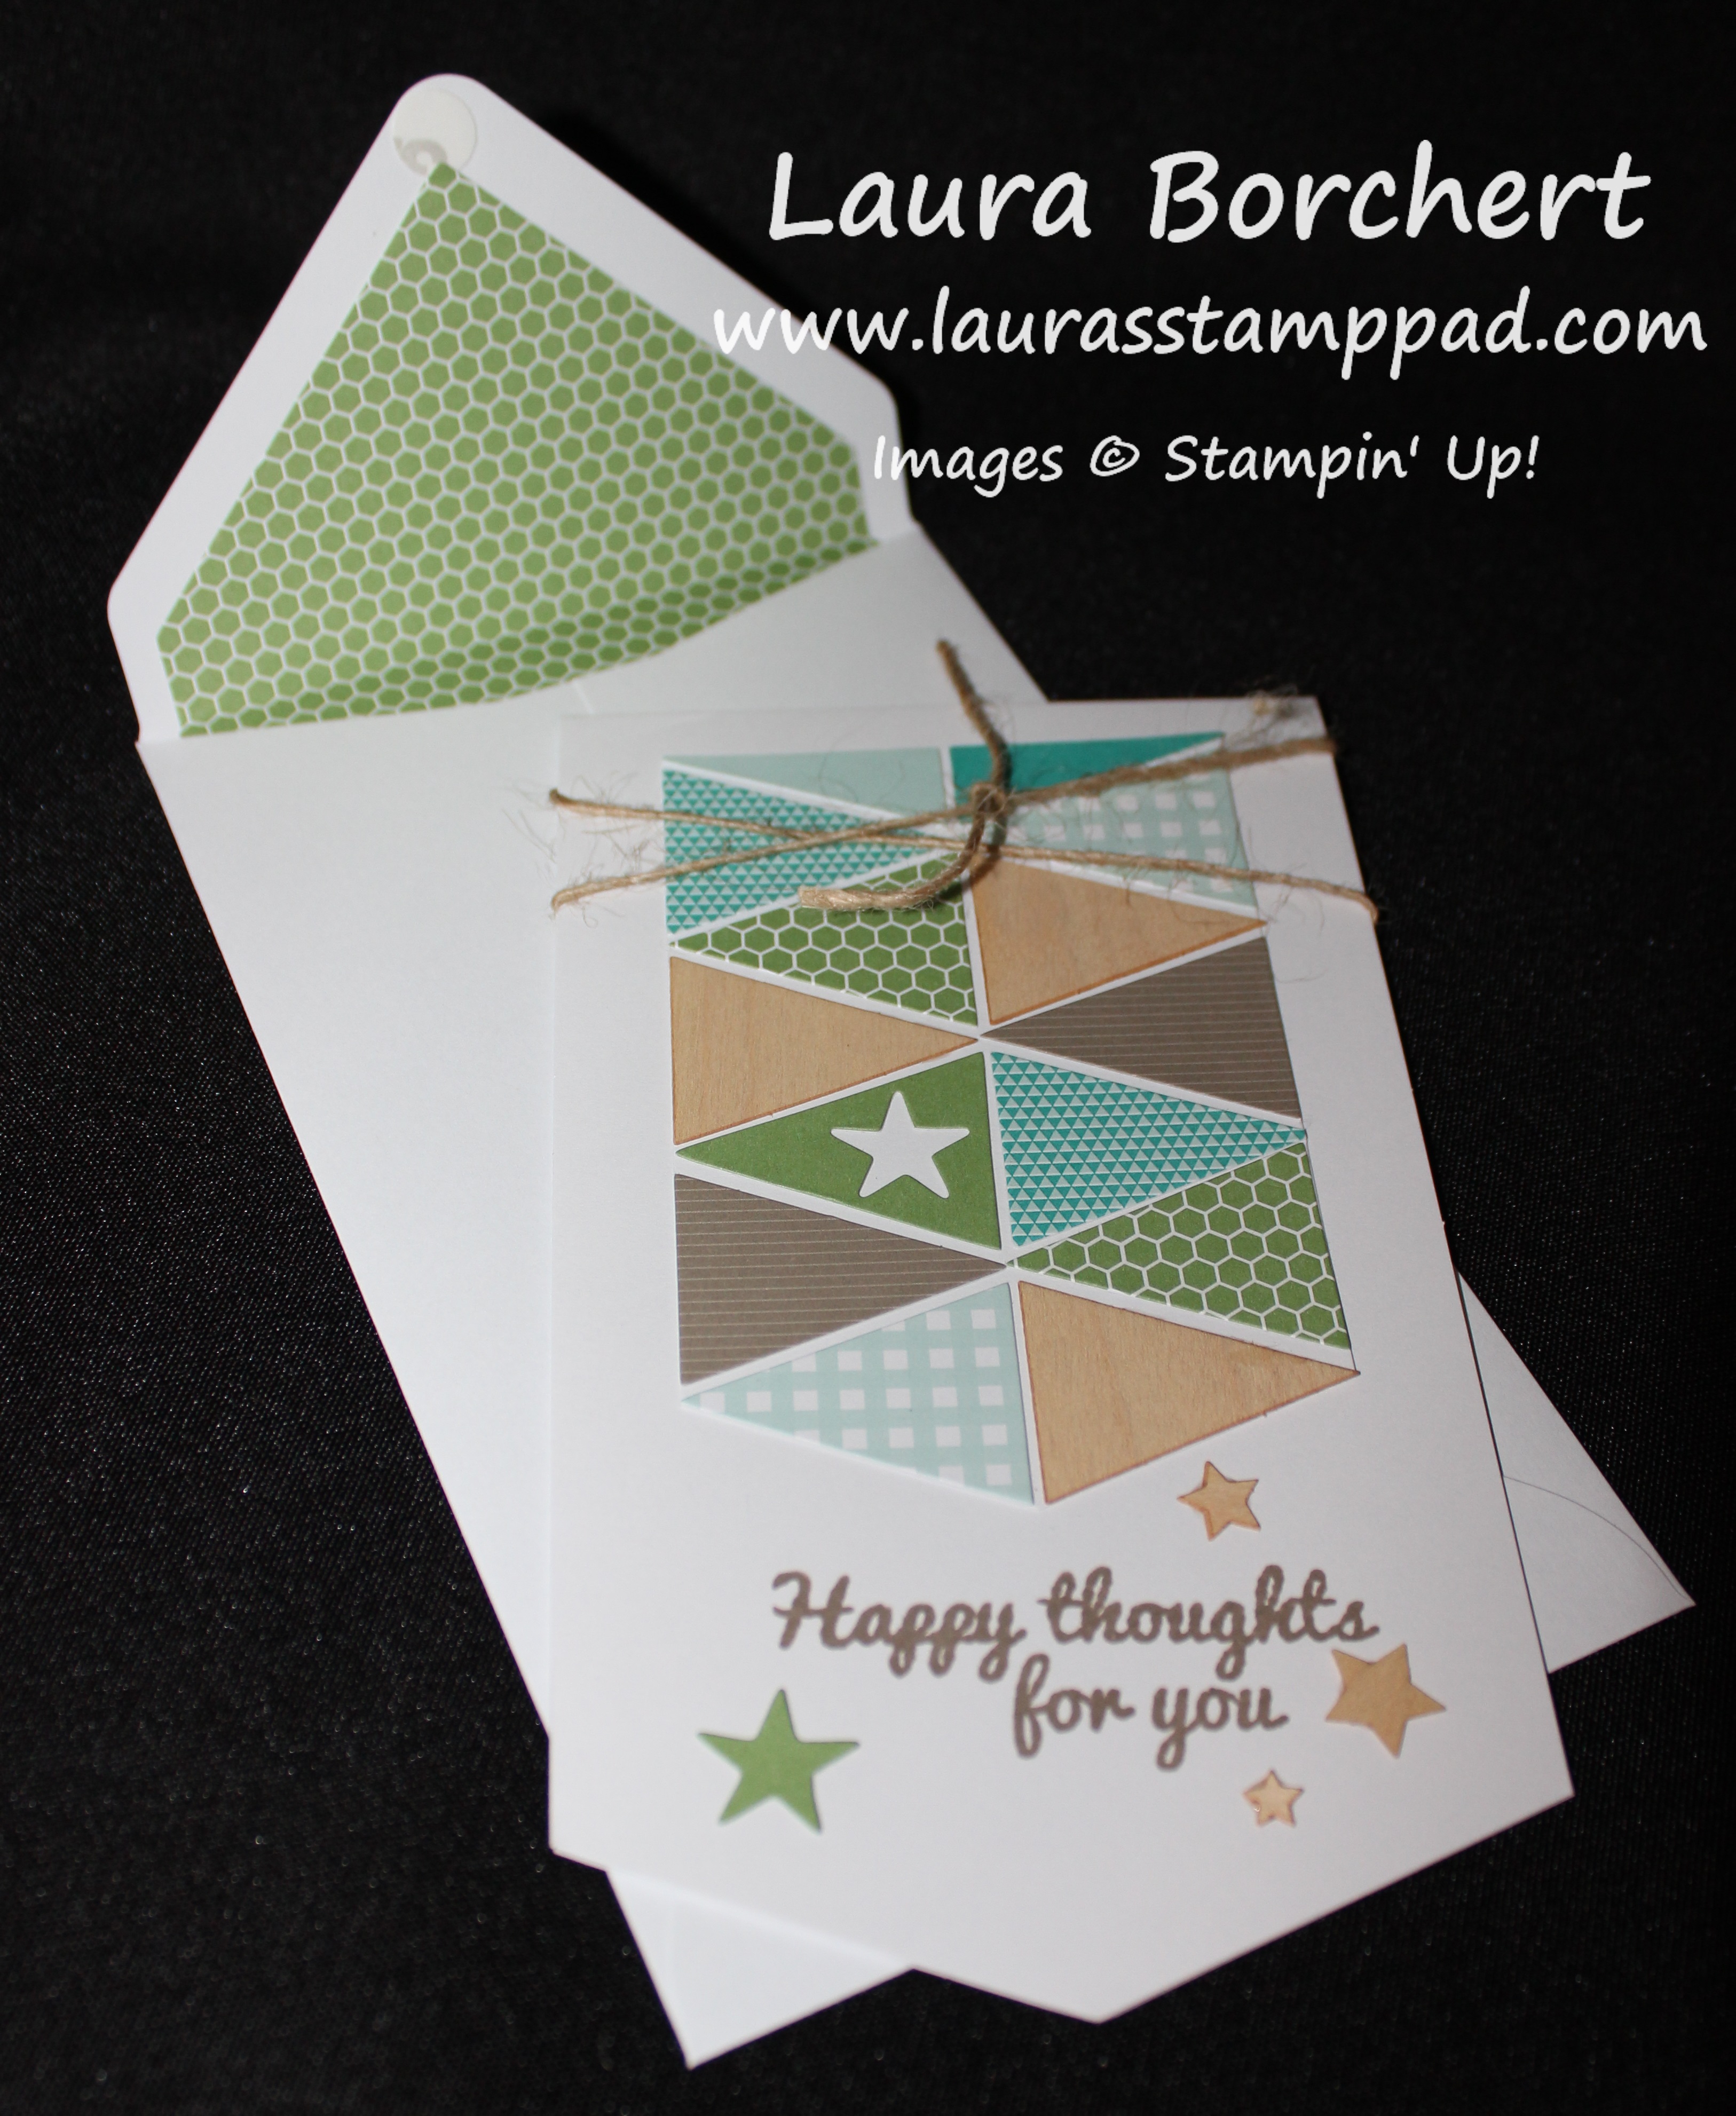
Here is a close up of the invite!!! Now on to decorations!

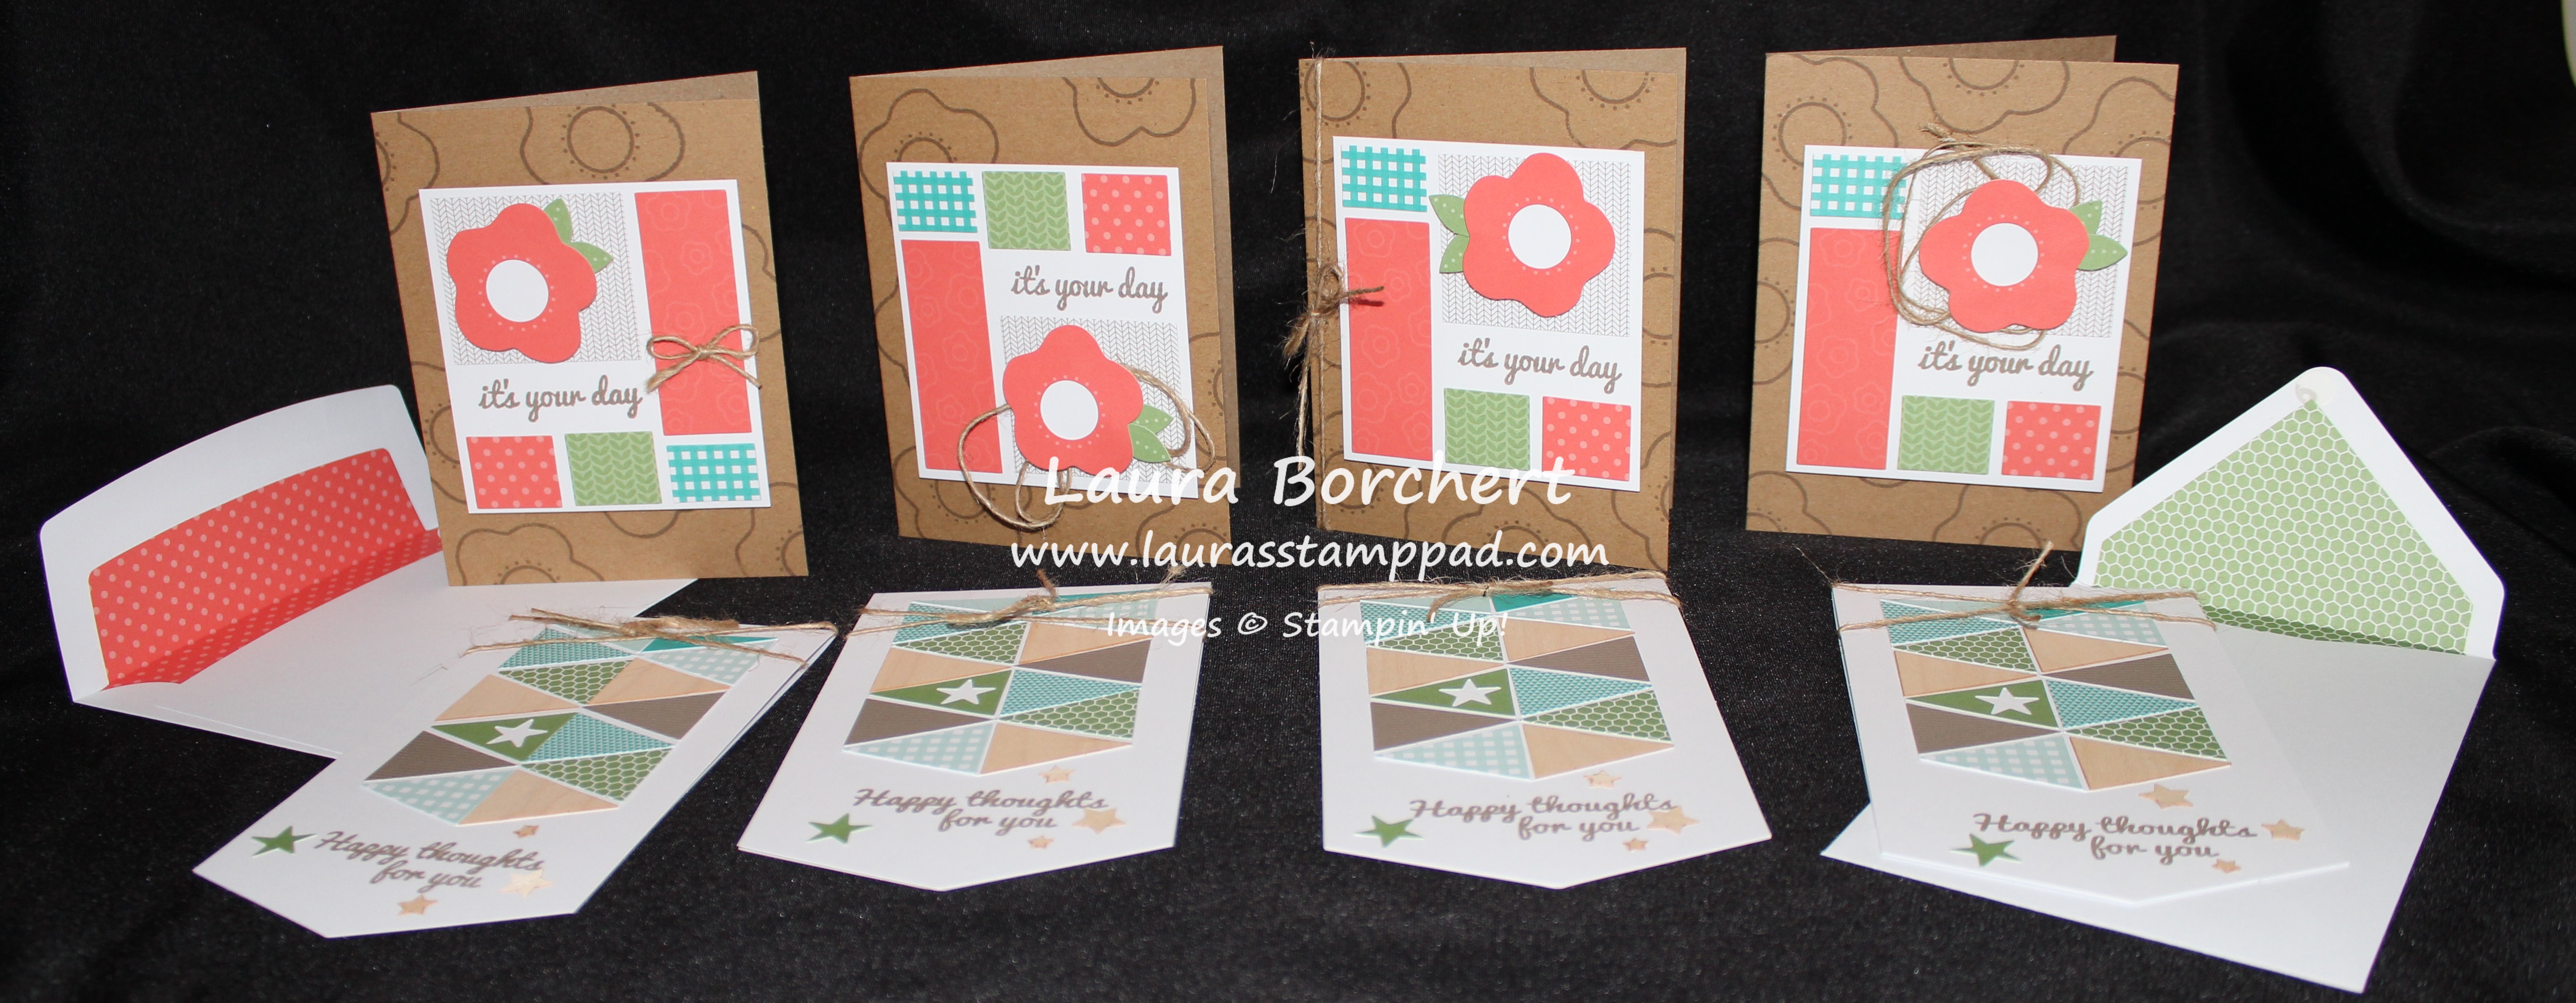
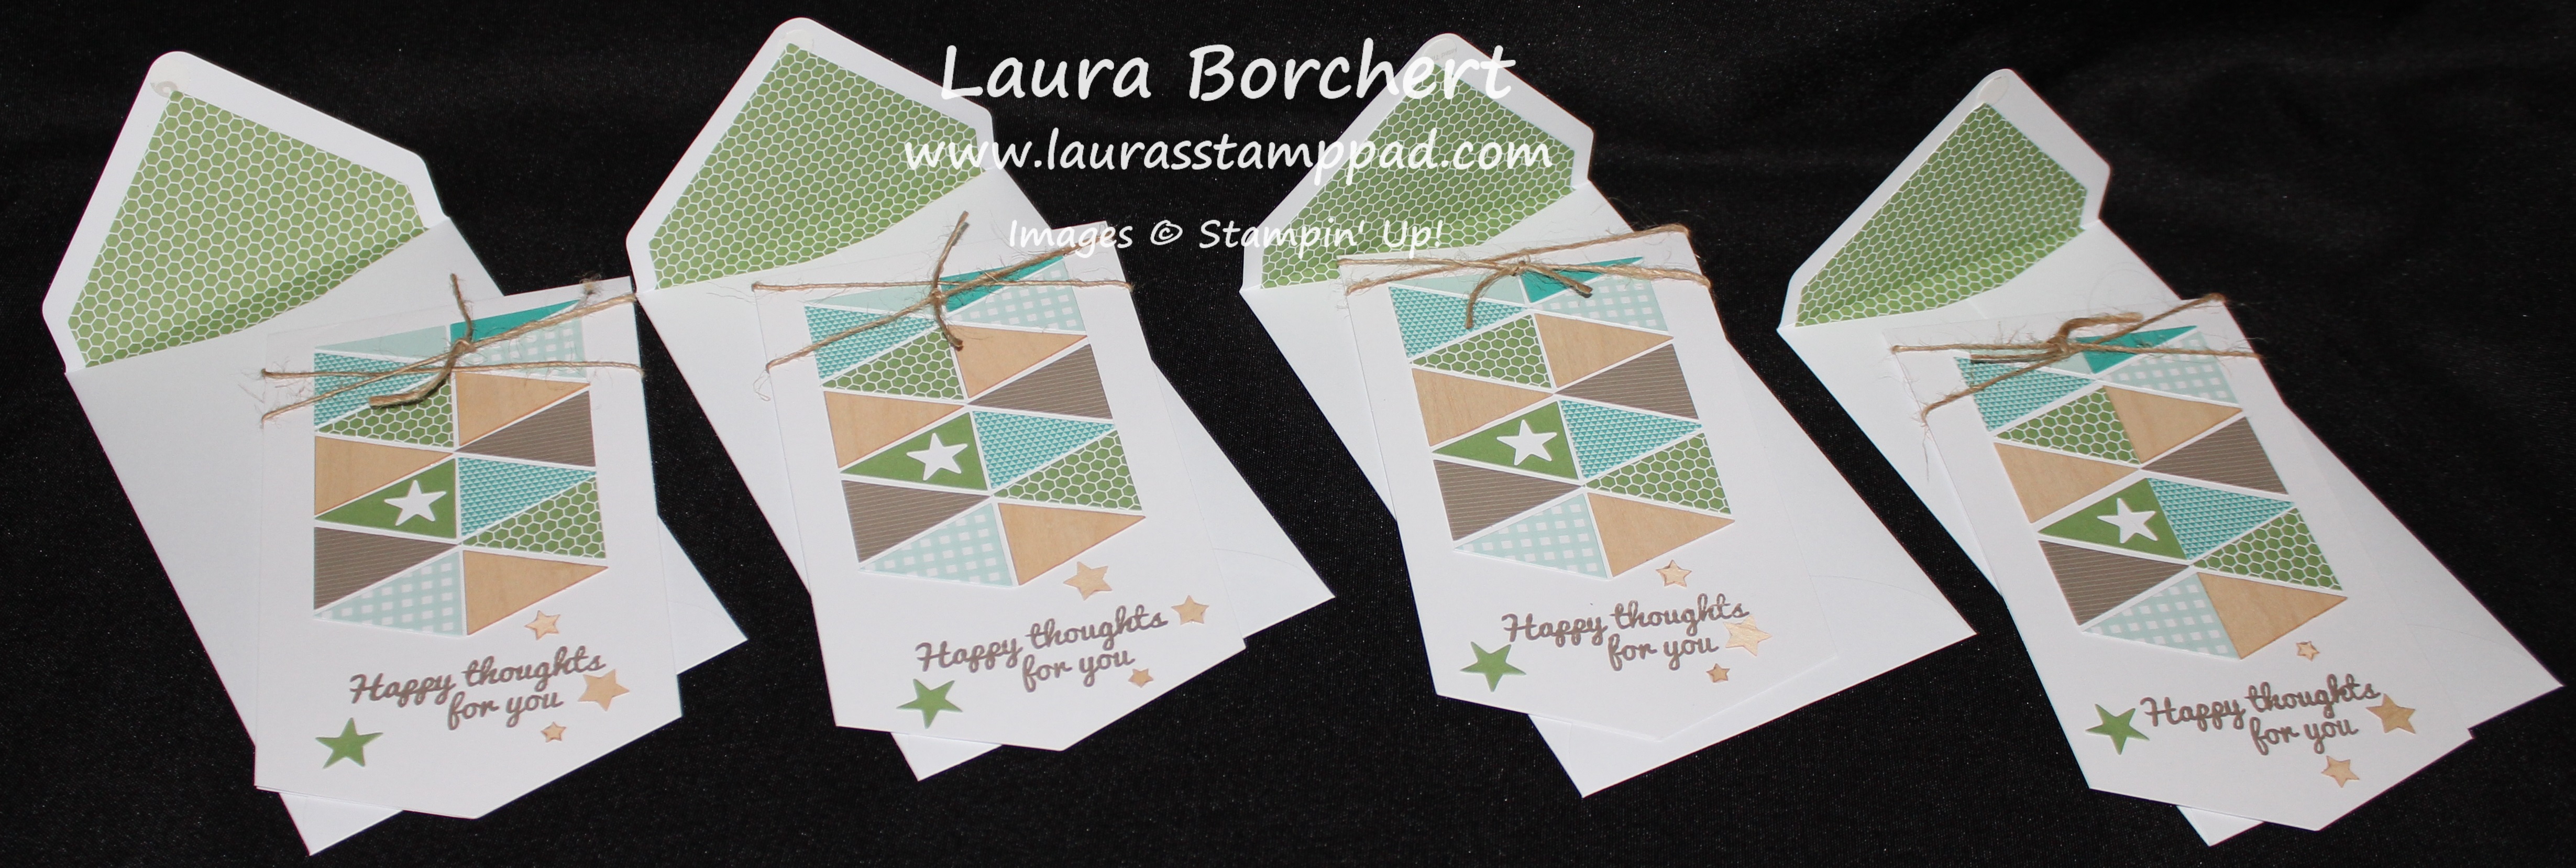
To keep the theme going with the Something Borrowed Designer Series Paper (DSP) and Pool Party colors, I stamped some greetings from the Endless Birthday Wishes Stamp Set onto Pool Party cardstock. I punched these out and layered them onto a scallop circle of the DSP. I put two of them back to back with a toothpick between and some Stampin’ Dimensionals to place in the cupcakes! I also punched lots of different sizes of circle punches in Whisper White, Soft Sky and Pool Party cardstock to lay all over the dessert table! Also, I created little food tags with a piece of 4″ x 4″ Pool Party cardstock folded in half and a little 1/2″ x 2″ piece of the DSP on the left side! It was really cute!!! Of course I had to add in a photo of the beautiful Bride and I! 🙂
My gift was a Project Life 12″ x 12″ Album which had pictures from our dress shopping adventure. I will be creating pages for the Shower and all of the other events leading up to and including the wedding. I’m use the Love Story Card Collection which is perfect for her album because she is using Black, White and a pop of Red! This collection is black, white and gray so I only need to add in the red!!! I added in the Journal Pens and these coordinating Thank You Notes as well!
It was a wonderful afternoon!!! I can’t wait to celebrate even more in October!!!
In love,
~Laura