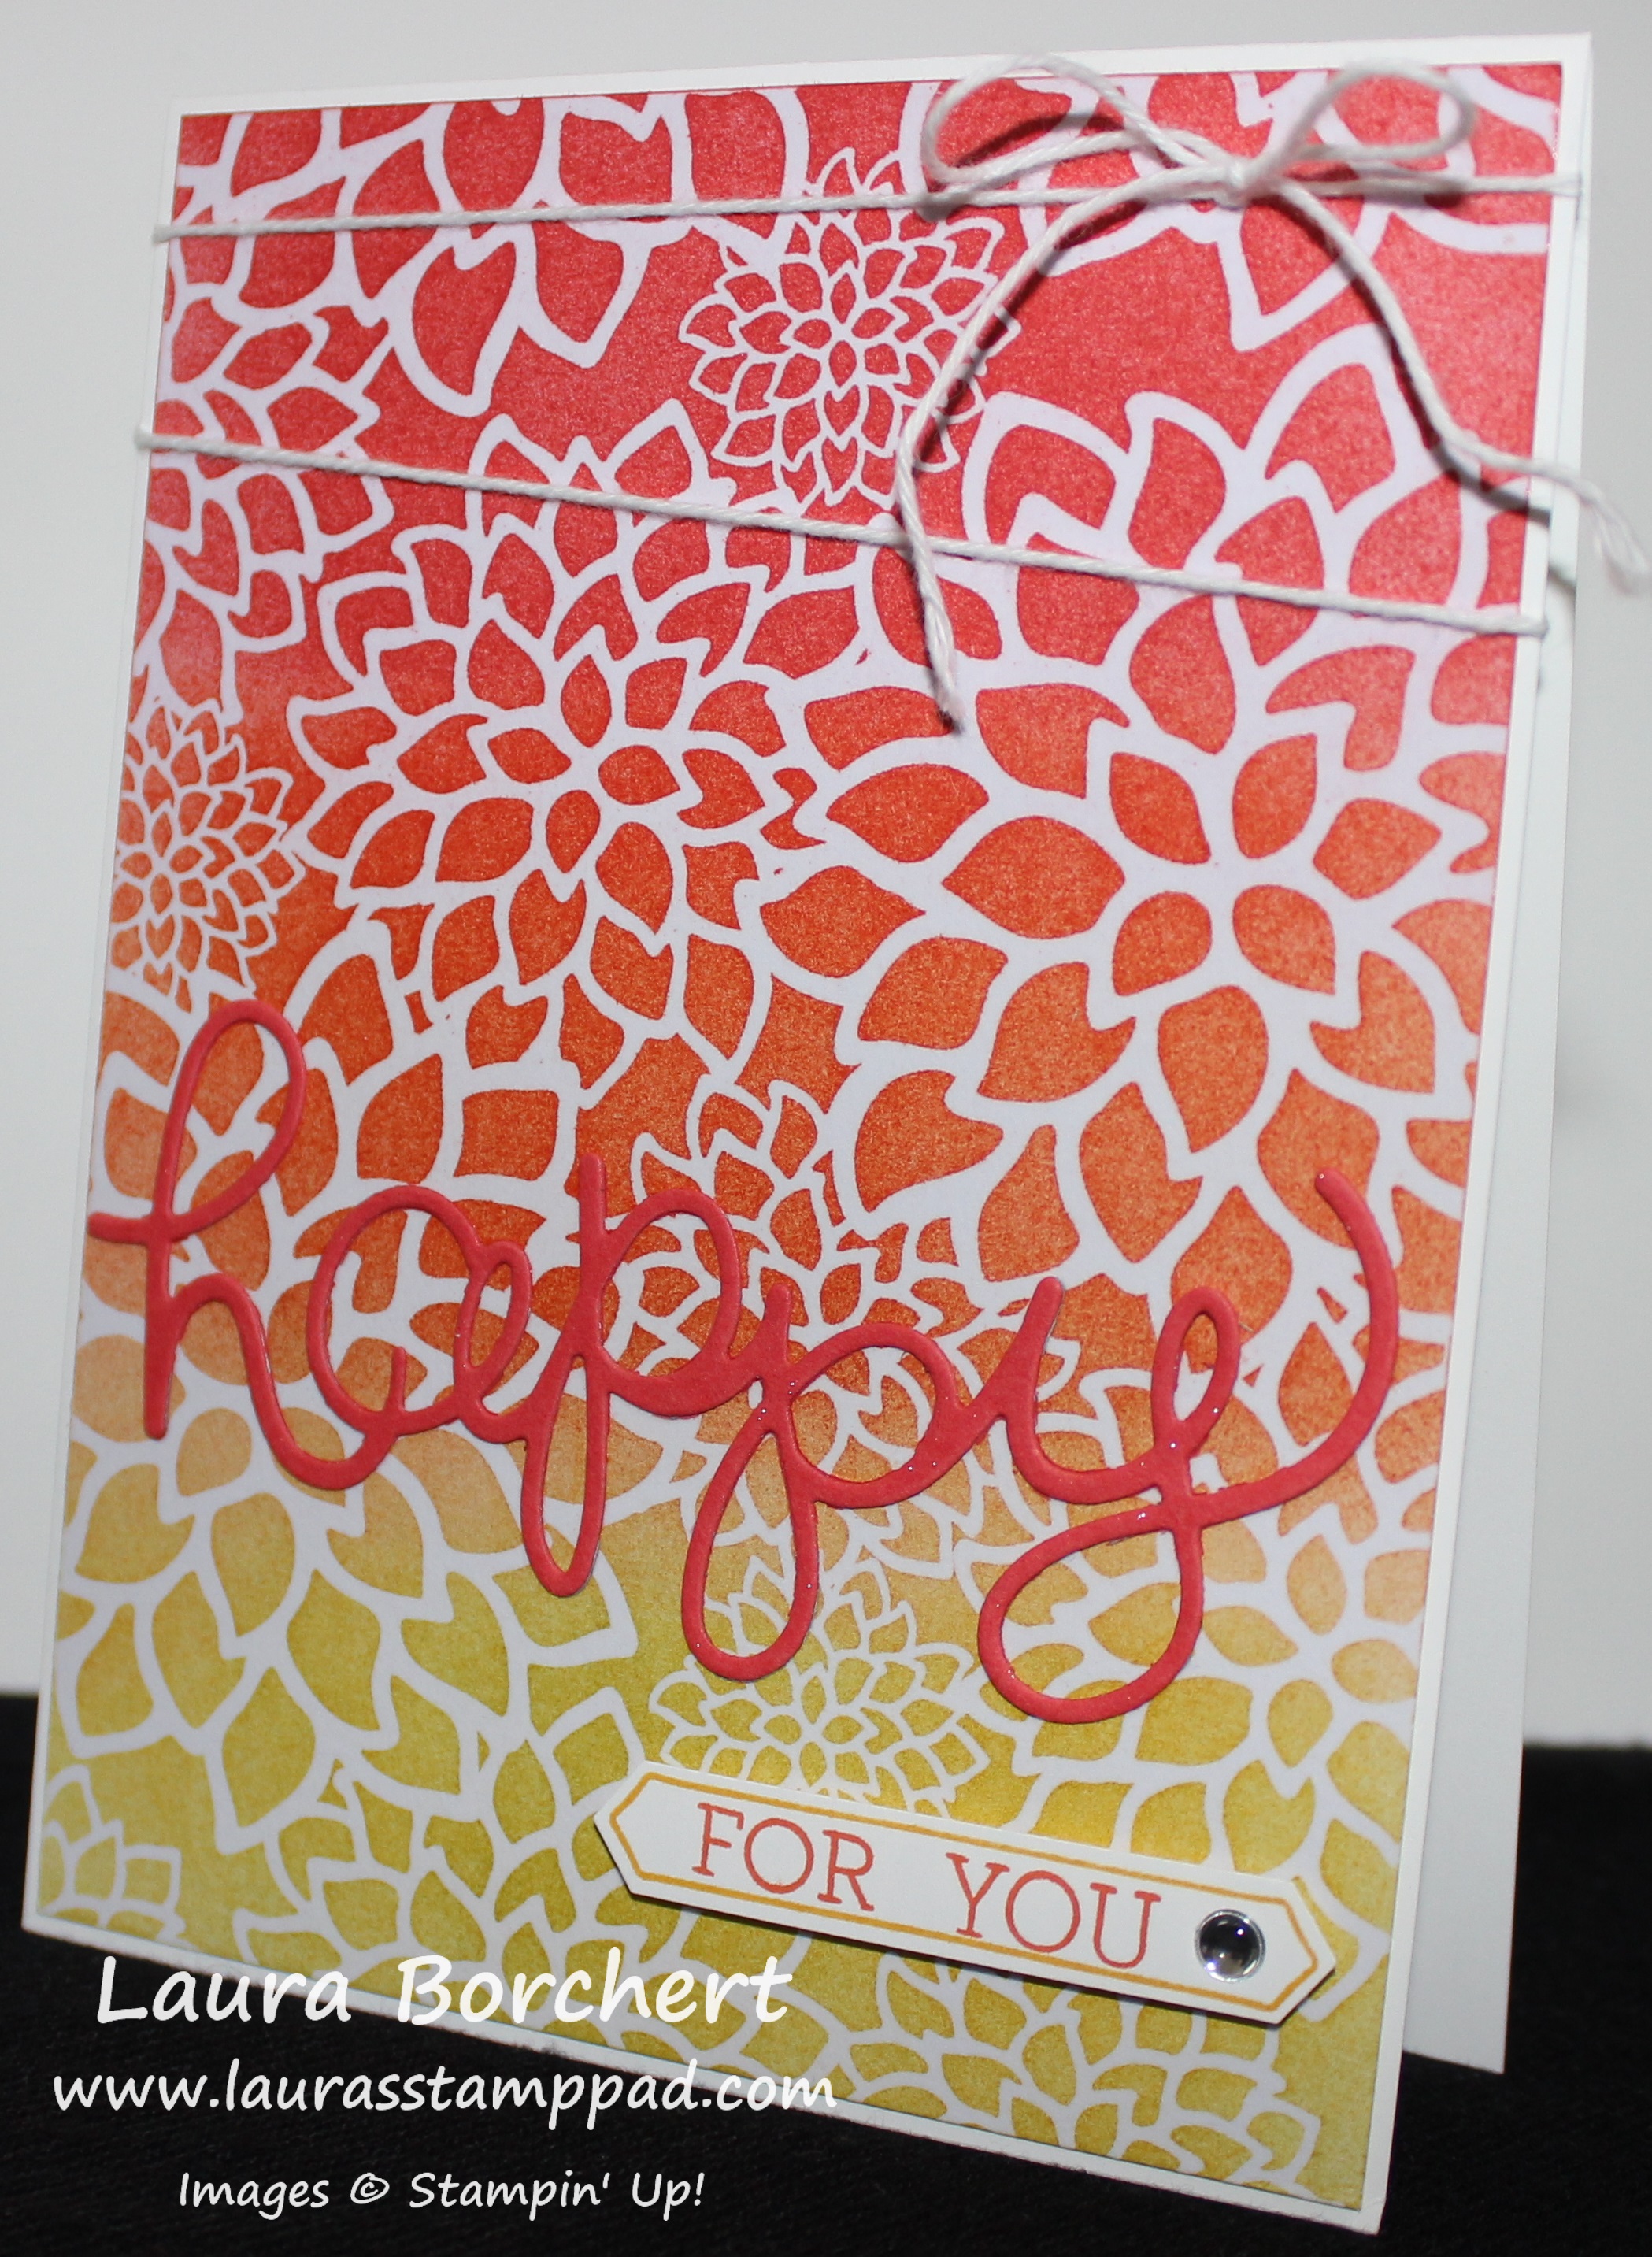
This card is just stunning – the coloring, pink, flowers, and that cool texture of the wall! Doesn’t the background look like wall paneling? I sure do and love the added texture! So let’s get started on this beautiful card!
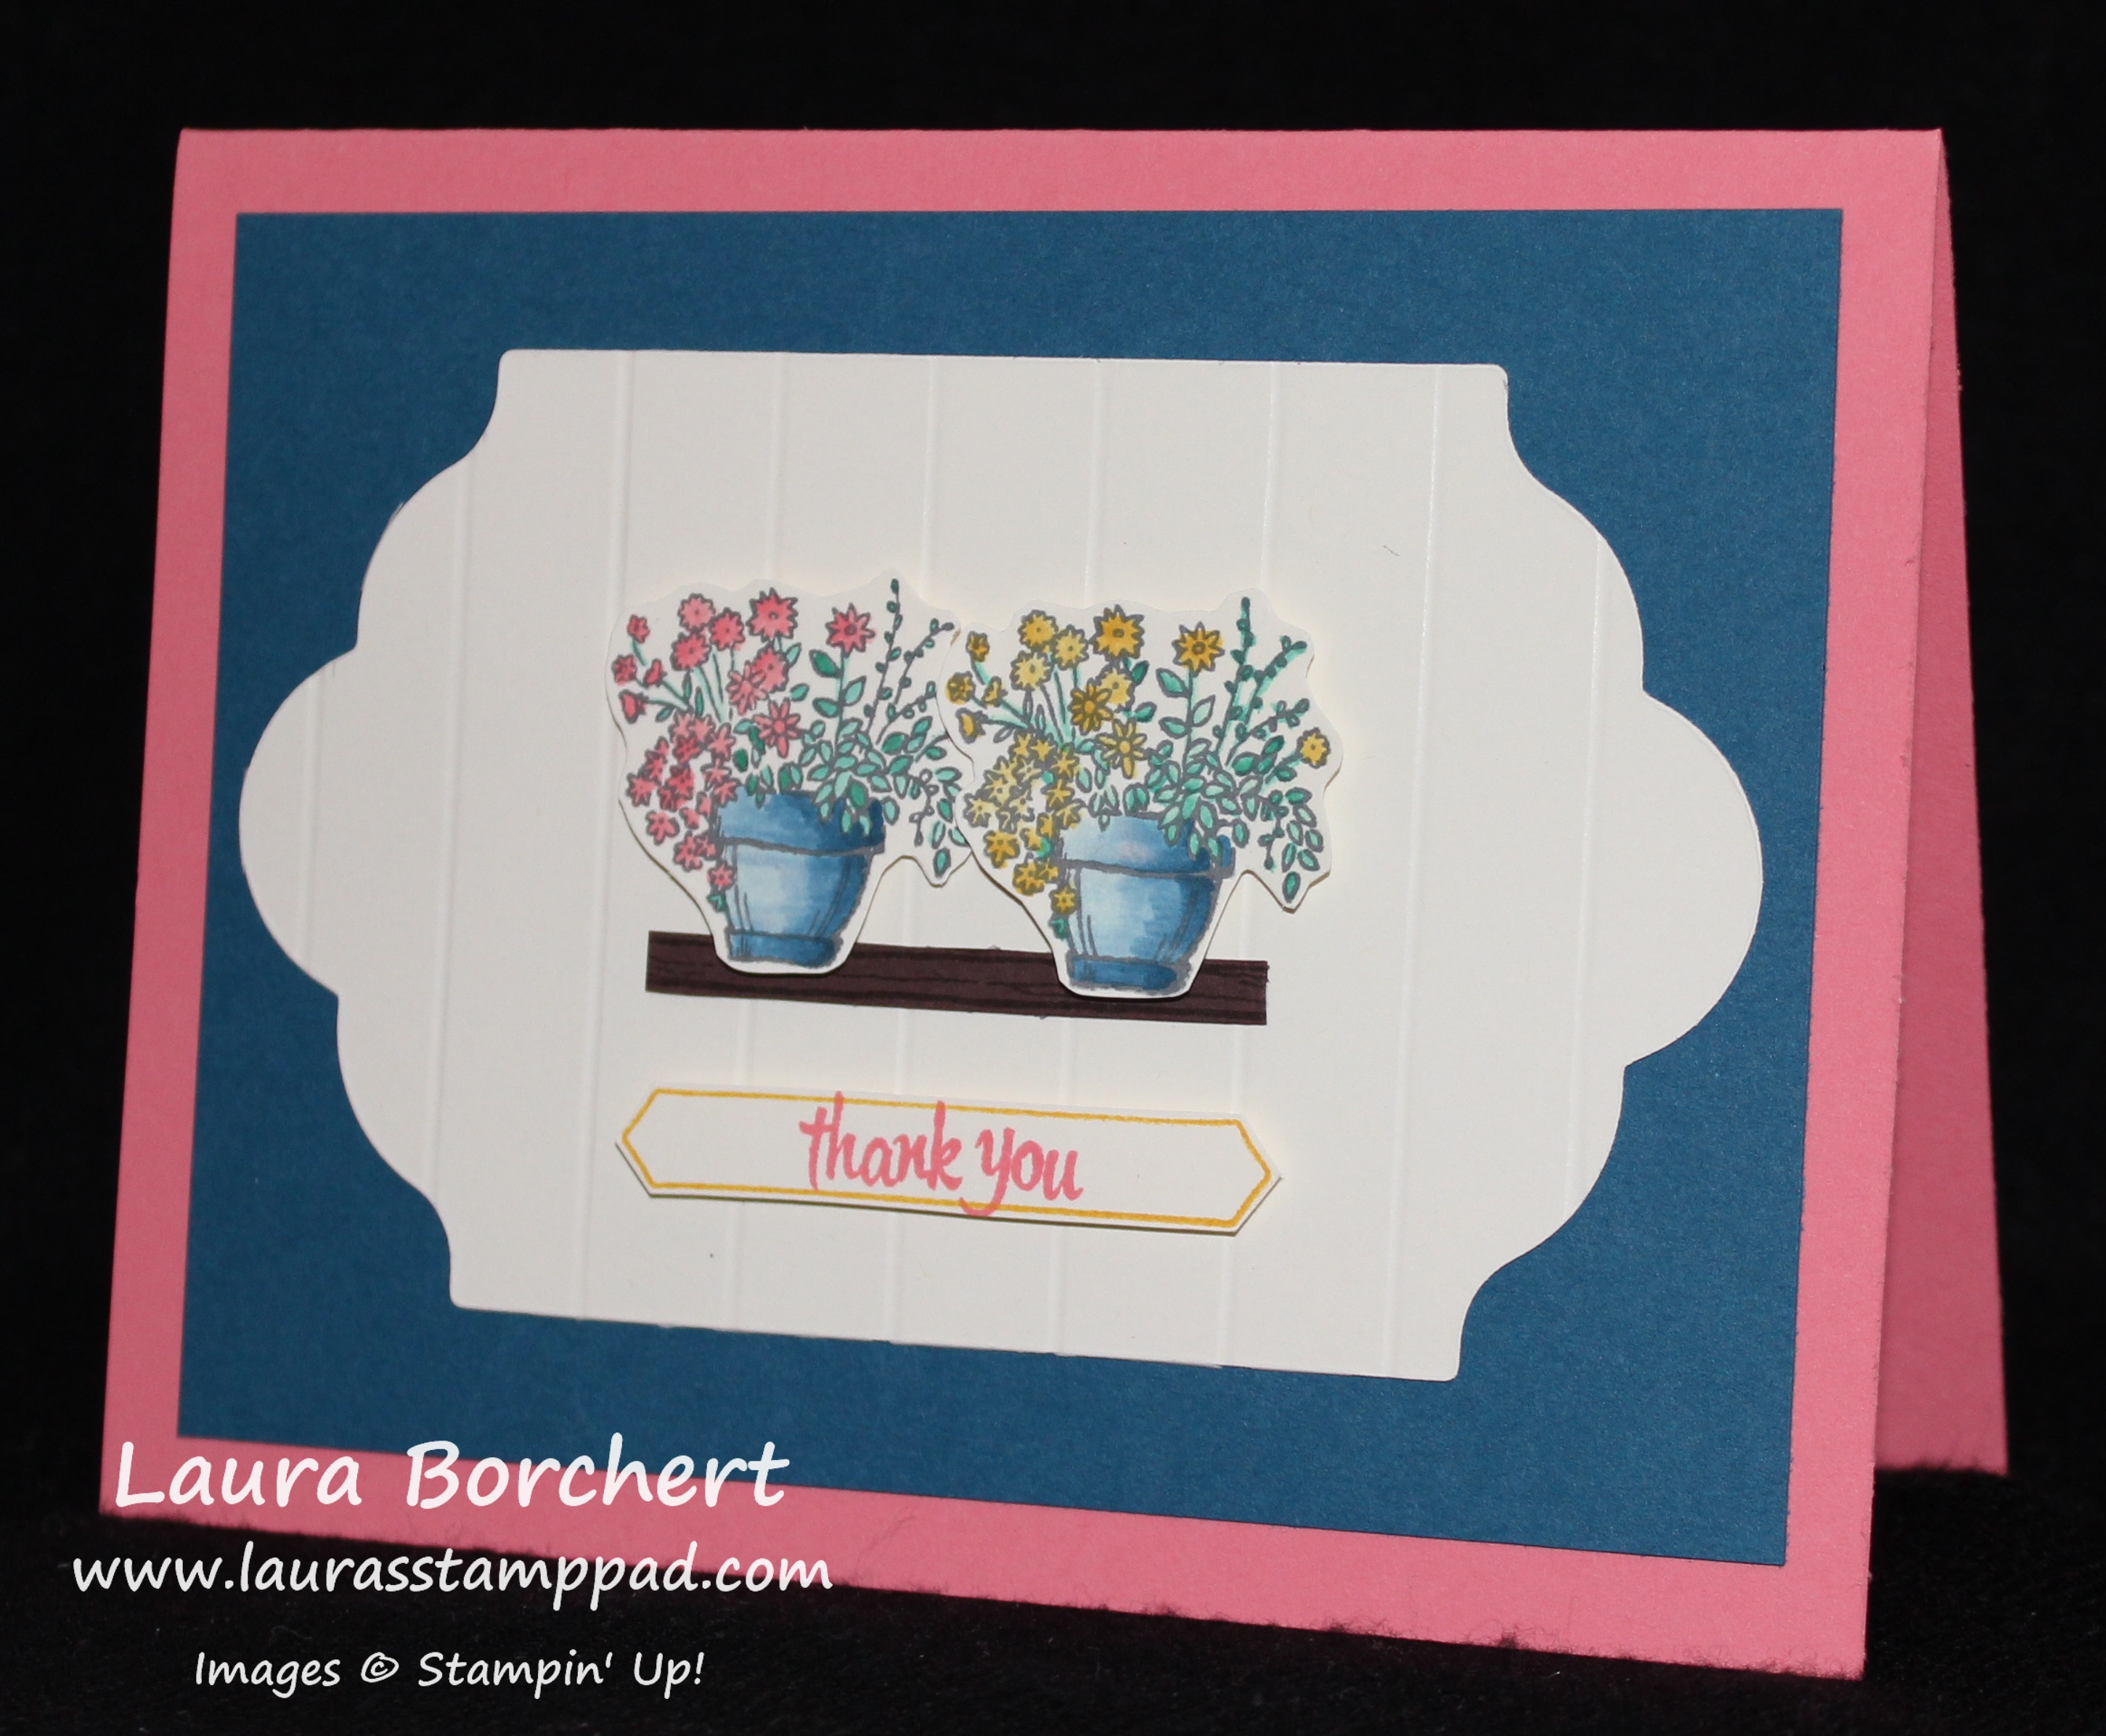
I started with a Flirty Flamingo card base and added a piece of Dapper Denim measuring 5″ x 3-3/4″. Then I took a piece of scrap Very Vanilla and stamped the flower pots from the Sitting Here Stamp Set in Basic Gray Archival Ink. I used this ink so that it wouldn’t bleed when I watercolored the image and because I wanted a lighter shade than black. I used an Aqua Painter to color using Dapper Denim for the pots, Emerald Envy for the greenery and Flirty Flamingo and Crushed Curry for the flowers. If you would like to see a Video Tutorial on coloring with Aqua Painters, check this out! Set the flowers aside to dry before cutting them out. While they are drying, you can die cut the background with the Lots of Labels Framelits. To add the lines for a panel look, I placed it in the Stampin’ Trimmer and scored every 1/2″ inch. You could also use a straight edge and a Bone Folder. I added this to the card front!
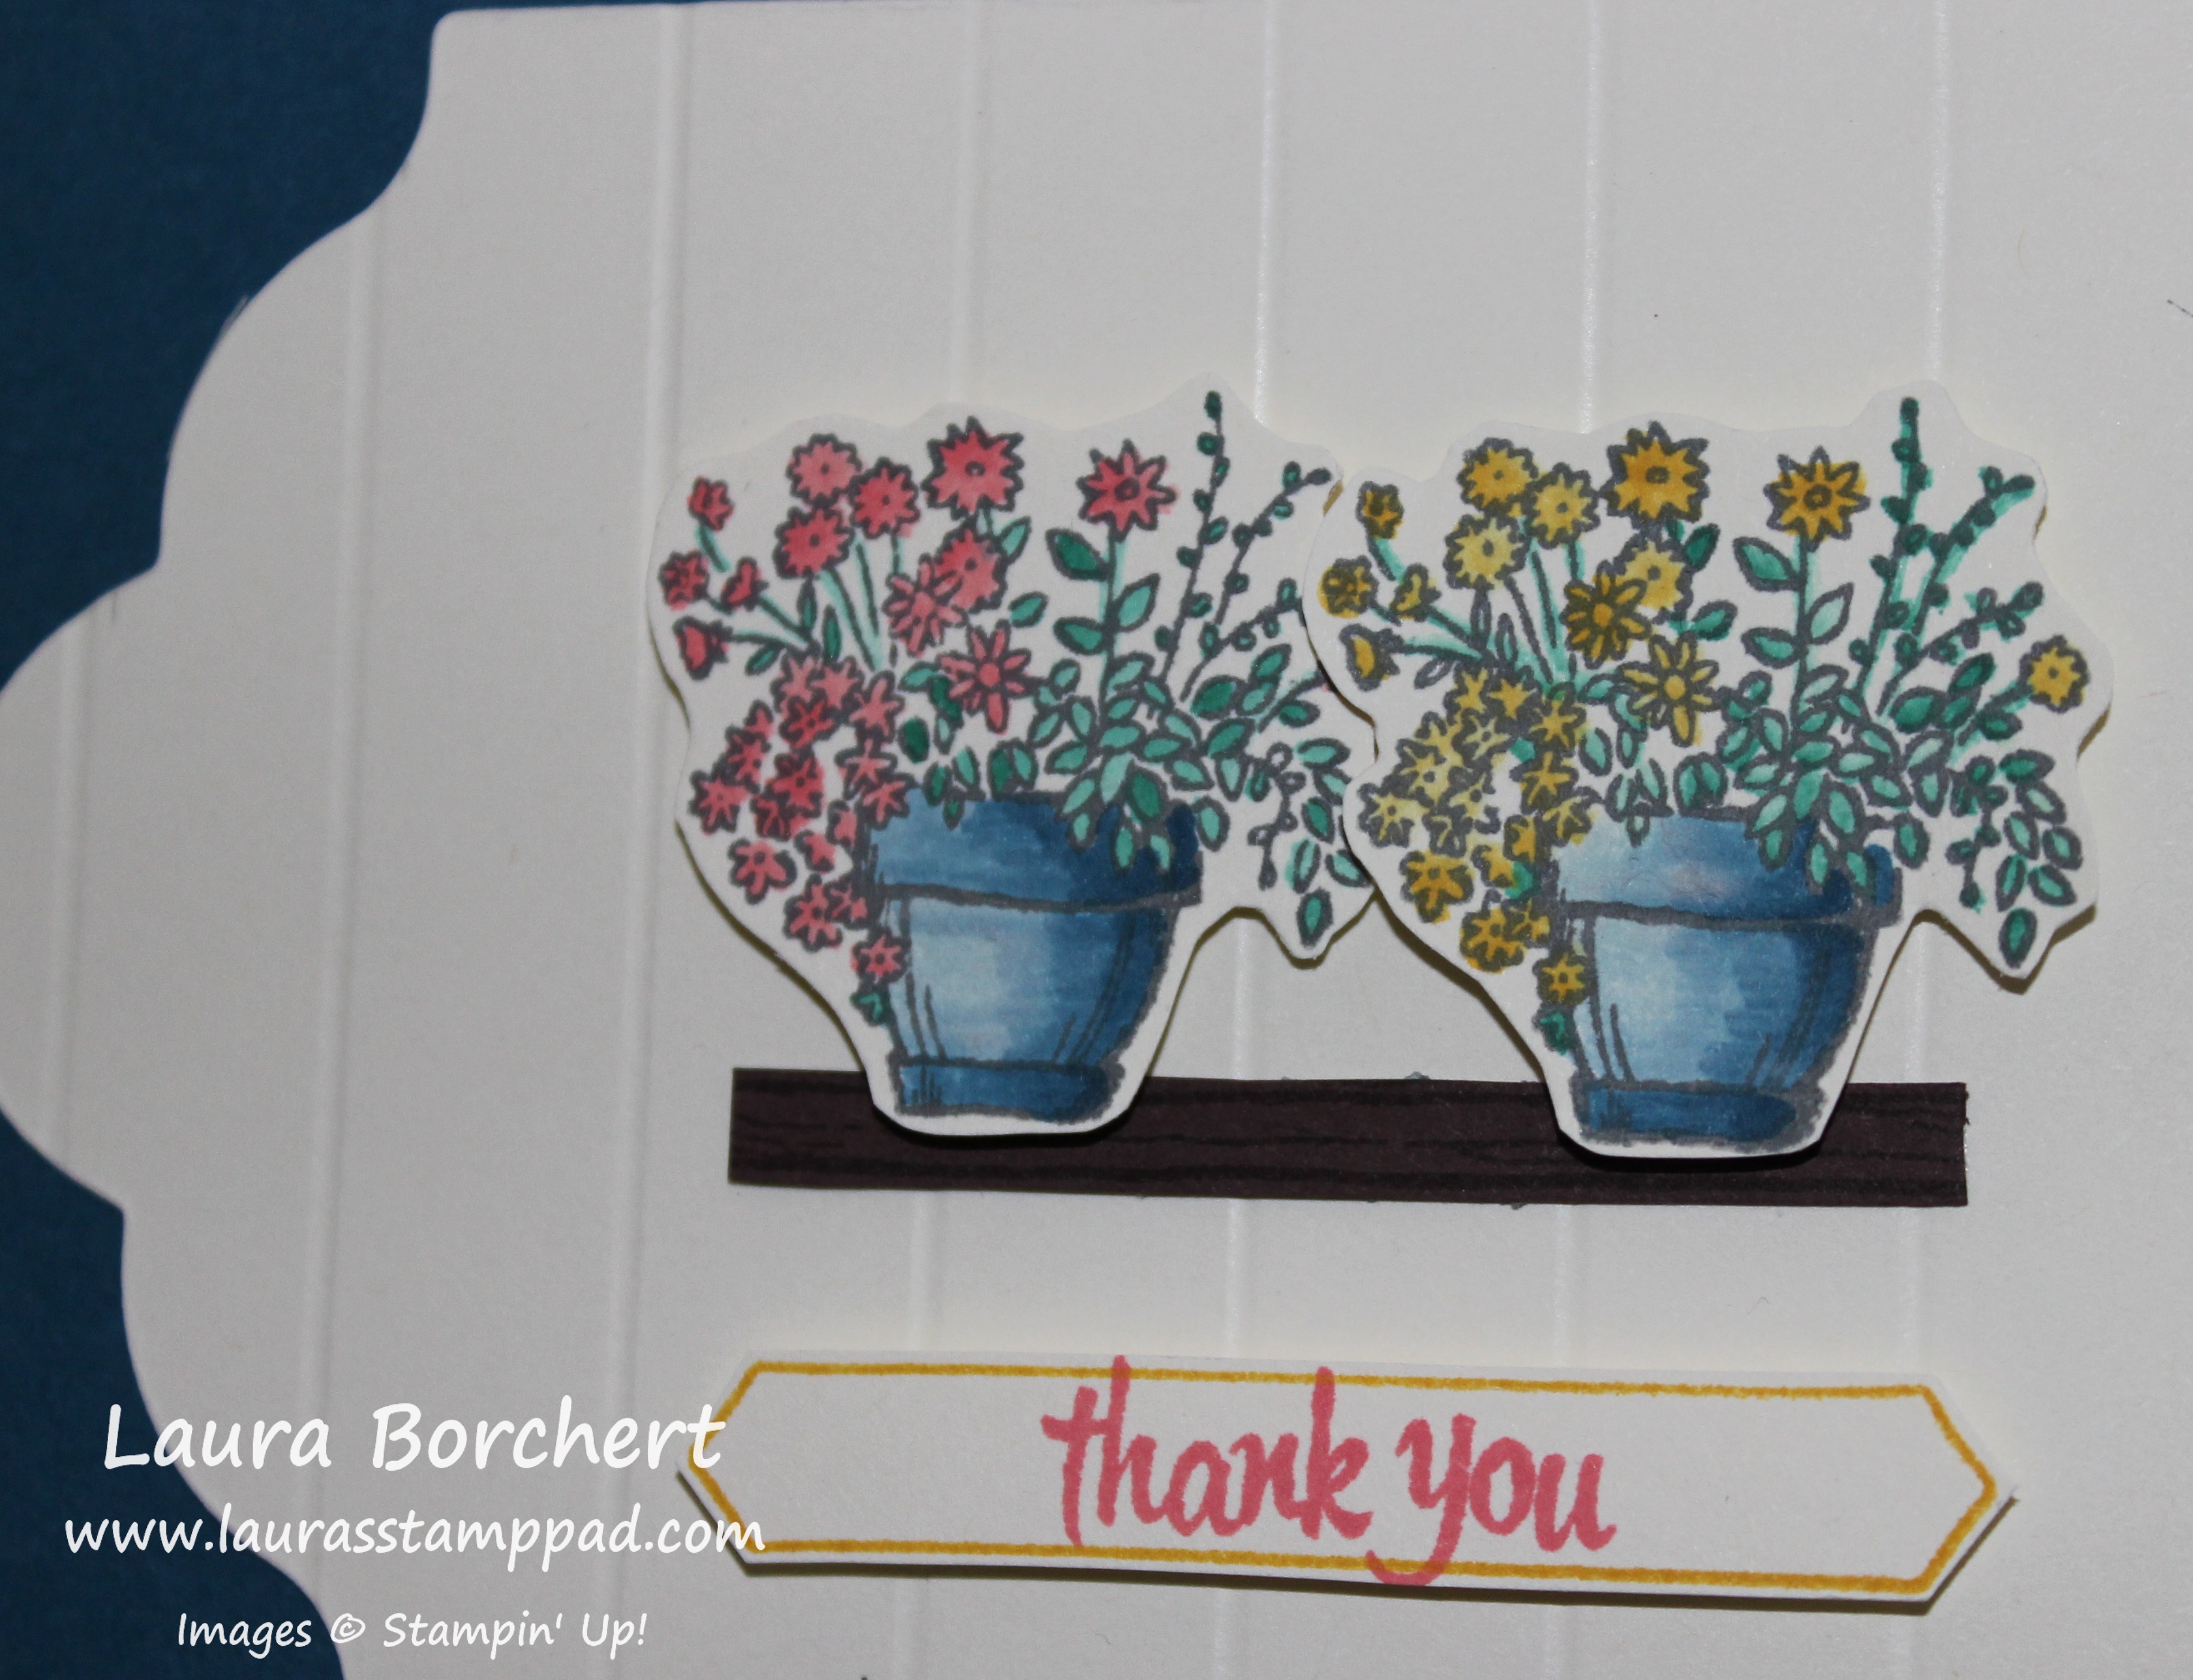
For the shelf, I took a scrap piece of Chocolate Chip cardstock and stamped the bottom of the swing from the Sitting Here Stamp Set in Chocolate Chip. Then I cut off that bottom piece of the swing below the cushion. This gives the shelf some texture and wood look! I added the shelf to the “wall” and then I added the potted flowers with Stampin’ Dimensionals. For the greeting, I used the Thoughtful Banners Stamp Set. I stamped the border in Crushed Curry and the greeting in Flirty Flamingo. I punched it out with the Classic Label Punch. I added the greeting the to the card with Stampin’ Dimensionals! Love it!!!!
Do you love flower cards as much as me too? Do you like watercoloring? Let me know in the comments below if I’m all alone here or if you all love it too!!!
Happy Stampin’
~Laura

Bonus Days are here!! For every $50 you spend, you will earn $5 to use from August 2nd – 31st!!! Click here to start shopping!!!