It’s summer time and for some that might mean more stamping time and for others that might mean no time to stamp! Here is a quick and simple card that I created for those that need to whip up something fast!!! This card might look a little familiar because I showed you a “Stepped Up” version of this card here!

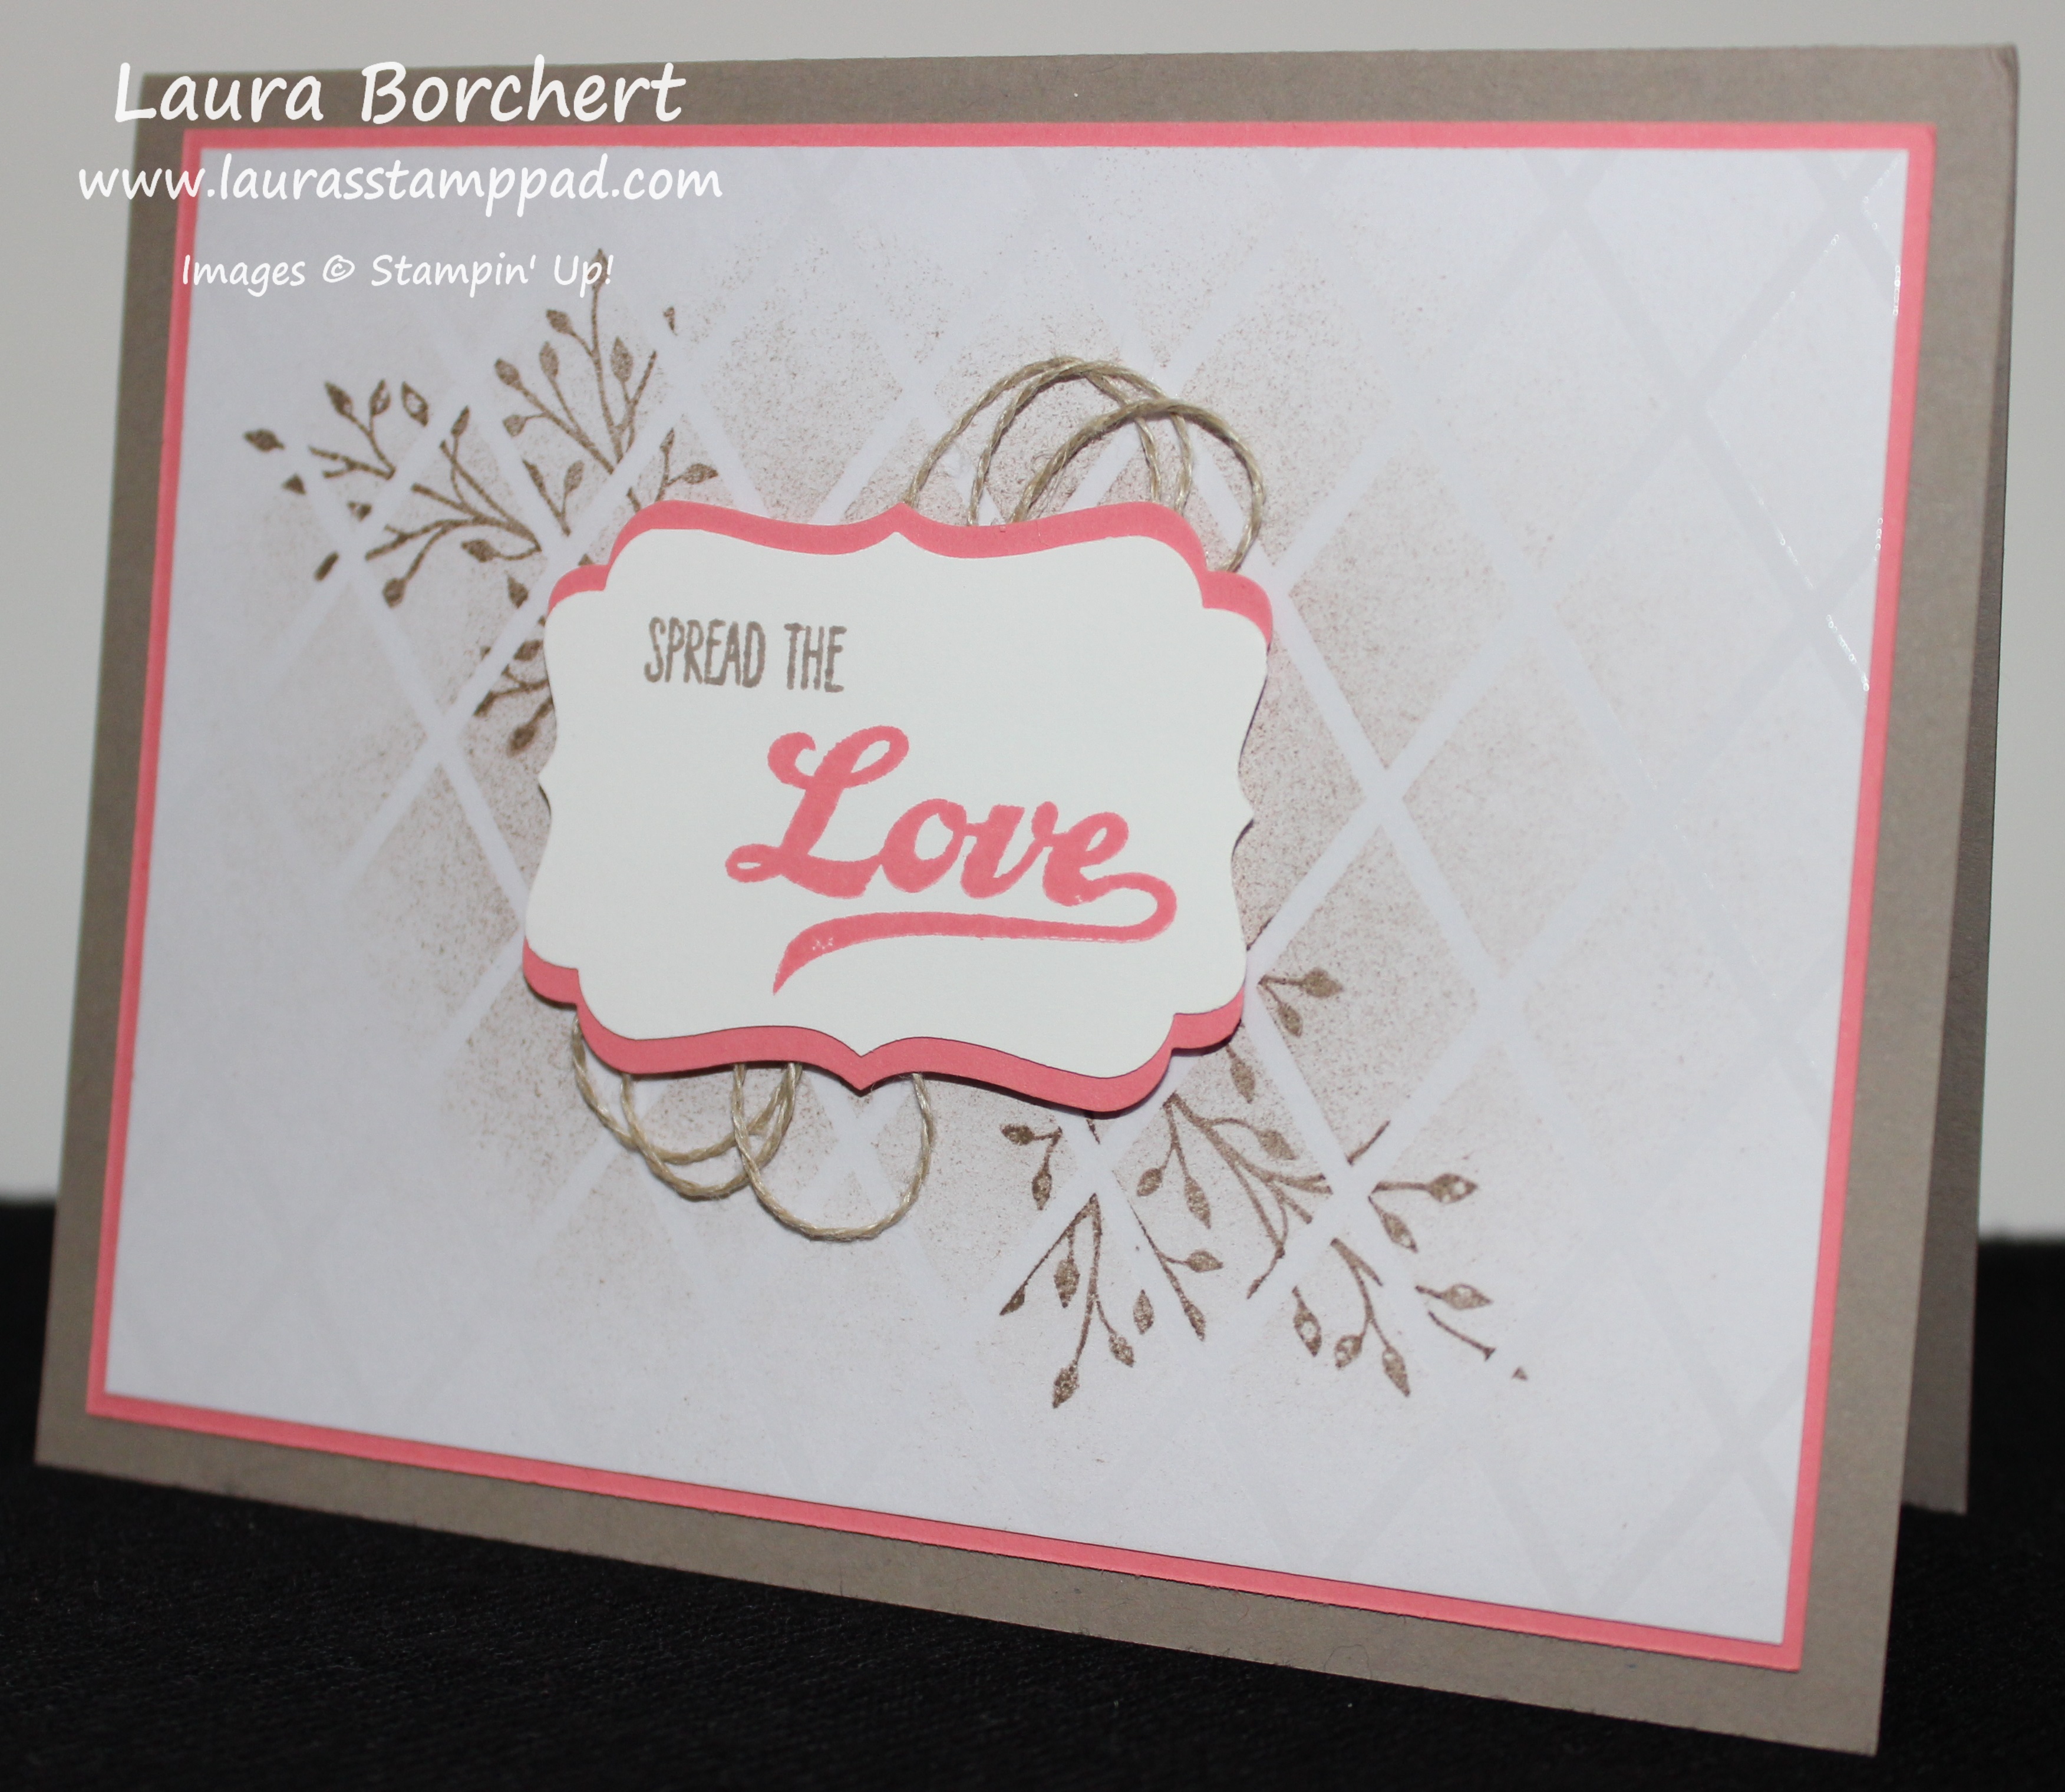
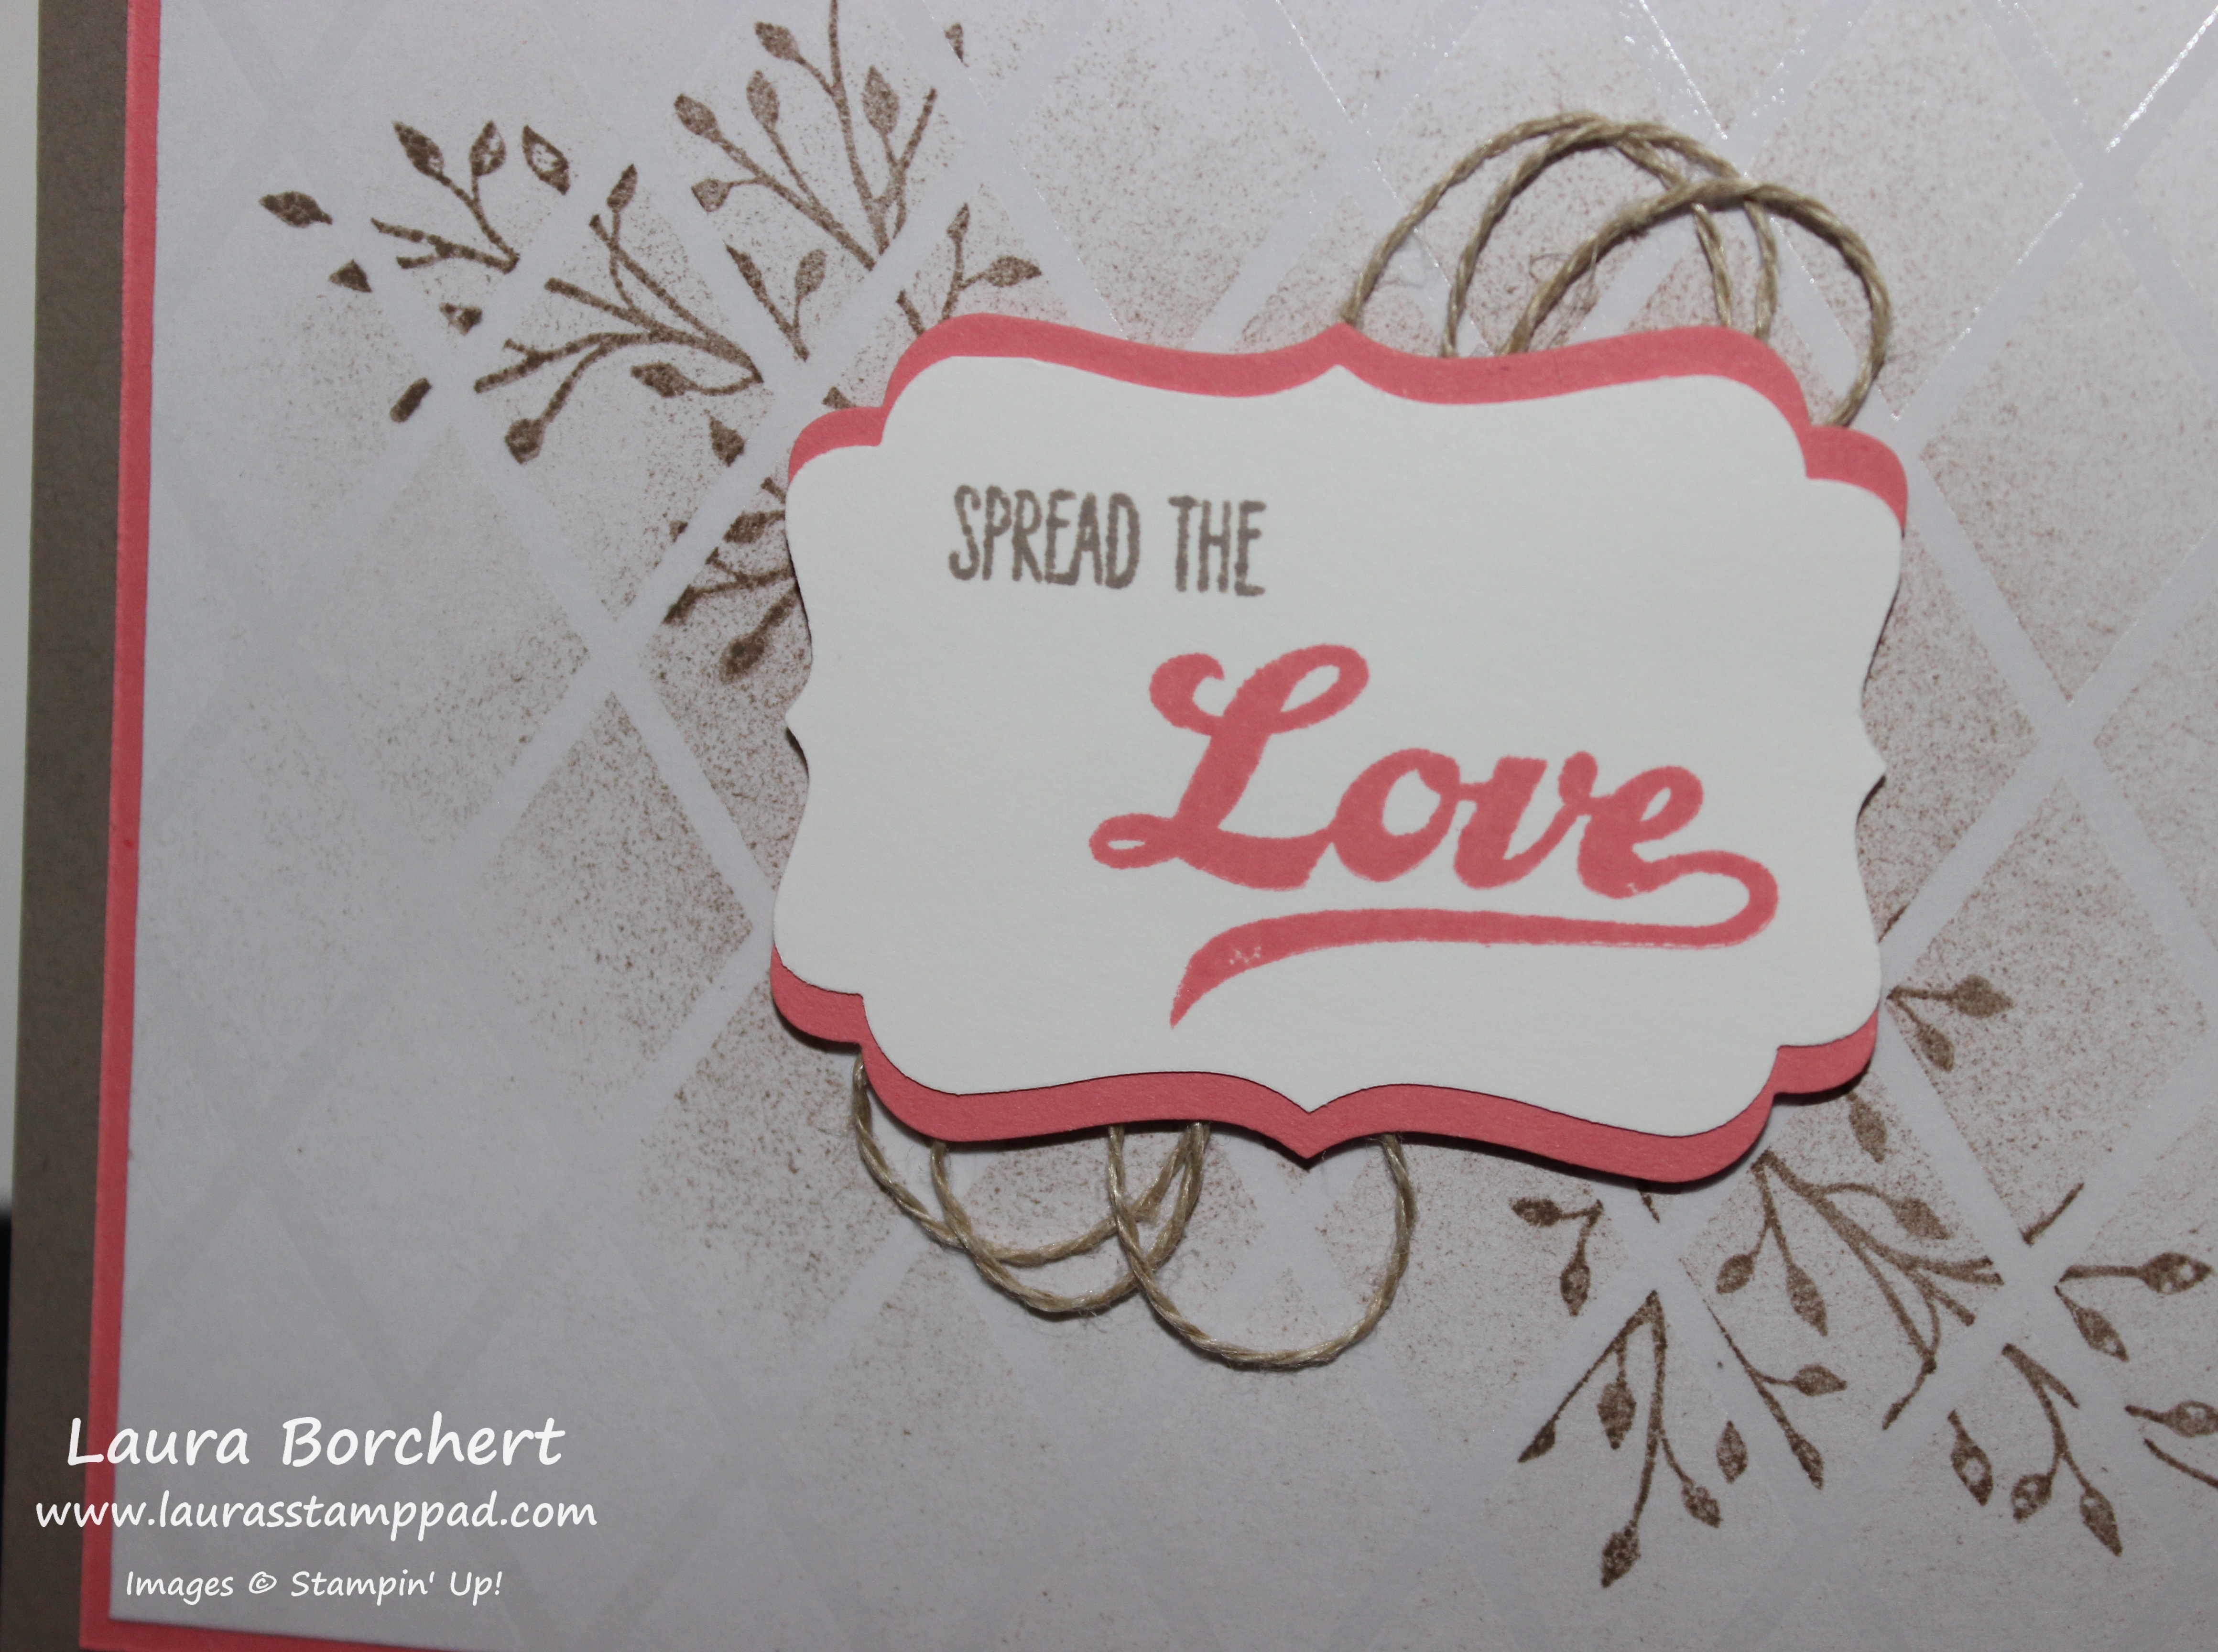
I added more layers to this one and used a few more products – Linen Thread, Punch, and additional stamp set. For the simple version up top, it looks just as fabulous and only uses 2 layers of cardstock and one stamp set!
I started with a Dapper Denim card base. I used the Sitting Here Stamp Set and stamped the swing and birdie in Crumb Cake and the greeting in Dapper Denim. Then I wrapped some Whisper White Thick Baker’s Twine around the cardstock and tied it into a bow. Since this twine is thick, I added the Crumb Cake piece to my card front with Stampin’ Dimensionals. This allows for a smooth look! You are all done! This swing is such a fun, calming, gender neutral image that it is perfect for any occasion. You just need to switch up the greeting!
Which card do you prefer – more details or quick and simple? Let me know in the comments below. I like the more detailed one better…..I think it’s the white layer that makes it pop and the greeting!
Happy Stampin’
~Laura
Click here to start shopping and earning Bonus Bucks!!!