I can’t believe that I have been sharing my love for stamping with you all here at Laura’s Stamp Pad for 3 years. It has been wonderful and I can’t wait for all of the years to come!!!
My Top 5 Most Viewed Post!!!
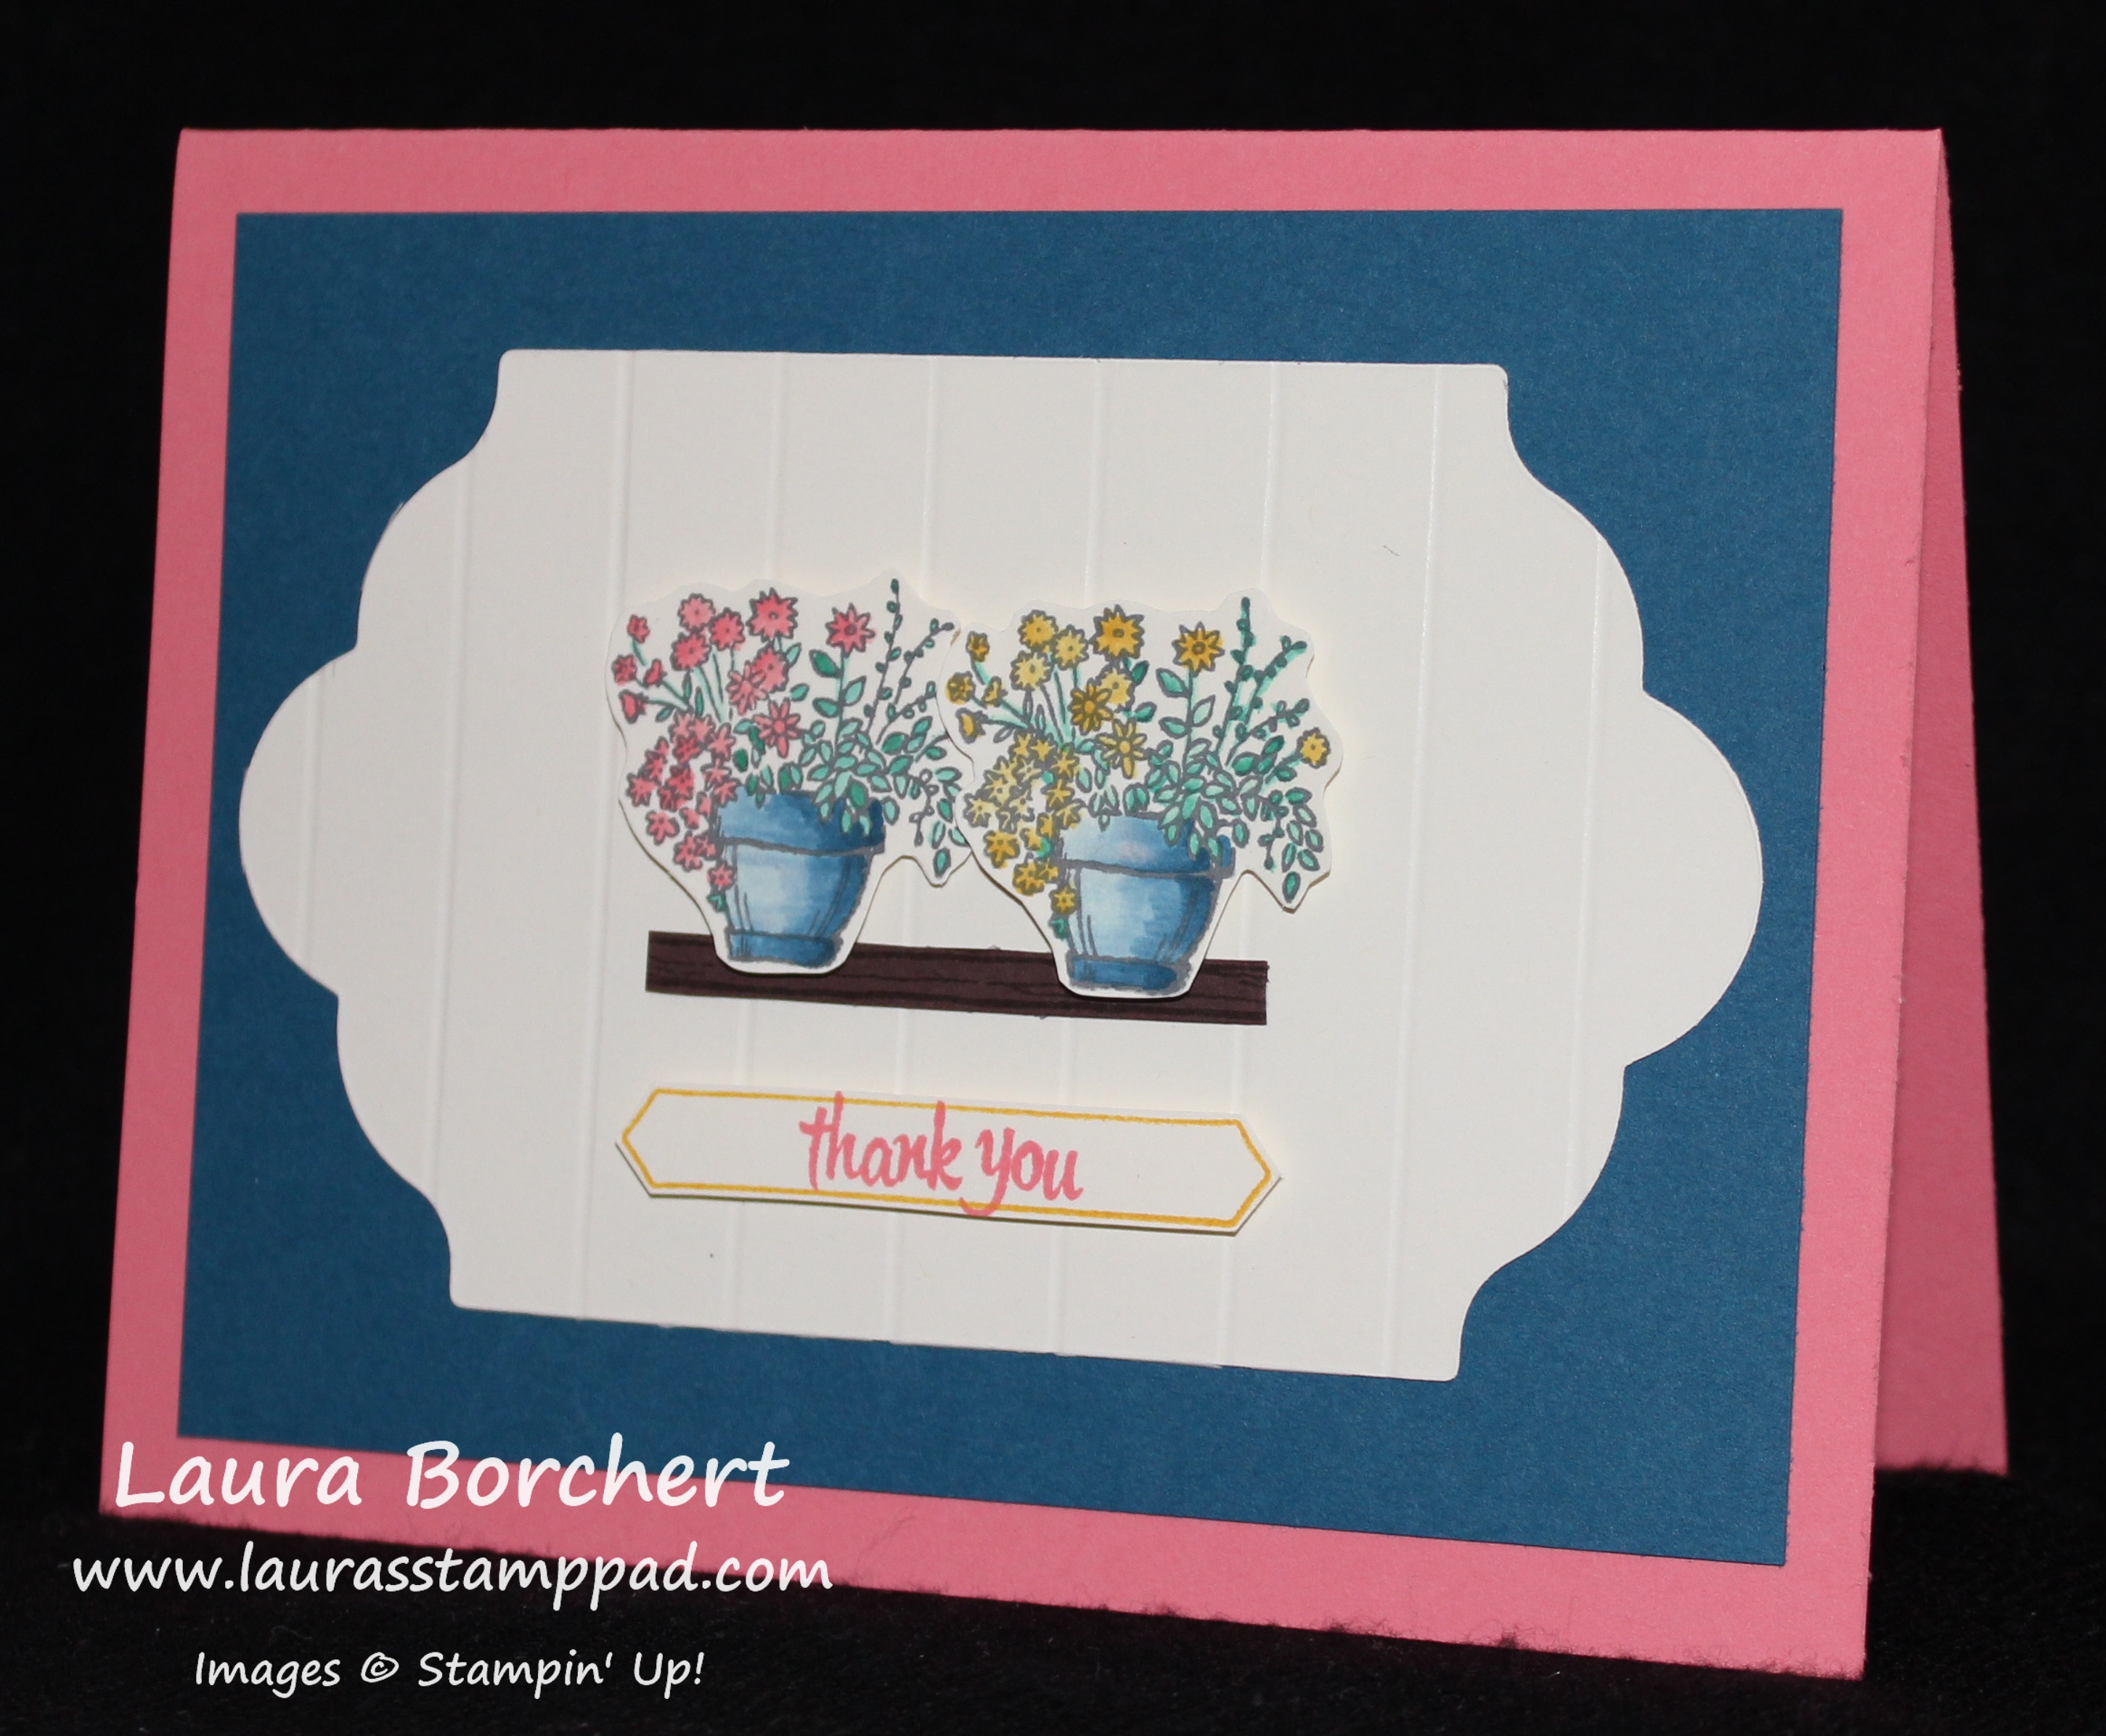
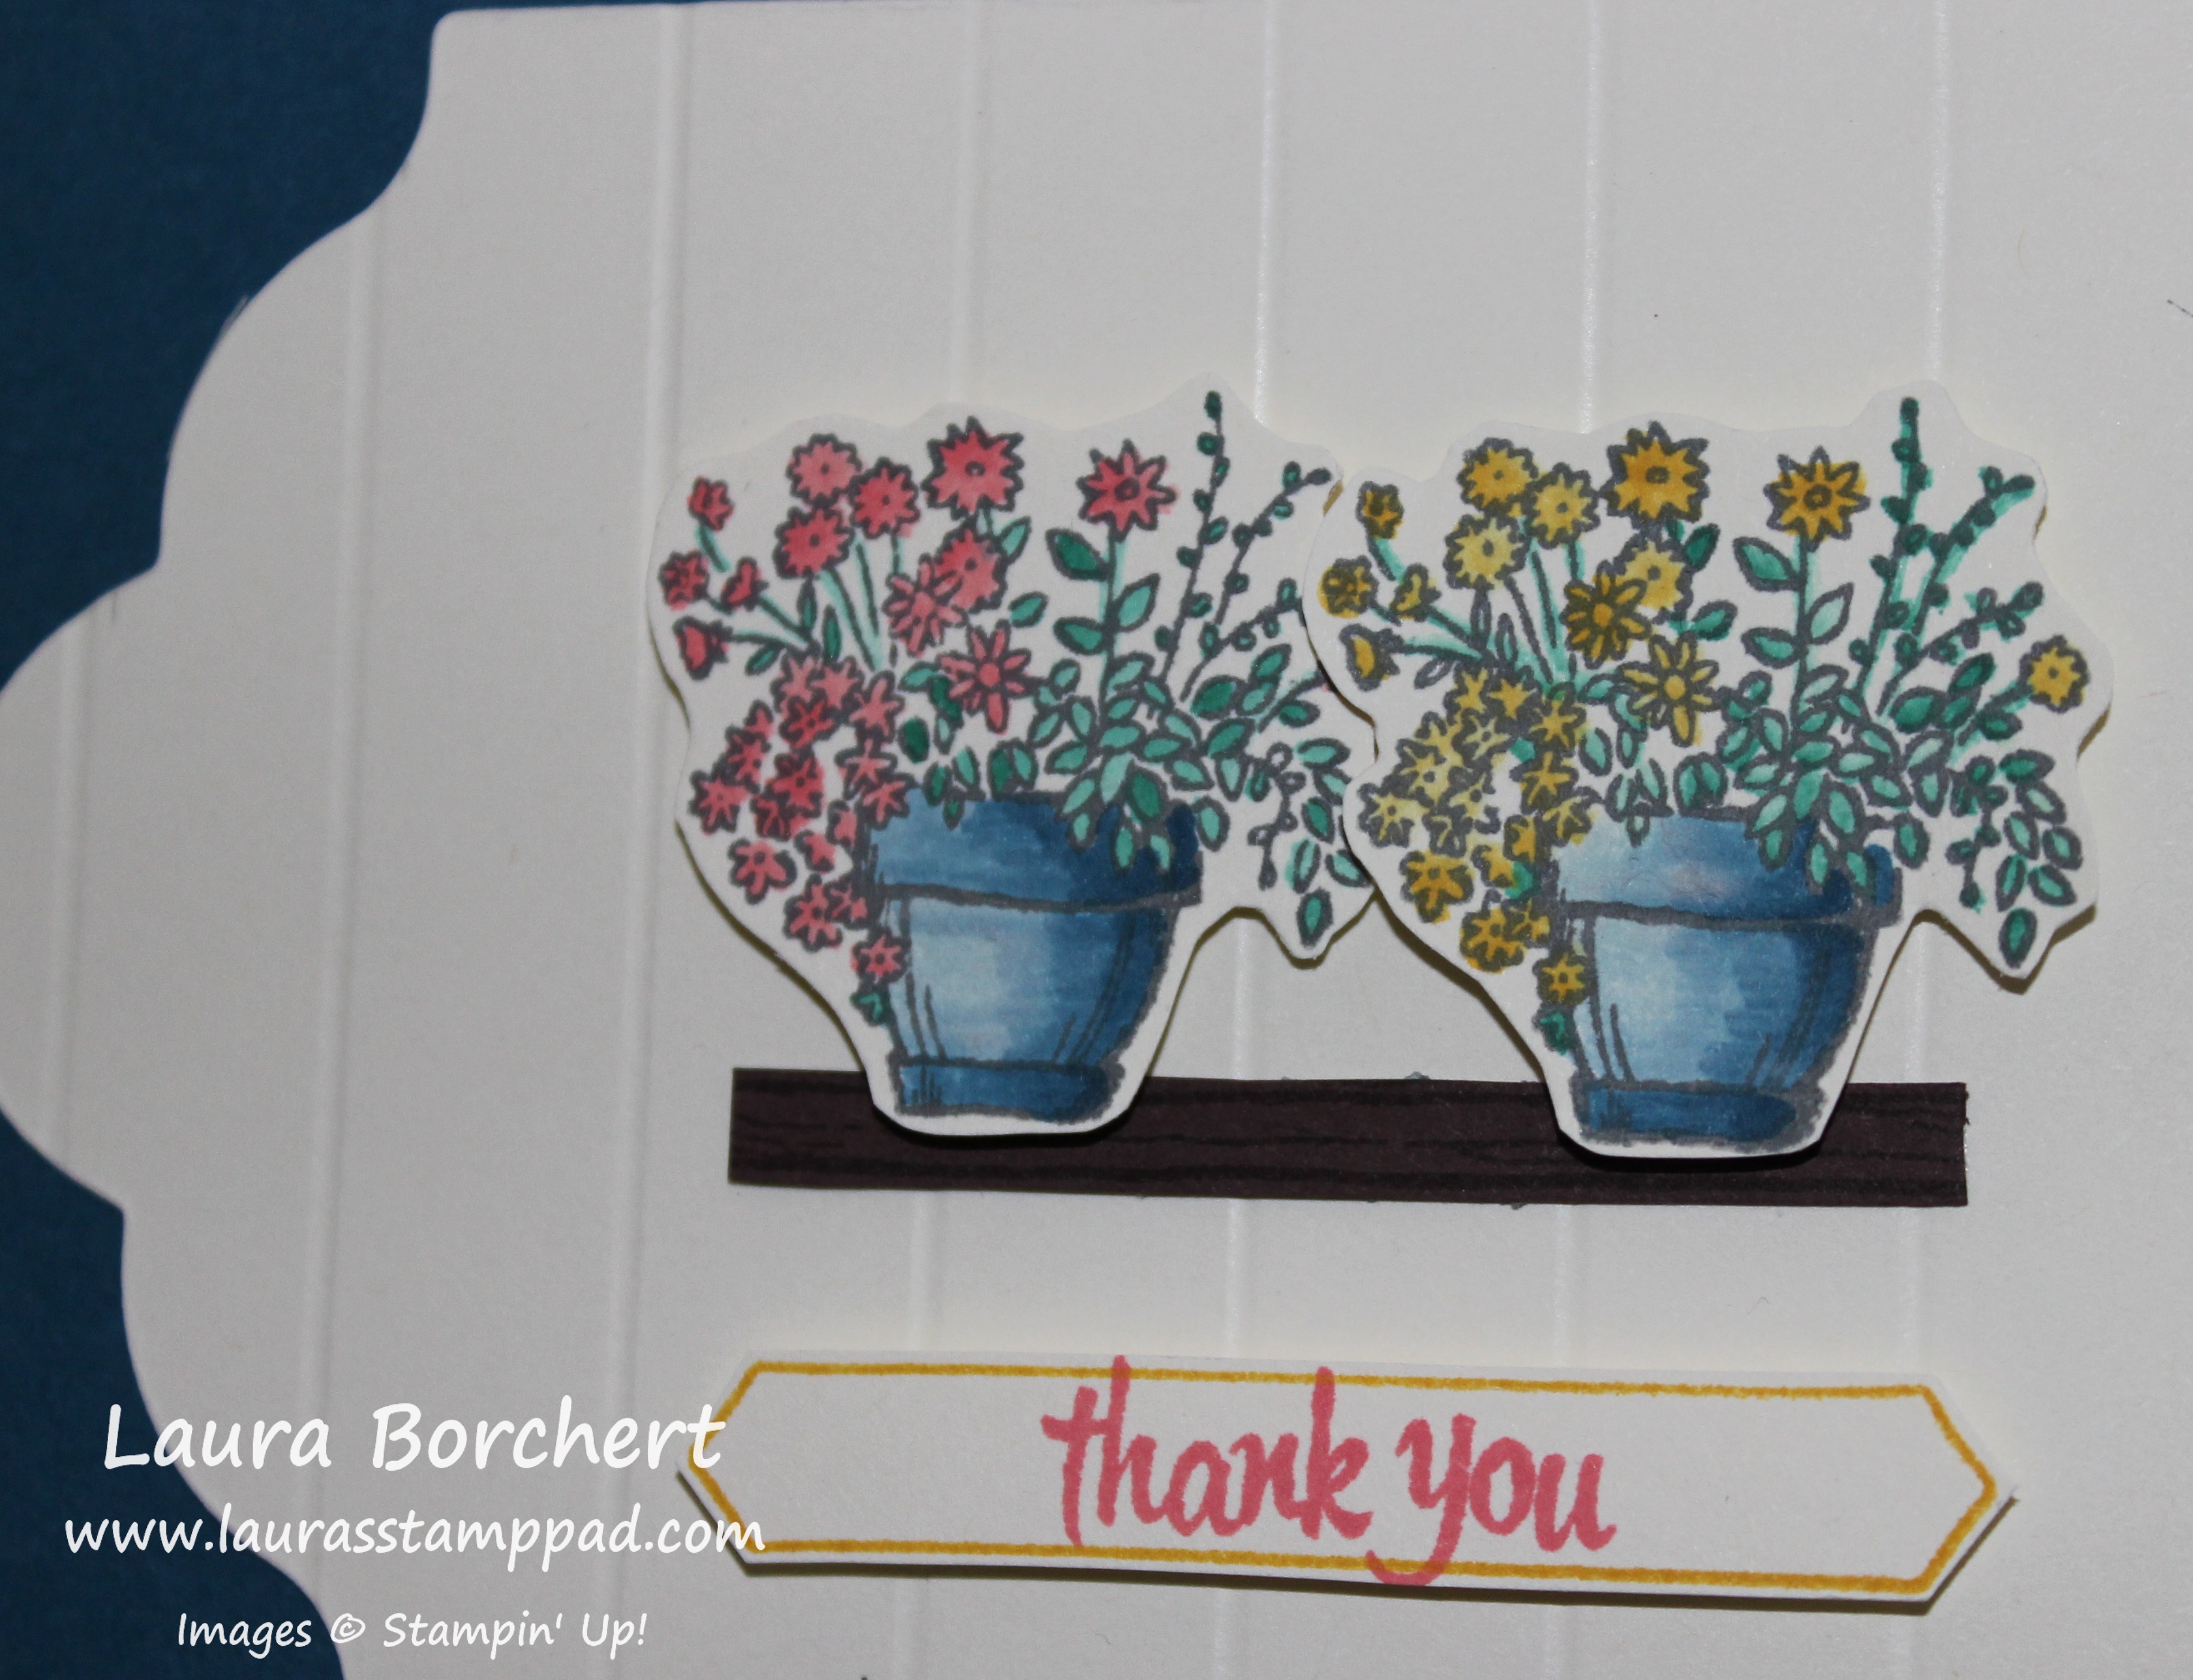
Something Borrowed One Sheet Wonder Card Set
December 2015 Paper Pumpkin Kit
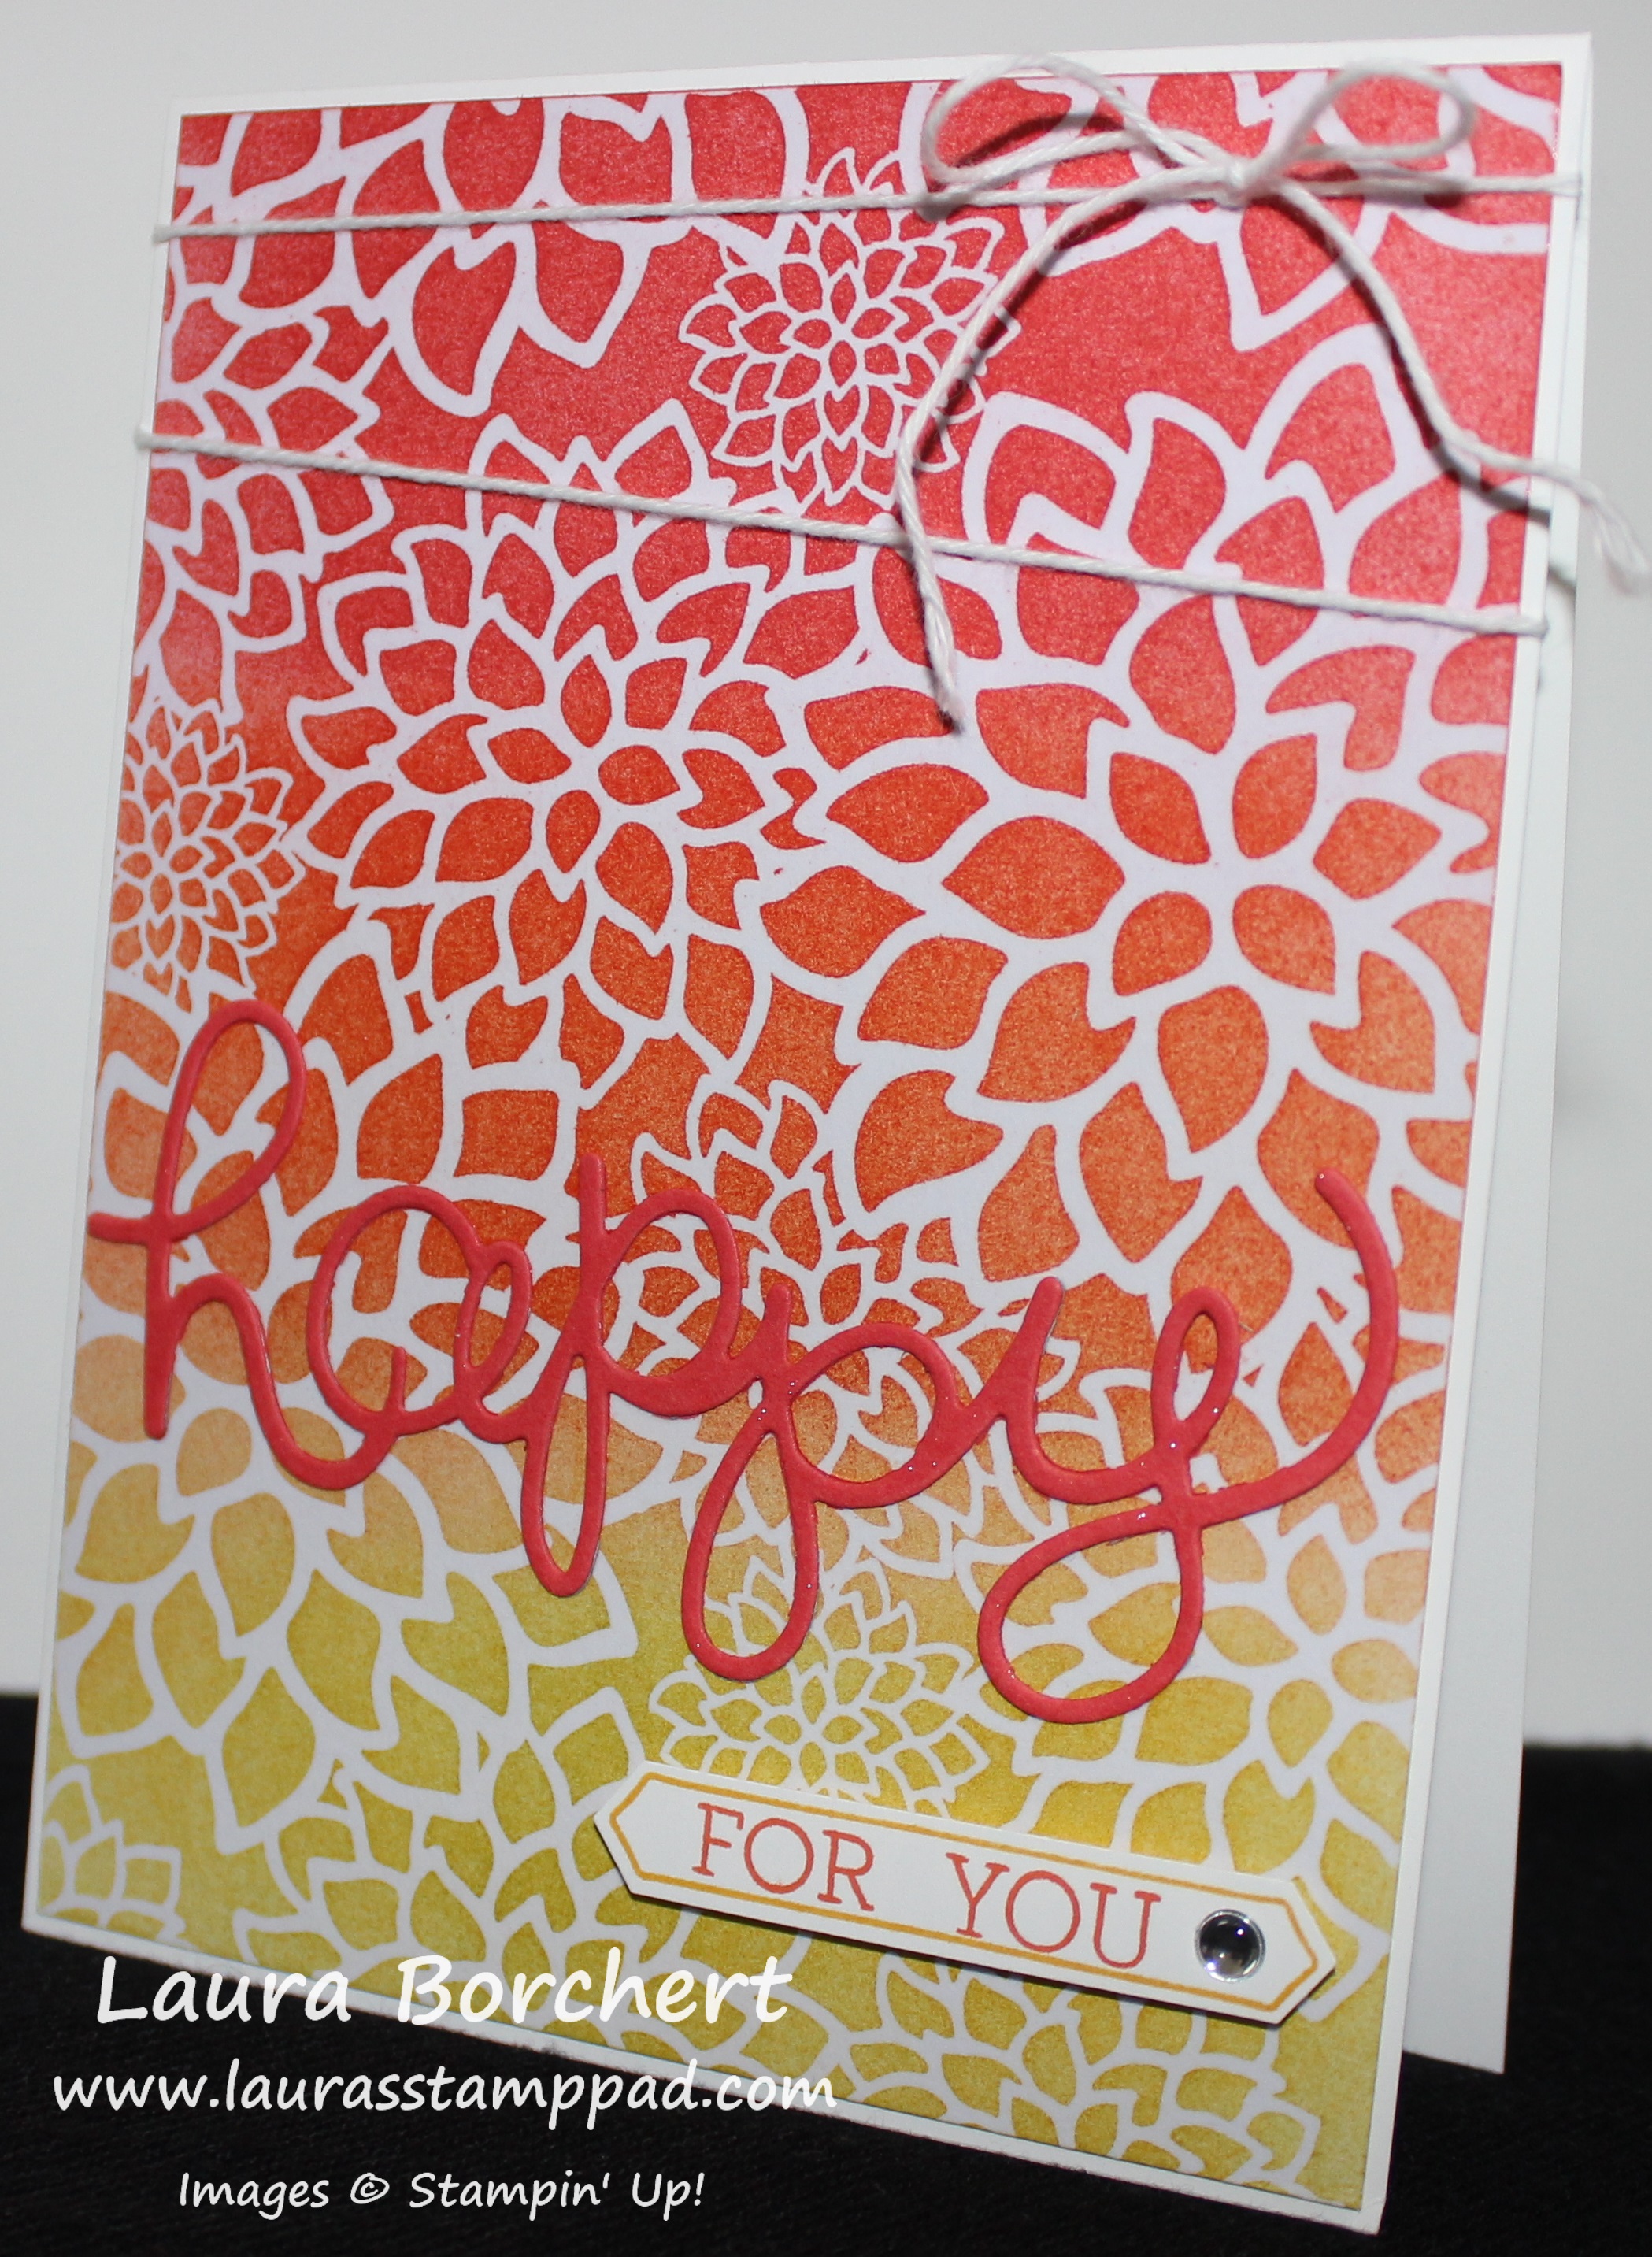
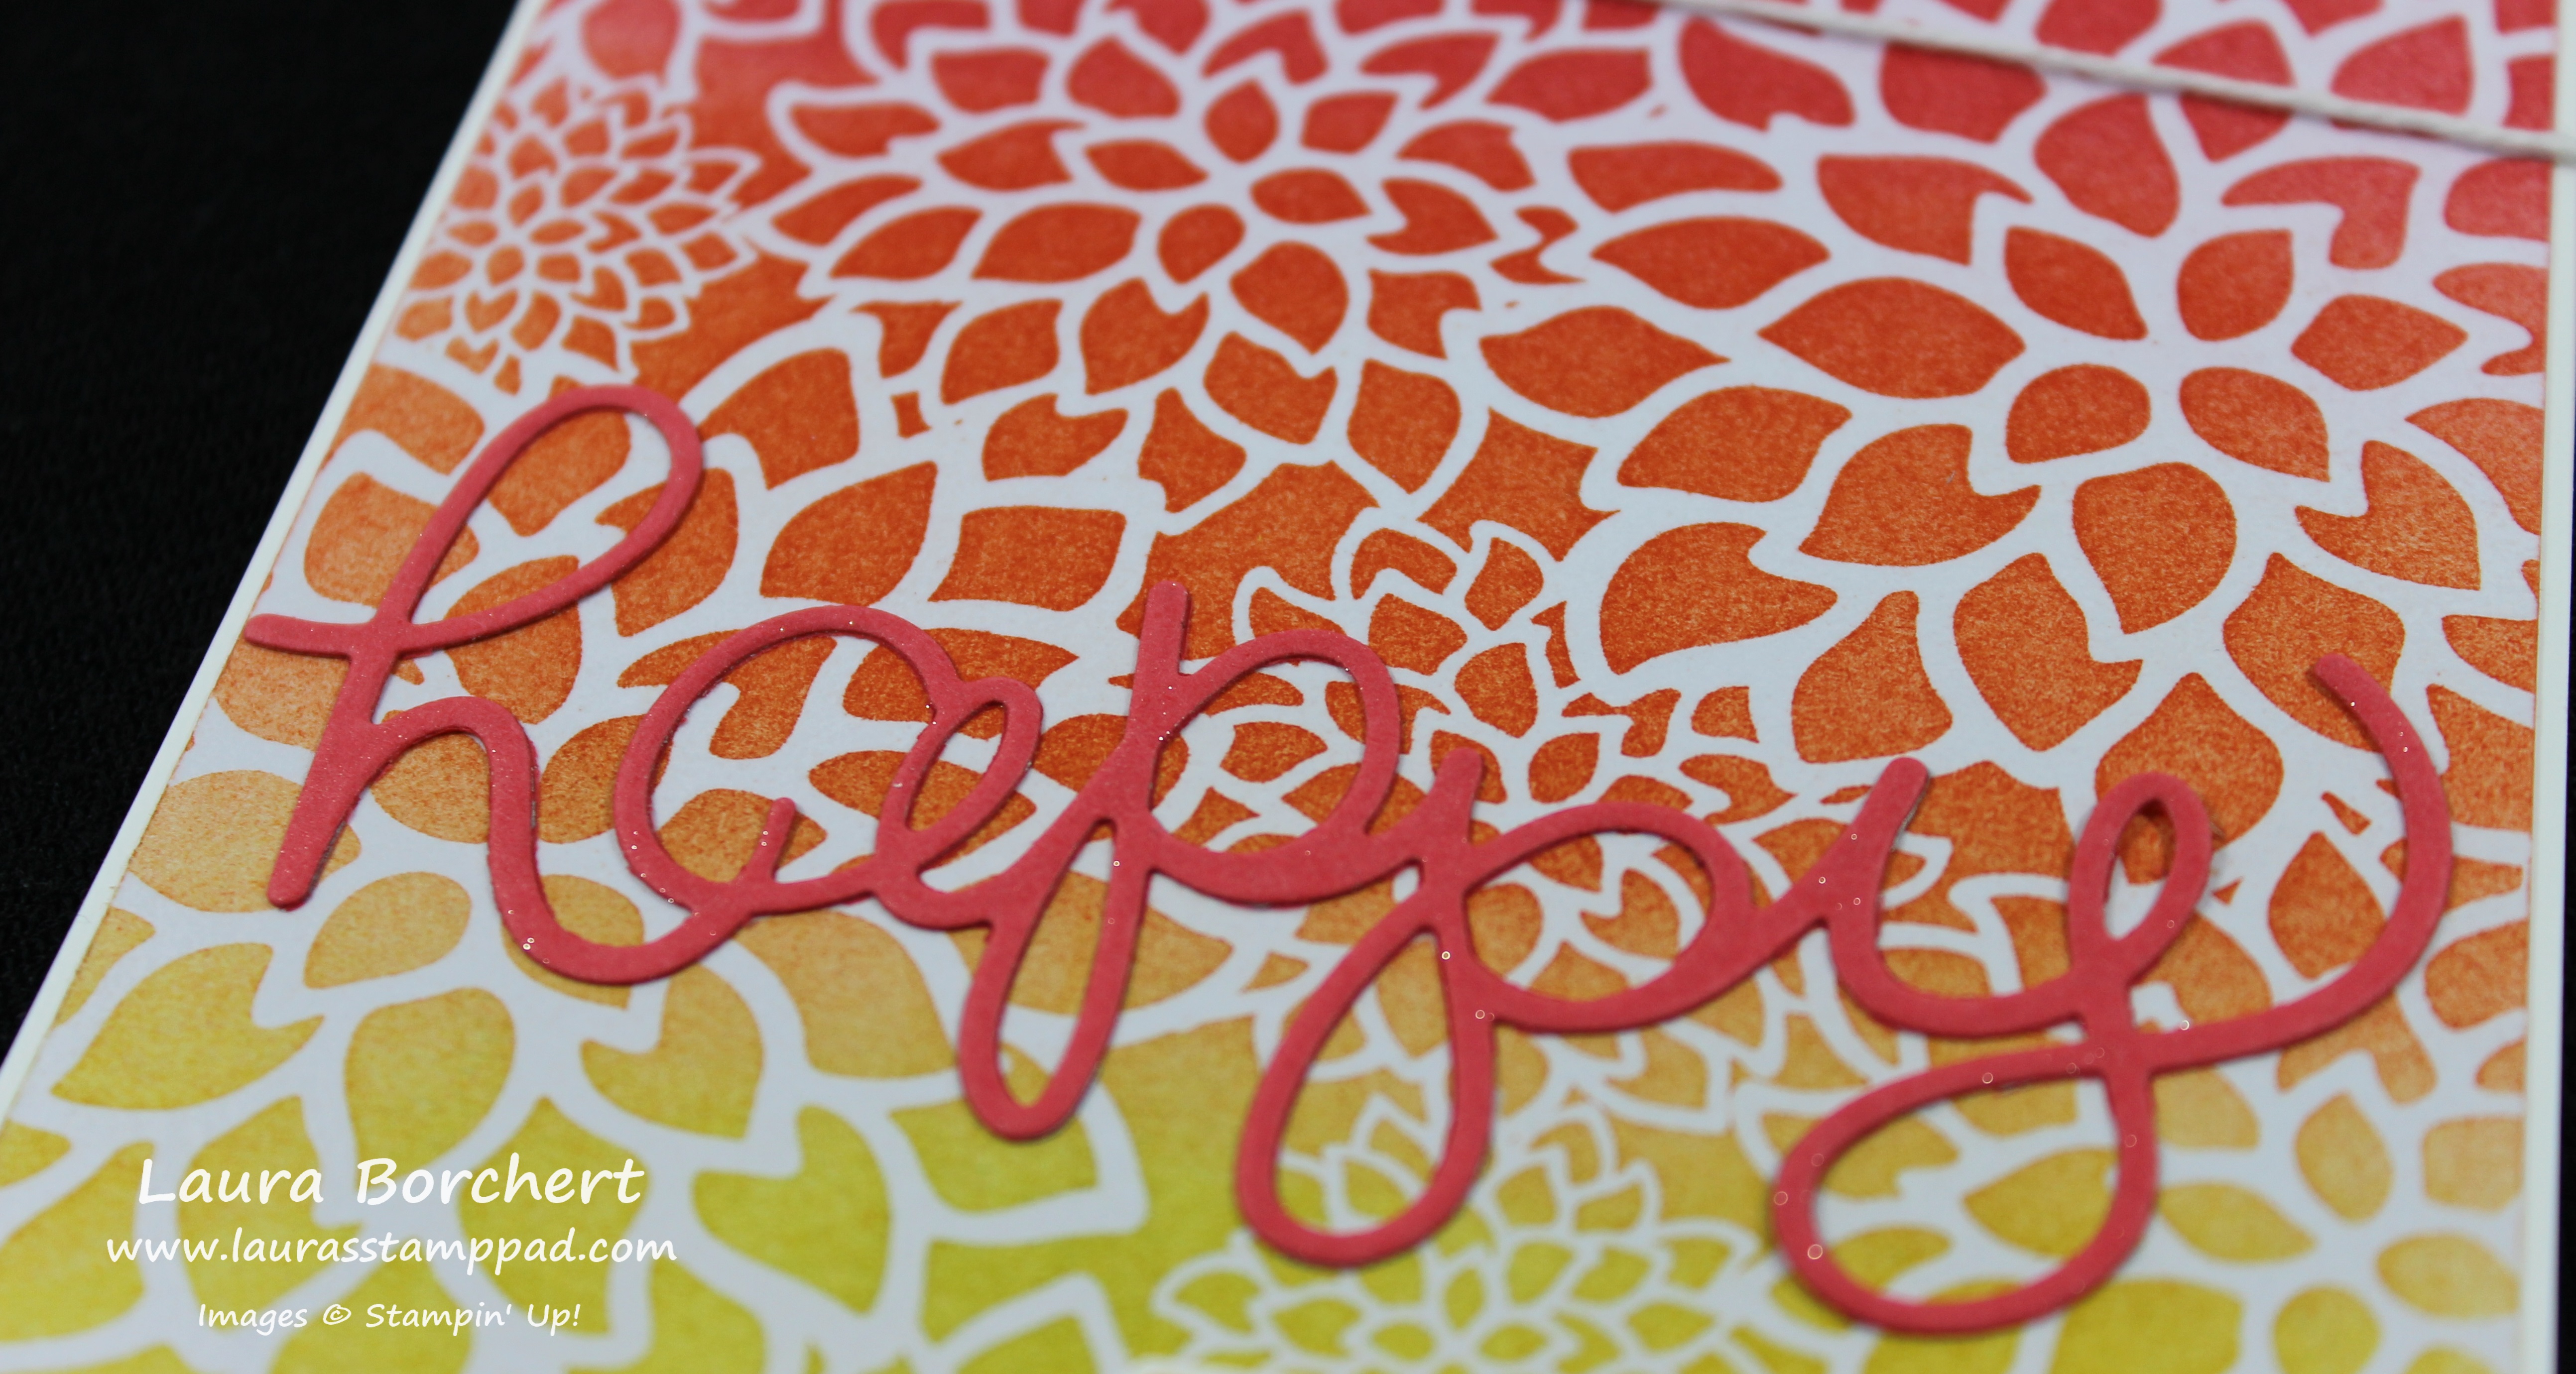
Technique Tuesday – One Sheet Wonder
Technique Tuesday – Card In A Box
Thank you all for reading, commenting, and sharing my blog! I really appreciate it and love reading all of your comments. The ideas you share or inspiration you give is fabulous! You all really mean a lot to me! THANK YOU!!!
To celebrate this amazing Anniversary, I am offering a FREE GIFT for everyone who places an online order today through tomorrow (July 23rd & 24th). Click here to start shopping and if you use the Hostess Code AAKCMDAZ your name will also go in a drawing for a $25.00 Gift Certificate!!! Also, don’t forget that you will be earning Laura’s Loyal Stampers Points as well! How fabulous is that?!?!?! You can get some of your favorite supplies, a free gift from me, the chance for a $25 Gift Certificate and Laura’s Loyal Stamper Points. Woot Woot!
Don’t forget about the $5 Bonus Bucks as well – every $50 order placed through the month of July will earn you $5 Bonus Bucks to use in August!!!! Let the celebration continue!!!
Happy Stampin’
~Laura