Happy Friday!!!! I know that Valentine’s Day was last weekend but I thought I would share with you the card I created for my Sweetheart! We have this little toy that we have named Bluepy and he hide him around my Stamp Room. Once I find him, I hide him and then my husbands finds him and hides him. It goes on and on. I thought that would be fun to make for his Valentine’s Day Card! So here it is!!!

I think it turned out really good! I used Pacific Point Cardstock. The eyes were created with a 3/4″ Circle Punch and 1/2″ Circle Punch. The face was created with a 2-1/2″ Circle Punch and then 1″ Circle Punch and 1-1/4″ Circle Punch. I used the Tree Punch for the ears. I used the Corner Rounder Punch for the body and the legs! The hearts are from the Itty Bitty Punch Pack!

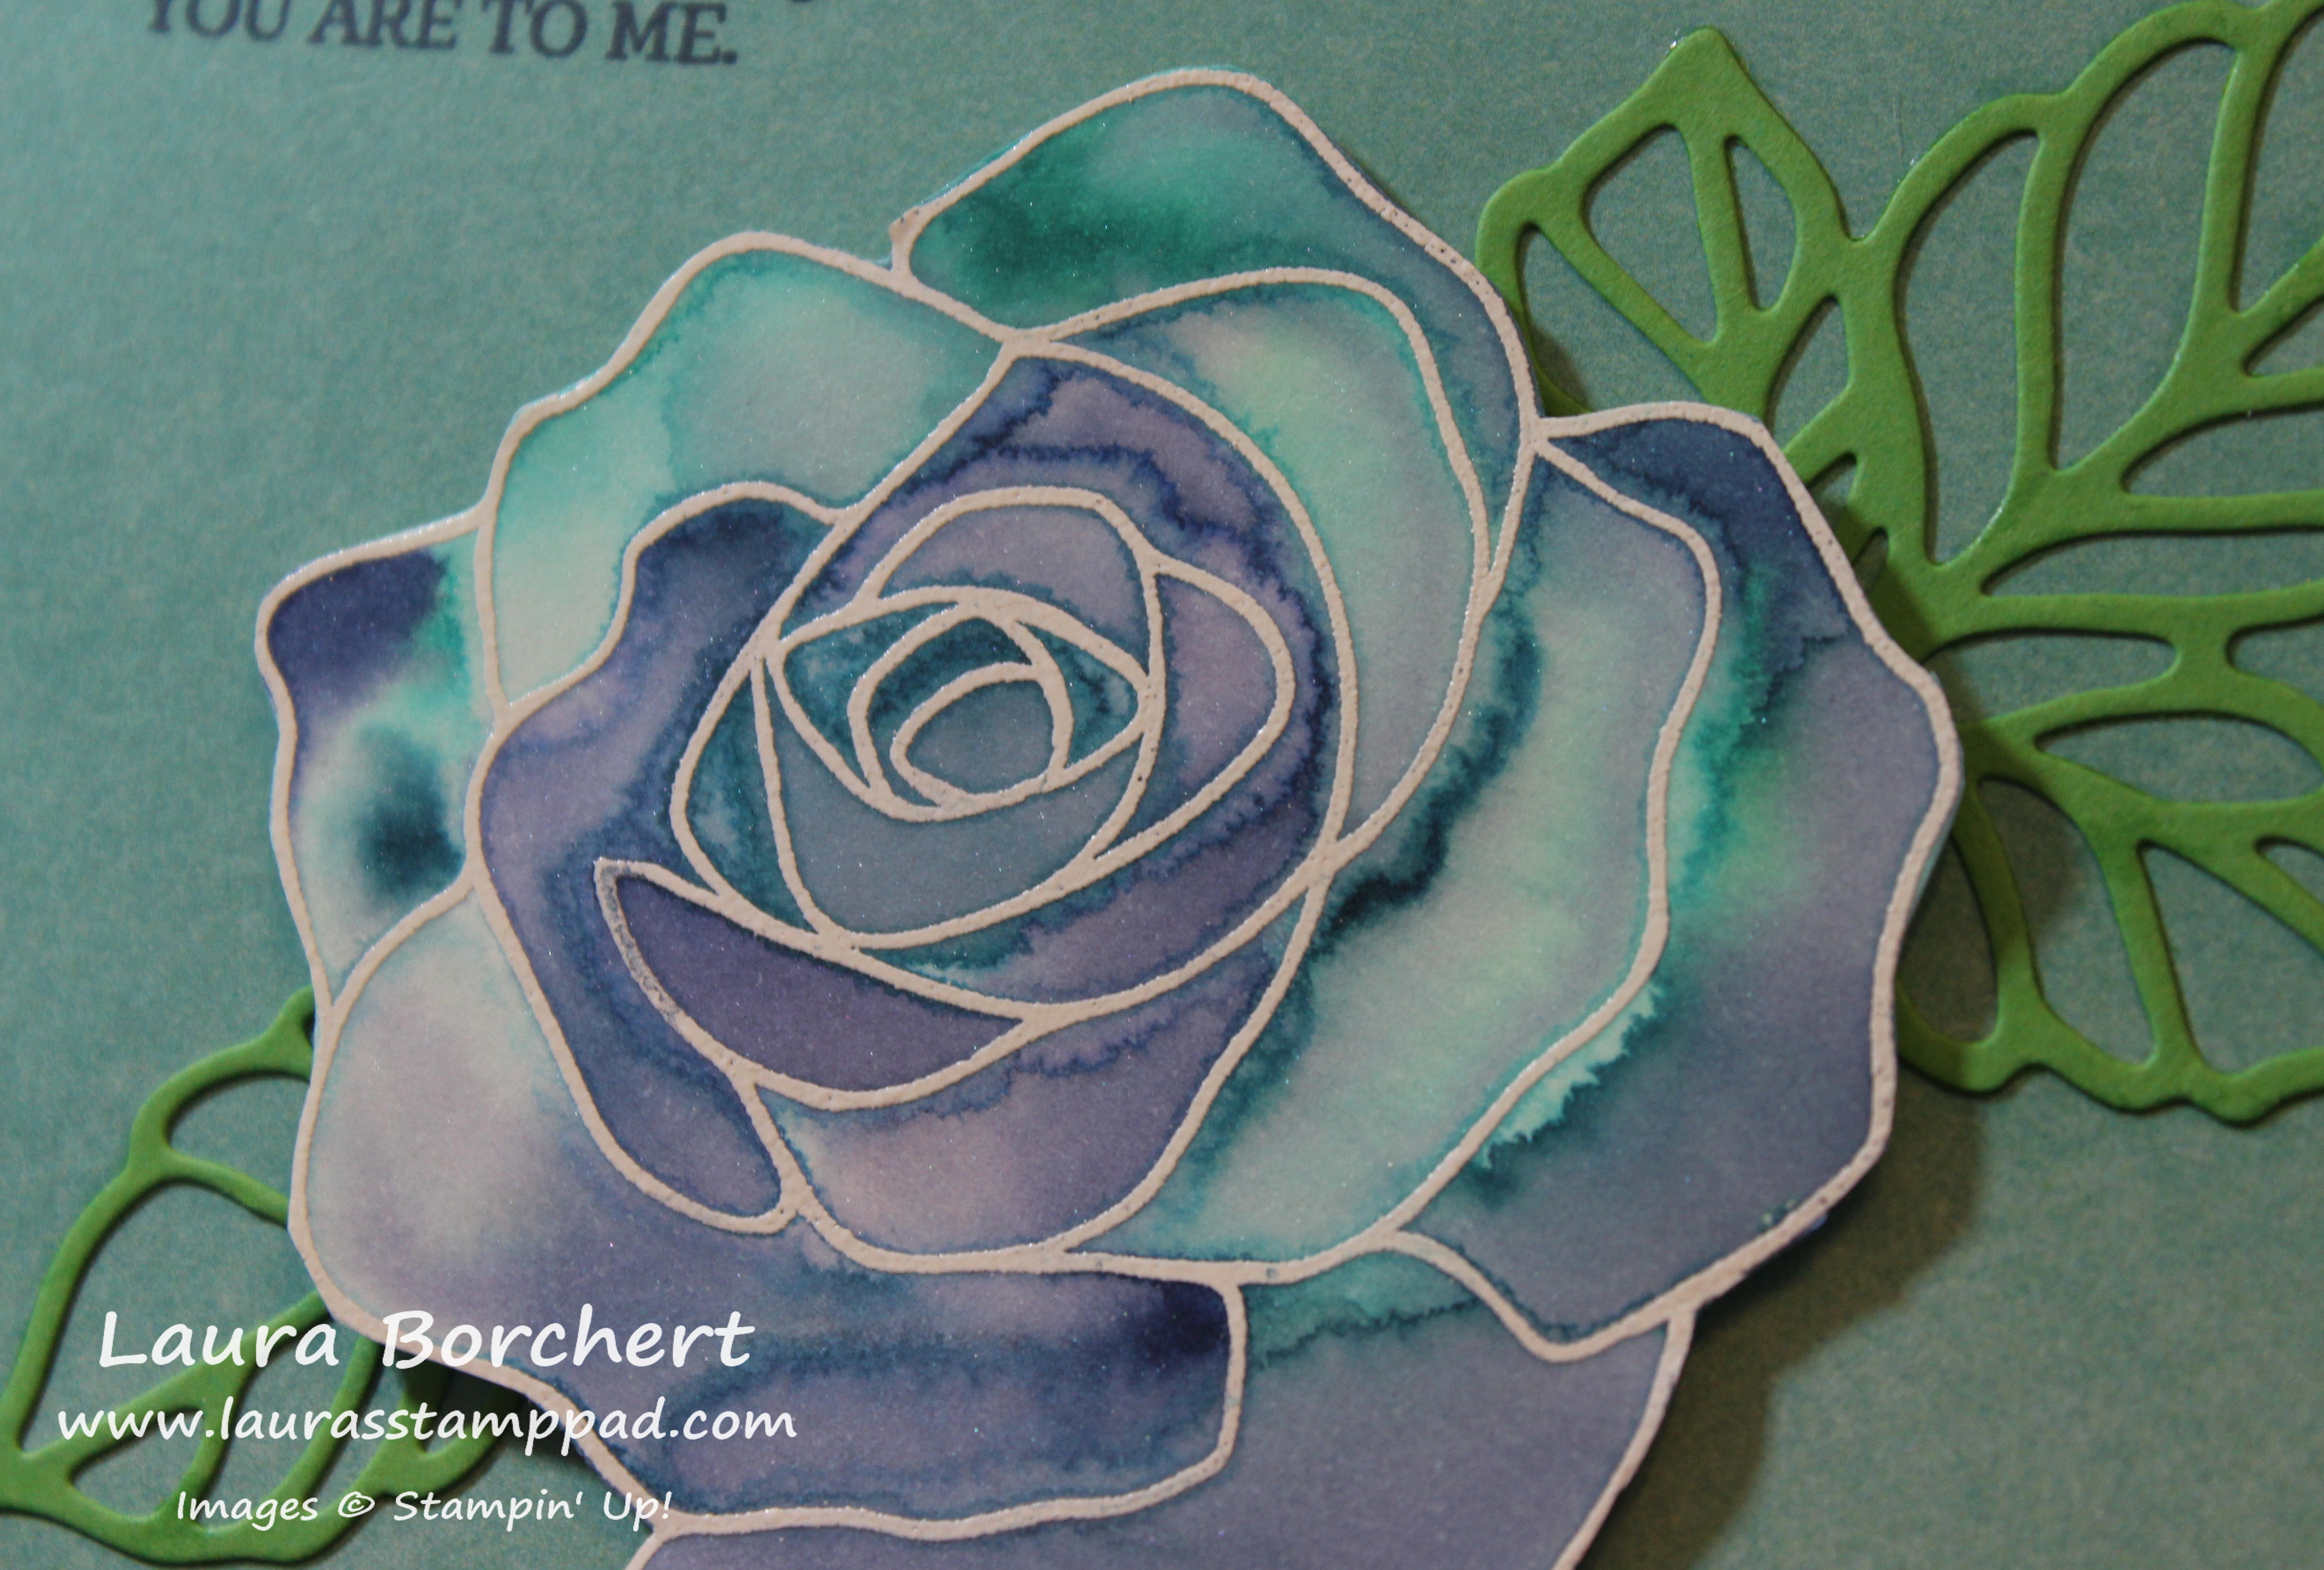
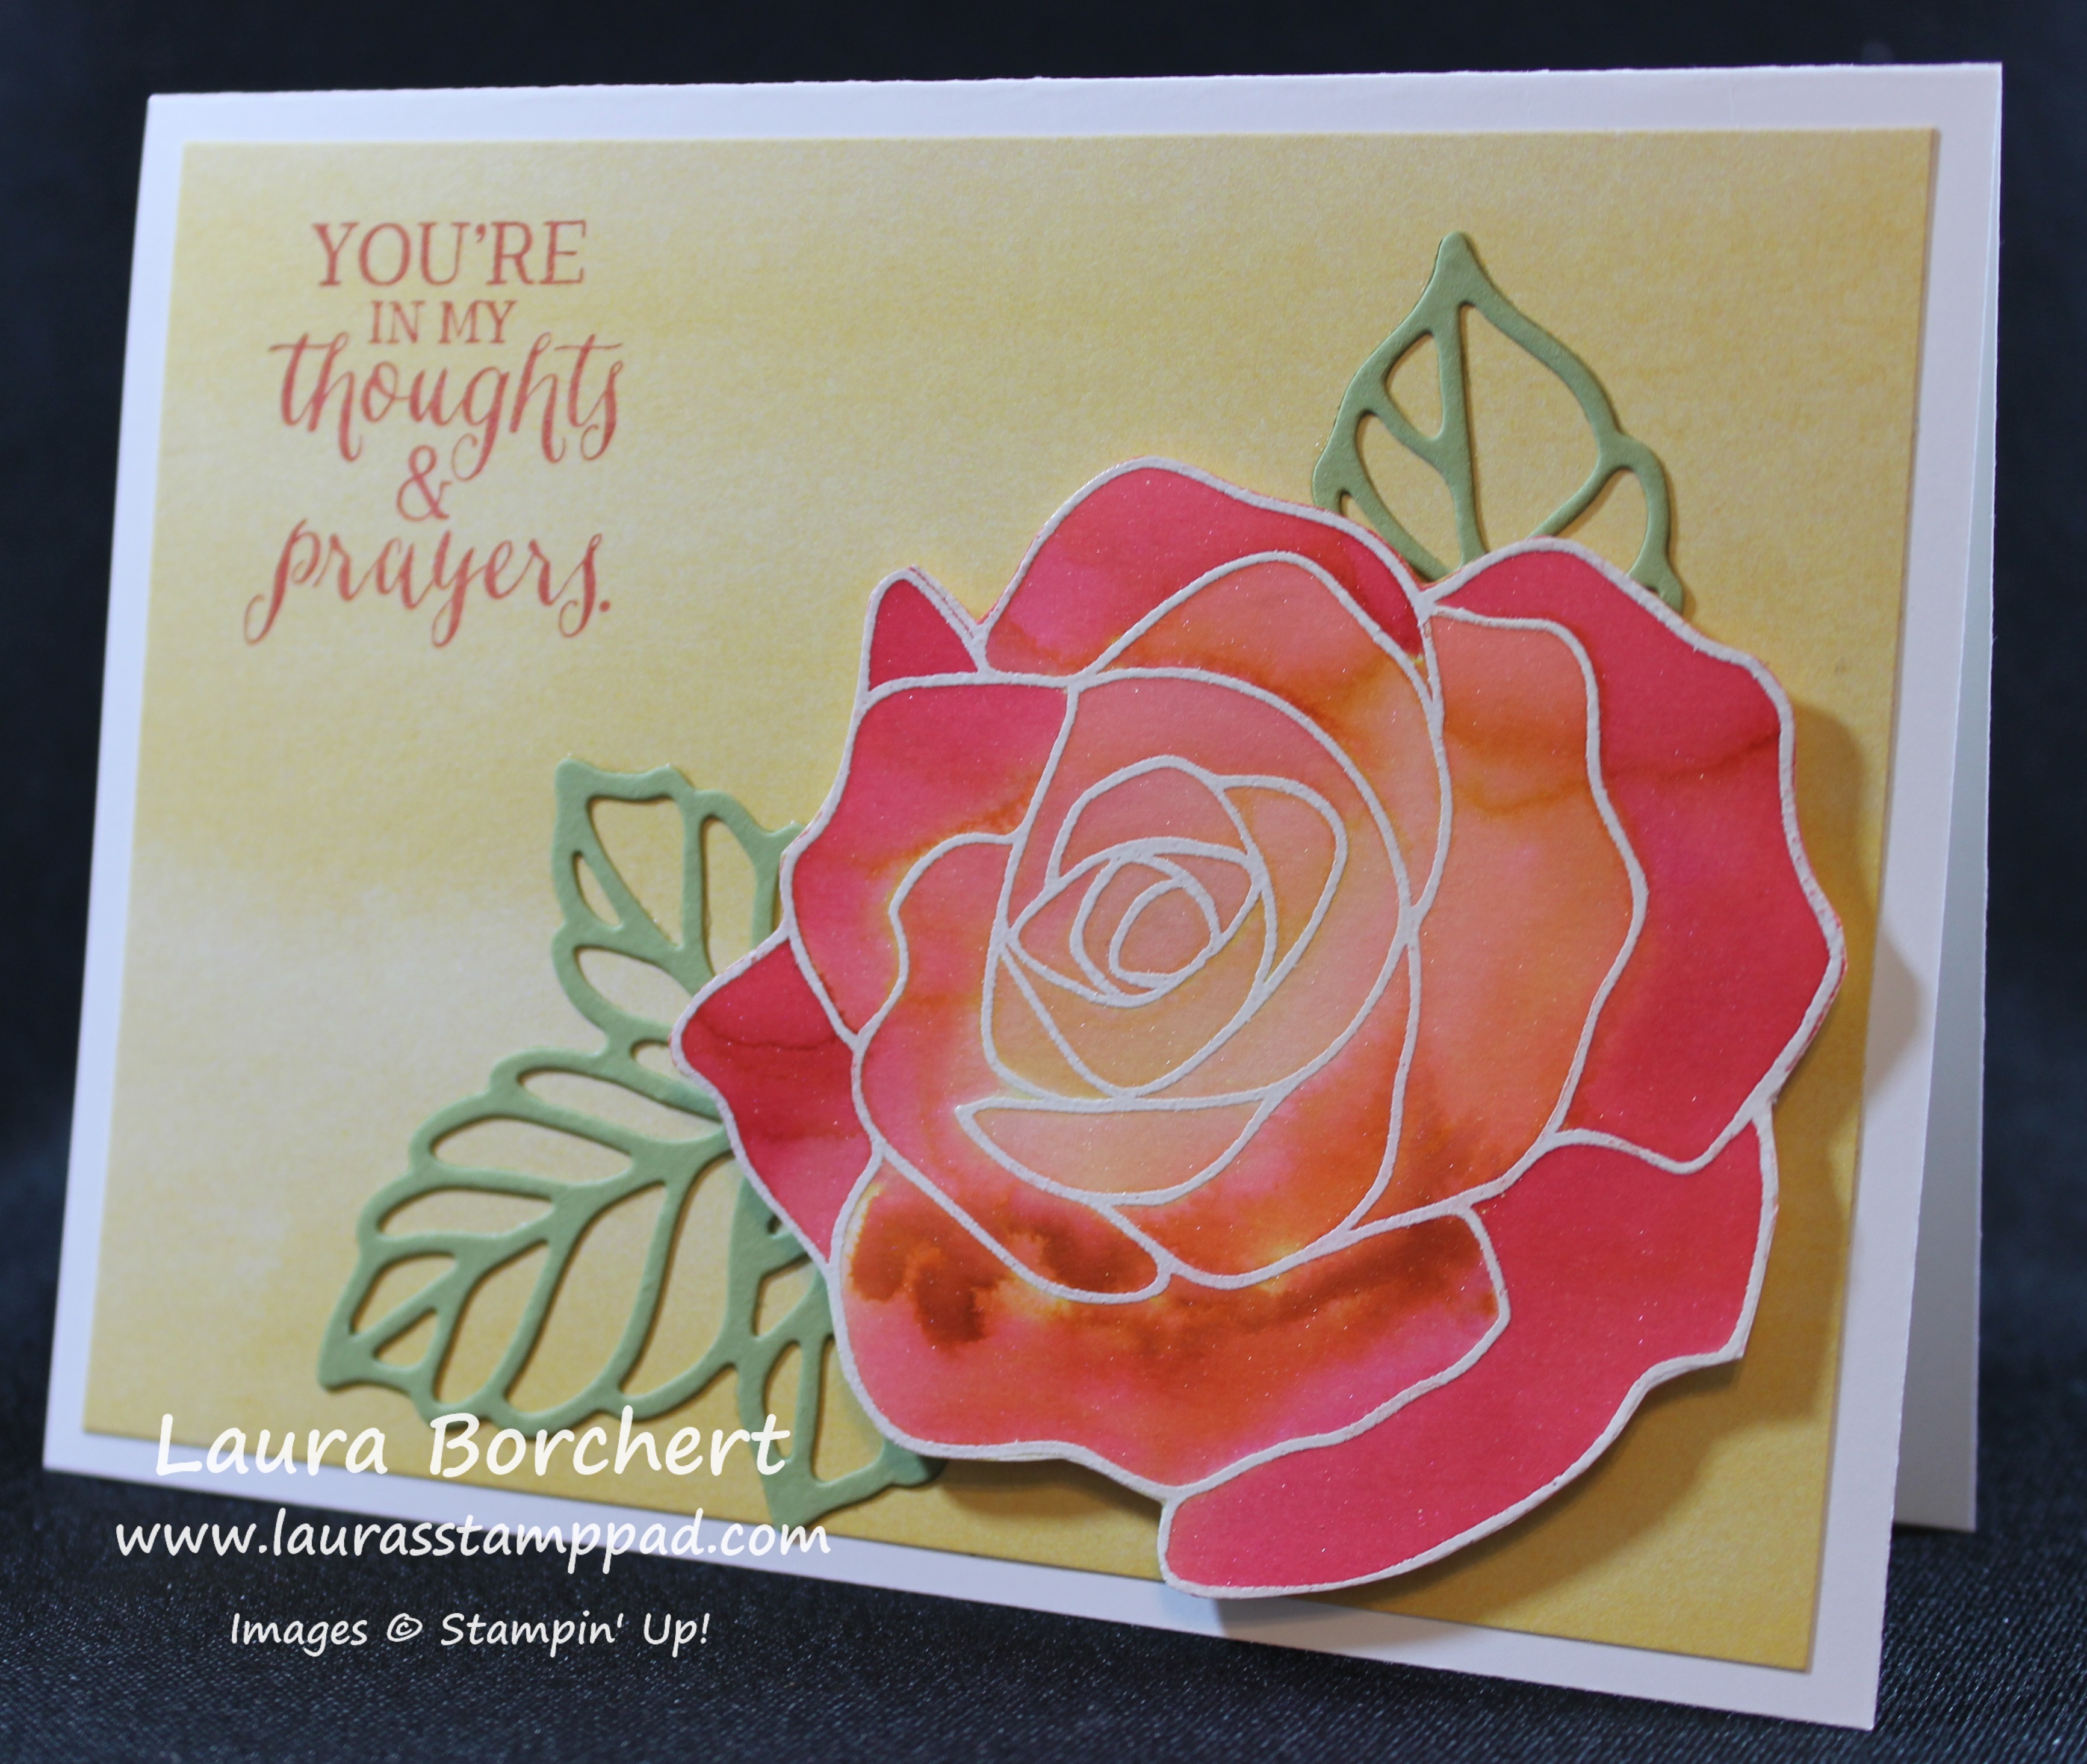
I have told you how much I love the greetings from the Rose Wonder Stamp Set and I thought they went very well for this card as well! The Happy Valentine’s Day greeting is from Teeny Tiny Wishes!
Now I have a fabulous TIP that I would like to share with you!!! I have shown you how I love the Photopolymer Stamps the best because they stick to the clear blocks perfectly and you can see through them! I don’t like that they stain though! I was given a fabulous tip from a fellow stamper and it works amazingly! When you receive you stamps, ink them up really well in a light color like Pink Pirouette. Ink and Stamp and Ink and Stamp. Get that ink all over the stamp. By doing this, you are pre-staining it in a light color so that when you use Real Red or Melon Mambo, it won’t stain in that color. It totally works and I had to share with all of you!!! Enjoy!

Of course it isn’t a Friday without the Weekly Deals!!!
I hope you all have a wonderful weekend and I’ll see you back here on Monday!!!
Happy Stampin’
~Laura
Built for Free Using: My Stampin Blog