On the 9th Day of Stamps-Mas!!!

Posted on

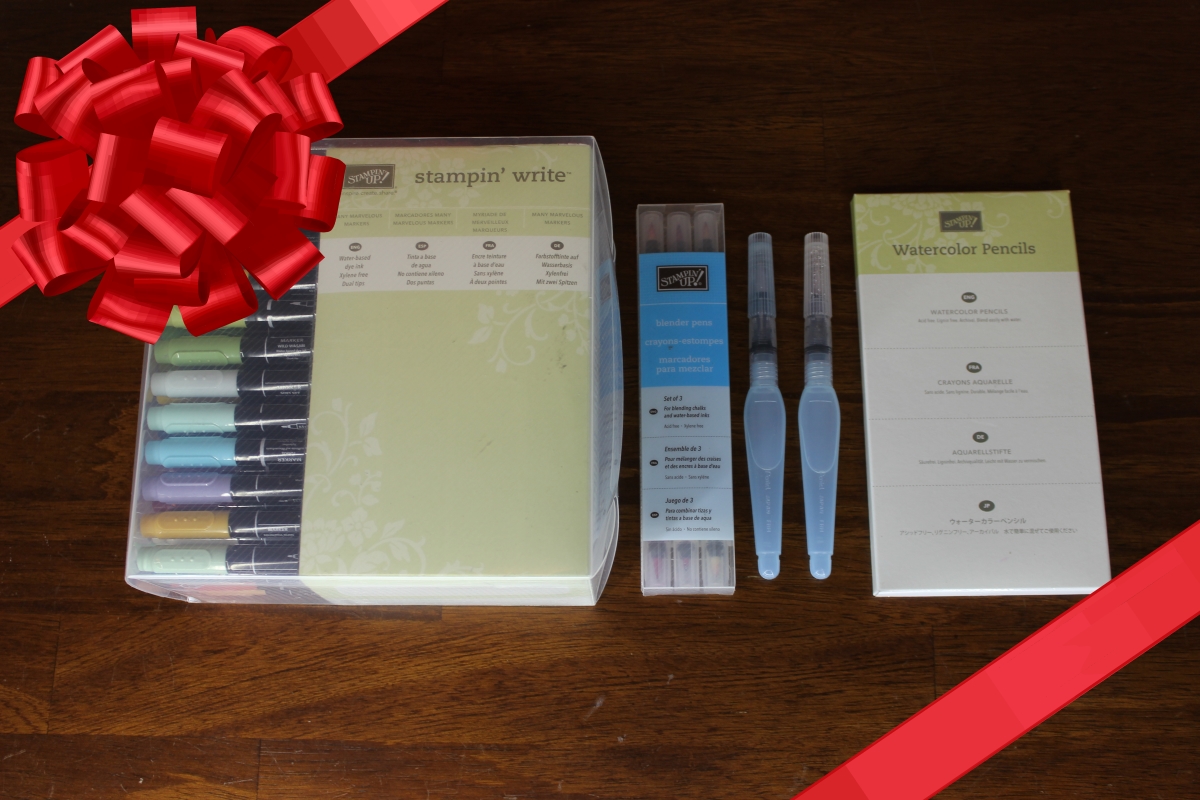
On the 9th Day of Stamps-Mas, my true love gave to me…..coloring tools!!! Markers, Aqua Painters, and Blender Pens make coloring stamped images or background so much fun!!! Also, you will notice……Watercolor Pencils in this photo. That is because they are coming out in the Occasions Mini Catalog on January 4th!!! WOOT WOOT!

10thDayofStampsMas, www.LaurasStampPad.com

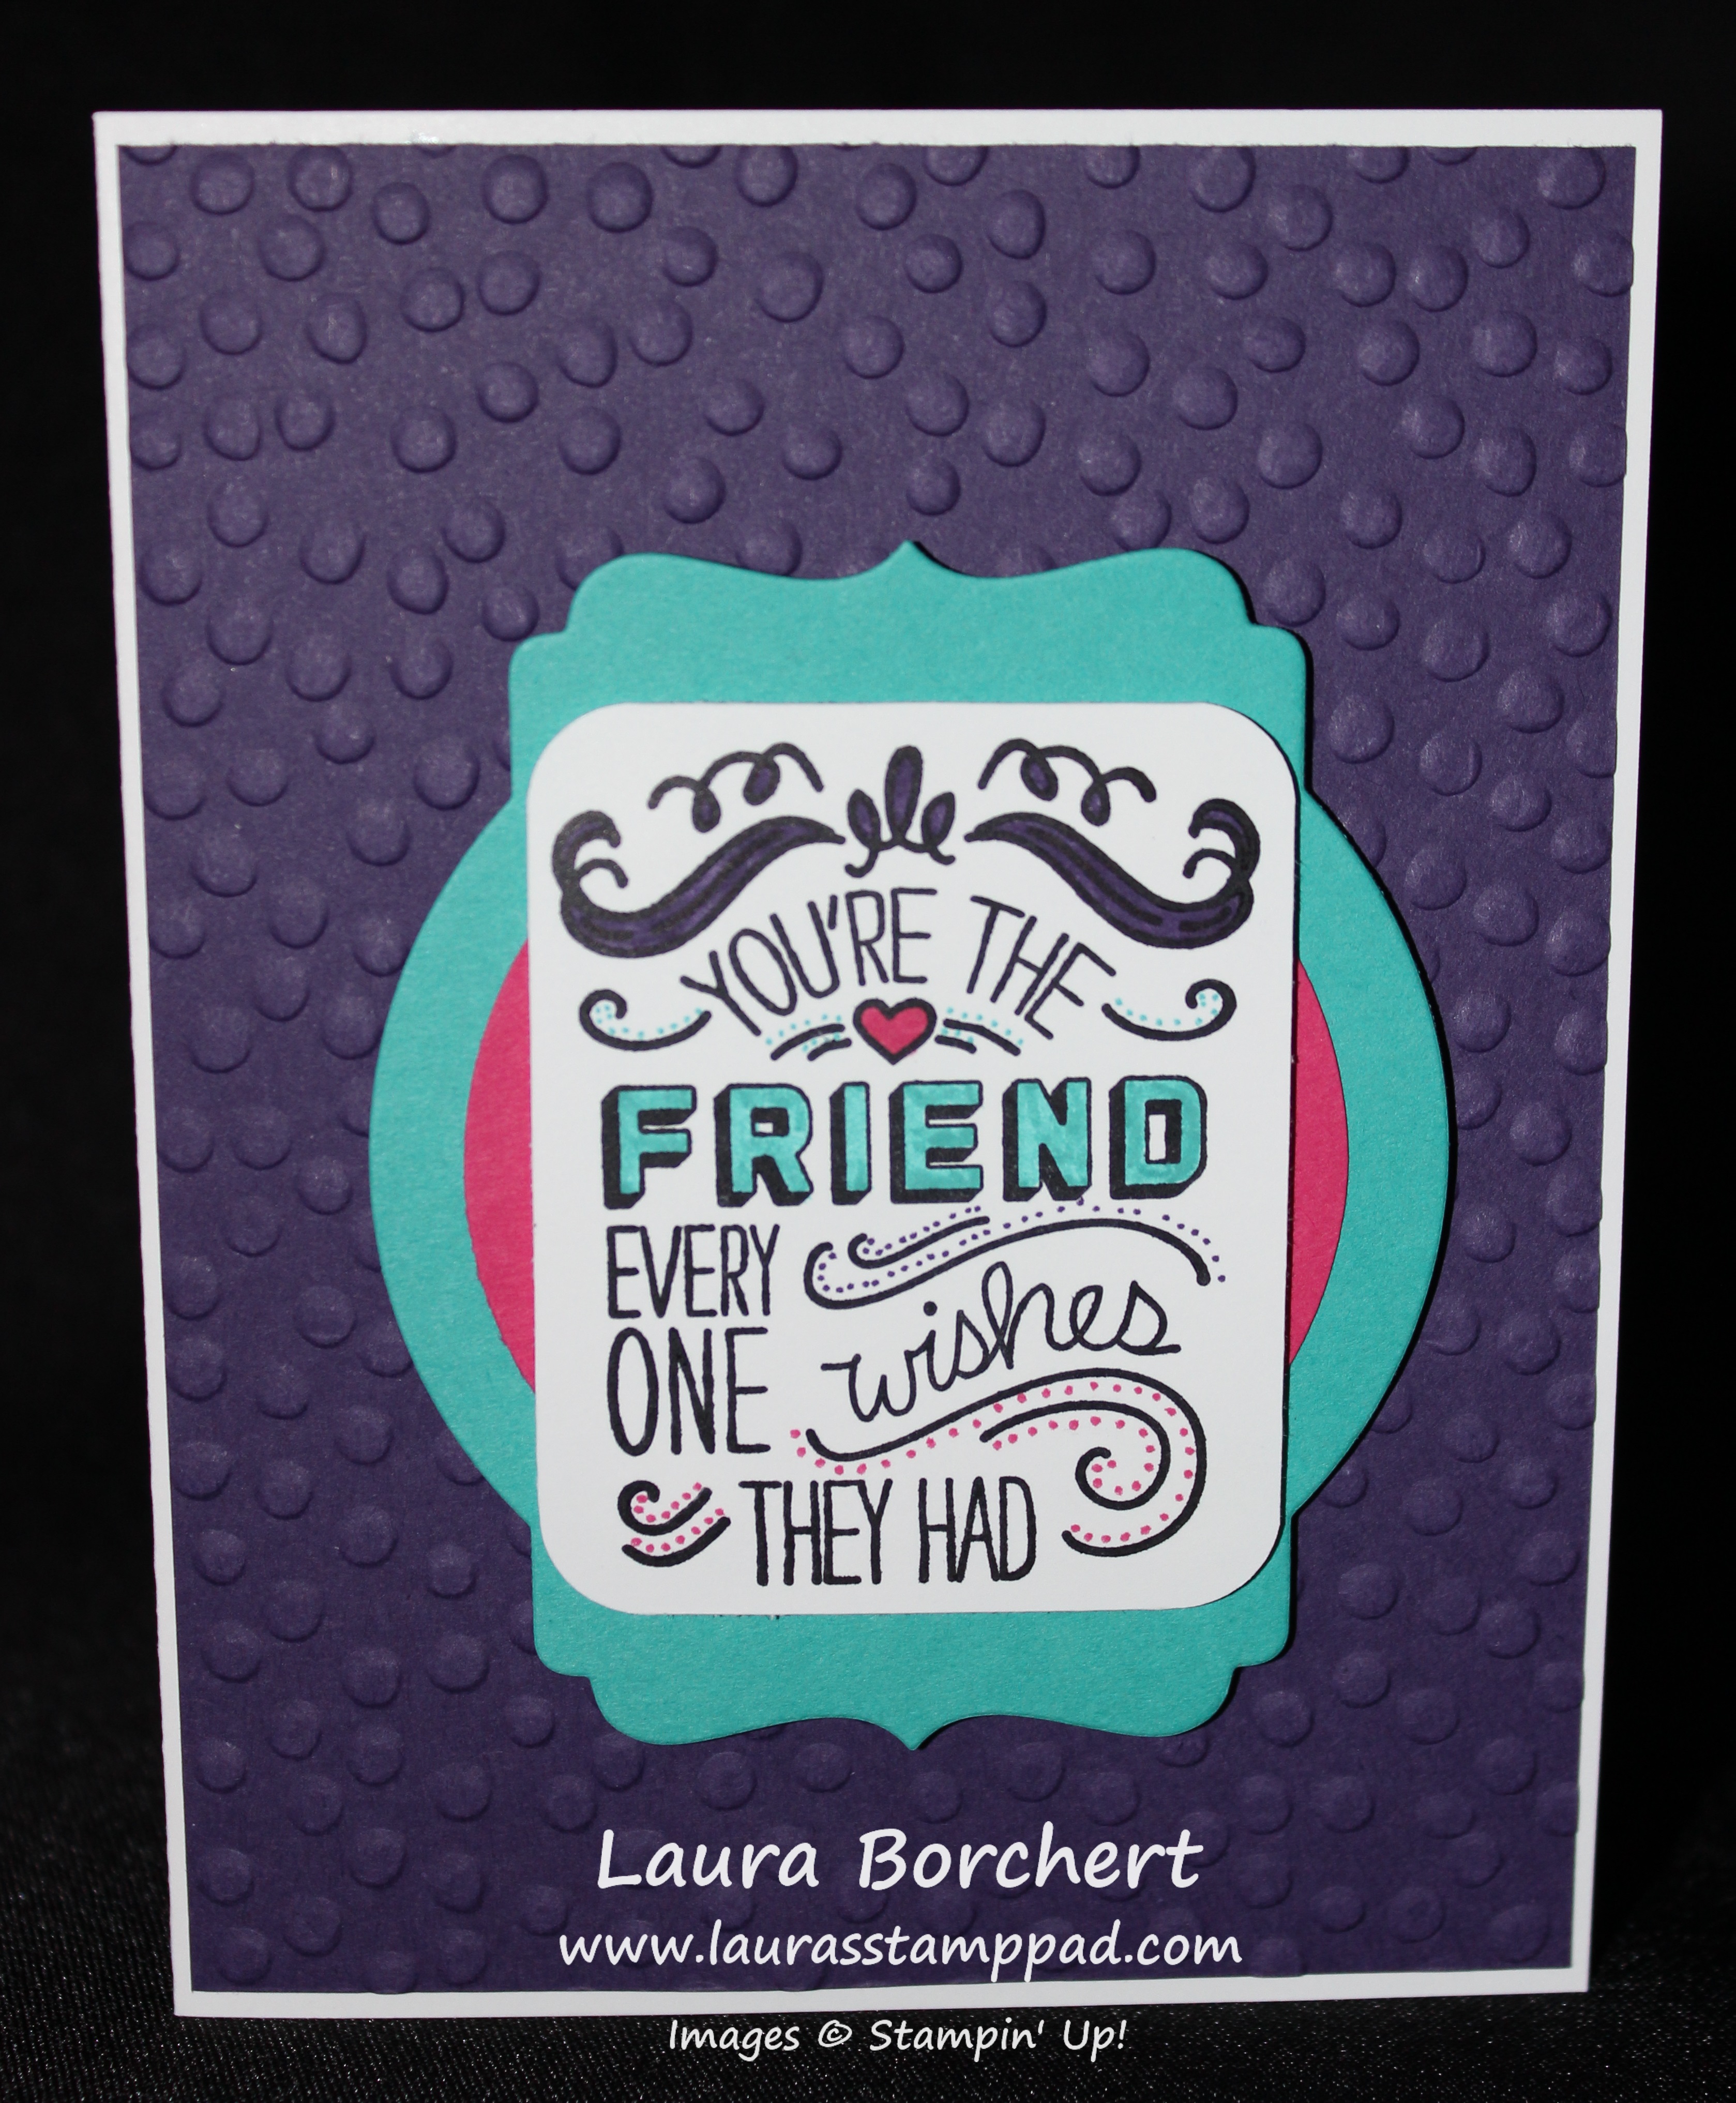
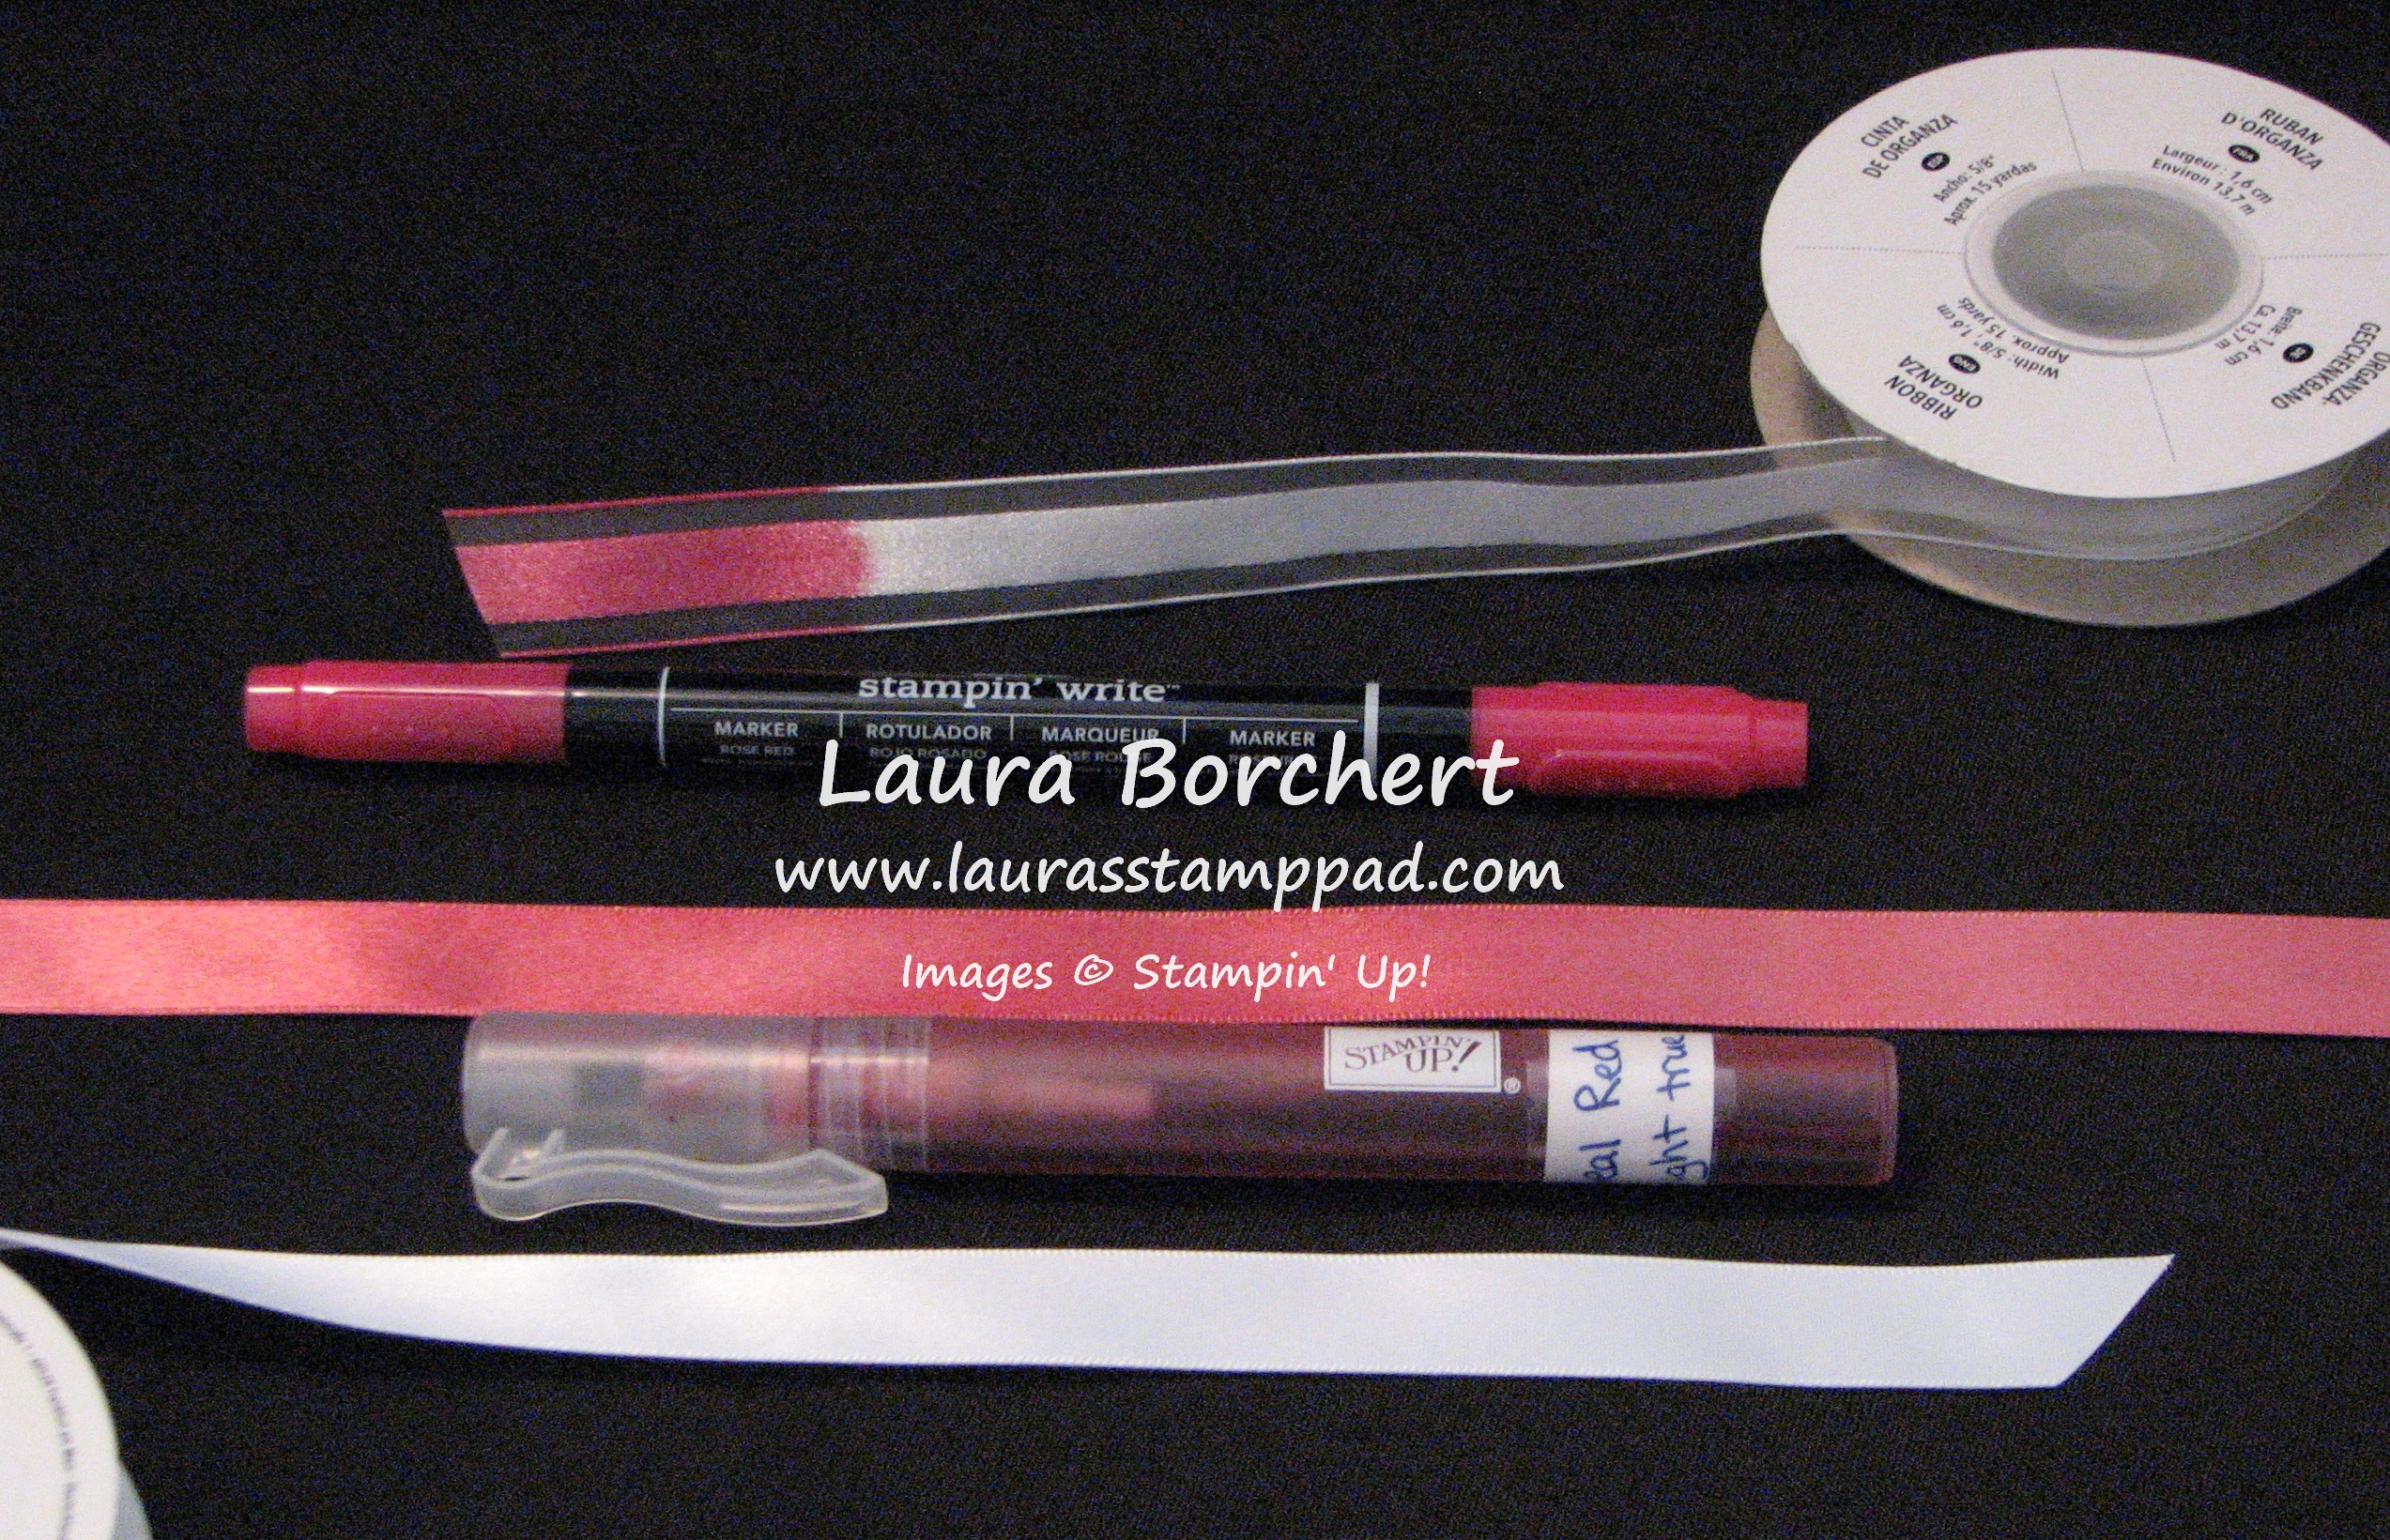
Aqua Painters are probably my favorite out of all of these above. I feel like I have found my groove on using them and just love the look that comes out. I like to use a Clear Block pressed into an ink pad as my color palette. Then just brush into the color and then color on your project. You never really want to squeeze when coloring because then you will too much water. You also don’t want to press hard on tip because it will flare the bristles and allow more water to come out. You can use these for a watercolor background like in this sample or to color small details like this sample. You can also add other things into the pen like alcohol or bleach for many other techniques!!! Also, you don’t always have to use these with Watercolor Paper. You can use any type of paper like Whisper White, Very Vanilla, or Shimmery White. Check out this video tutorial to see more on these!

Blender Pens are similar to Aqua Painters but they are more like a clear marker. There isn’t a way to squeeze out too much water so you never have to worry about that. Again, you can pick up color from a marker, pencil, or color palette like the one mentioned above! I feel like these are to much like a marker and I end up with streaks but for small things I think they work well. When doing a large image, I prefer Aqua Painters.

Markers are always great to have on hand. Any time I leave my house to craft, I always take them because then if I forget an ink pad I still have every color. I love that you can color with the markers directly onto the stamps to create multi-colored stamped images, omitted images, and so much more! I don’t really prefer to color in an image with the markers, at least not a large image. I tend to always see the strokes of the marker when I use them for coloring. Each marker has 2 ends – a larger marker tip and a smaller pen tip. This makes journaling fun when you are scrapbooking! Because there are 2 ends to the markers, you want to make sure that you store the markers on their side so the ink doesn’t go all the way to one side.

Watercolor pencils are coming out in the Occasions Mini Catalog in January!!! I have played with them a little and they are super fun to color with and then blend with an Aqua Painter or Blender Pen. You can color images in and even do a watercolor background with them. Stay tuned for more on these as I play with them more!!! 🙂

What is your favorite coloring tool?? Let me know in the comments below!!

If you have missed out on the past days of Stamps-Mas, you can check them out here – Day 1, Day 2, Day 3, Day 4, Day 5, Day 6, Day 7, and Day 8. Be sure to subscribe to my blog so you don’t miss the next 3! You can do that by adding your email address in the subscribe box on the right hand side (on a computer) or at the bottom of the page (on a phone). 

Happy Stampin’

~Laura


Amazing Marker Bonus!!!

Posted on

Marker Bonus Fact, www.LaurasStampPad.com

I love how this card turned out but it was a struggle to create it. When I first imagined the idea, I was thinking I would use Marina Mist and Pear Pizzazz. I thought it would look stunning and couldn’t wait to see how it turned out…..sometimes it turns out better than I imagined, exactly how I imagined, or not at all like I imagined. Ahhh the joys of being crafty!!! So I got started with a piece of Very Vanilla cardstock measuring 3-3/4″ x 5″ and stamped the flourish image from the Flourishing Phrases Stamp Set in Basic Gray Archival Ink. I got out my Marina Mist Marker Pear Pizzazz Marker to color it in and was sad to see the Marina Mist Marker was dead. At first, I thought it would be okay and I could go with a pink (my favorite) or another color. After a little thought, I just couldn’t imagine this card in another color but I remembered I have an Aqua Painter and Blender Pen and could use those just like a marker! So that is what I did! I used an Aqua Painter and pulled ink from the ink pad to color this image. It looks just the same. Isn’t that fabulous that even though Stampin’ Up doesn’t sell the markers individually, you can still have every marker at your finger tips with these products! I love it and got super excited! That perfect Ahh Hah moment! After coloring it, I layered this piece onto Pear Pizzazz (4″ x 5-1/4″) and then onto a Marina Mist card base. I stamped the greeting from the same Flourishing Phrases Stamp Set in Marina Mist onto Very Vanilla. I punched it out with the Decorative Label Punch and layered it with Pear Pizzazz. You can check out a fun video on how to do that here. I added the greeting to the card with Stampin’ Dimensionals. Perfect and just like I imagined!!!

I love the Flourishing Phrases Stamp Set and coordinating Flourish Thinlits (Bundle & Save 10%). It is that perfect image and greeting combination that is perfect for all types of occasions! There are flowers too! 🙂

If you would like to see the comparison of Markers, Blender Pens, and Aqua Painters, check out this Video Tutorial below or click here! Don’t forget to give it a thumbs up if you liked it and be sure to subscribe if you’re new!!!

Happy Stampin’

~Laura

Click here to start shopping and earning Bonus Bucks!!!

Bonus Days


You’re My Friend!!!

Posted on

Best Friend, Friendly Wishes, www.LaurasStampPad.com

I’m going to say that I love pink, purple, and teal because I grew up in the 80’s with Lisa Frank! 🙂 Anyone else out there with here??? Leave me a comment down below….if there are no comments, I will know I’m all alone!

I had so much fun with this quick and simple card. I started with a Whisper White card base and added a piece of Elegant Eggplant that was embossed with the Decorative Dots Embossing Folder. I stamped the greeting from the Friendly Wishes Stamp Set onto a scrap piece of white cardstock with Stazon. I colored it with my Markers adding in the dots and extra flare! Isn’t it fabulous! Then came the tough part……how do I want to layer it? I couldn’t punch it out with the Circle Punch because it didn’t fit. I couldn’t layer it on a smaller Deco Label Framelit because it didn’t fit. So this is what I came up with! I cut the scrap piece down and rounded the edges with the Project Life Corner Rounder Punch. Then I die cut one of the labels with the Deco Label Framelit (2nd from the smallest) in Bermuda Bay and punched out a Melon Mambo circle with the 2-1/2″ Circle Punch! Of course I had to add in soome Stampin’ Dimensionals – holding the greeting rectangle to the circle and holding the Bermuda Bay to the card front! I love how it turned out!!!!

Happy Stampin’

~Laura


Technique Tuesday – Coloring Ribbon!

Posted on

Happy Tuesday!!! That means I have a fabulous technique to share with you! This technique is one of those Ah Ha moments! If you need a specific color of ribbon and either don’t have it on hand or the ribbon doesn’t come in that color….no worries anymore! All you need is Whisper White Satin or Organza Ribbon or another type of white ribbon!

Ribbon Coloring, www.LaurasStampPad.com

See how I have matched the ribbon to the card! It’s so much fun!

Supplies Needed: White Ribbon (Satin, Organza, Baker’s Twine, Seam Binding, & Cotton), Markers or Spritzers or Sponge Daubers

Now this technique has the Ah Ha moment because you only need a few supplies and it is the easiest thing ever to color your ribbon. You will wonder why you hadn’t thought of this before. You can color your ribbon either by coloring it with your markers, tapping your sponge dauber in the ink and rubbing it on, or spritzing it with your Spritzer. For the Spritzer, you will just add Re-inker and Alcohol (70 Proof or less) and spritz away! 🙂 I have found that the colors sometimes come out lighter or darker than you may expect so sometimes you might need to go light or pick a lighter color to match your project!

In the photo above, I used my Crisp Cantaloupe, Rich Razzleberry, and Rose Red Markers to color the Organza Ribbon! For the card on the right and left, I used my Work of Art Stamp Set (LOVE), Small Butterfly Punch, Moonlight Designer Series Paper Stack, and Rhinestones! For the middle card, I used the Hello There Hostess Stamp Set!

Ribbon Coloring Technique, www.LaurasStampPad.com

Here I used my Red Marker on the Organza Ribbon and the Spritzer on the Satin Ribbon.

I hope you try this out the next time you need a specific color of ribbon! Let me know what you think in the comments below!

Happy Colorin’

~Laura