Technique Tuesday – Garden in Bloom!!

Posted on

Happy Tuesday and Happy September!!! I can’t believe it! But that means that I have a fabulous technique to share with you – 2-Step Stamping AND the Holiday Mini Catalog is out!!! WOOT WOOT! It’s a fabulous day!!! Check out this beauty!!!

Bumble Bee Card, www.LaurasStampPad.com

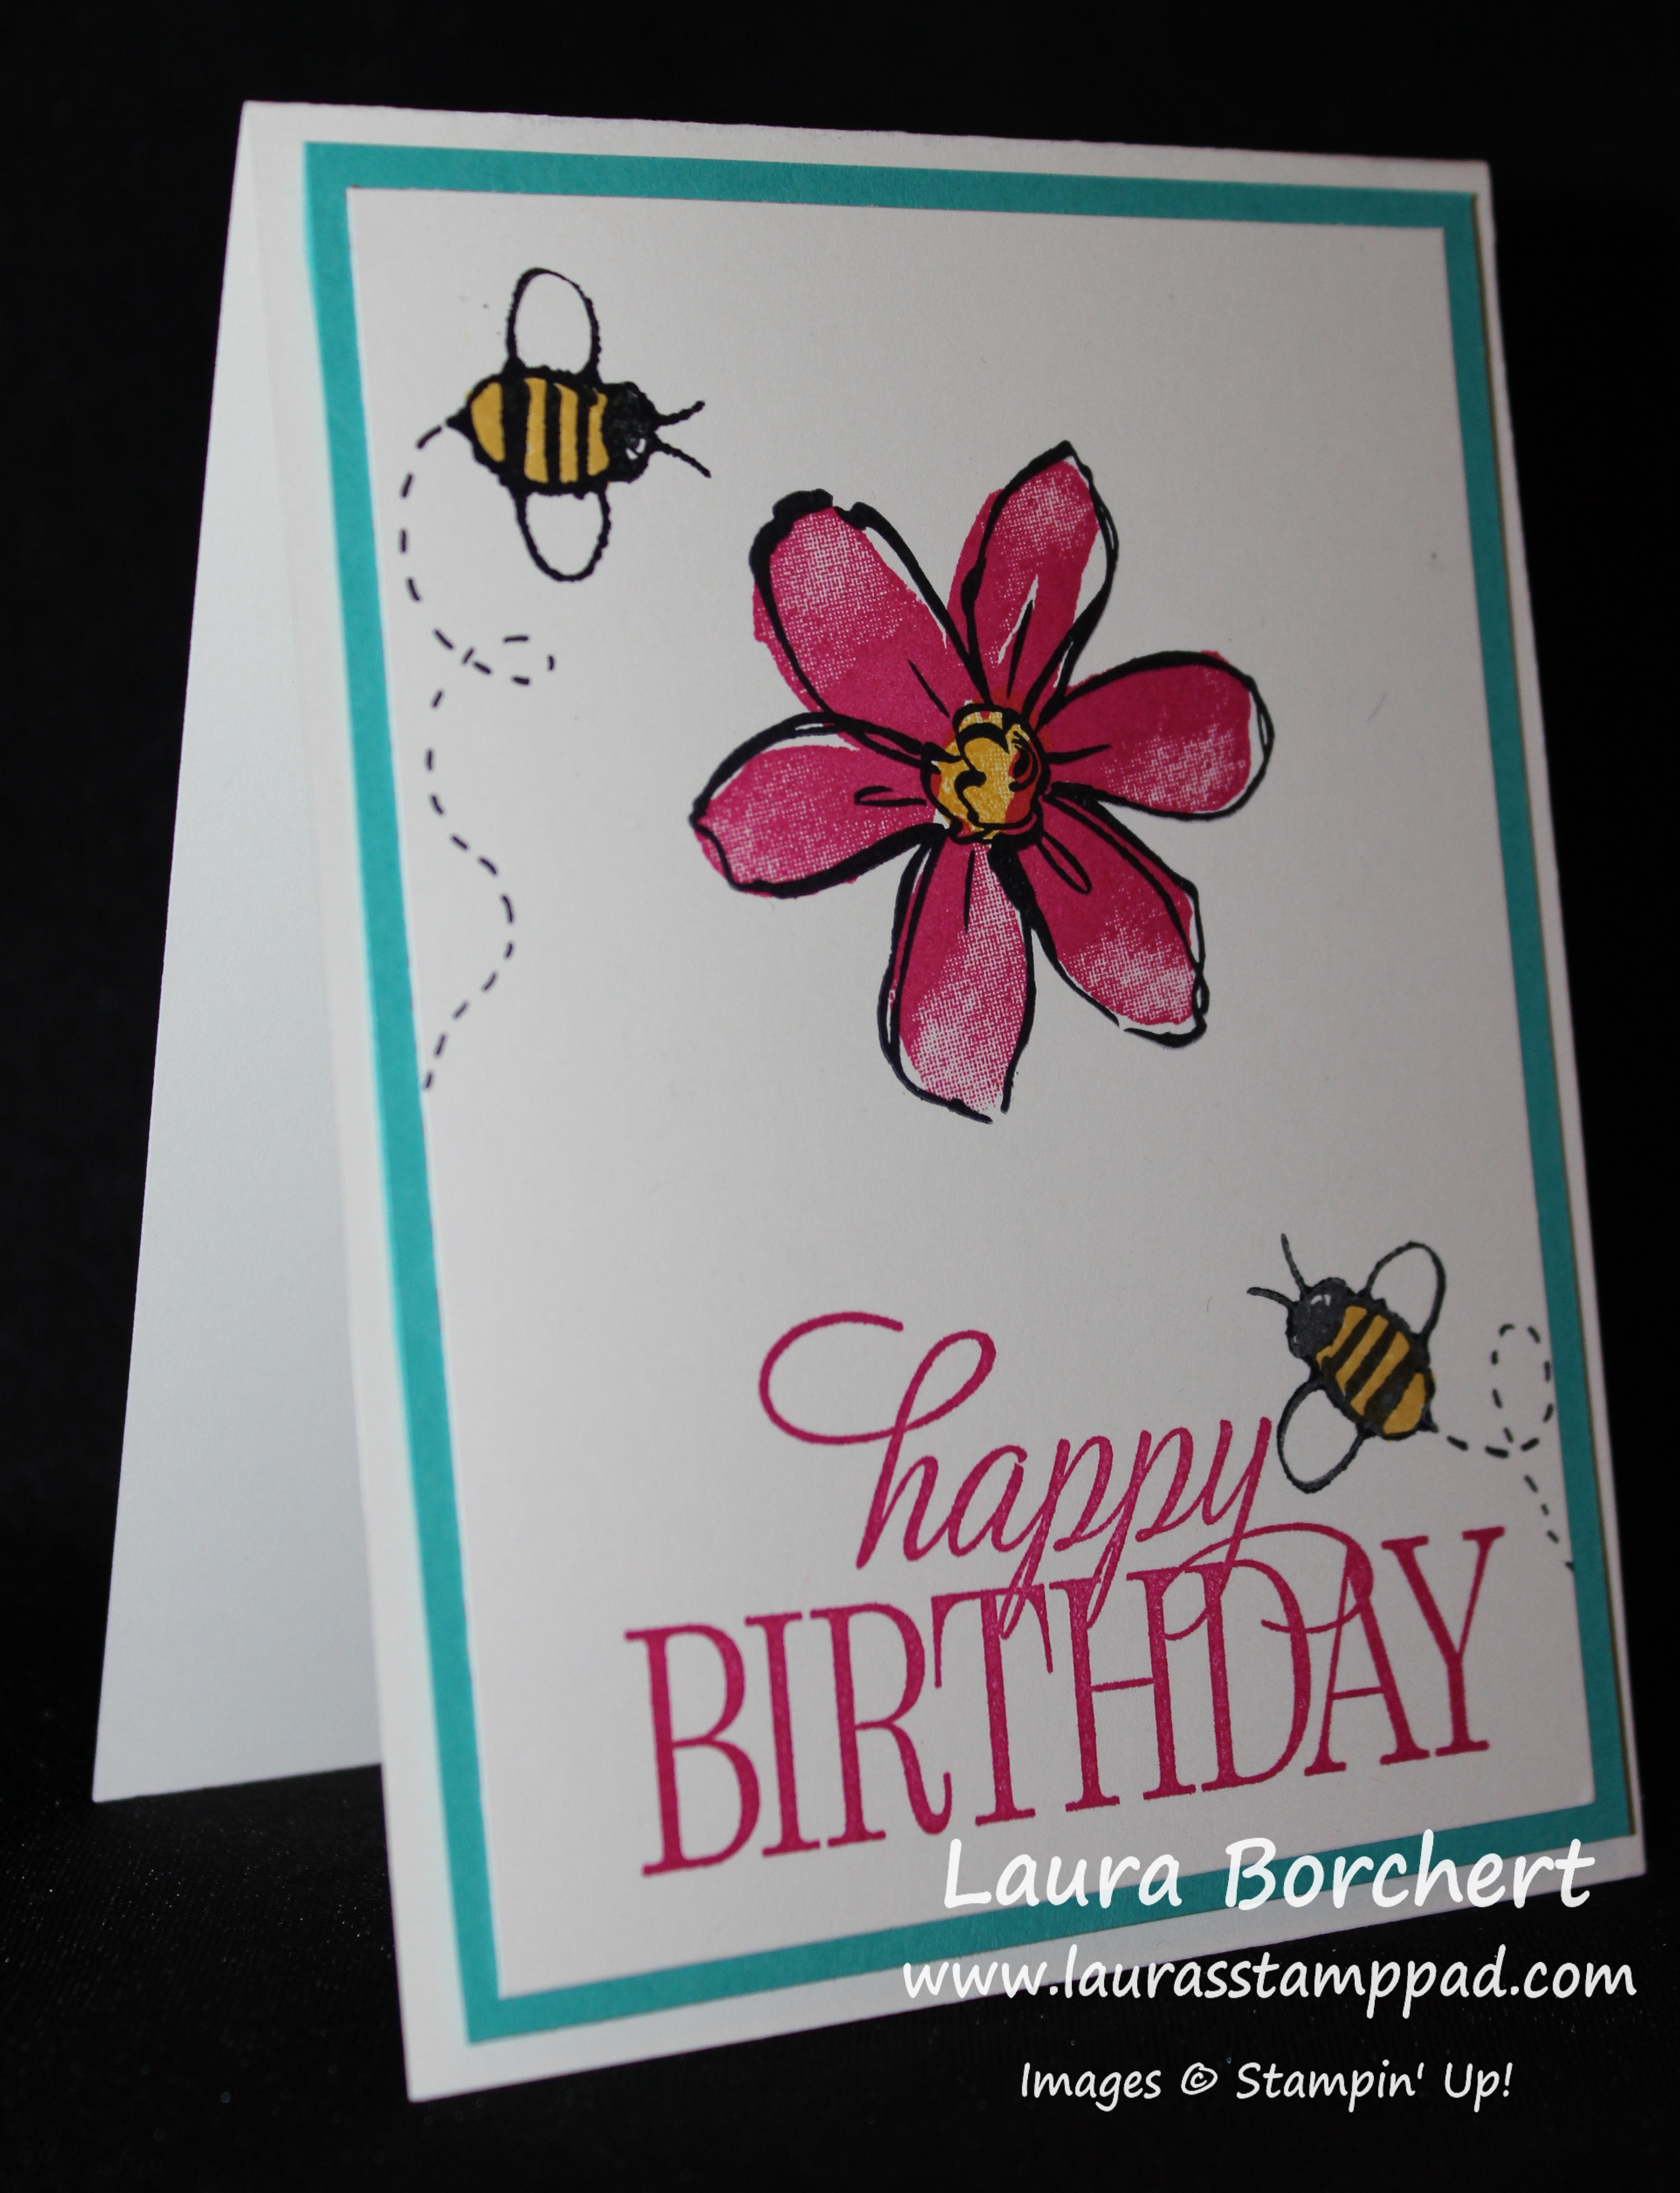
So you all know I love flowers but that Bumble Bee steals the show on this card! Aren’t they precious??? I think so for sure!!! Now let’s get started on this Multi-Step Stamping card!!!!

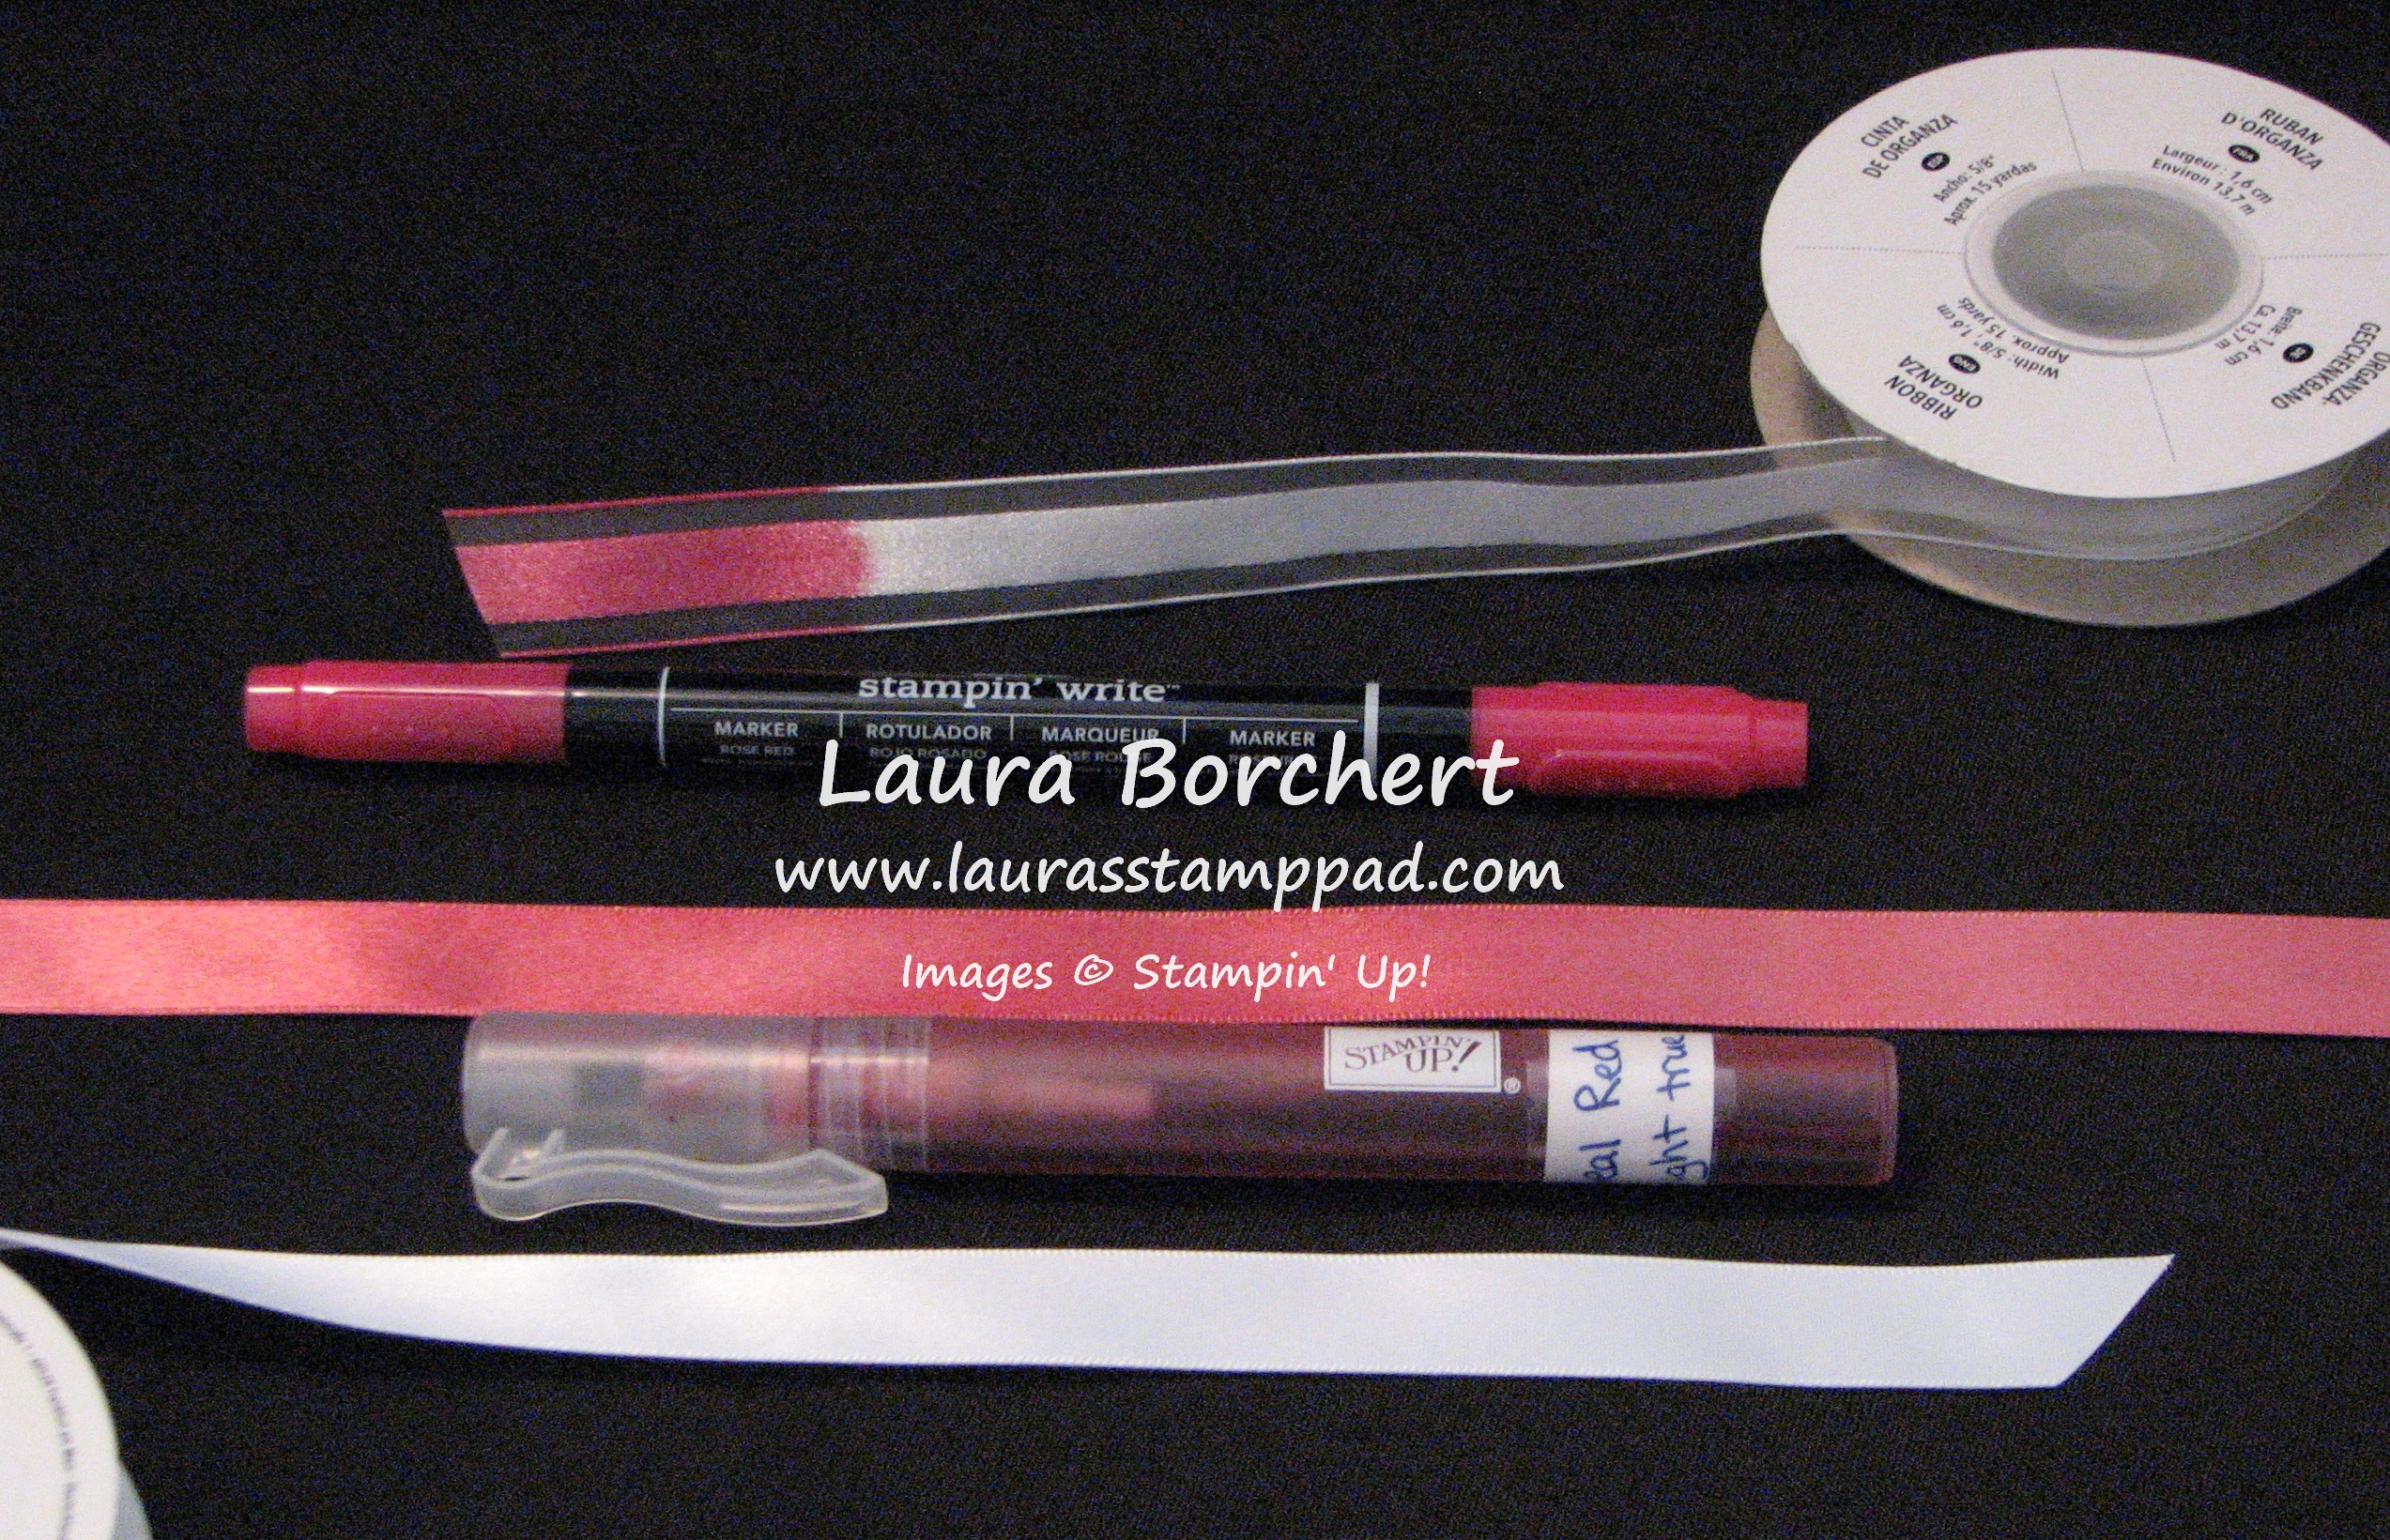
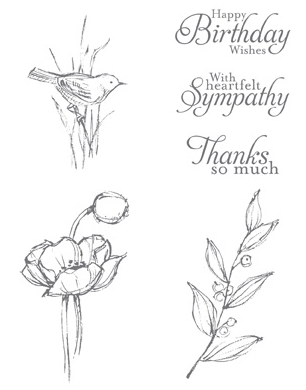
SUPPLIES NEEDED: Garden in Bloom Stamp Set, Cardstock

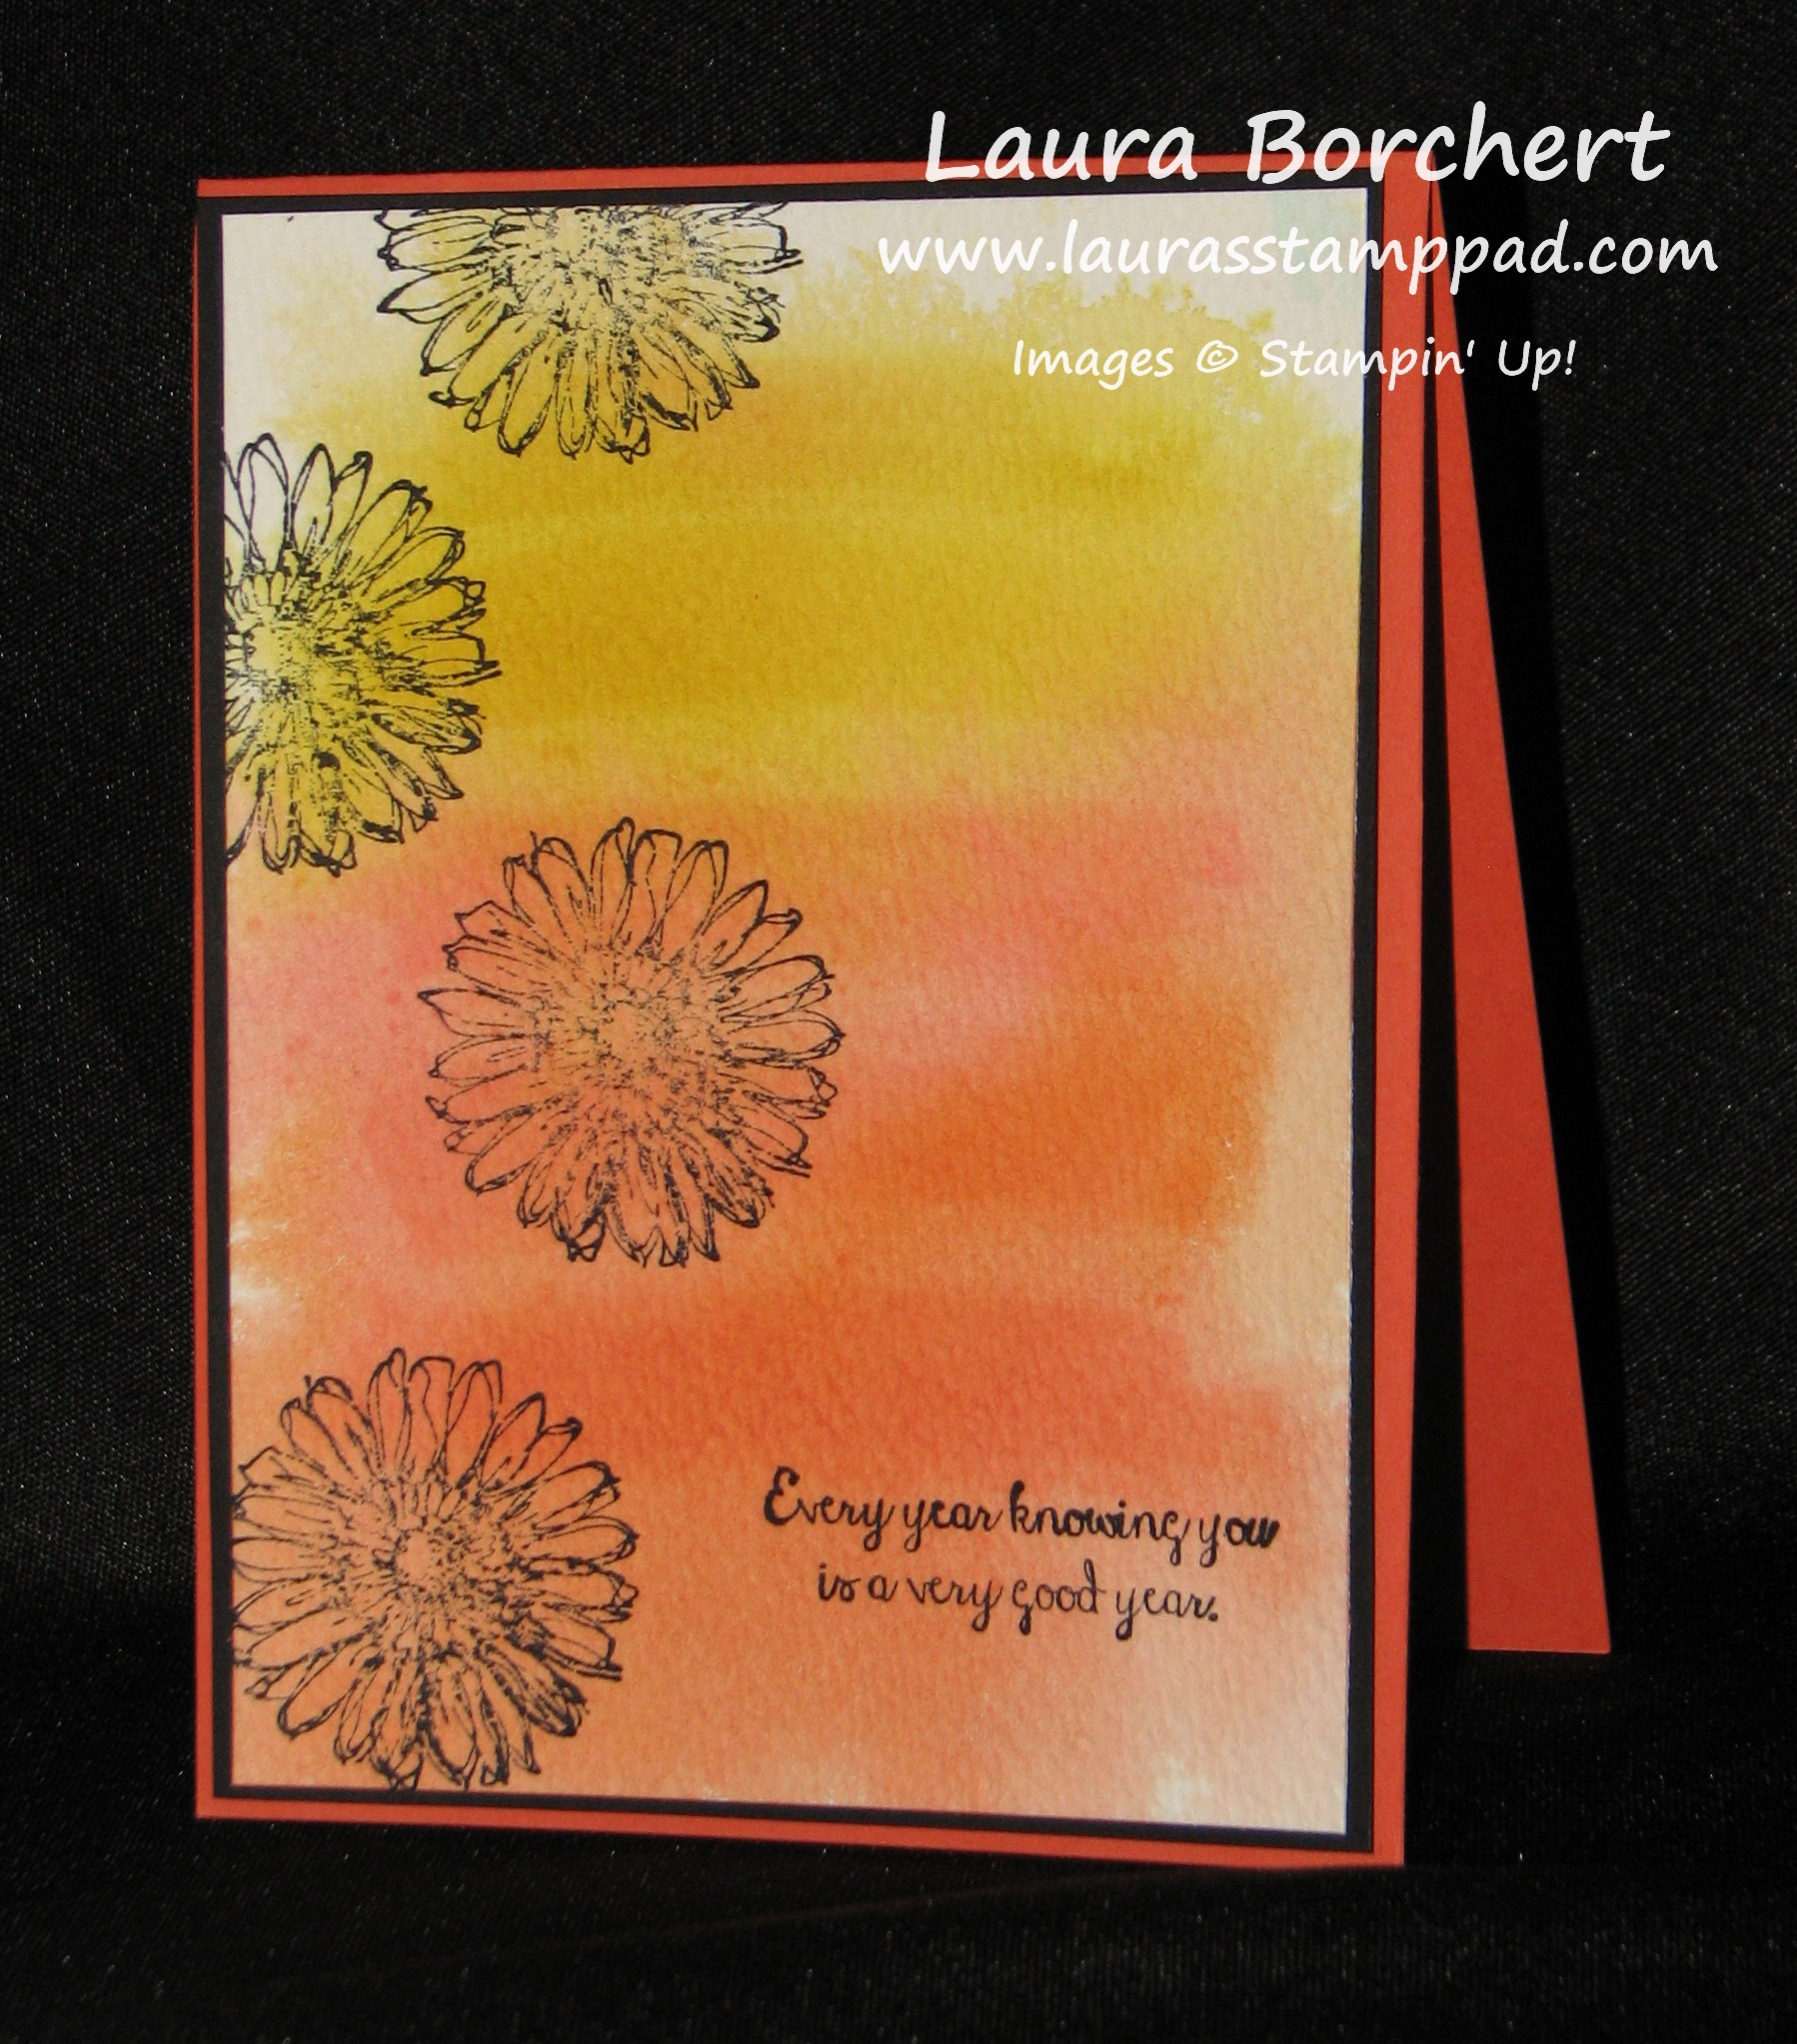
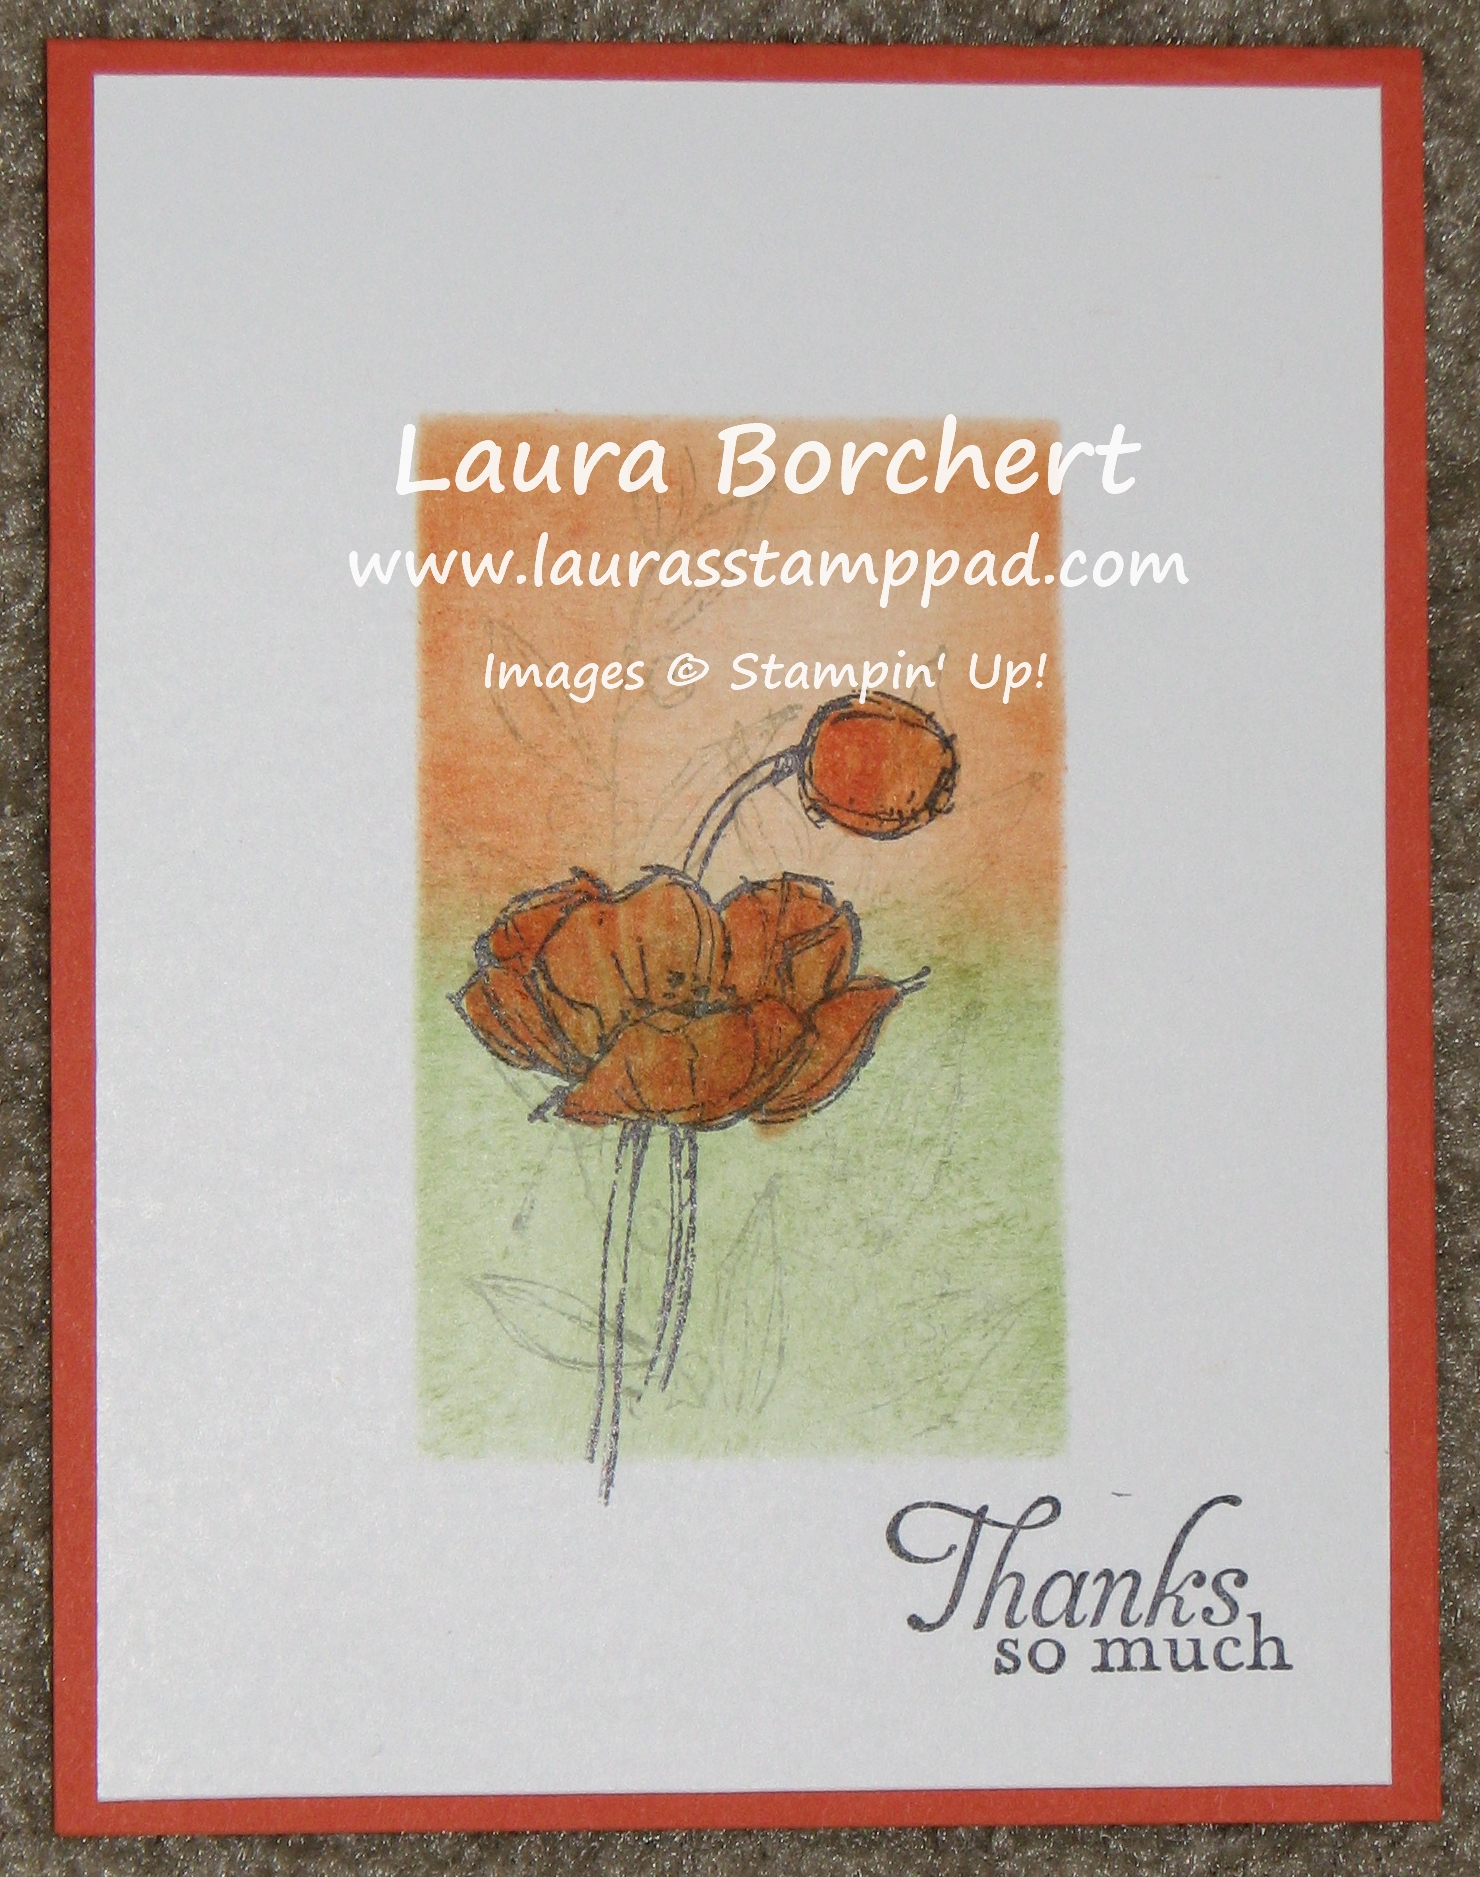
Not a lot of items on the list this week! When you have a fabulous stamp set like this Garden in Bloom Set, you don’t need a lot of extra because the set has it all. The 2-Step Stamping (sometimes 3) technique really gives an image depth, texture, and a variation of colors. I love that!!! The Whisper White piece of cardstock that I stamped on measures 3-3/4″ x 5″. I started with the flower in the center. First, I stamped the outline of the flower in Memento Black Ink. There is a little arrow (or nubbin as I like to call it) on the stamp that you will want to take note of. This arrow is on every image for your flower. If you line those arrows up each time, your image will be placed correctly. I usually try to point the arrow UP or at another image on my paper to make it easy to remember.

Garden in Bloom, www.LaurasStampPad.com

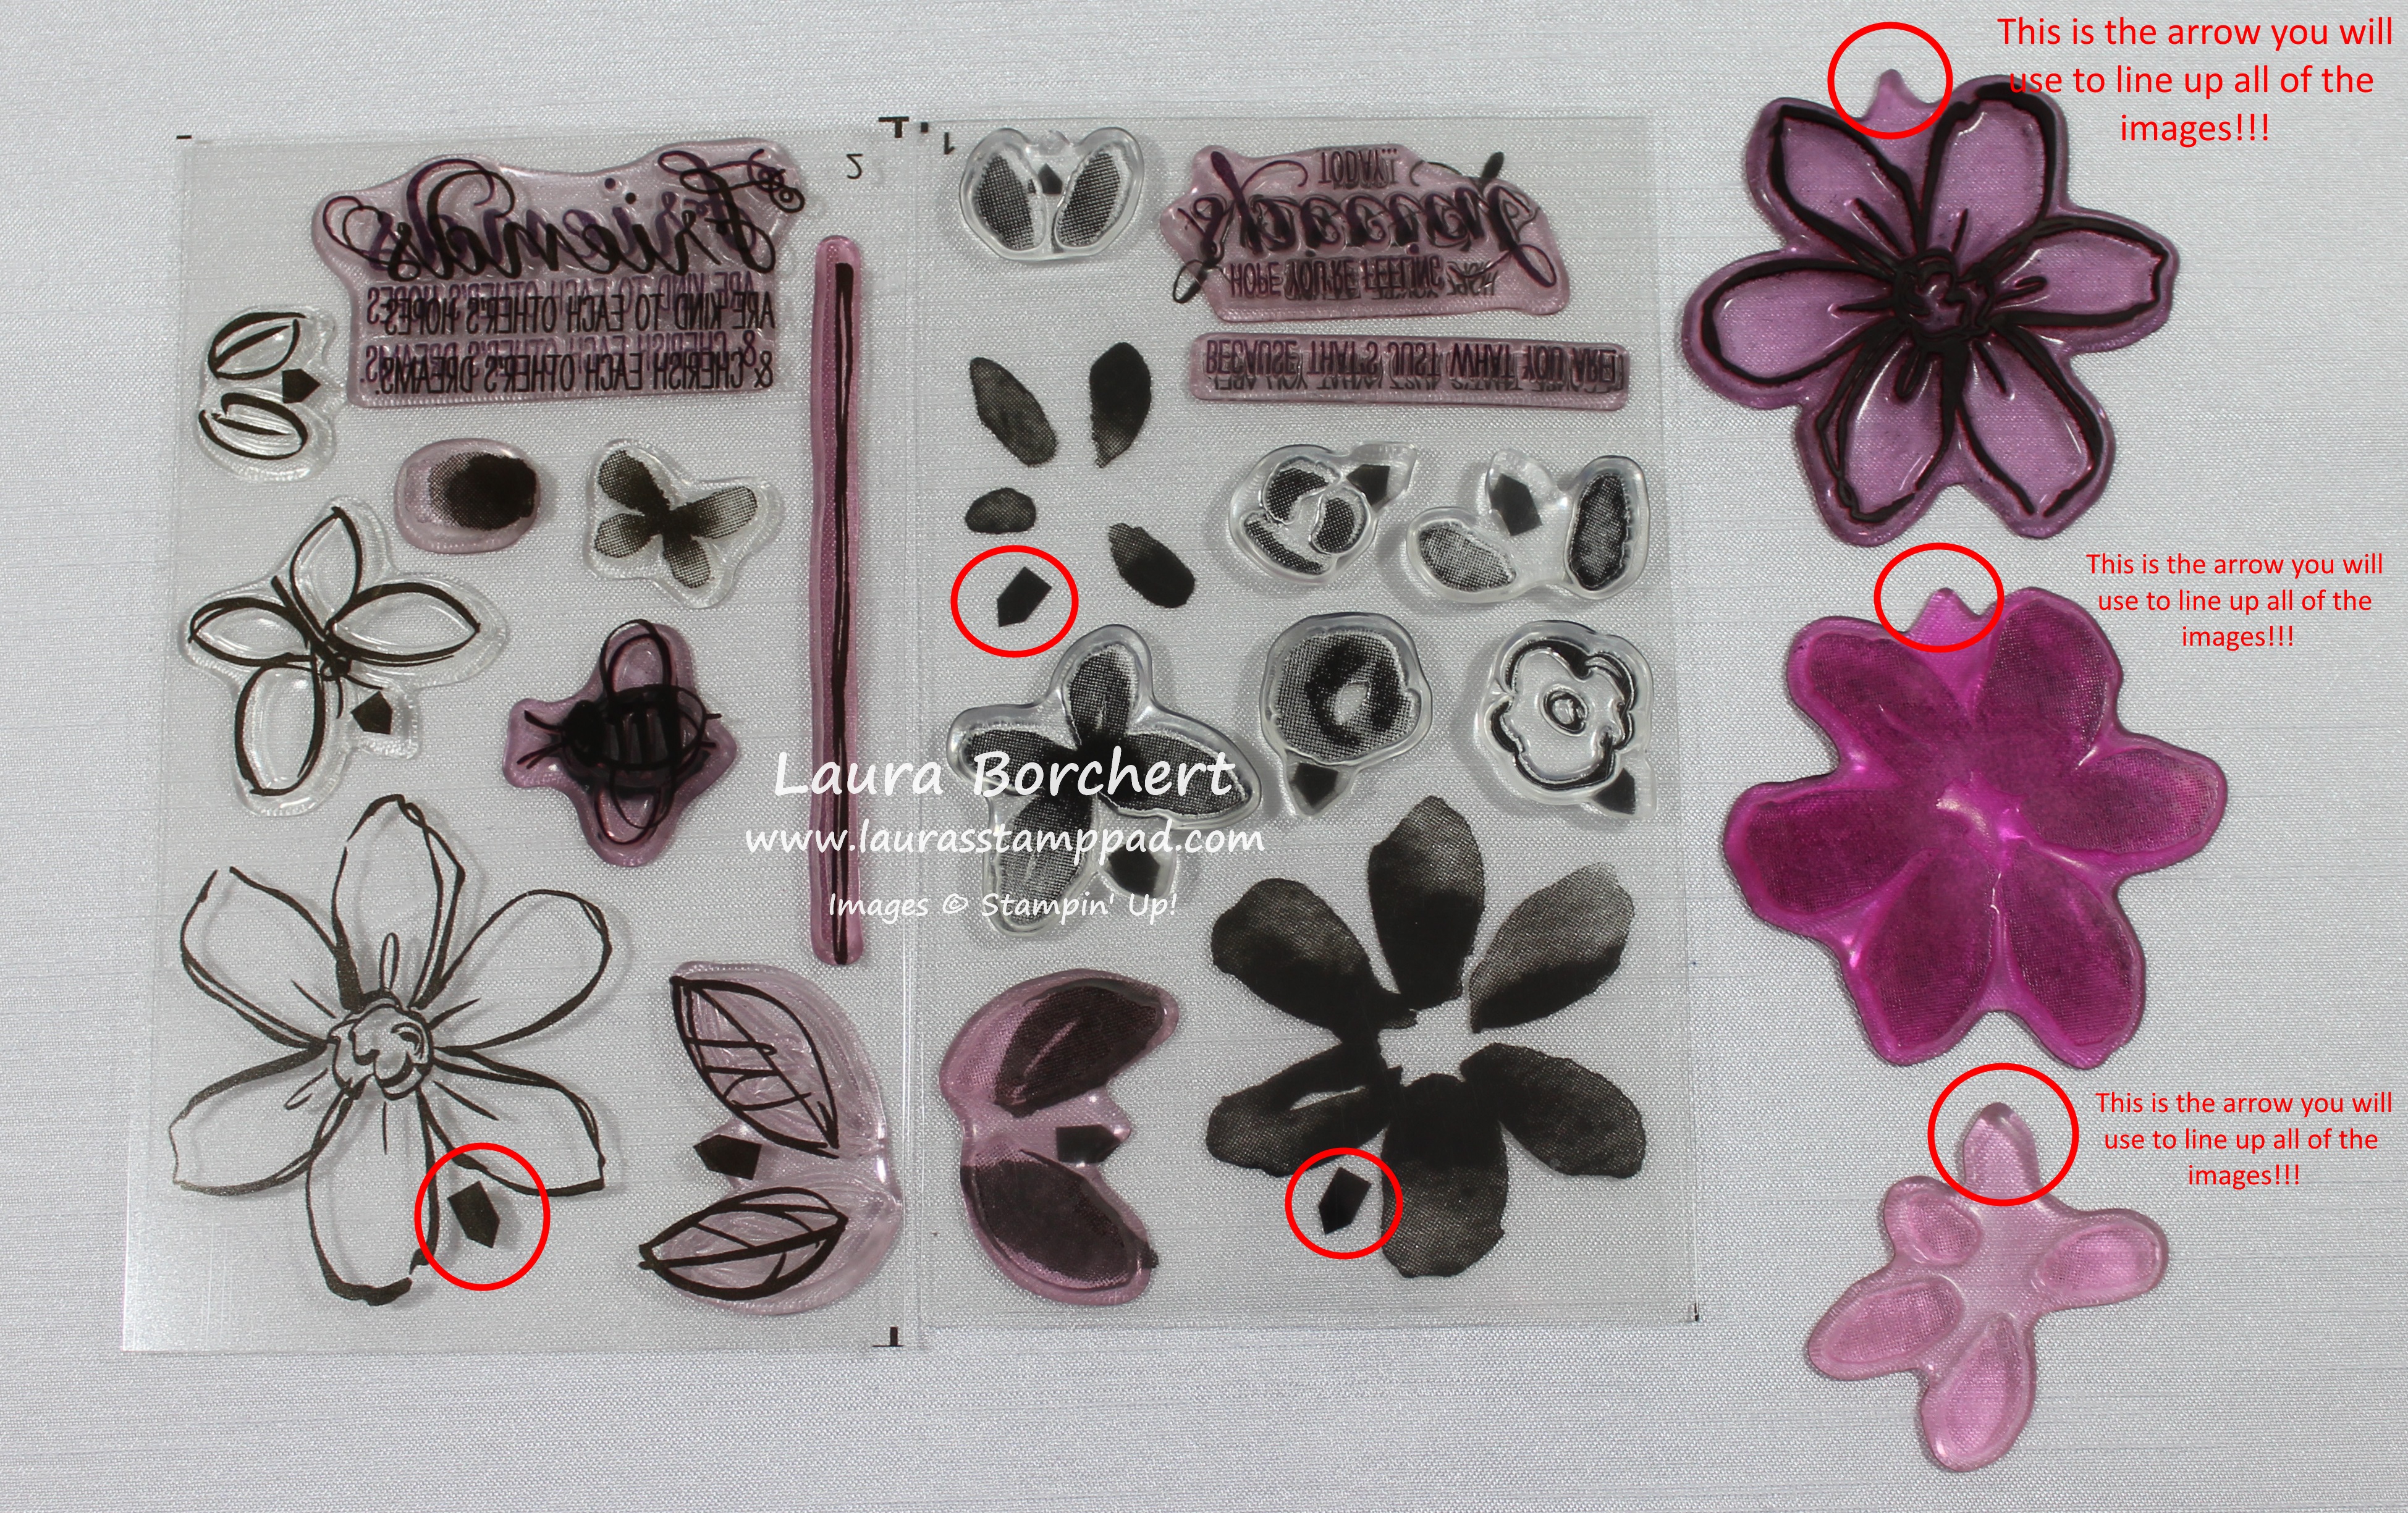
Then I took the 6 petal image and inked it up in Melon Mambo. Remembering that my arrow was up last time, I will place the arrow up on this image to have perfect placement of these petals. How fabulous?!?! There is also a little oval (finger print) image in the stamp set that you can use for the center. I think it is actually for the bumble bee but it can be used for the flower as well. You could also color it in with a marker if you wish. I stamped the center of the flower in Crushed Curry!!! I stamped the little bumble bees in Memento Black Ink and then the centers with Crushed Curry. For the buzz lines, I used a Basic Black Marker!!! Those really made him come to life! I seriously squealed once I added those on. 🙂 The greeting is from the Happy Birthday Everyone Hostess Stamp Set!!! Love that font!

I will be posting more samples using this stamp set because I had so much fun with it!!! Stay tuned! If you want a sneak peak of those cards as well as a Video Tutorial on this Garden in Bloom Stamp Set, check out the video below or click here!!

Happy Stampin’

~Laura


You’re So Fancy!!!

Posted on

Bow Builder Punch, Man's Tie, www.LaurasStampPad.com

I think my favorite part of this card is the color combination – Pool Party, Black and White!!! LOVE IT!!!!!

I started with a Pool Party card base and stamped the greeting from the Happy Birthday Everyone Hostess Stamp Set! I love the font of the Happy Birthday!!! I recommend stamping first……I did it last and made a boo boo but apparently I’m the only one who can see it!!! Leave me a comment down below if you know where it is! 🙂 For the shirt, I used a 3″ Whisper White square and put a little mark in the center along the top. Then I took my 1″ Square Punch and slide the cardstock in diagonal with that center marking in the middle. This is how I got that triangle cut out! I layered the white on a black square of cardstock measuring 3-1/4″. For the Bow Tie, I used the Bow Builder Punch and some of the Neutrals Designer Series Paper Stack! I used Mini Glue Dots to assemble the bow and adhere to the card! To finish it off, I added a few Pool Party Candy Dots!!! Pearls would have been fabulous as well!!!

What do you think? Loving the color combo like me? Would you use Pearls, Candy Dots, or Rhinestones? Let me know in the comments below!!!

Happy Stampin’

~Laura


Technique Tuesday – Coloring Ribbon!

Posted on

Happy Tuesday!!! That means I have a fabulous technique to share with you! This technique is one of those Ah Ha moments! If you need a specific color of ribbon and either don’t have it on hand or the ribbon doesn’t come in that color….no worries anymore! All you need is Whisper White Satin or Organza Ribbon or another type of white ribbon!

Ribbon Coloring, www.LaurasStampPad.com

See how I have matched the ribbon to the card! It’s so much fun!

Supplies Needed: White Ribbon (Satin, Organza, Baker’s Twine, Seam Binding, & Cotton), Markers or Spritzers or Sponge Daubers

Now this technique has the Ah Ha moment because you only need a few supplies and it is the easiest thing ever to color your ribbon. You will wonder why you hadn’t thought of this before. You can color your ribbon either by coloring it with your markers, tapping your sponge dauber in the ink and rubbing it on, or spritzing it with your Spritzer. For the Spritzer, you will just add Re-inker and Alcohol (70 Proof or less) and spritz away! 🙂 I have found that the colors sometimes come out lighter or darker than you may expect so sometimes you might need to go light or pick a lighter color to match your project!

In the photo above, I used my Crisp Cantaloupe, Rich Razzleberry, and Rose Red Markers to color the Organza Ribbon! For the card on the right and left, I used my Work of Art Stamp Set (LOVE), Small Butterfly Punch, Moonlight Designer Series Paper Stack, and Rhinestones! For the middle card, I used the Hello There Hostess Stamp Set!

Ribbon Coloring Technique, www.LaurasStampPad.com

Here I used my Red Marker on the Organza Ribbon and the Spritzer on the Satin Ribbon.

I hope you try this out the next time you need a specific color of ribbon! Let me know what you think in the comments below!

Happy Colorin’

~Laura


Watercoloring with your Markers!!!!

Posted on

I love my big box of markers! I take them with me to every event I do because if I forget a stamp pad, I still have my markers. They are great for a multi-colored look on your stamps, coloring in and now watercoloring!!!!

Watercolor with Markers, www.LaurasStampPad.com

The colors in the card are like that of a sunset (sunrise, neither?)!!! The various shades of yellow, coral, red, and orange and the messiness of the colors that you just can’t achieve if you tried. That’s what watercoloring is all about – you can never do the same look twice and you never know how it will come out!

To create this card, I started with a 4″ x 5-1/4″ piece of Watercolor Paper and took my markers (Daffodil Delight, Calypso Coral, Tangerine Tango, and Pumpkin Pie) and colors swatches. I did the colors in lightest to darkest and colored them either matching up or with a small gap. Once you have your swatches colored, you will spritz it with water or alcohol (70 Proof or less so the alcohol doesn’t eat the plastic in the spritzer). Spritz the heck out of it and you can either let it do it’s thing, pick it up and tilt it around to allow it to bleed, or use your finger to move the ink around. Set it aside and allow it to dry completely before assembling it to your card. When using watercolor paper, I like to use Fast Fuse or Sticky Strip to adhere it to my card because it holds nice and strong even when the paper is curling! To complete my card, I layered my Watercolor Paper onto a piece of Basic Black (4-1/8″ x 5-3/8″) and then onto a Tangerine Tango card base (4-1/4″ x 11″). For the stamping, I used my Bloom with Hope Hostess Stamp Set which has amazing flowers (perfect for watercoloring or blendabilities) and great sayings! Of course, you will want to stamp on your watercolor paper with Stazon Ink so it won’t bleed!

Here is another Sample that I created using shades of Purple – Blackberry Bliss, Elegant Eggplant, Rich Razzleberry, and Perfect Plum! Remember how I said you never know how it might turn out…..how this happened I do not know!

Purple Markers Watercoloring, www.LaurasStampPad.com

I thought about cutting it off but I didn’t want an awkward size of paper for my card. When I was showing my stampers, some loved it and some did not. They gave me the idea to cover it with ribbon so…..

Purple Markers Watercoloring, www.LaurasStampPad.com

See even the ones you think didn’t turn out, still look amazing!!!! Here I added some Satin Stitched Ribbon in Blackberry Bliss & the greeting from Million & One!!!

Marker Watercolor, www.LaurasStampPad.com

Here is another sample that I did with shades of Green – Pear Pizzaz, Old Olive, Garden Green & Mossy Meadow!

To watch this technique in action, check out my Video Tutorial by clicking here or the video below! Don’t forget to give it a thumbs up if you like it!!!

Happy Watercolorin’

~Laura


Fabulous Friday!!!

Posted on

Happy Friday everyone!!!! This week has been a whirlwind of fun, craziness, and HOT & HUMID weather. I don’t mind hot to an extent but the humidity just makes it nasty outside! It is summer after all though! I do have some HOT HOT HOT deals to share with you!!! Here are this week’s Weekly Deals!

Weekly Deals 6.19, www.LaurasStampPad.com

So many amazing products this week! I love Ribbon and it is my go-to embellishment for almost all cards. The Natural 7/8″ Cotton Ribbon and Chevron Ribbon are rather wide and perfect for wrapping around gifts, adding a bow to a wreath, tying a gift bag closed and so much more!!! Epic Day Washi Tape is something you should stock up on! Washi Tape is super fun to on so many different projects! Also, now that it is summer and you are having parties and BBQs this stuff makes excellent decorations! Add a little around your bowl to spice up a simple salad. Add some to a piece of twine like a banner and attach to sticks for a cute decoration on your cake or dessert. Add a piece around your beverage straws. Also, check out this post and this post for ways to use it on cards!

Hello There, www.LaurasStampPad.com

I thought I would share this fabulous card with you as well! I used the Hello There Hostess Stamp Set for this beauty! Are you wondering which ribbon was used on this card…..it’s the Whisper White Organza Ribbon! I used my Rich Razzleberry Marker to color it in and have it match my card! Super fabulous and then you can have ribbon in ANY COLOR!!!! Love it! Try it out with some of your Whisper White Ribbon and let me know what you think in the comment below!

Have a fabulous weekend and Happy Stampin’

~Laura


Hello There!!!

Posted on

The New Catalog is HERE! That means there are NEW Hostess Stamp Sets too!!! The Hello There Stamp Set is super fun because of the greetings and it has a flower in there! I was sold at the mention of flower! 🙂

Be sure to go vote for the New Catalog Giveaway too! Voting ends tomorrow! Click here to check it out!

Hello There Hostess Set, www.LaurasStampPad.com

Isn’t this precious!?!?!?! I love the soft colors and the Fringe Scissors made perfect grass for my cute little flowers! Love it!!! I also love how big and fabulous the greeting is – perfect for sending to someone to brighten their day!!! The colors used were Crisp Cantaloupe, Wisteria Wonder, Strawberry Slush, and Pear Pizzazz! I can’t wait to try out other colors as well!!!

Now is a great time to Hostess a party (whether in person or an online/catalog party) because there is so much amazing NEW stuff! Let me know in the comments below or by emailing me if you are interested in being a Hostess!!!

Happy Stampin’

~Laura


More Ways to Use Washi Tape!

Posted on

Washi Tape, www.LaurasStampPad.comI love using Daffodil Delight , Going Gray (or Smoky Slate) and Crumb Cake! So subtle and yet the yellow POPS! It mixes my love for bright colors with colors I don’t use as often! This card features Washi Tape on the corner as a fabulous background piece! I used the gingham yellow from the Gingham Garden Washi Tape and the tan and gray from the Epic Day Washi Tape! I love mixing up different patterns and colors! The banners were created from the Banner Greetings Hostess Stamp Set! Fabulous stamp set for just $8.00 of your Hostess Dollars. You can place an order of $150.00 or more or have a party with your friends to earn this stamp set and many more FREE Products!

Washi Tape, www.LaurasStampPad.comHere is another fabulous Washi Tape card! This one is super quick and simple! You can get a package of Note Cards & Envelopes for $5.95 and some Washi Tape for $4.95! Add some layers of Washi Tape in a grid pattern like I did above or some stripes of Washi Tape along the side or on the bottom and then stamp your greeting! You can always add a little piece onto your envelope as well to match! Quick and Simple! Leave a comment below if you have another great idea or sample to share using Washi Tape!

Happy Stampin’

~Laura


Simply Sketched Hostess Stamp Set

Posted on

Simply Sketched

I got the Simply Sketched Hostess Stamp Set as one of my first Hostess Sets. At first glance it is not a stamp set that I am usually drawn to but for some reason it caught my eye! One thing that I LOVE about it is the fact that the set includes images and greetings! I love when I can pull out one stamp set and great endless cards by mixing and matching the images. The other thing I love about this set is the fact that you can stamp the image in one color, you can color the image with markers and get multiple colors, you can stamp the image and color it in, and so much more. Here are a few samples that I have created with this stamp set!

Simply Sketched PistachioI love the simple, yet elegant look of this Thank You Card! I used the NEW In-Colors – Baked Brown Sugar and Pistachio Pudding! You could also change the greeting to be Happy Birthday and it would work well for a Man Card (see more Man Card samples here).

Reverse MaskingThis amazing card was created with a technique called Reverse Masking! Cut out a shape from a piece of cardboard (I use the cardboard that comes in the Designer Series Paper Packs) and then use that as your mask! I cut out this rectangle and then using sponge daubers, I added Pumpkin Pie and Wild Wasabi ink. After I was done I removed the mask and stamped the poppy image with Stazon Ink and colored it in with markers! Isn’t that amazing! You have endless possibilities with color combinations and stamped images!

IMG_2104This little bird is so adorable and you can make him blue, orange, yellow, or brown! I love the blue!!! Again this is a super simple card that is perfect for a Man Card or like this one Sympathy. Not too flashy but elegant and amazing! This card is sure to brighten anyone’s day!

You can earn the Simply Sketched Stamp Set when you have a party of $150.00 or more (or you can earn it when you place an order yourself of $150.00 or more). Simply gather a few friends and pick a date! We will have a great time stamping and you can earn FREE products like this one!!! Email me today to pick a date!!!

Happy Stampin’

~Laura