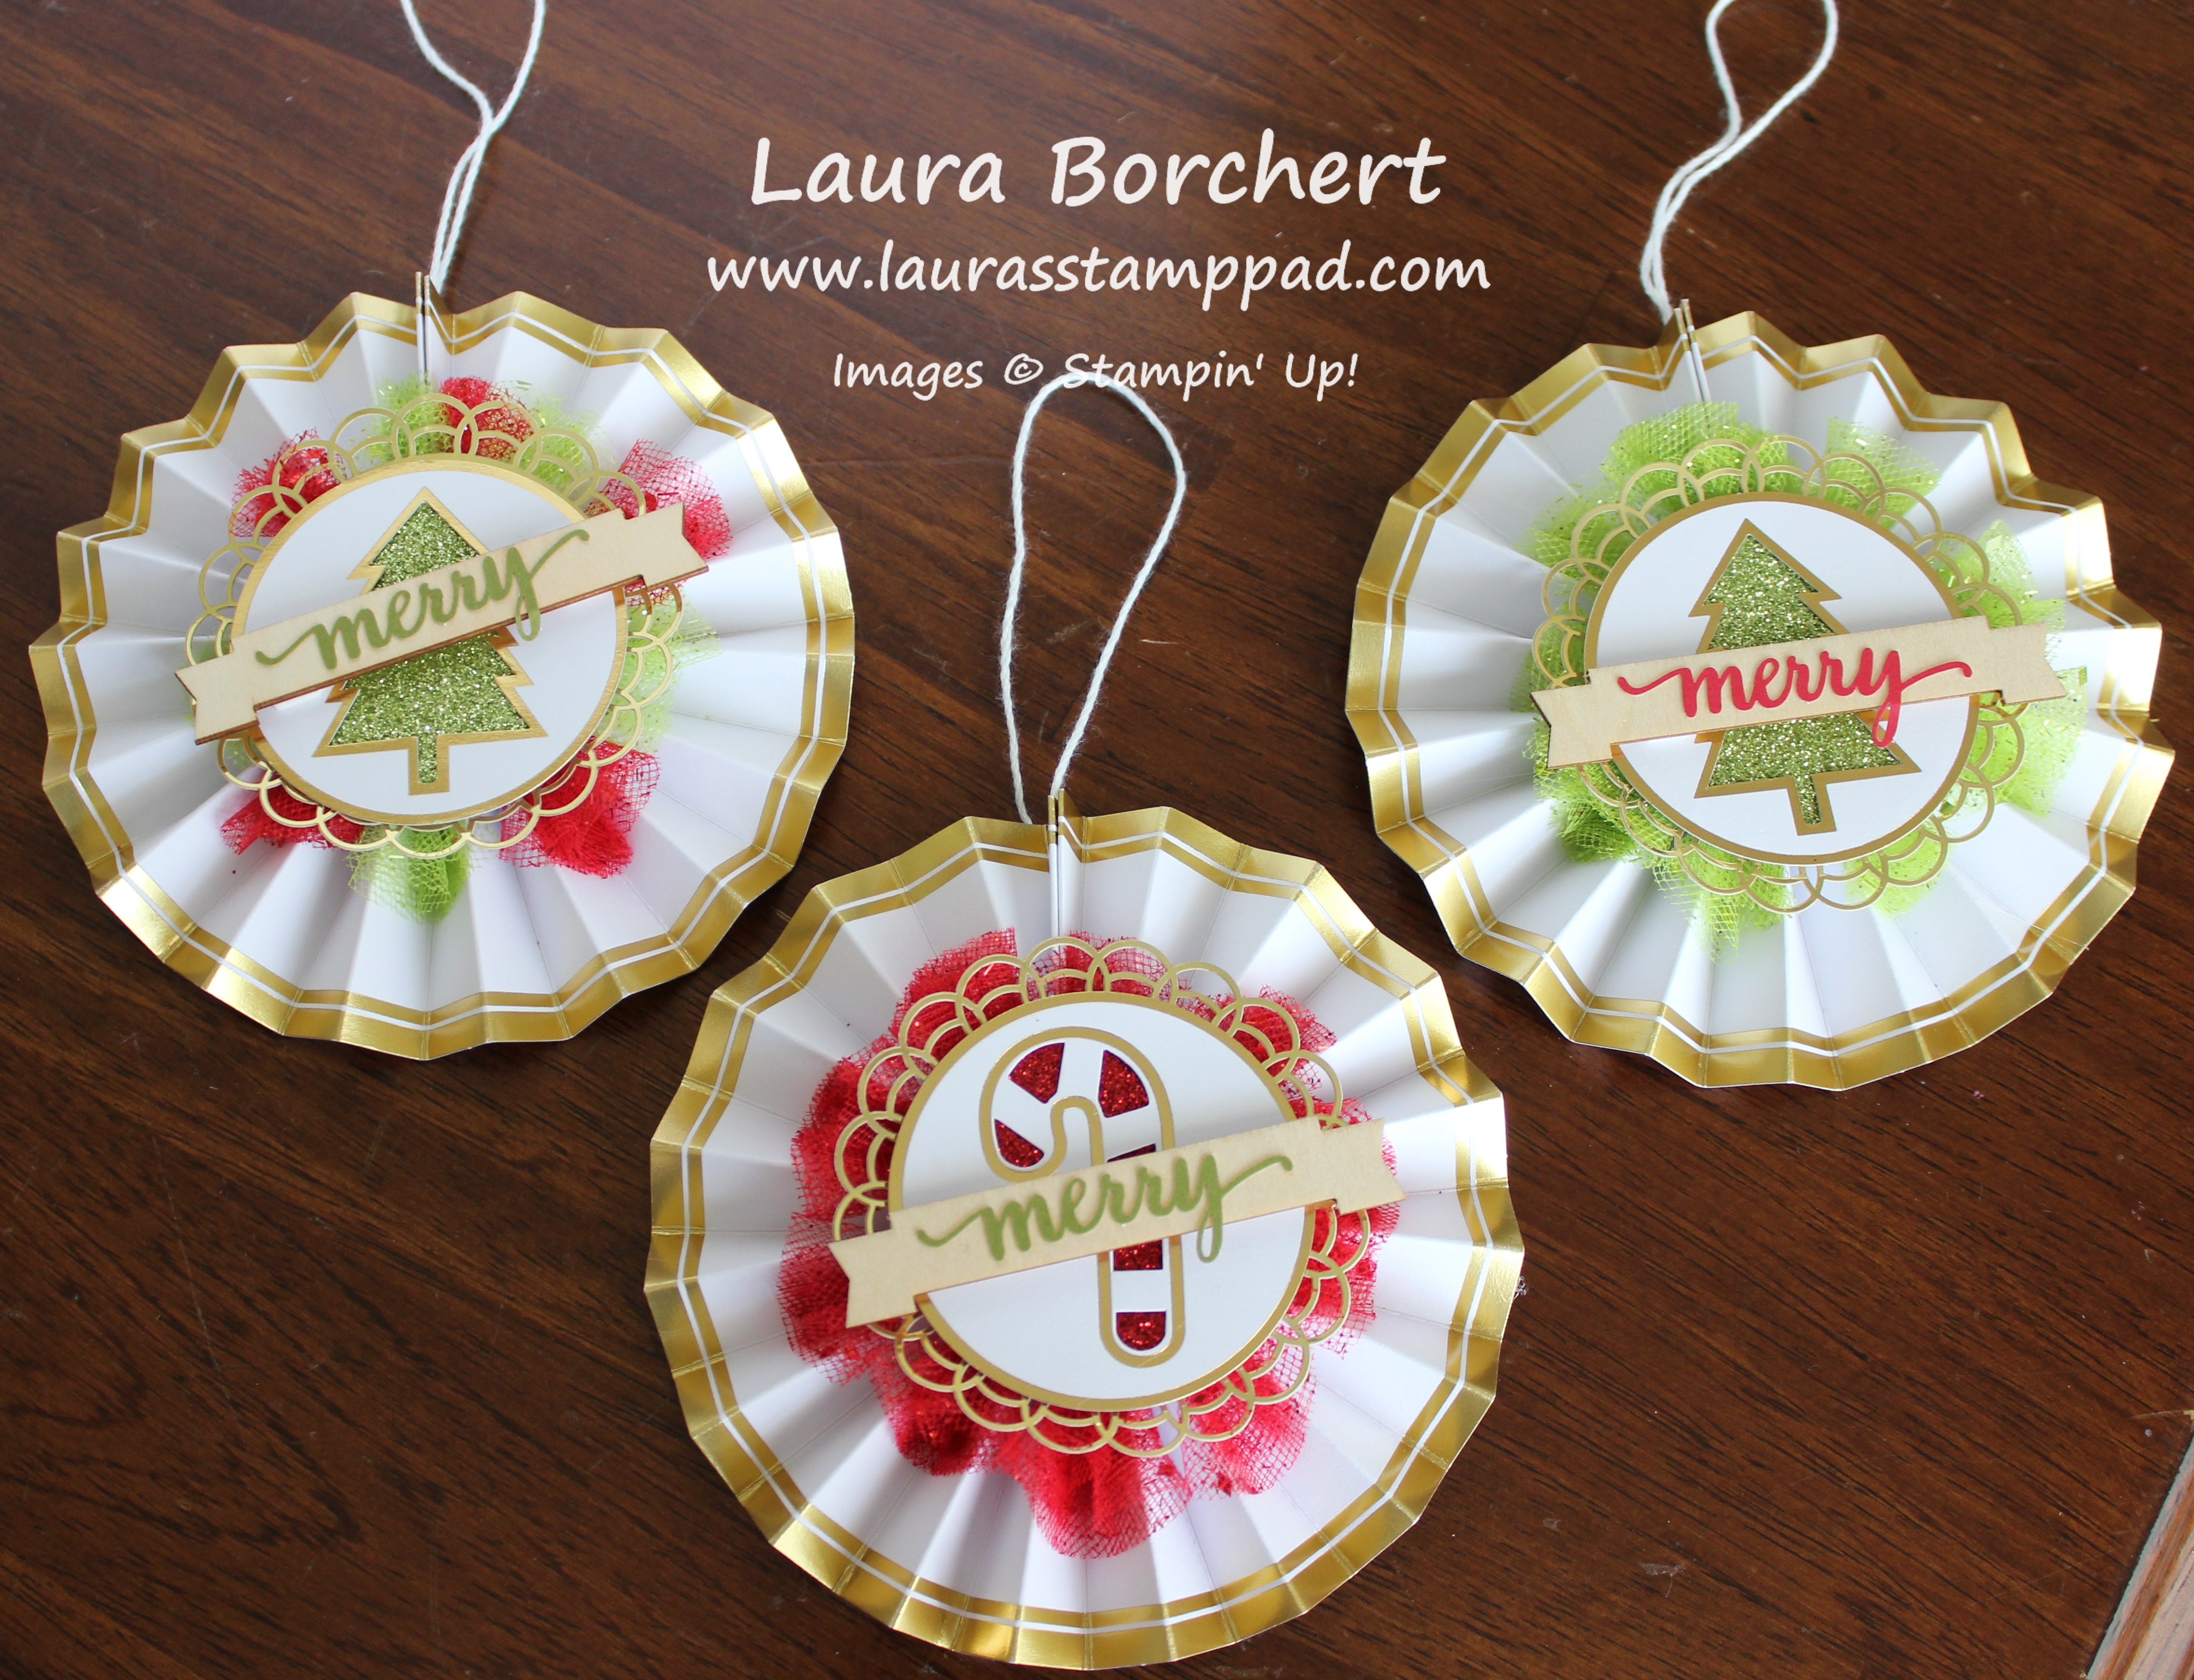
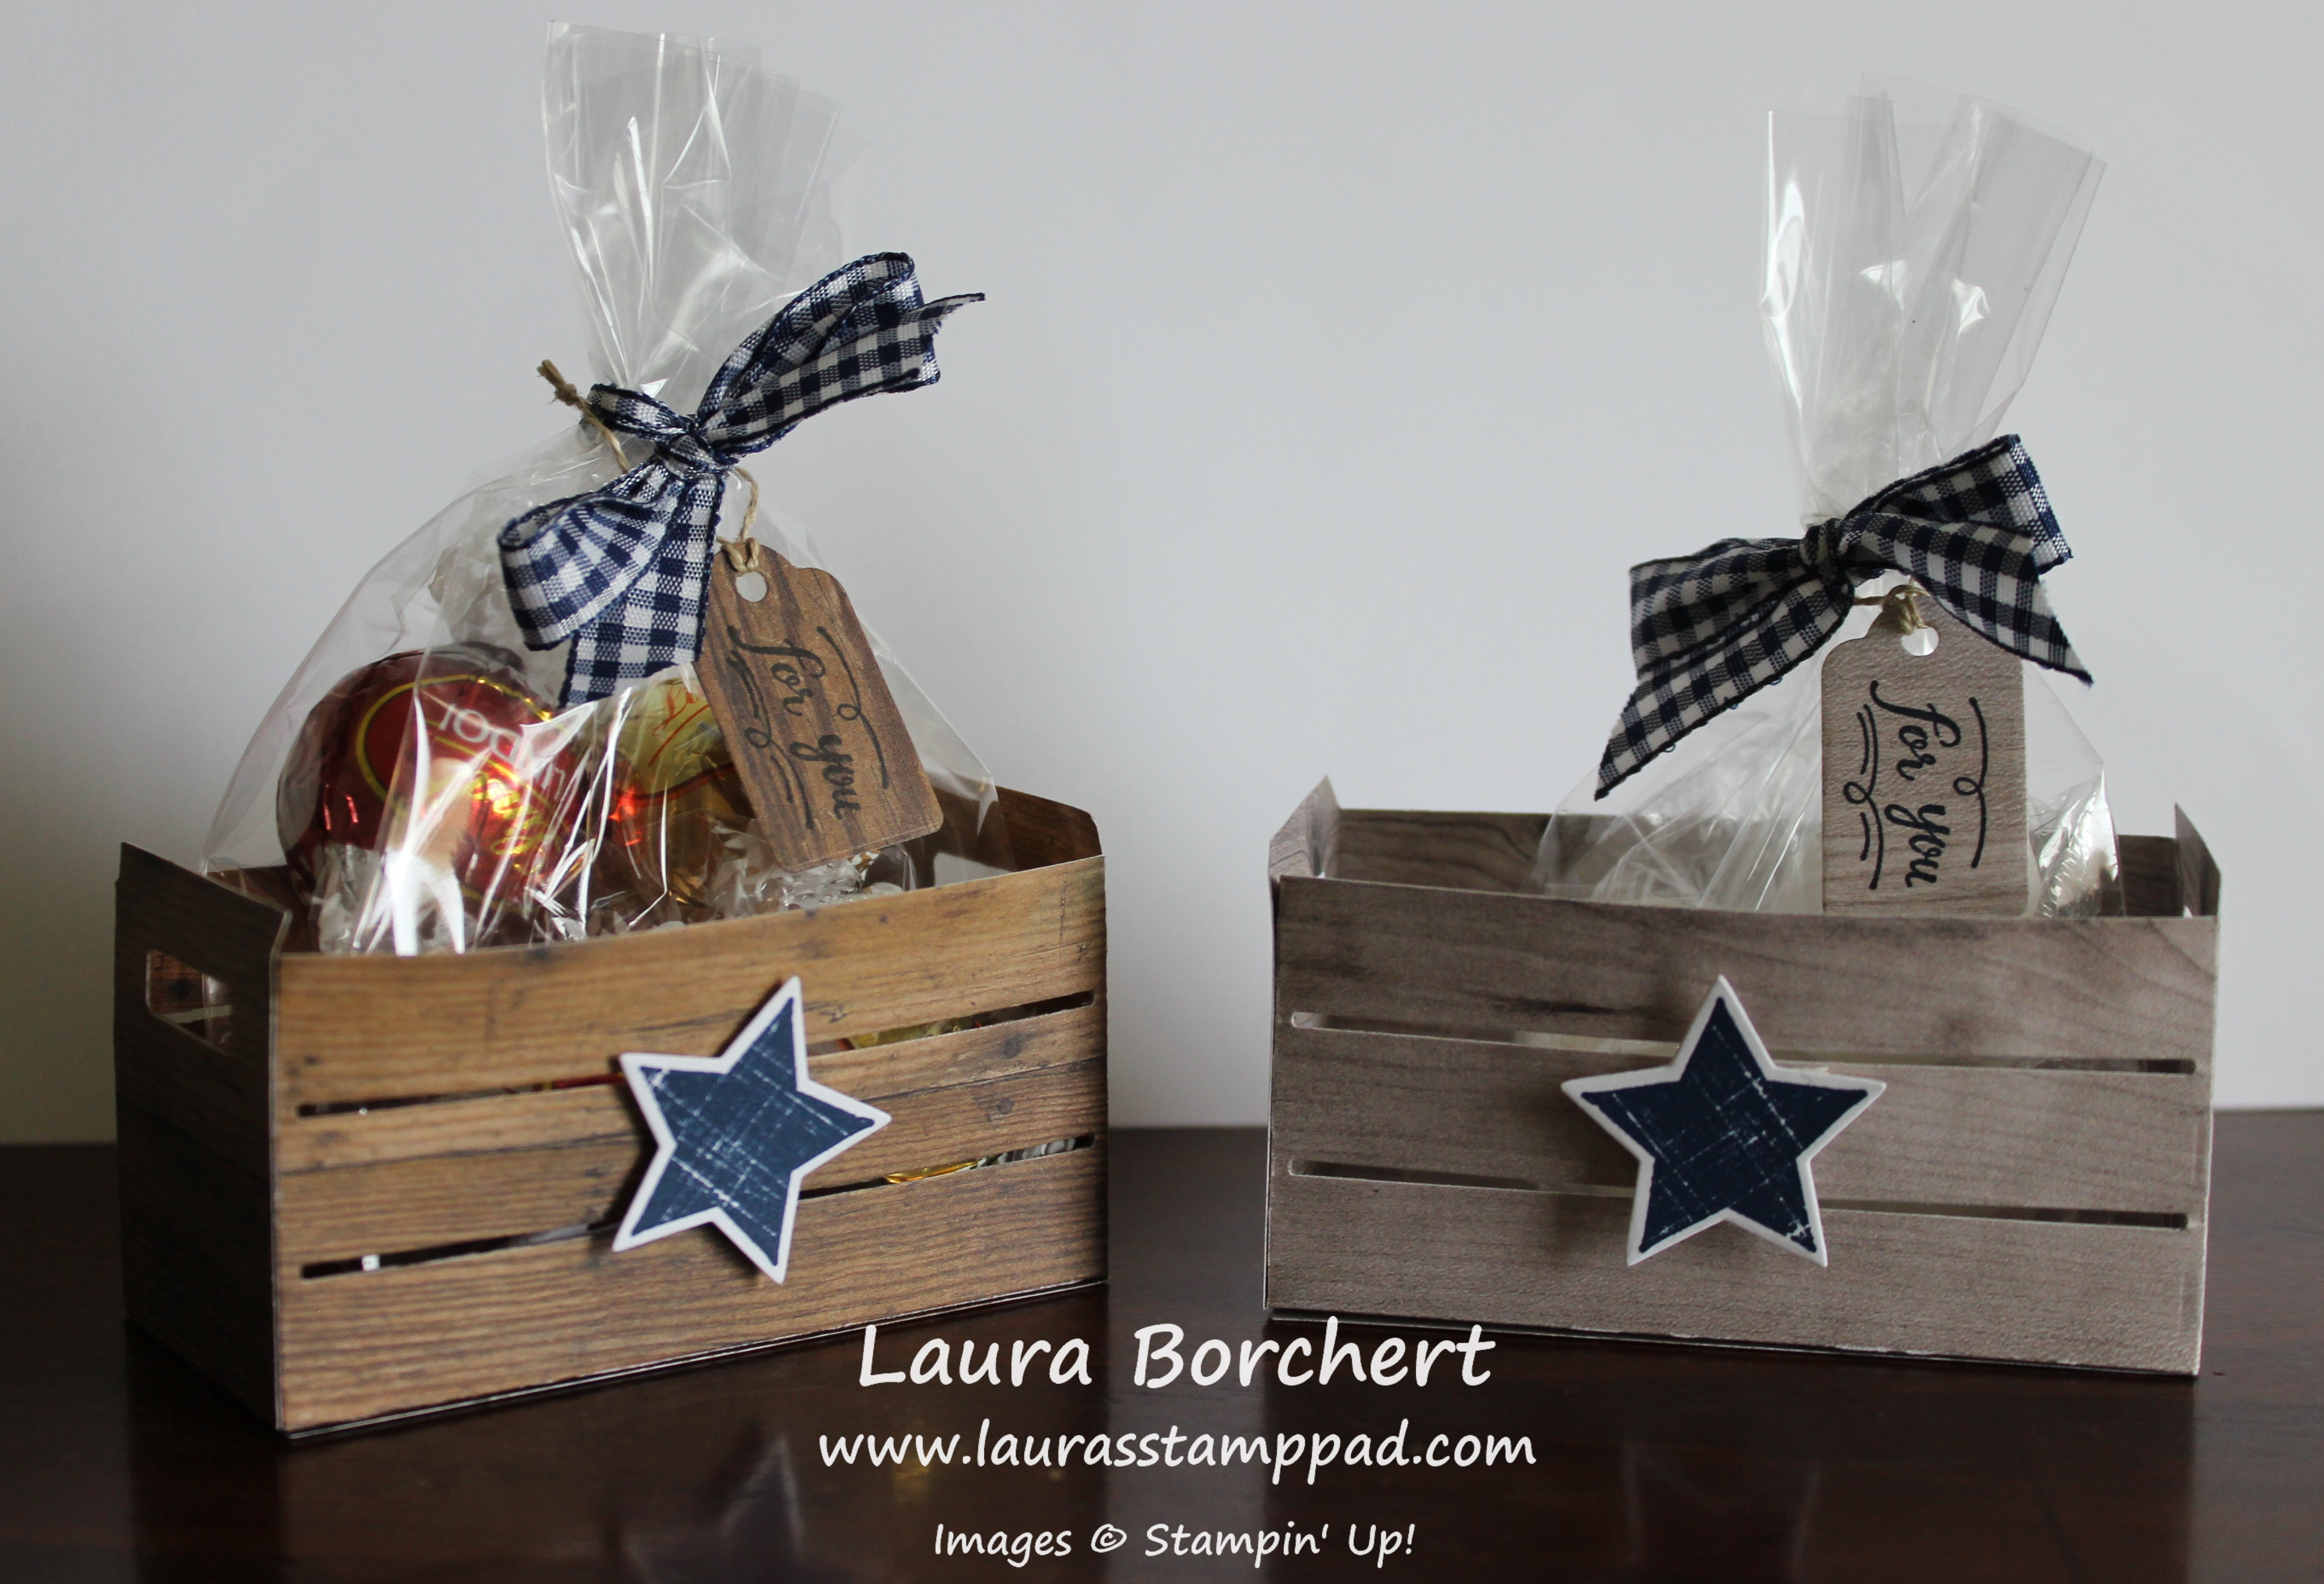
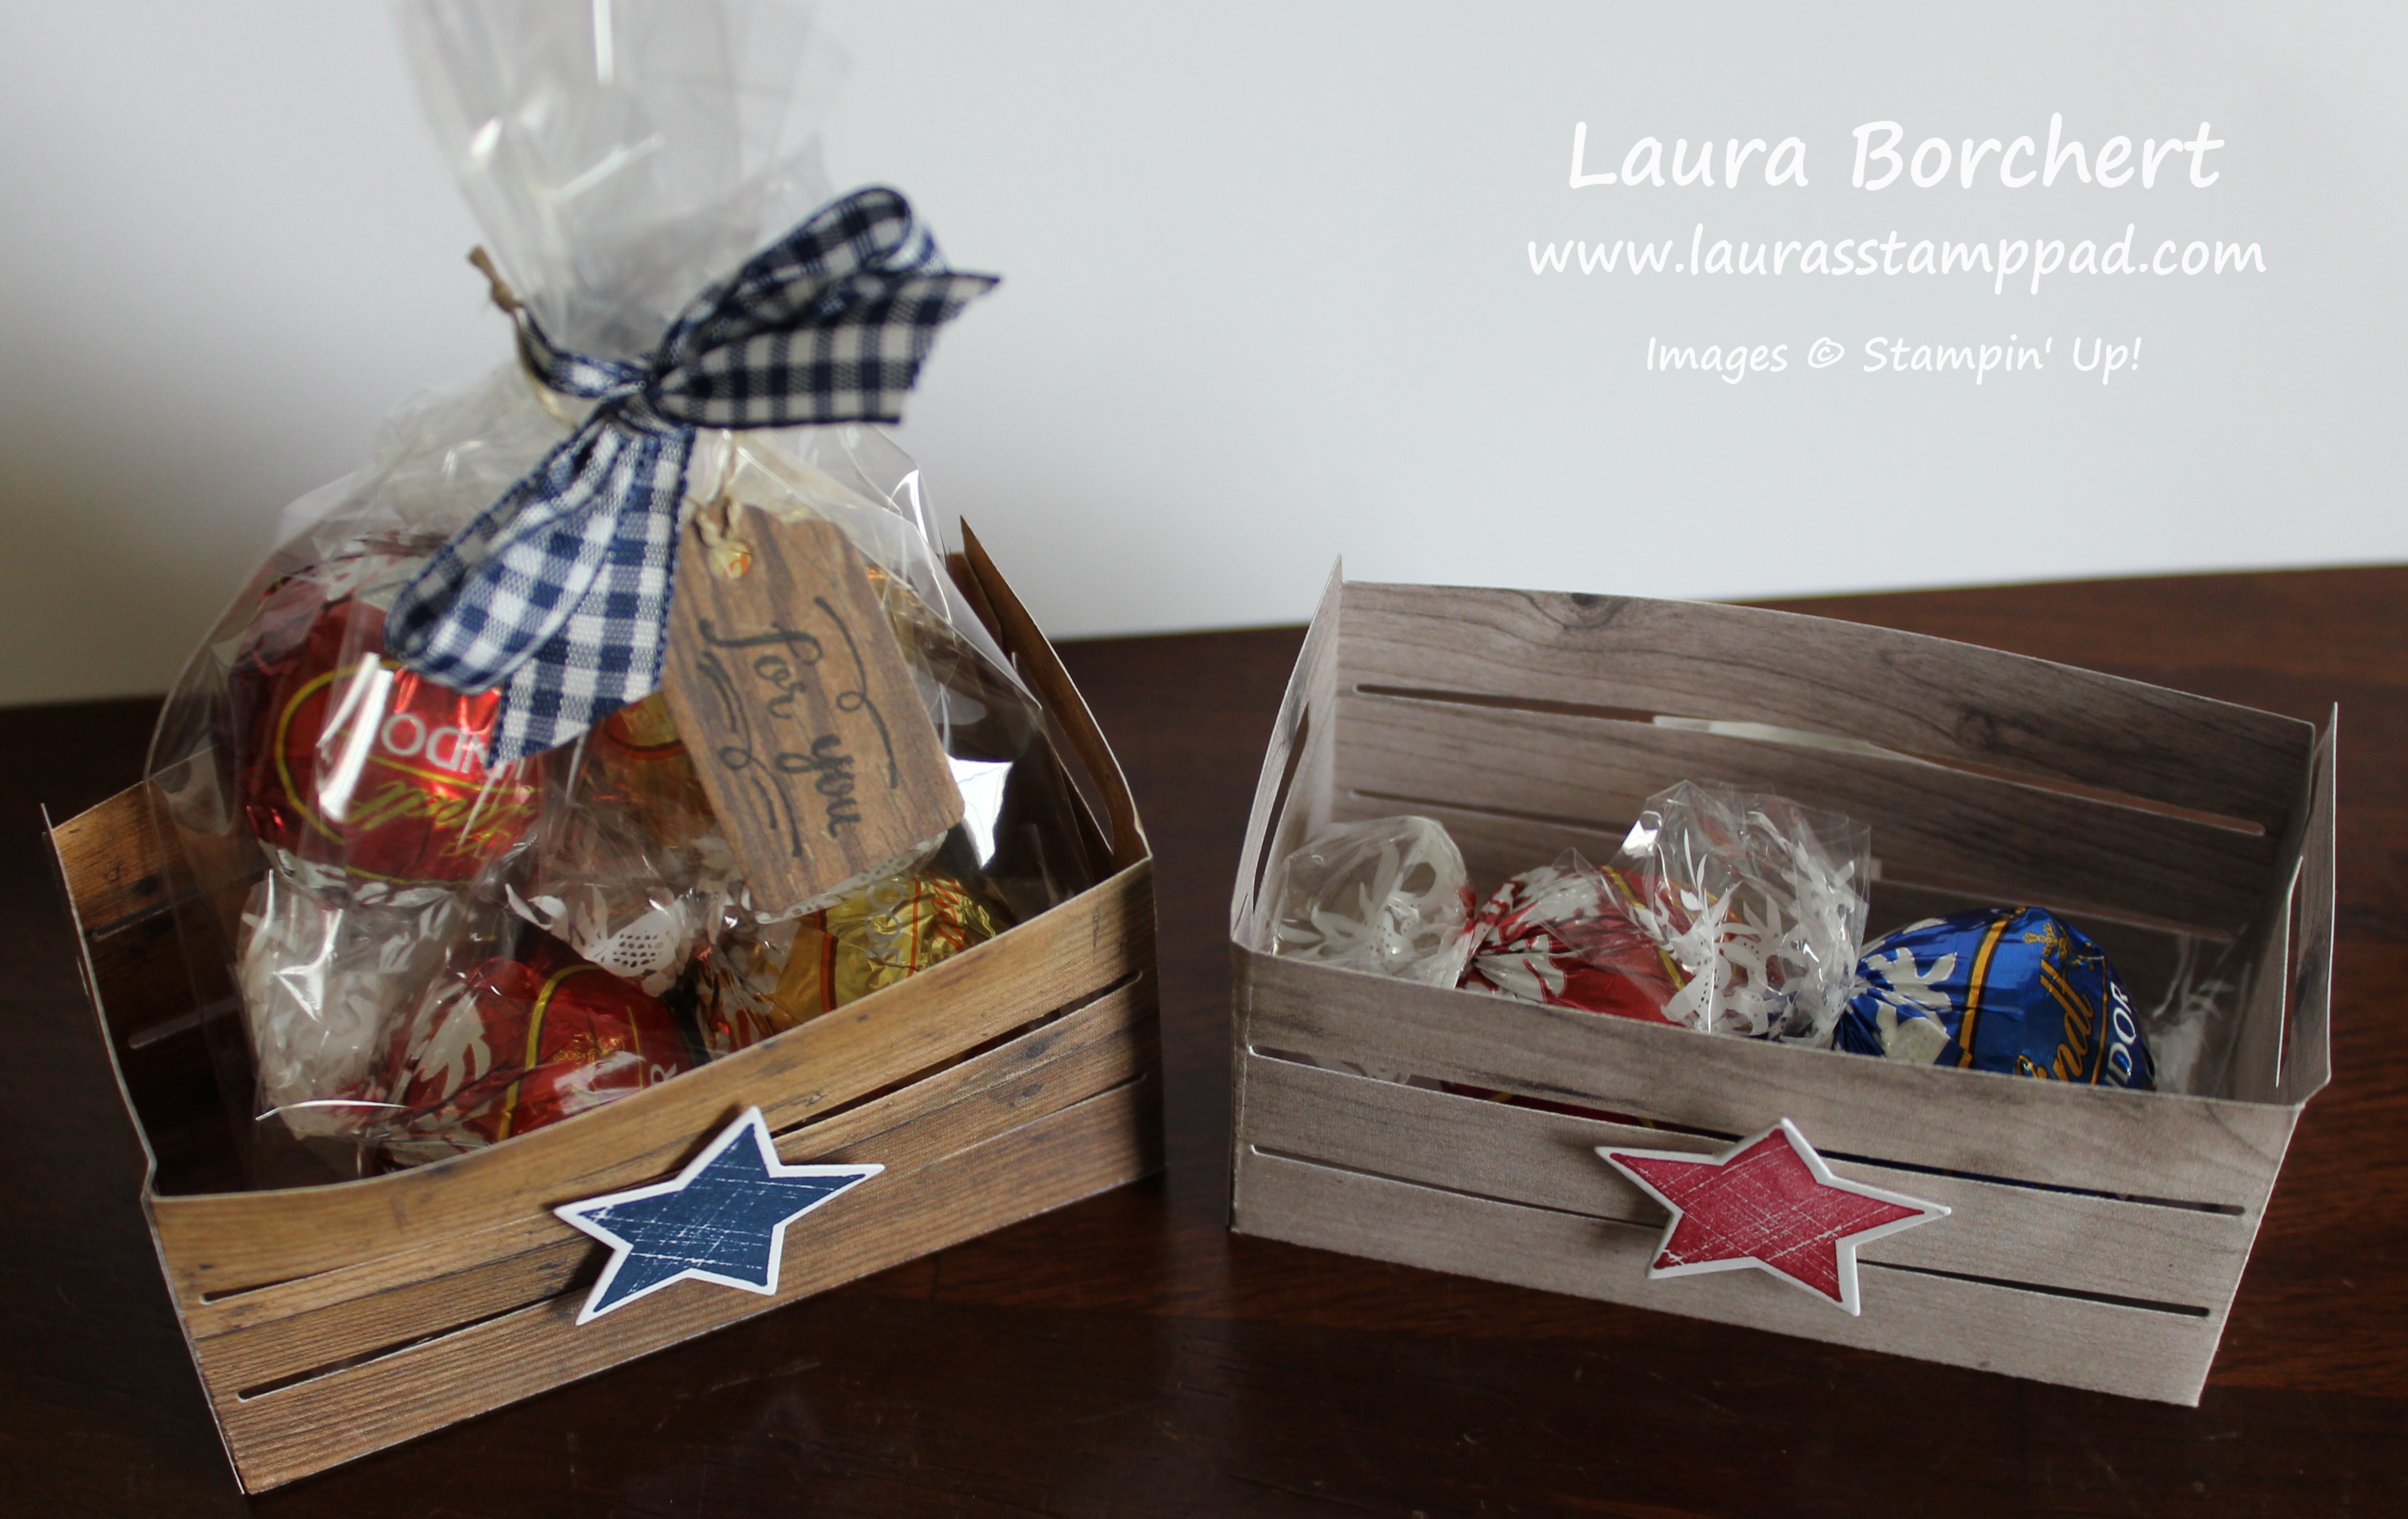
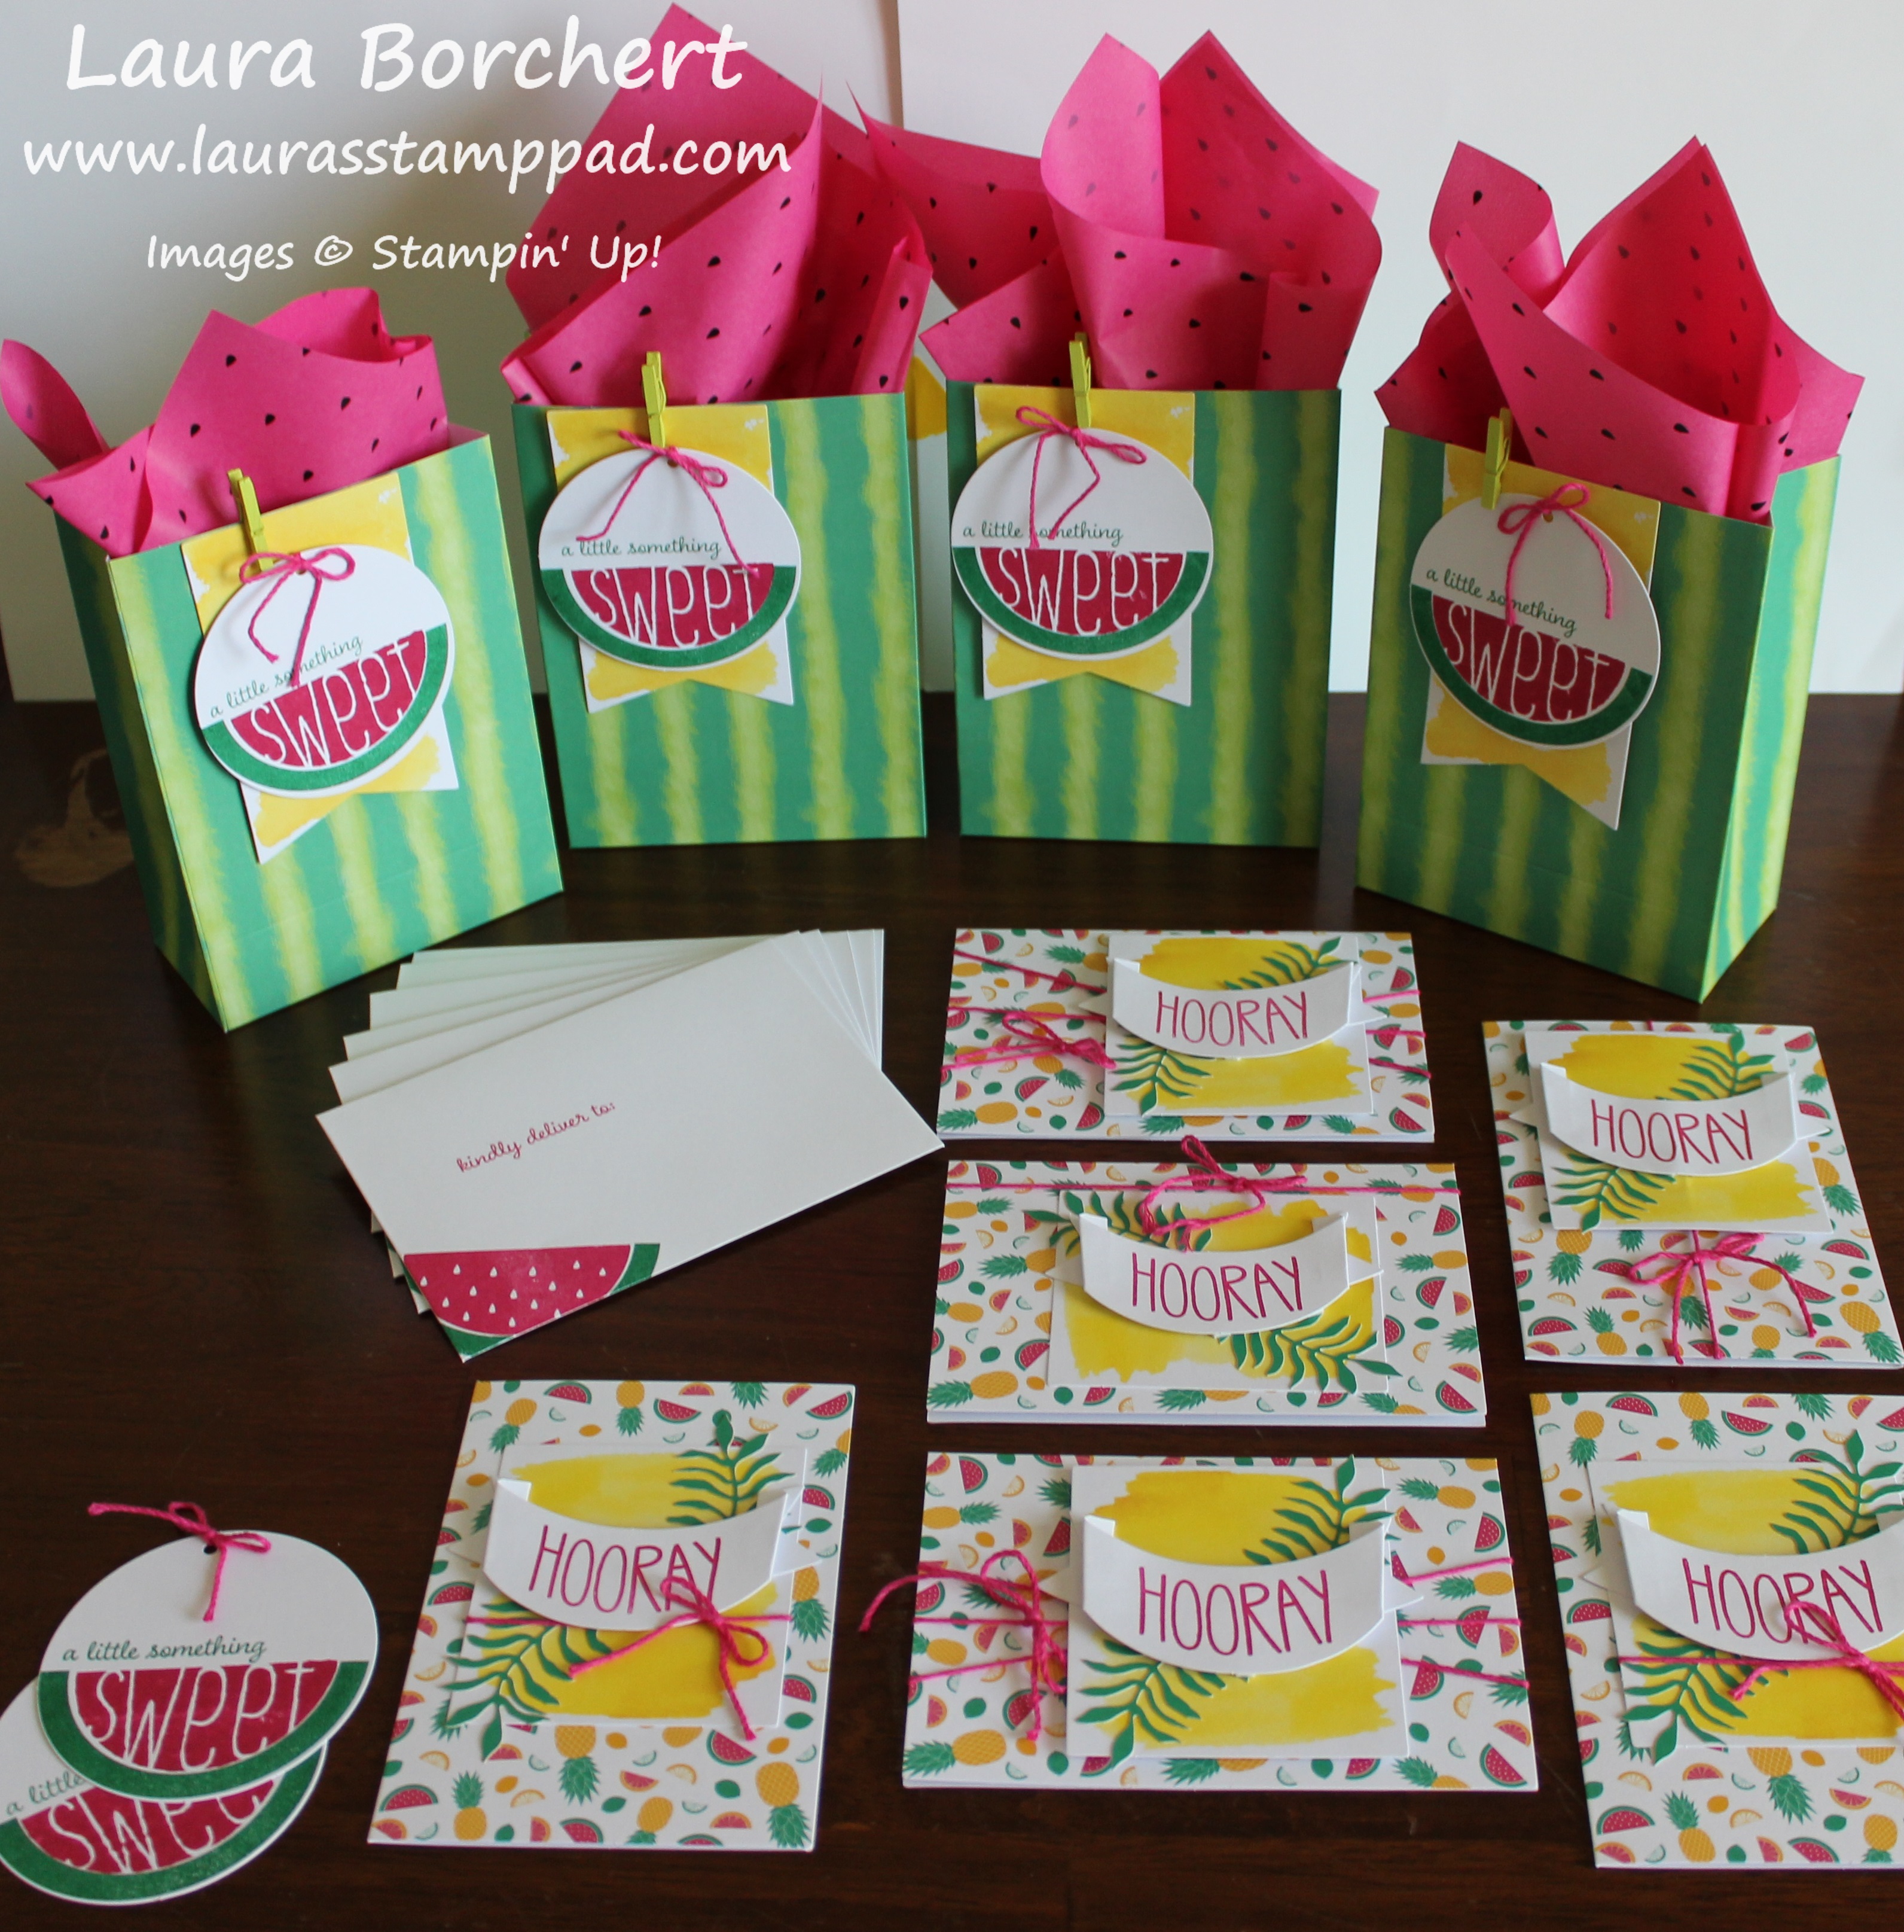
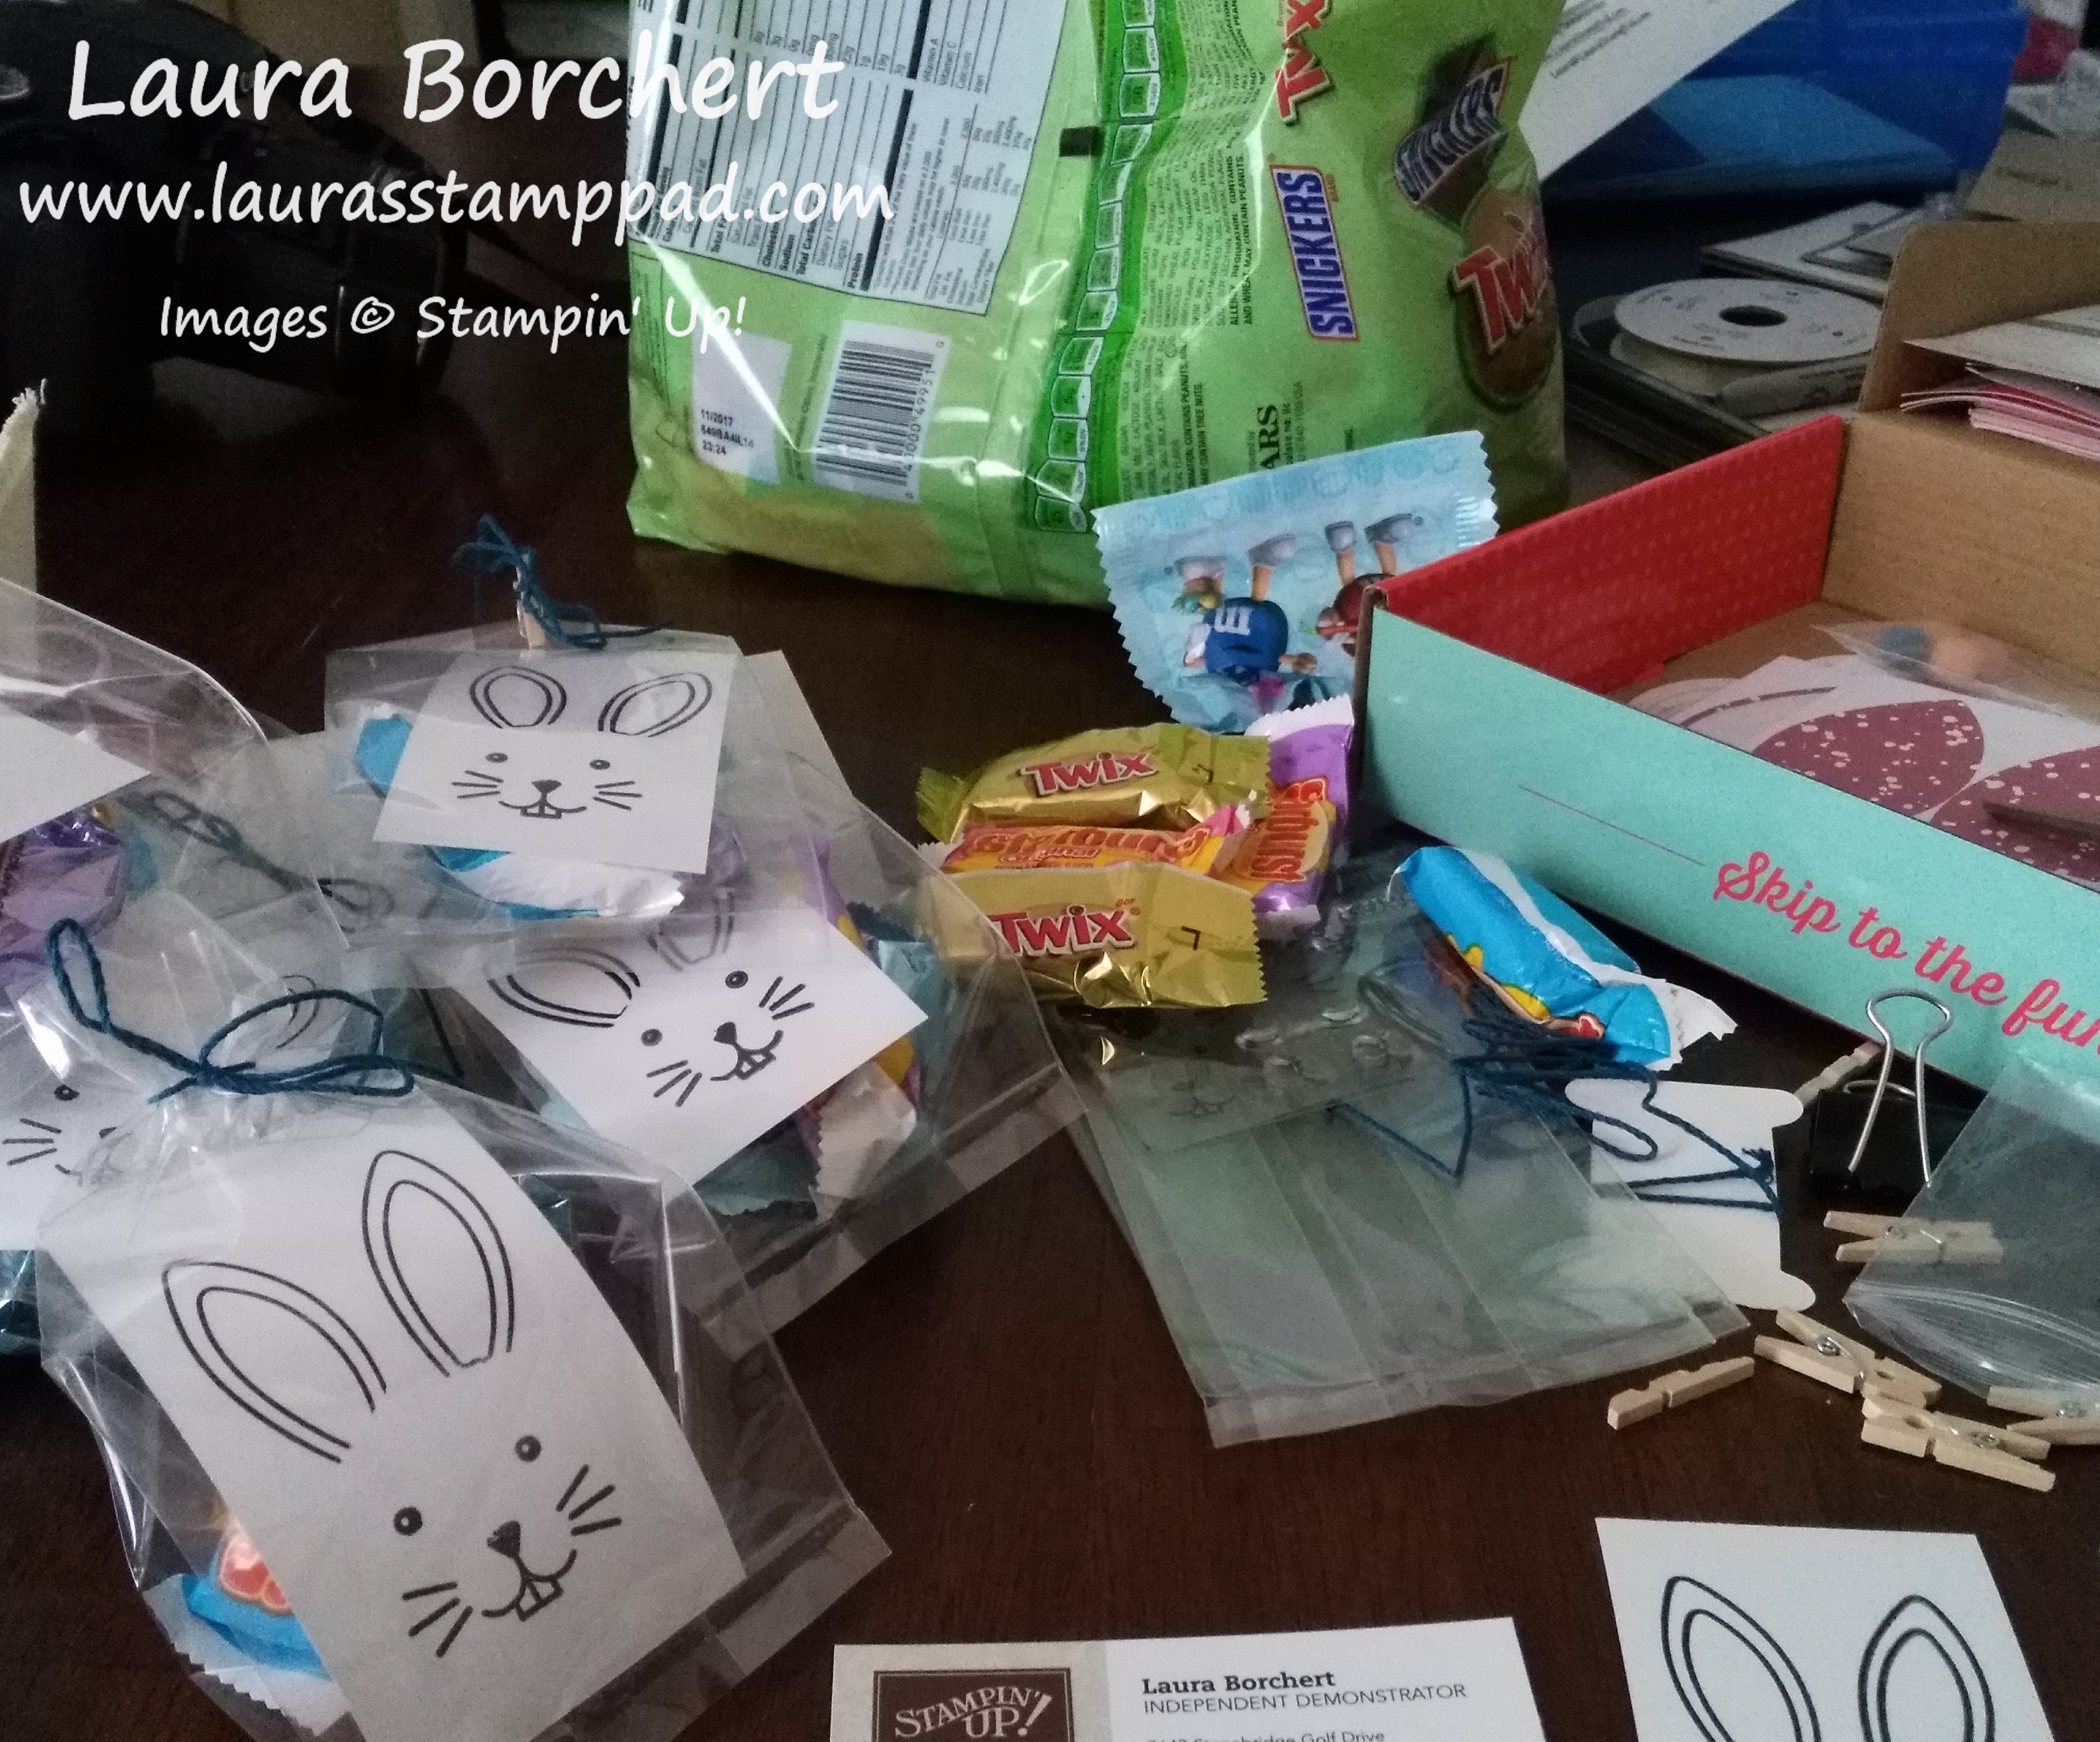
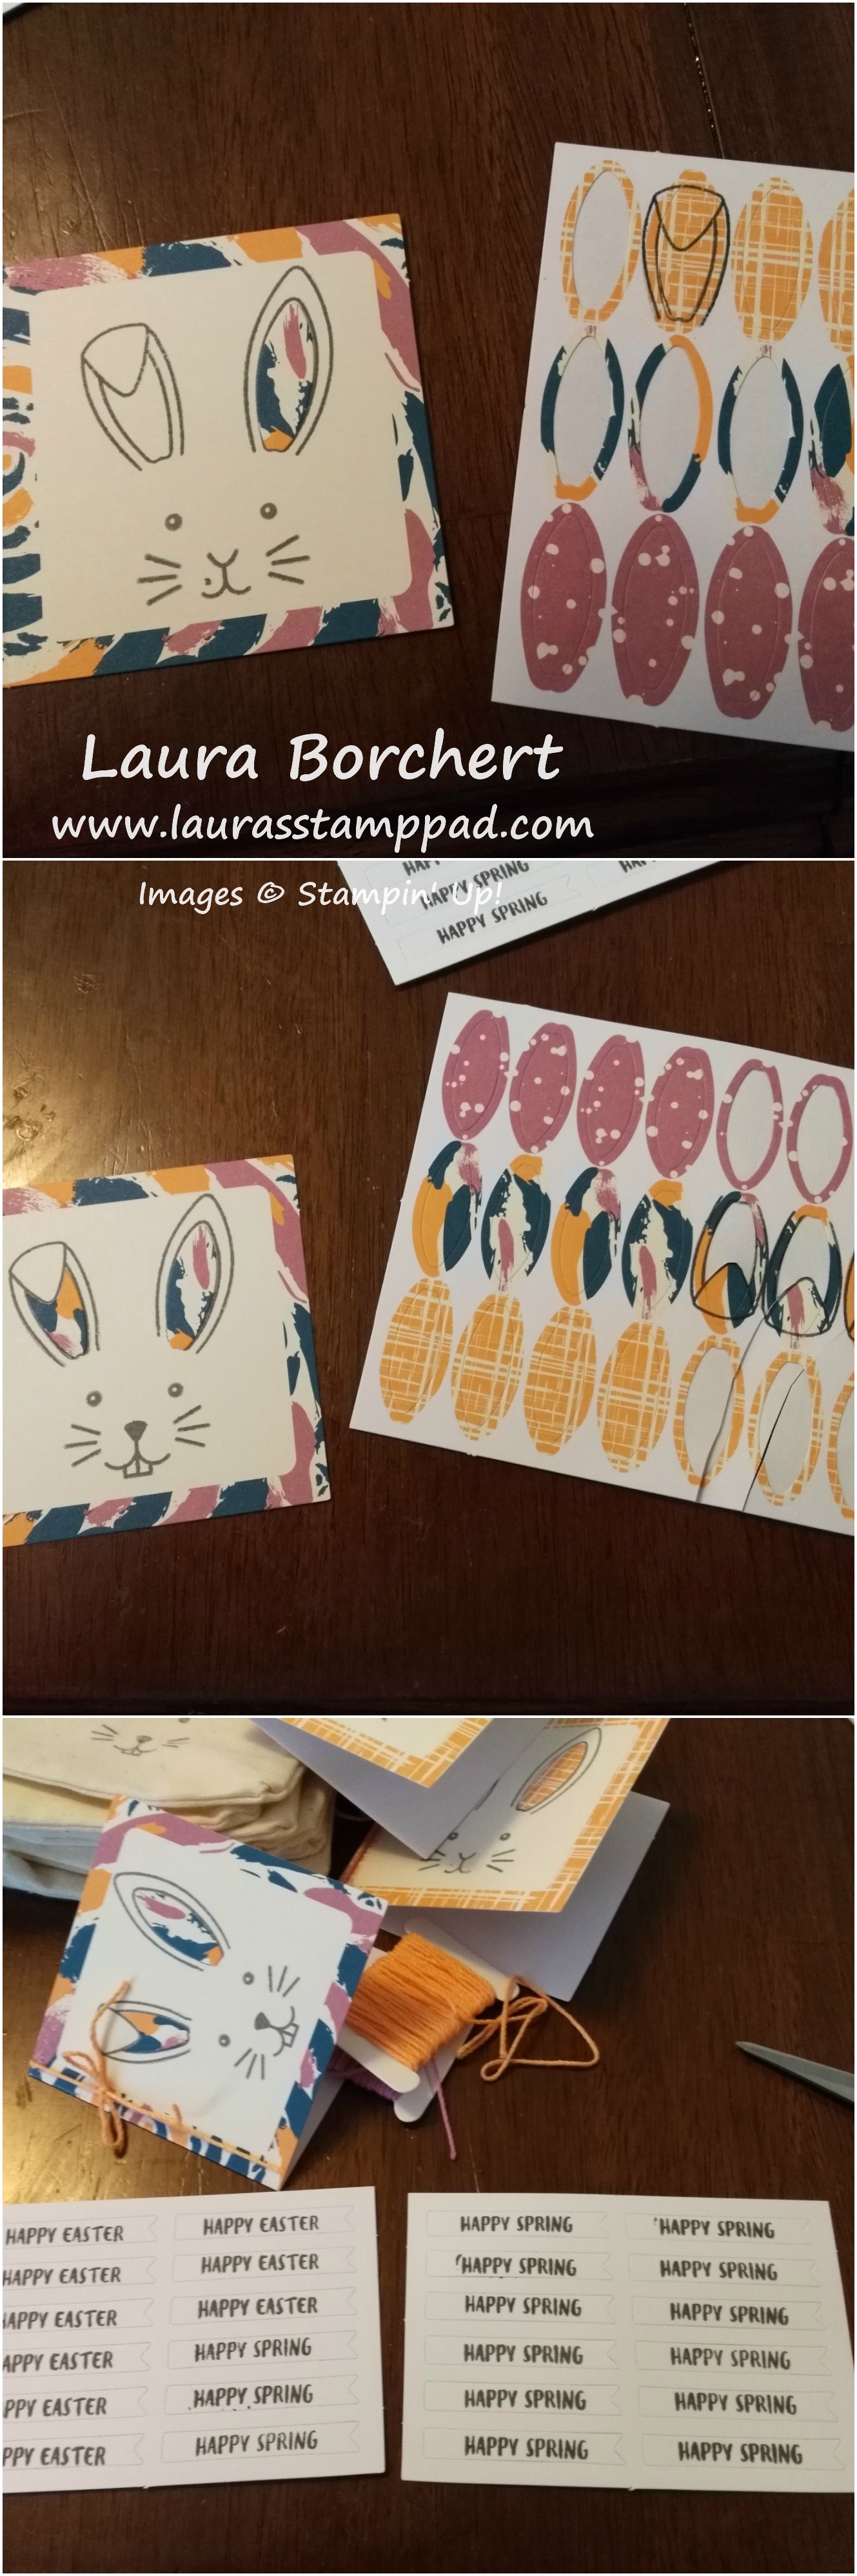
Happy Friday!!! I thought I would share a little tag inspiration for the upcoming holidays! This is simple and easy to add a handmade touch to your holiday gifts! You can check out more gift packaging ideas here and here!

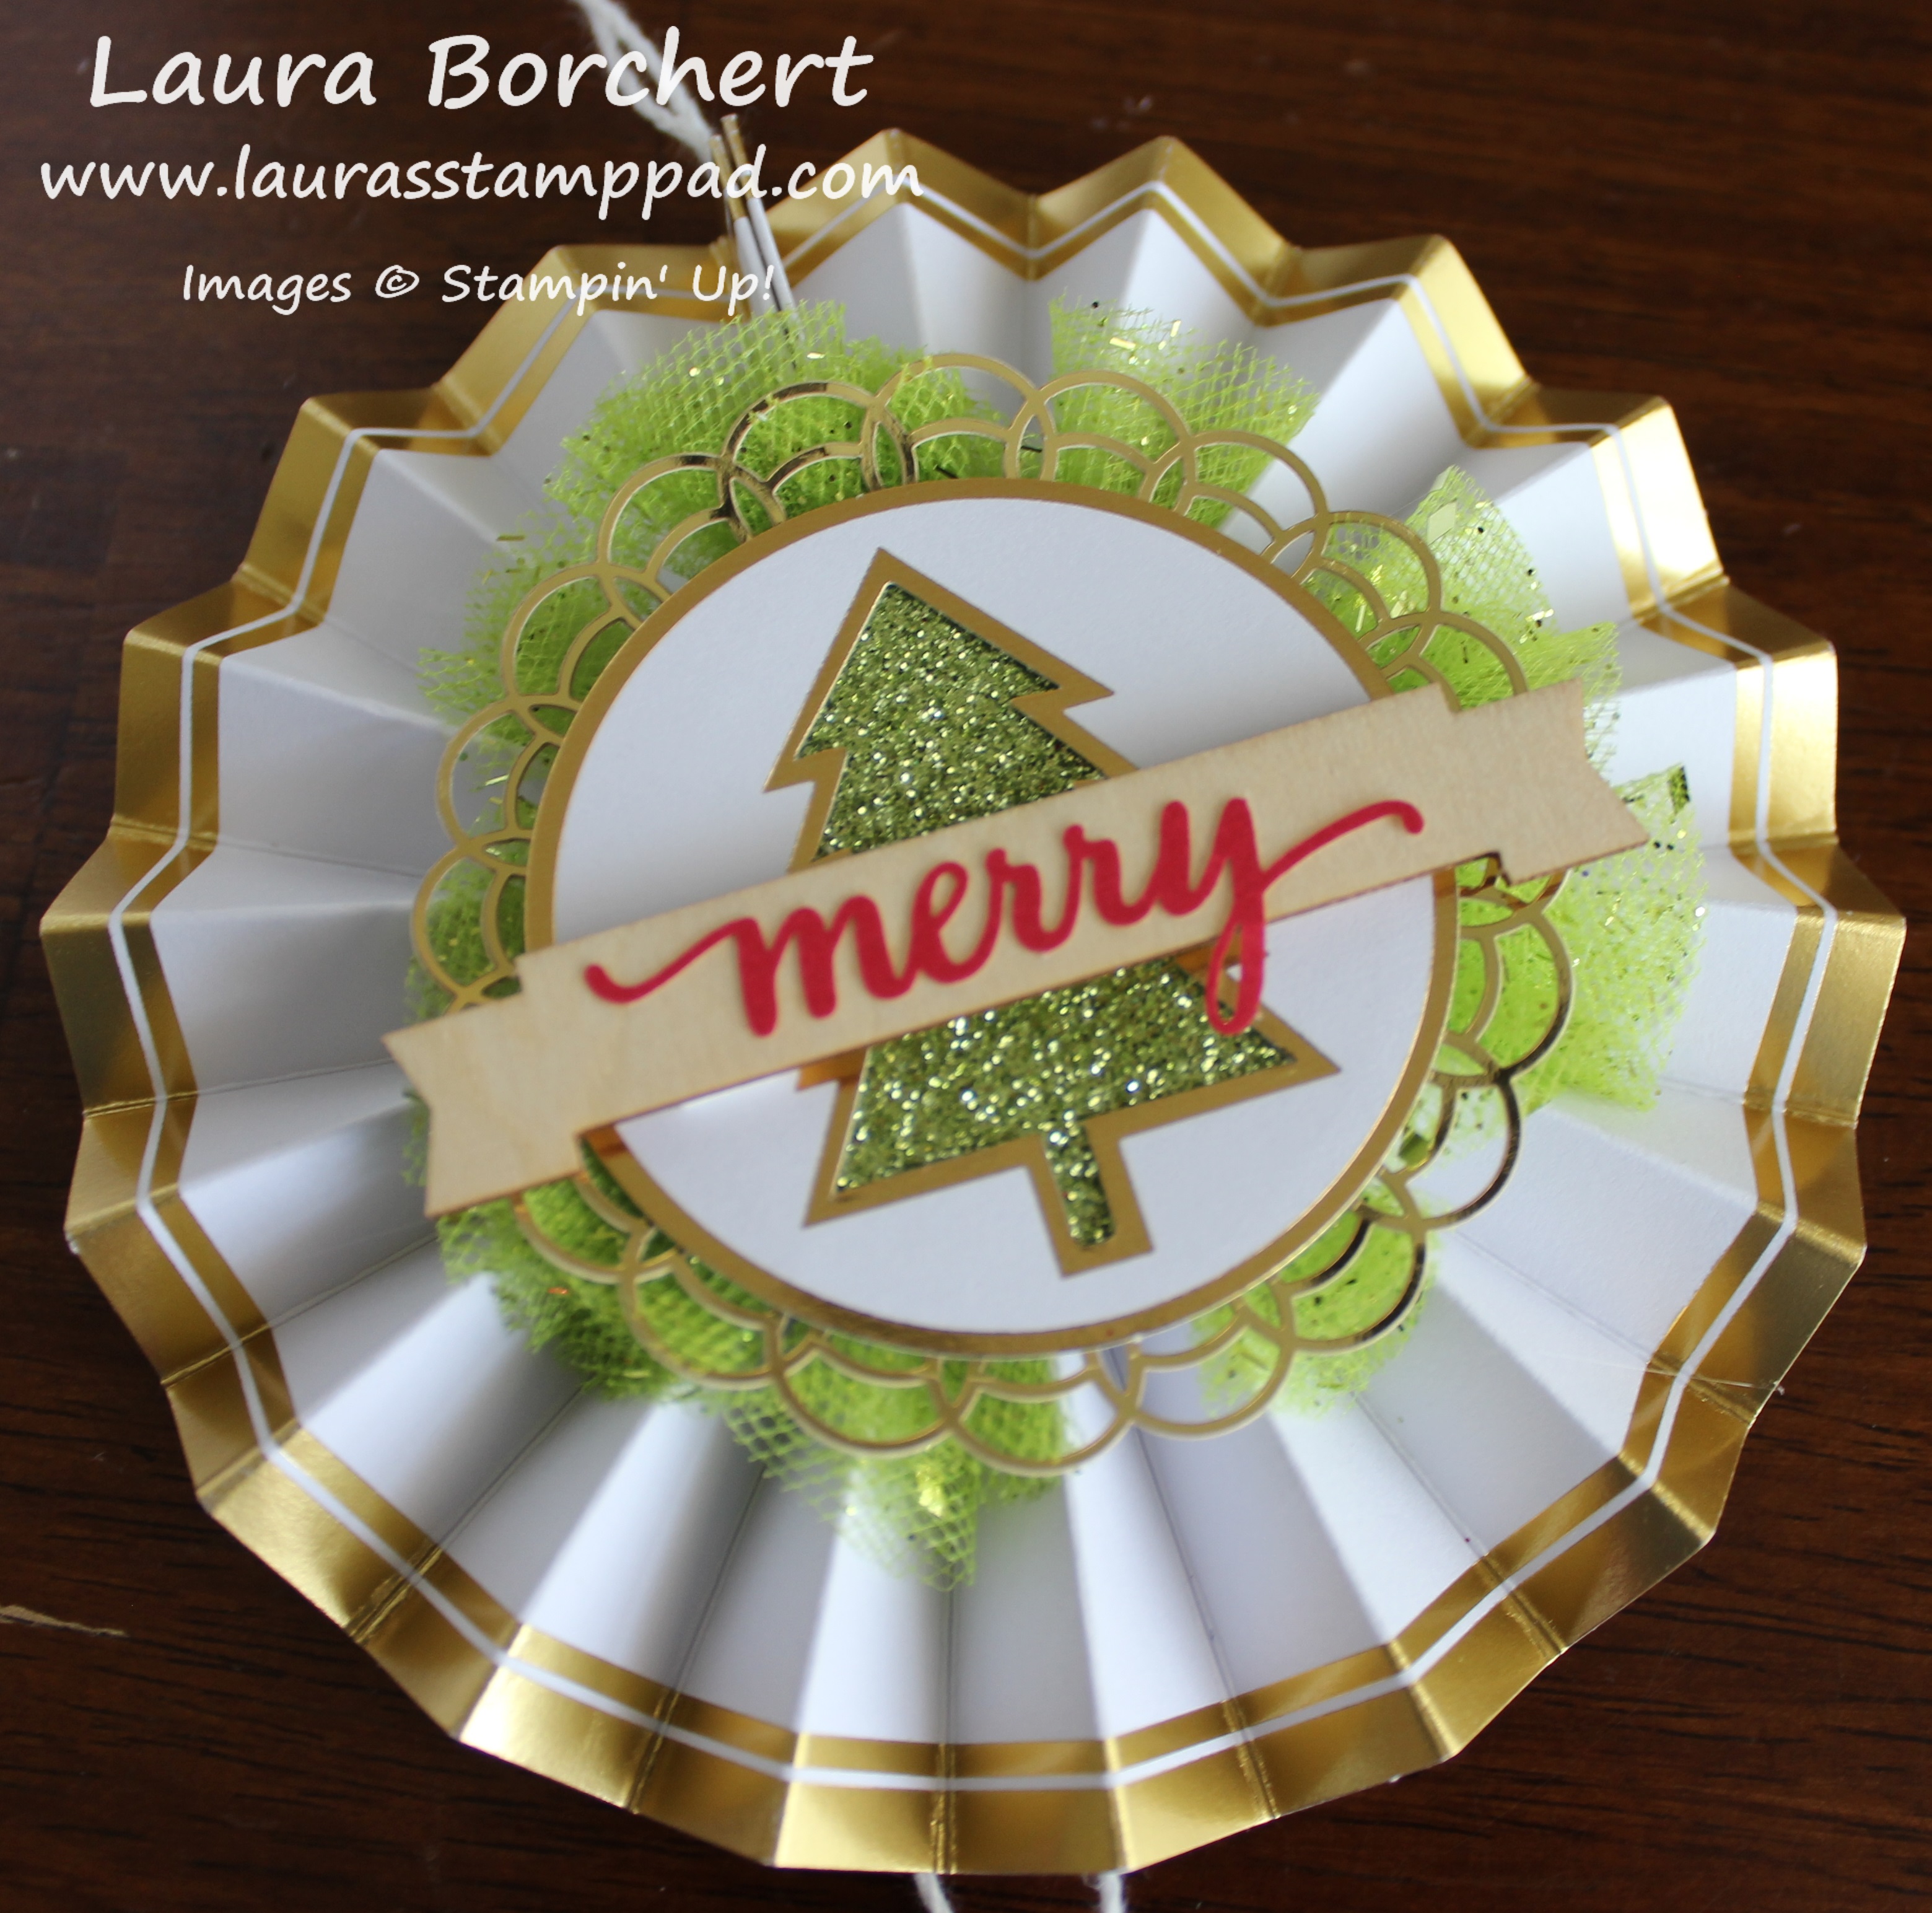
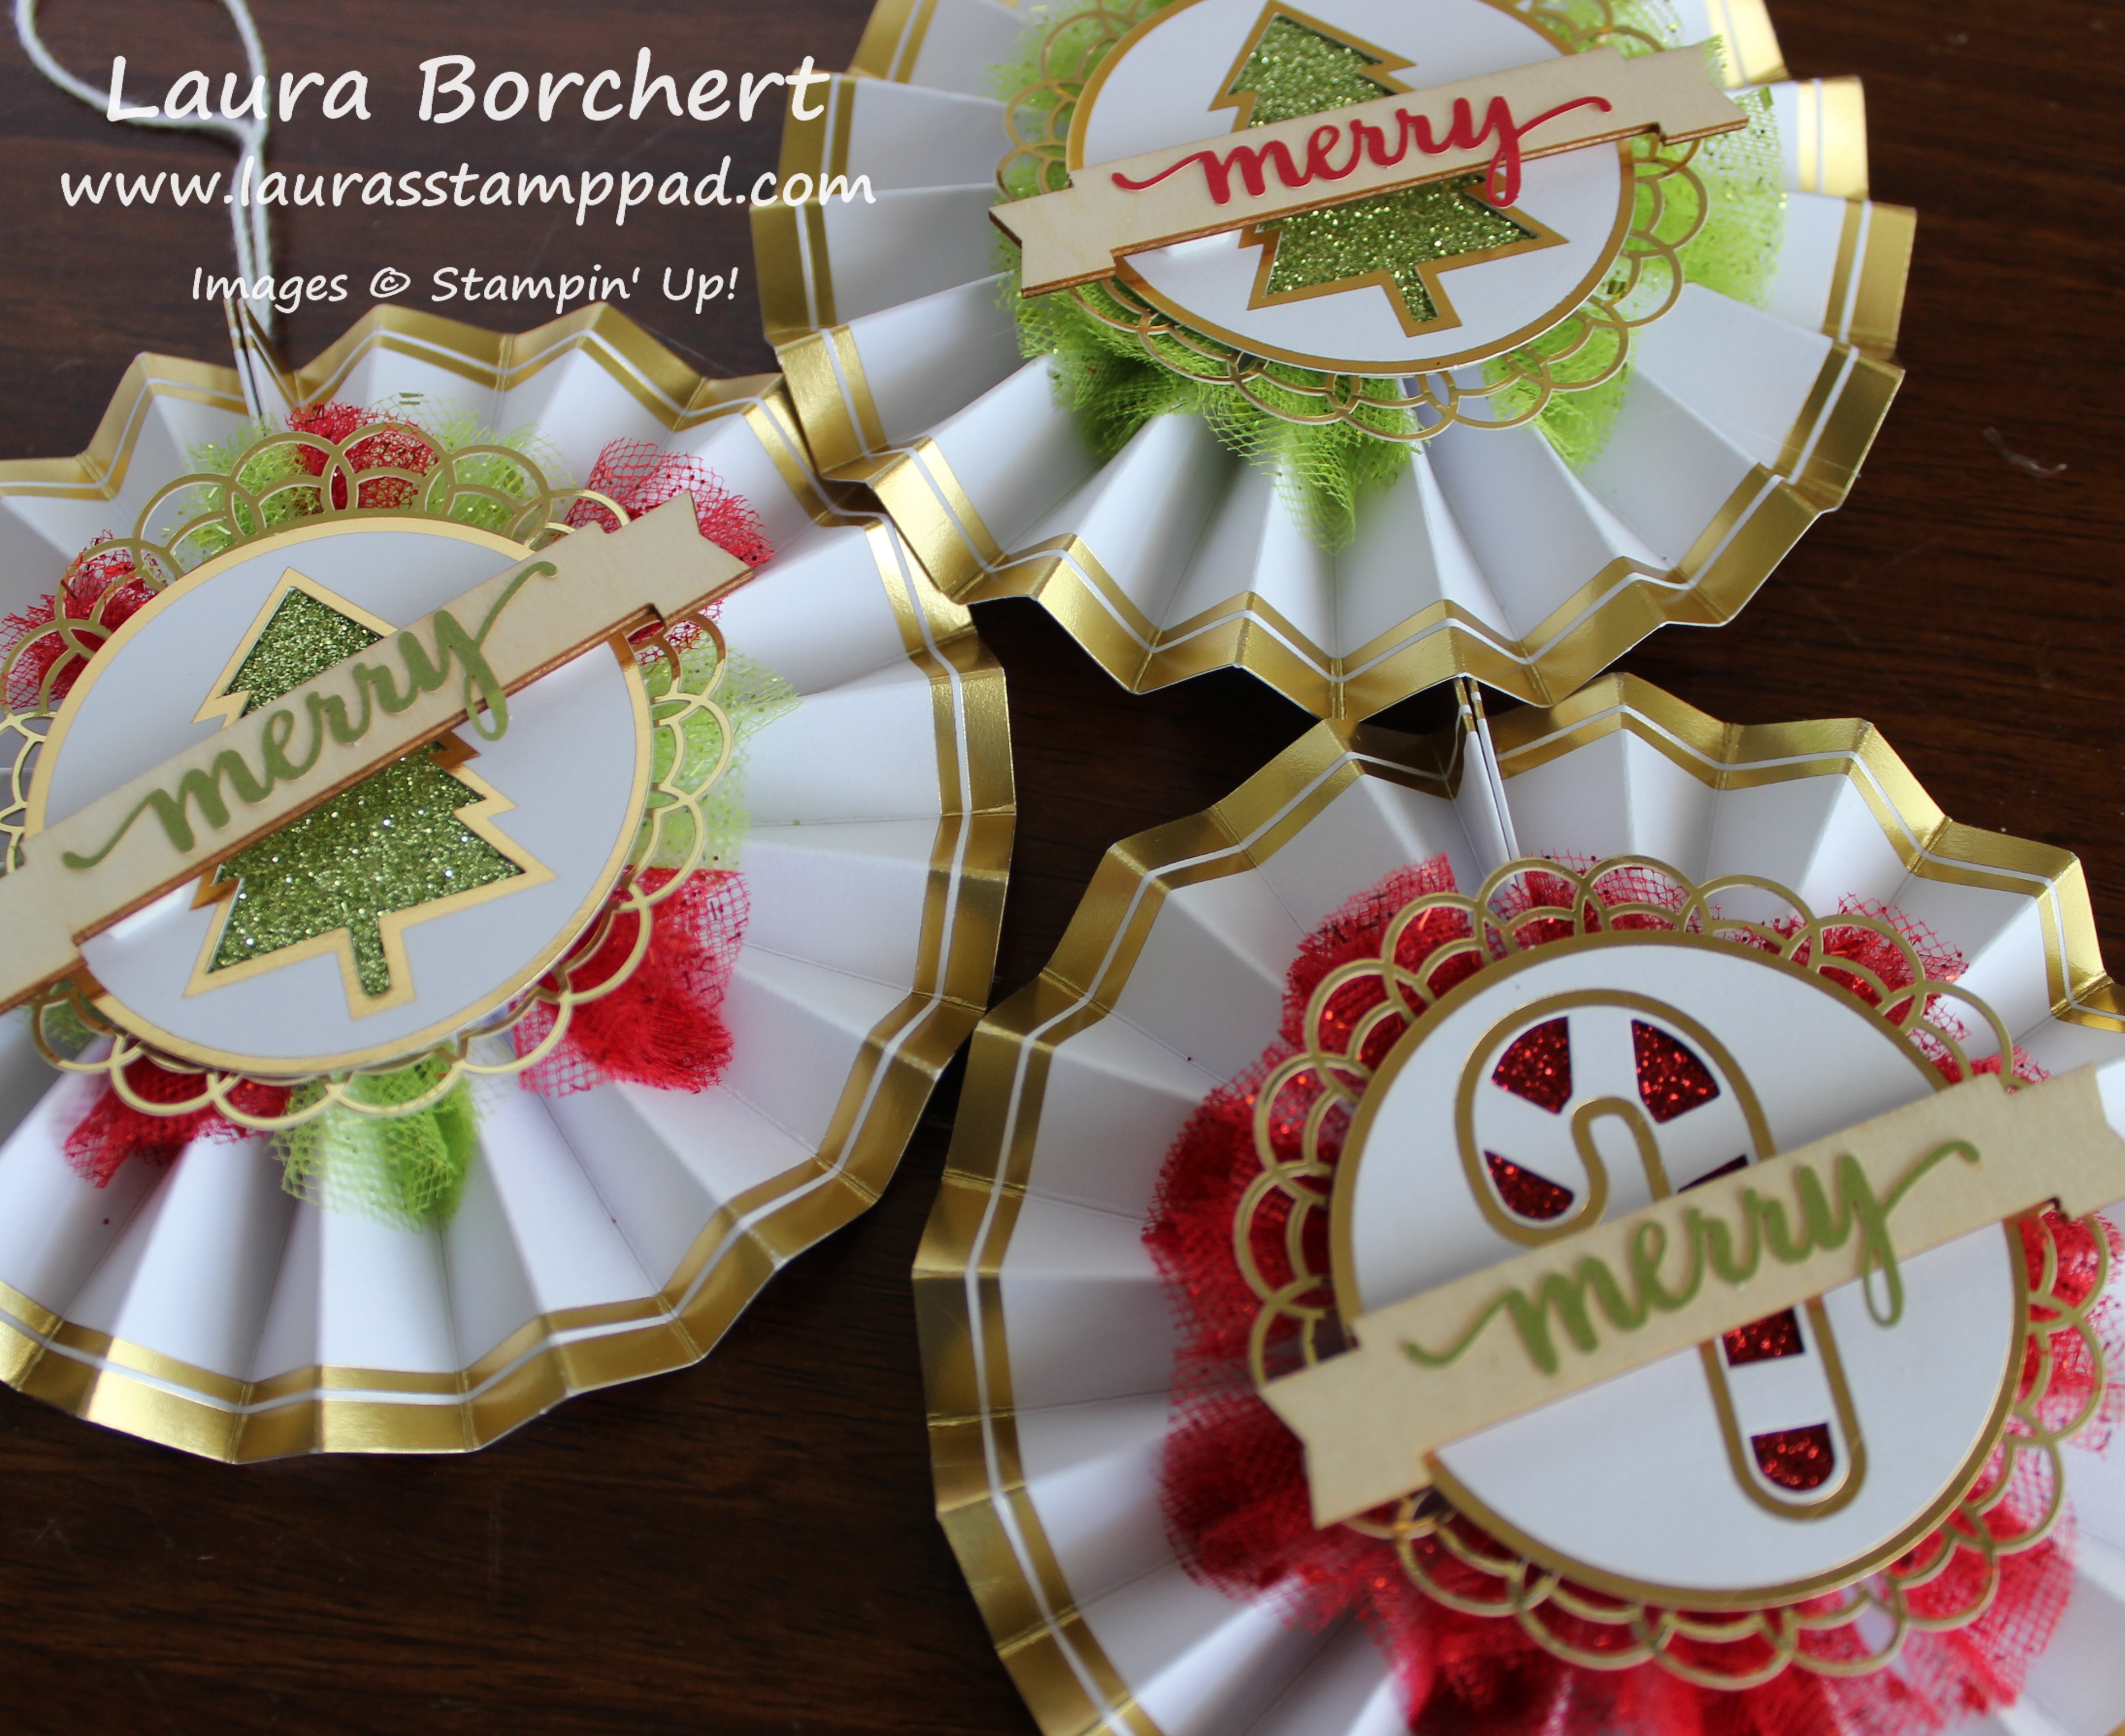
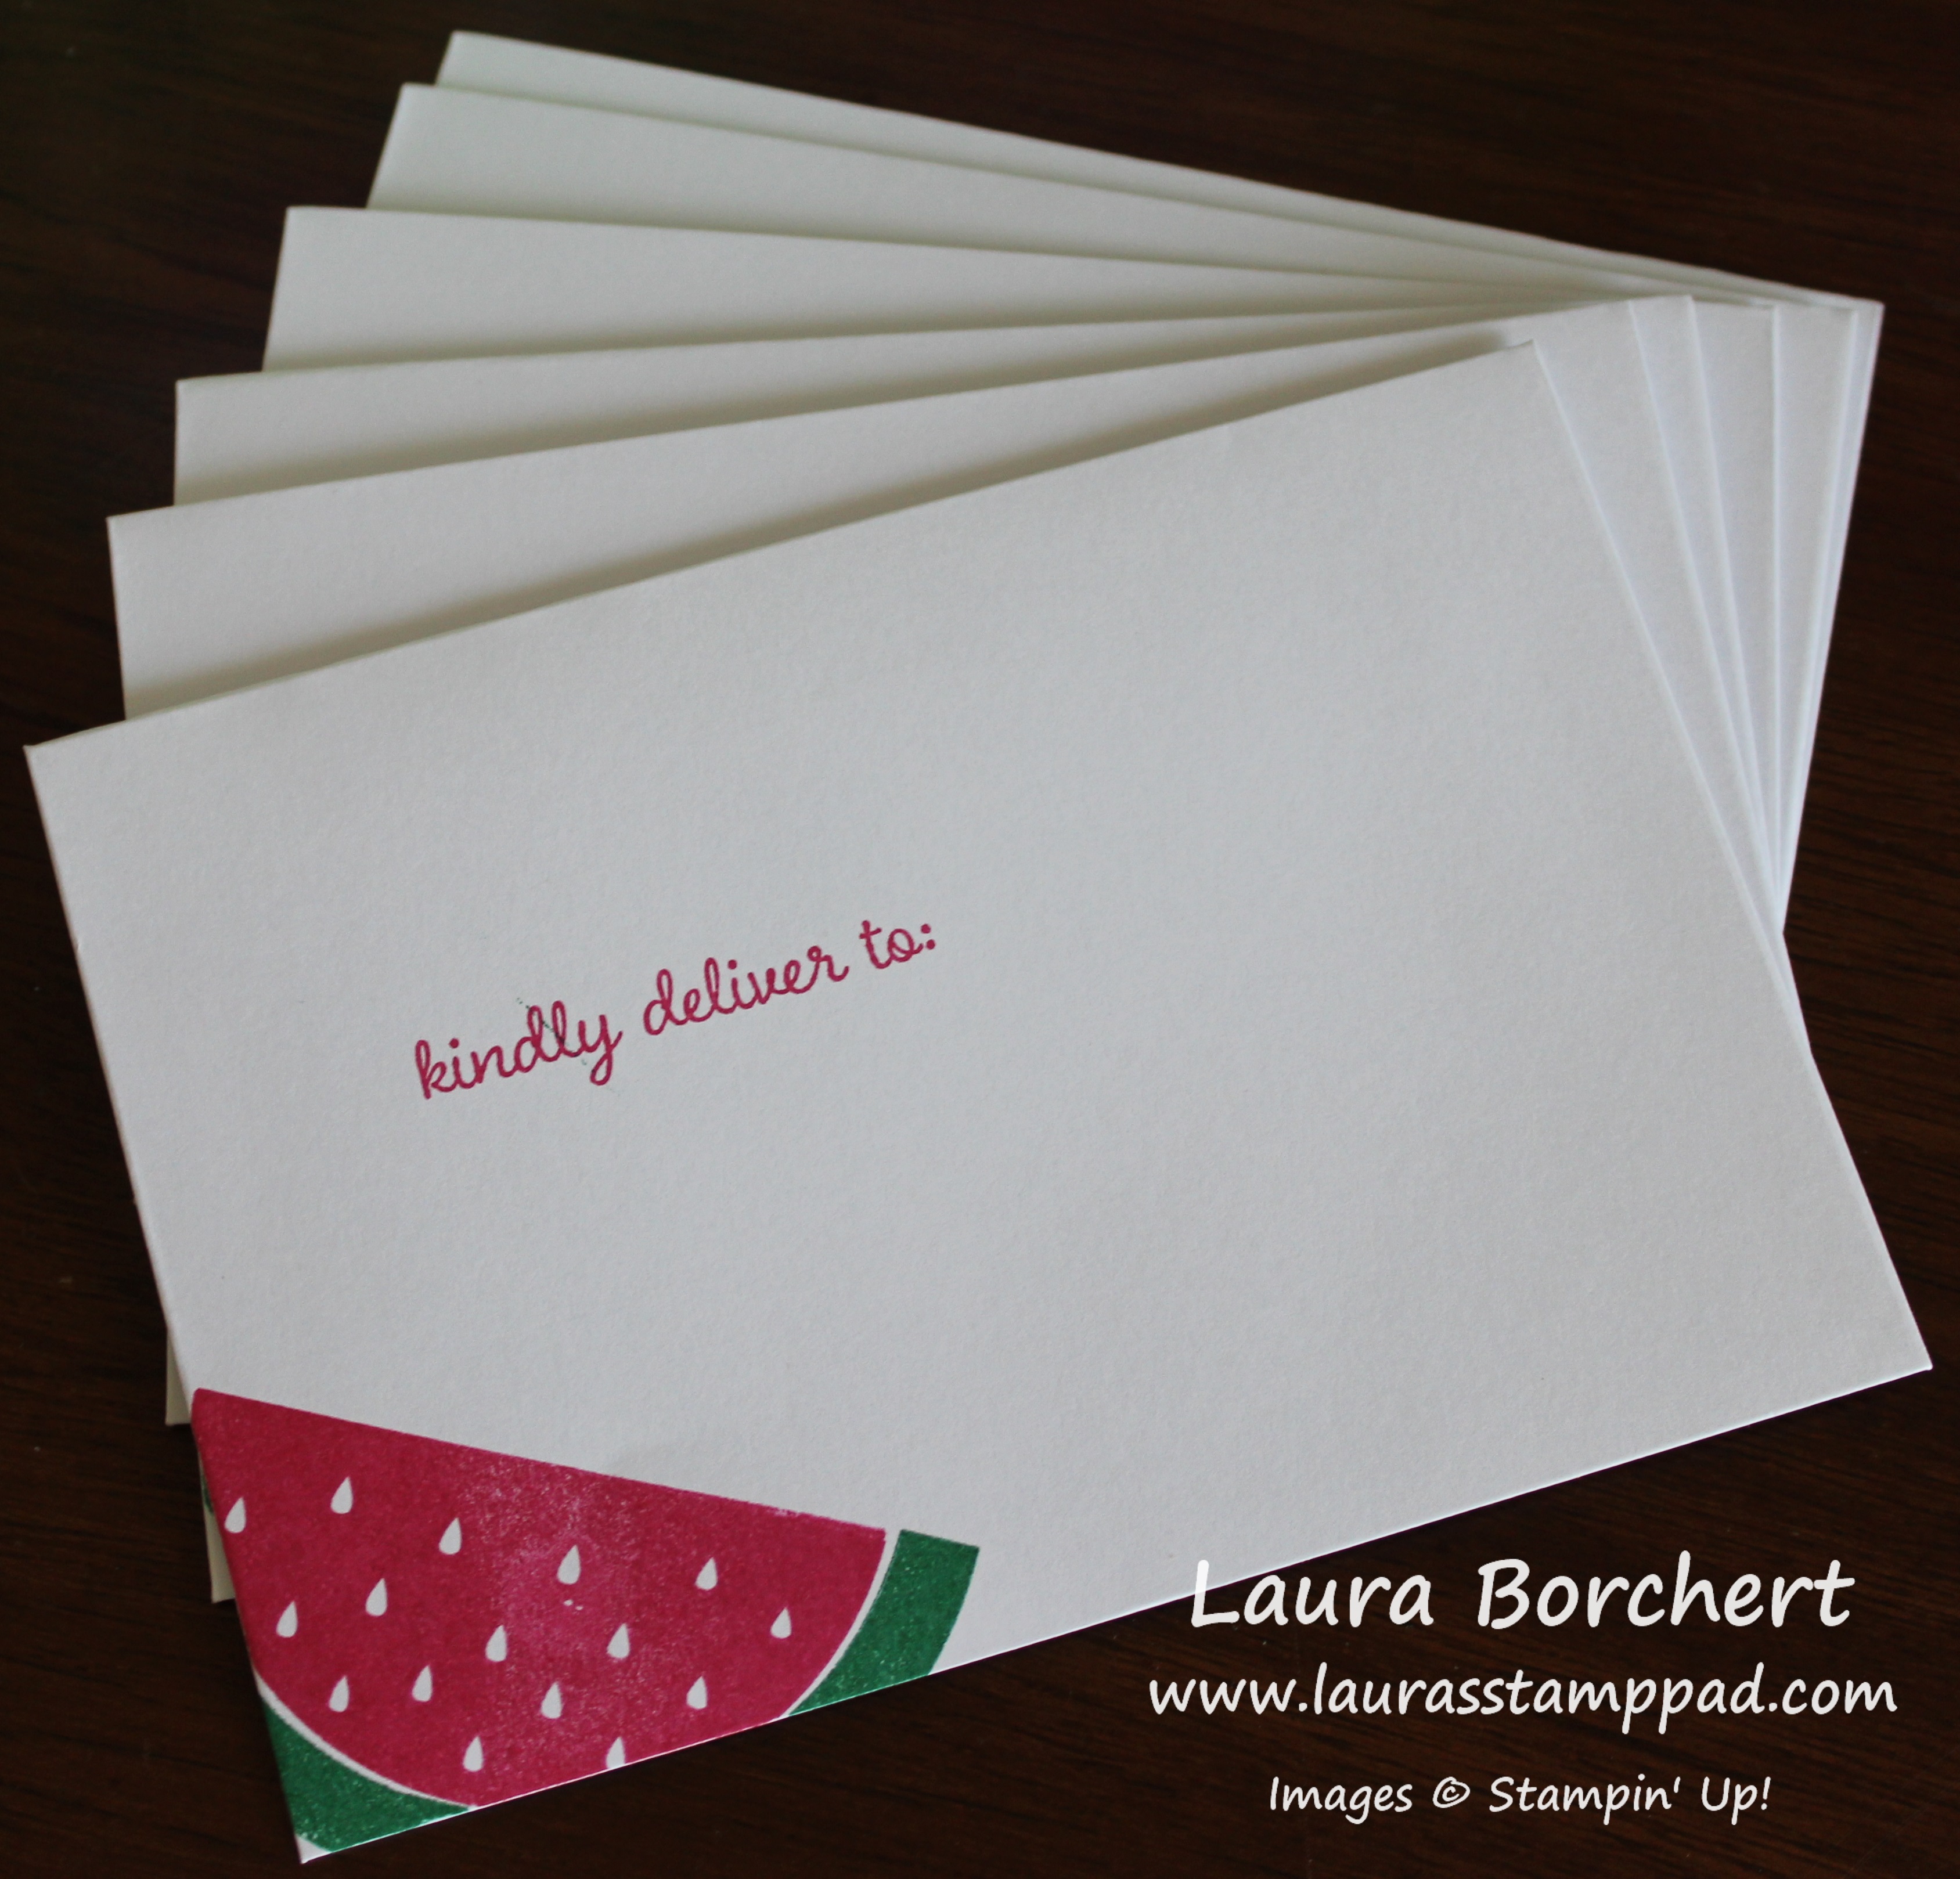
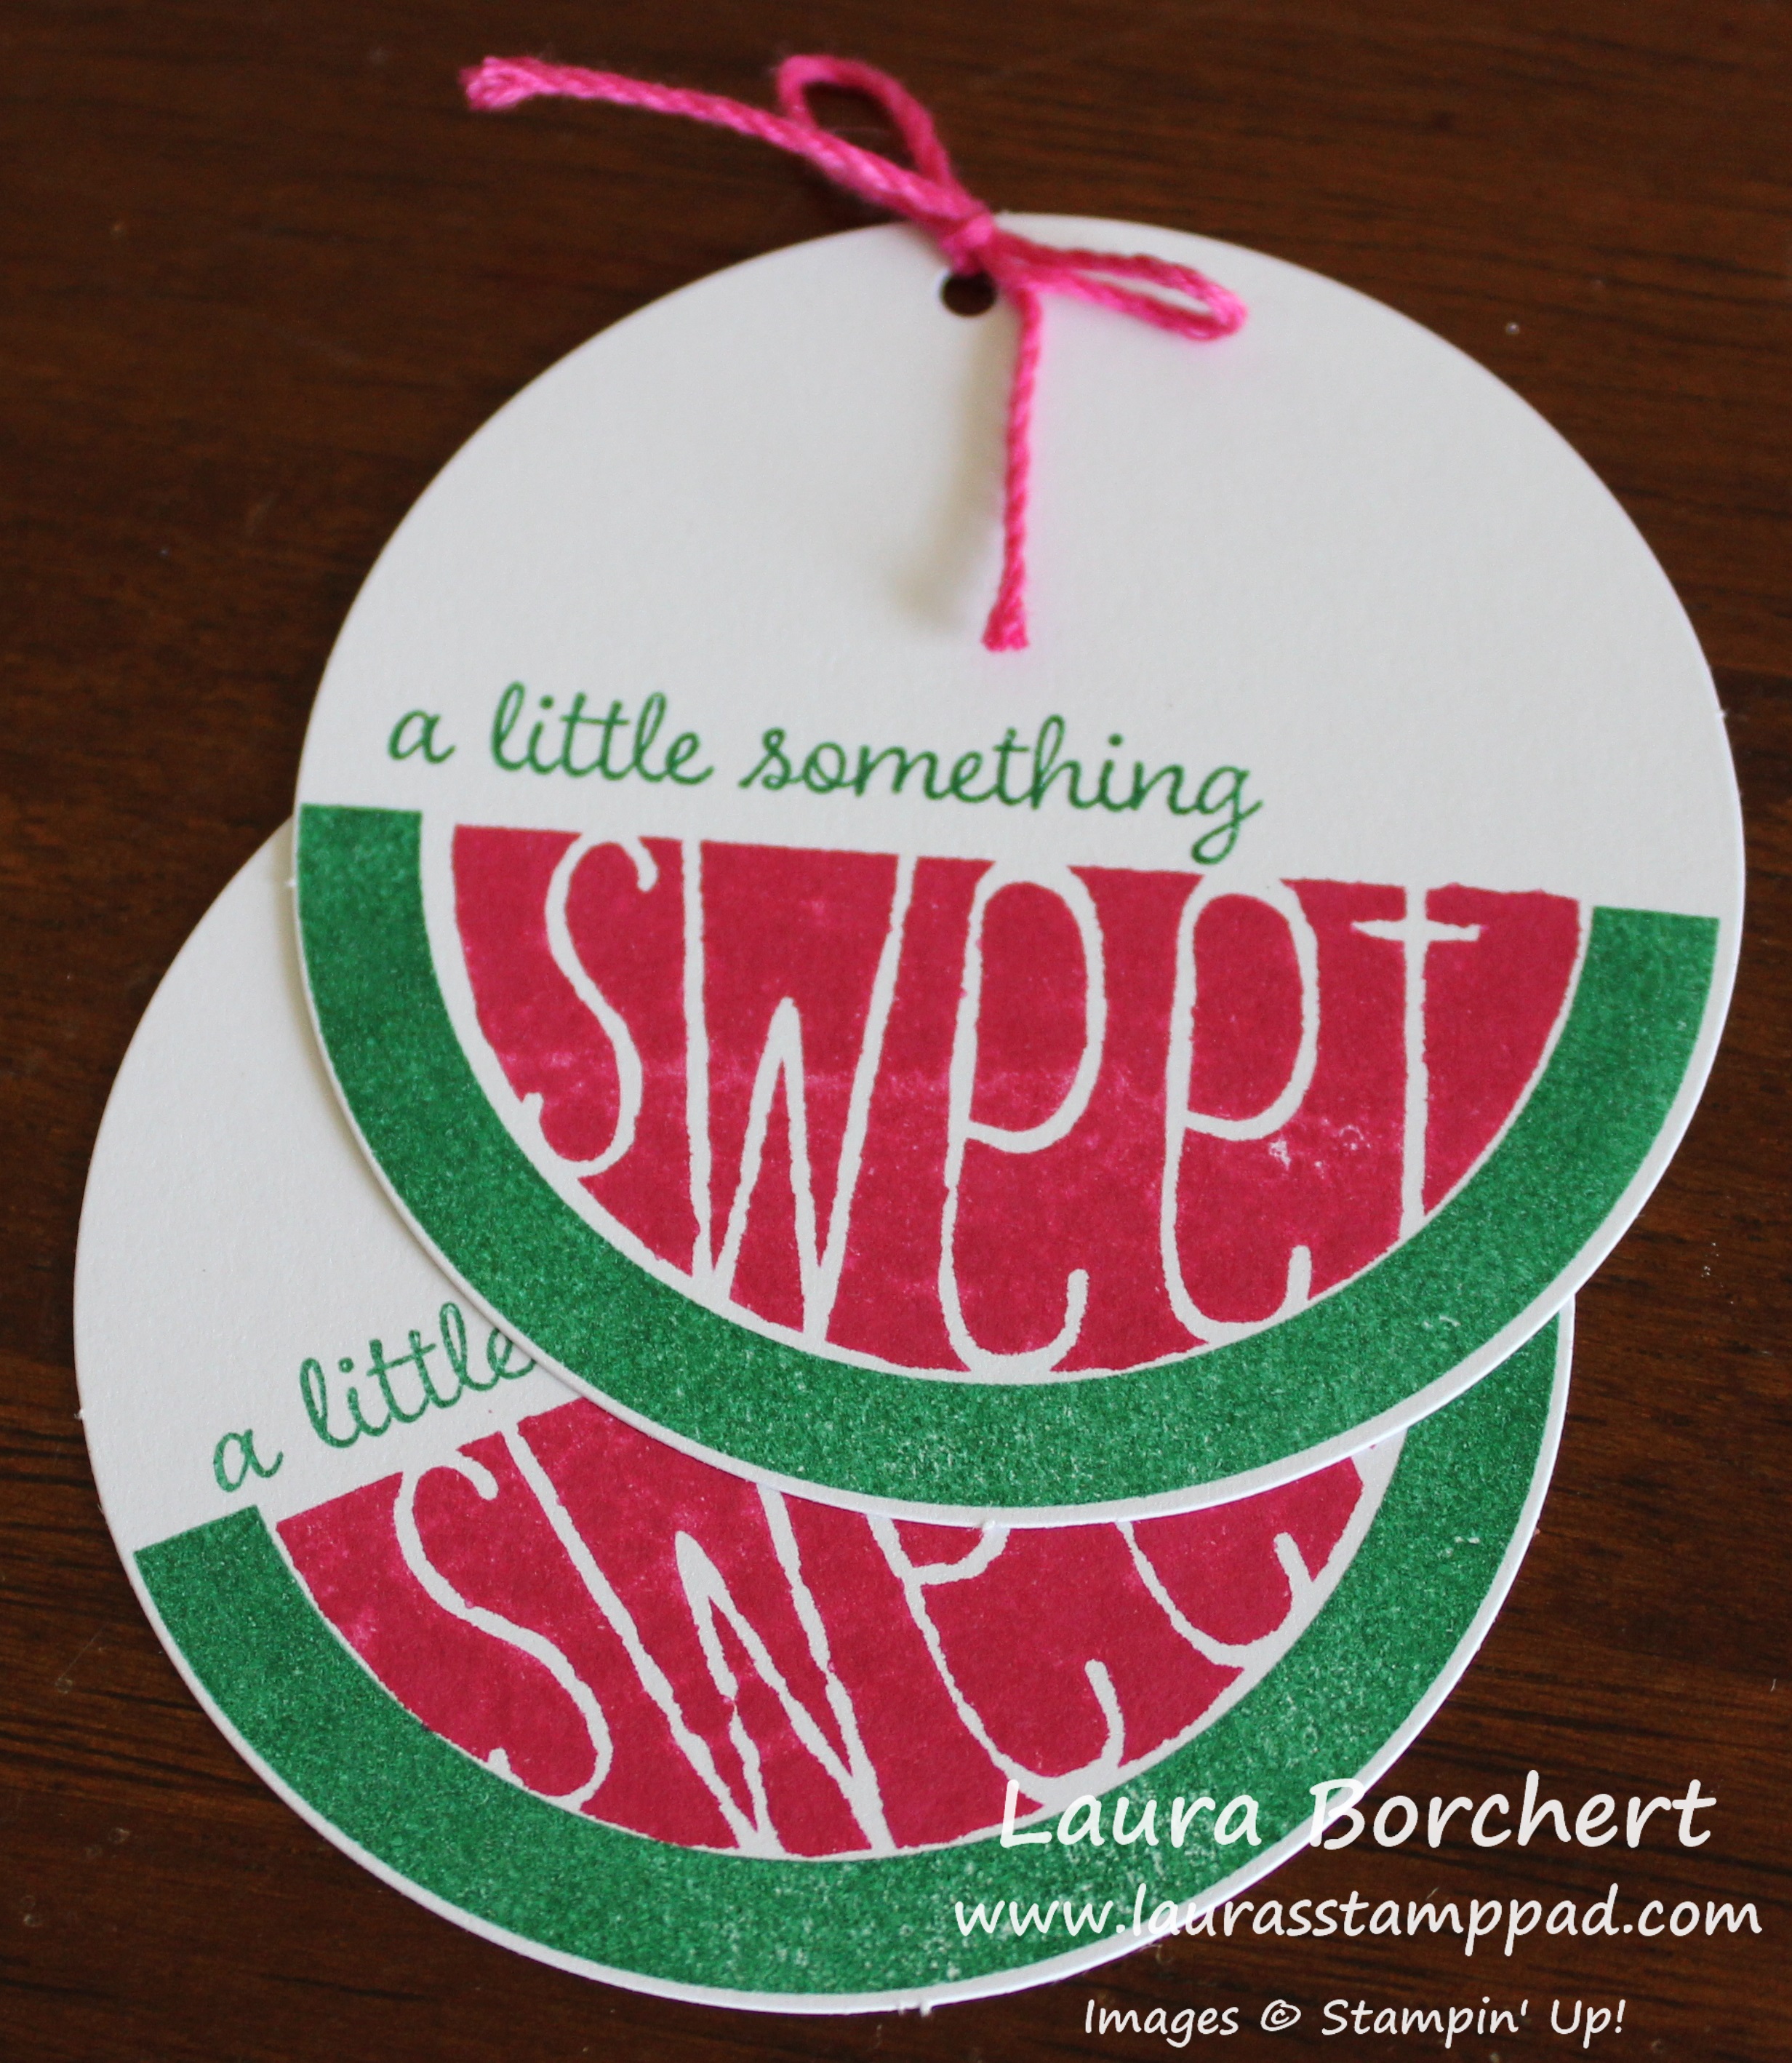
This tag was created using the Merry Little Labels Stamp Set and coordinating Everyday Label Punch!!! This punch had me at HELLO since it is very similar to the retired Decorative Label Punch. I simply stamped the greeting in Real Red Ink and punched it out. Then using the 1/8″ Handheld Punch, I added a hole in the top. I used the New Jute Twine from the Holiday Mini Catalog. I love it!!!
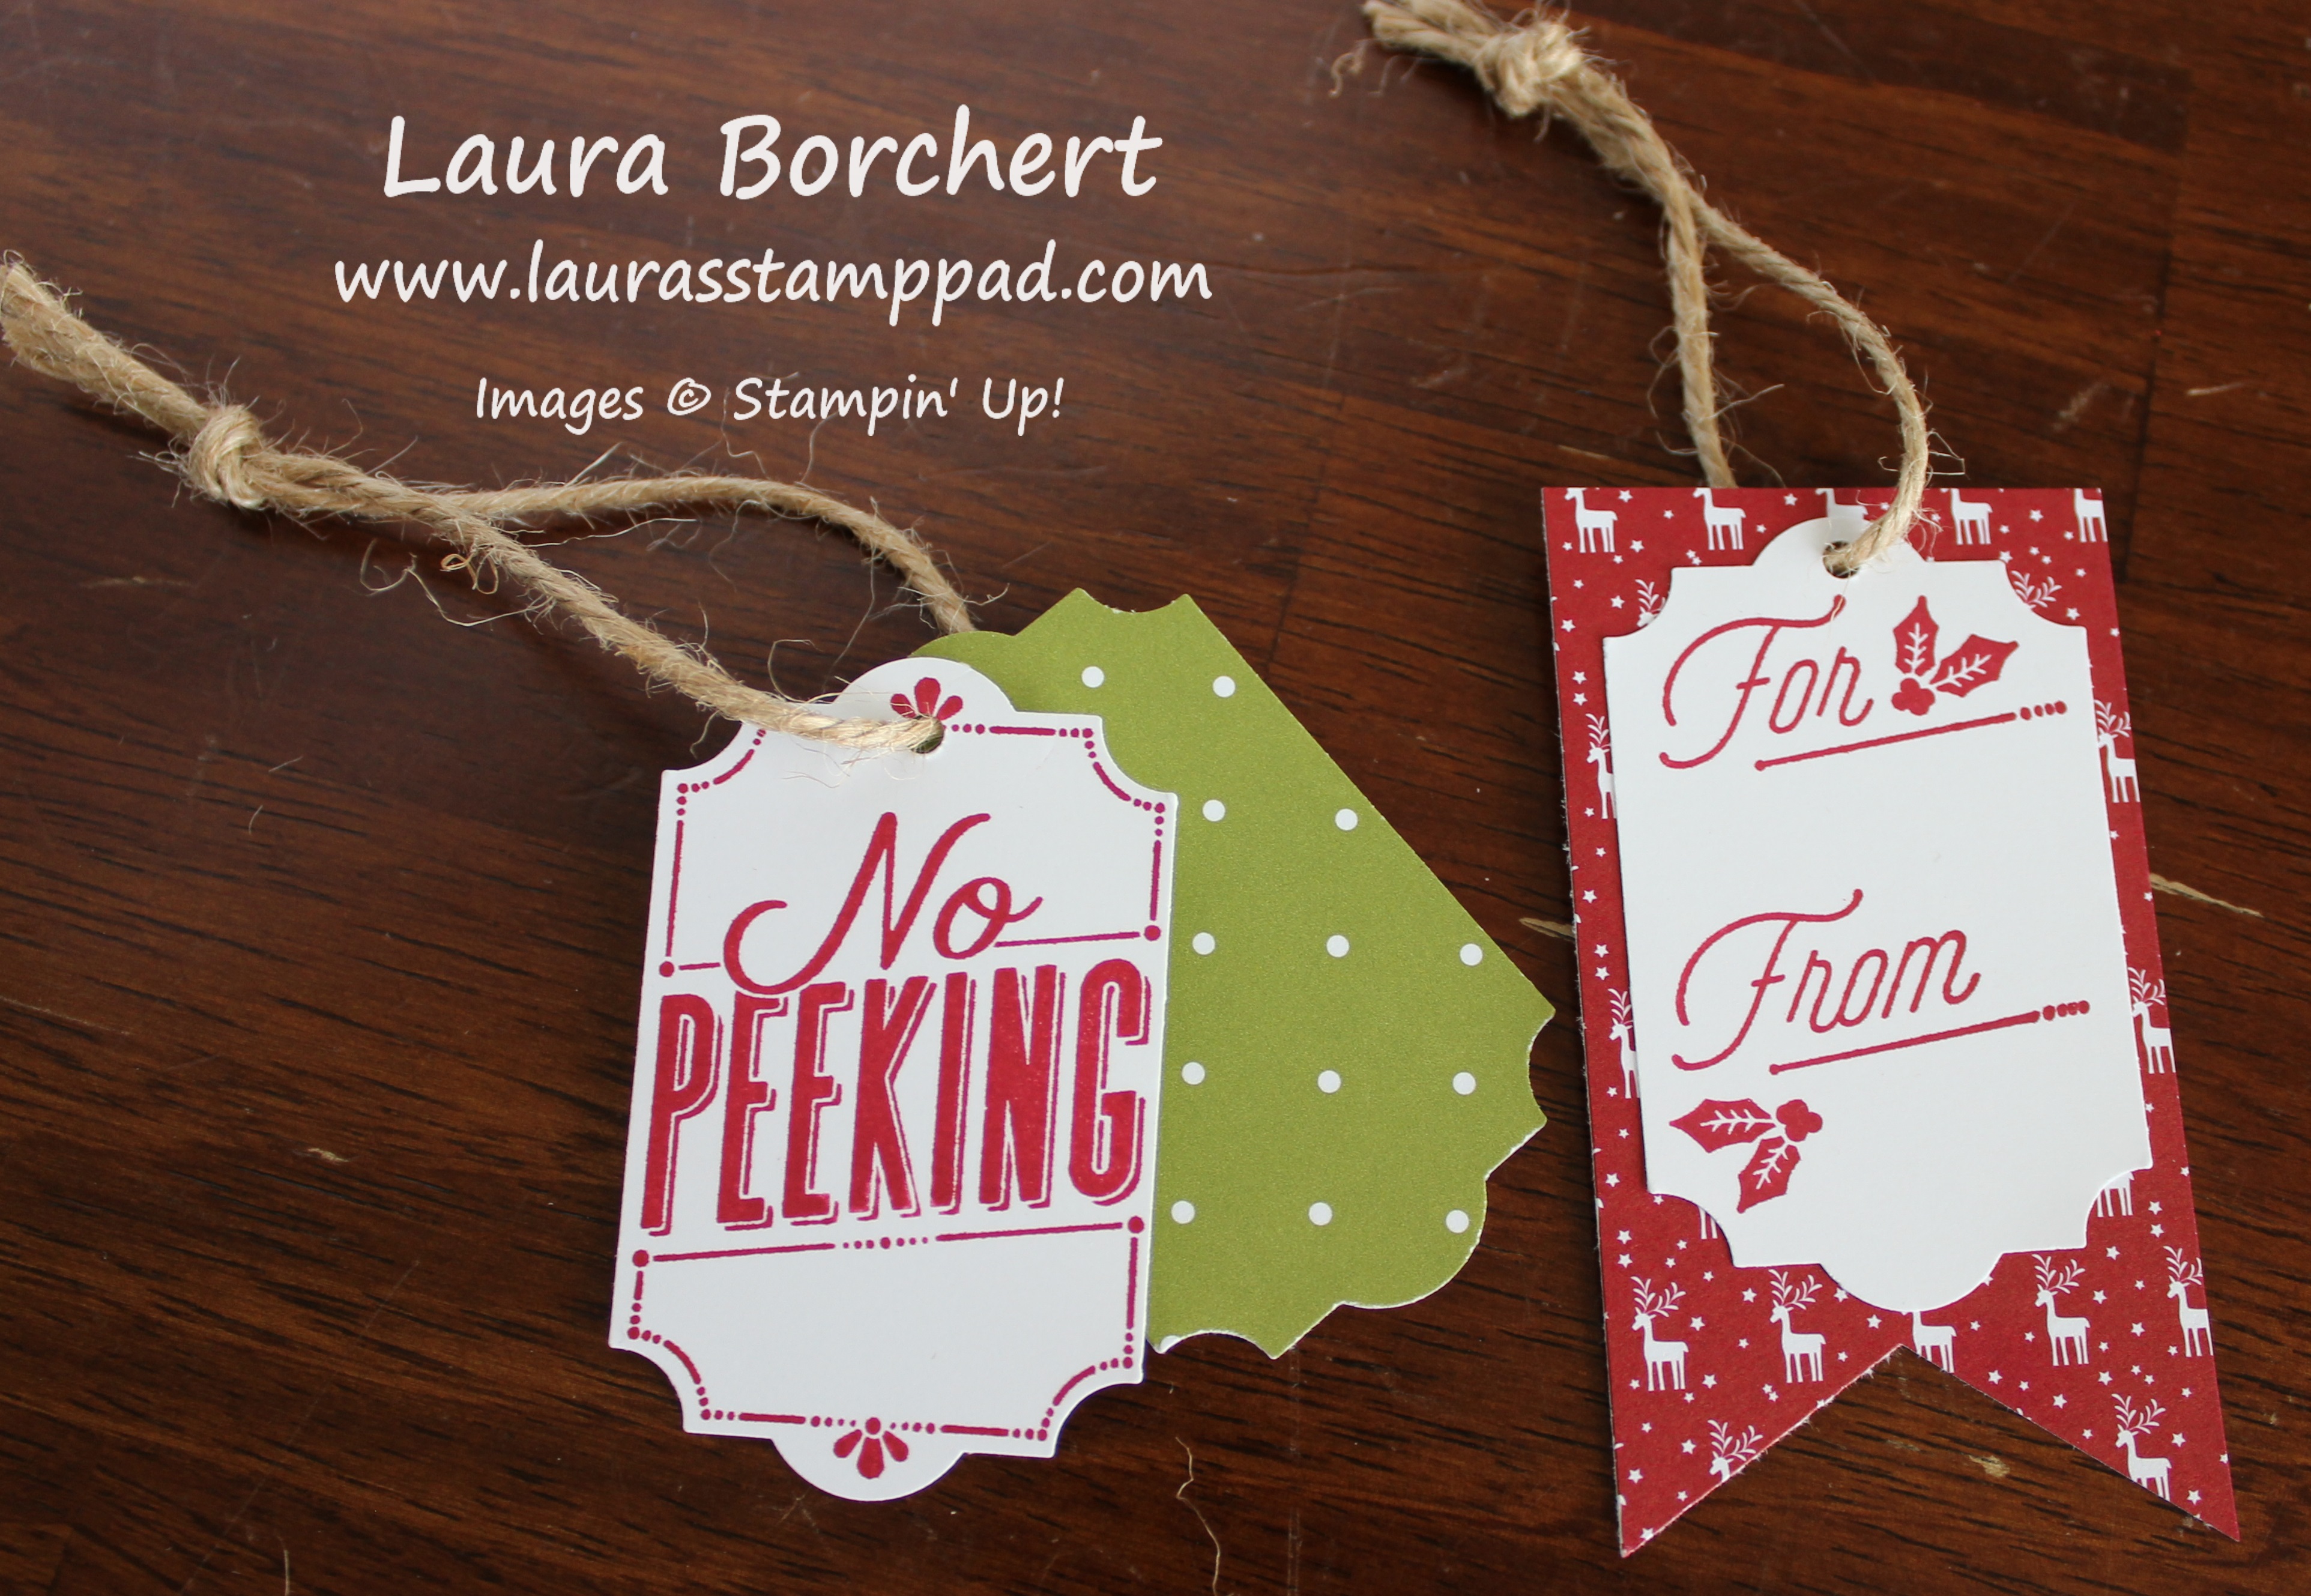
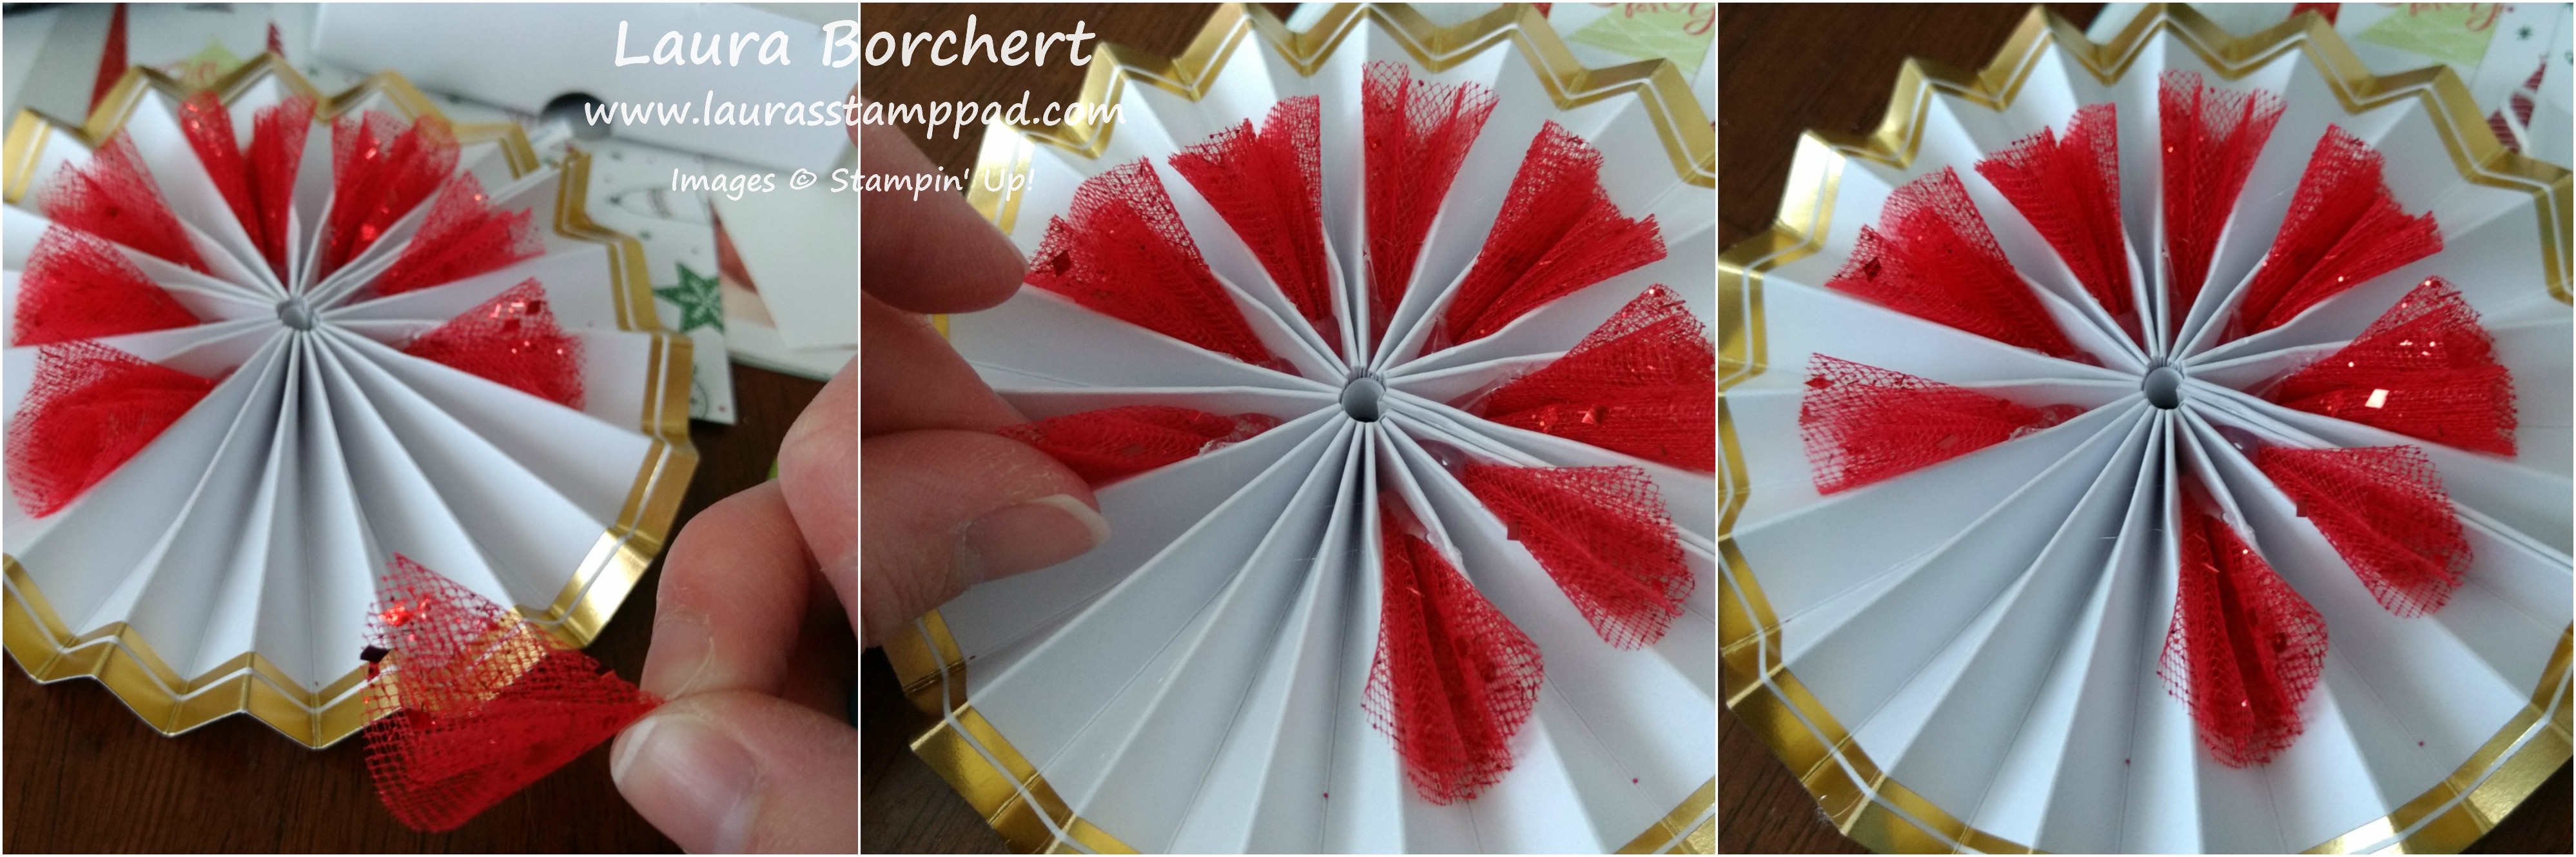
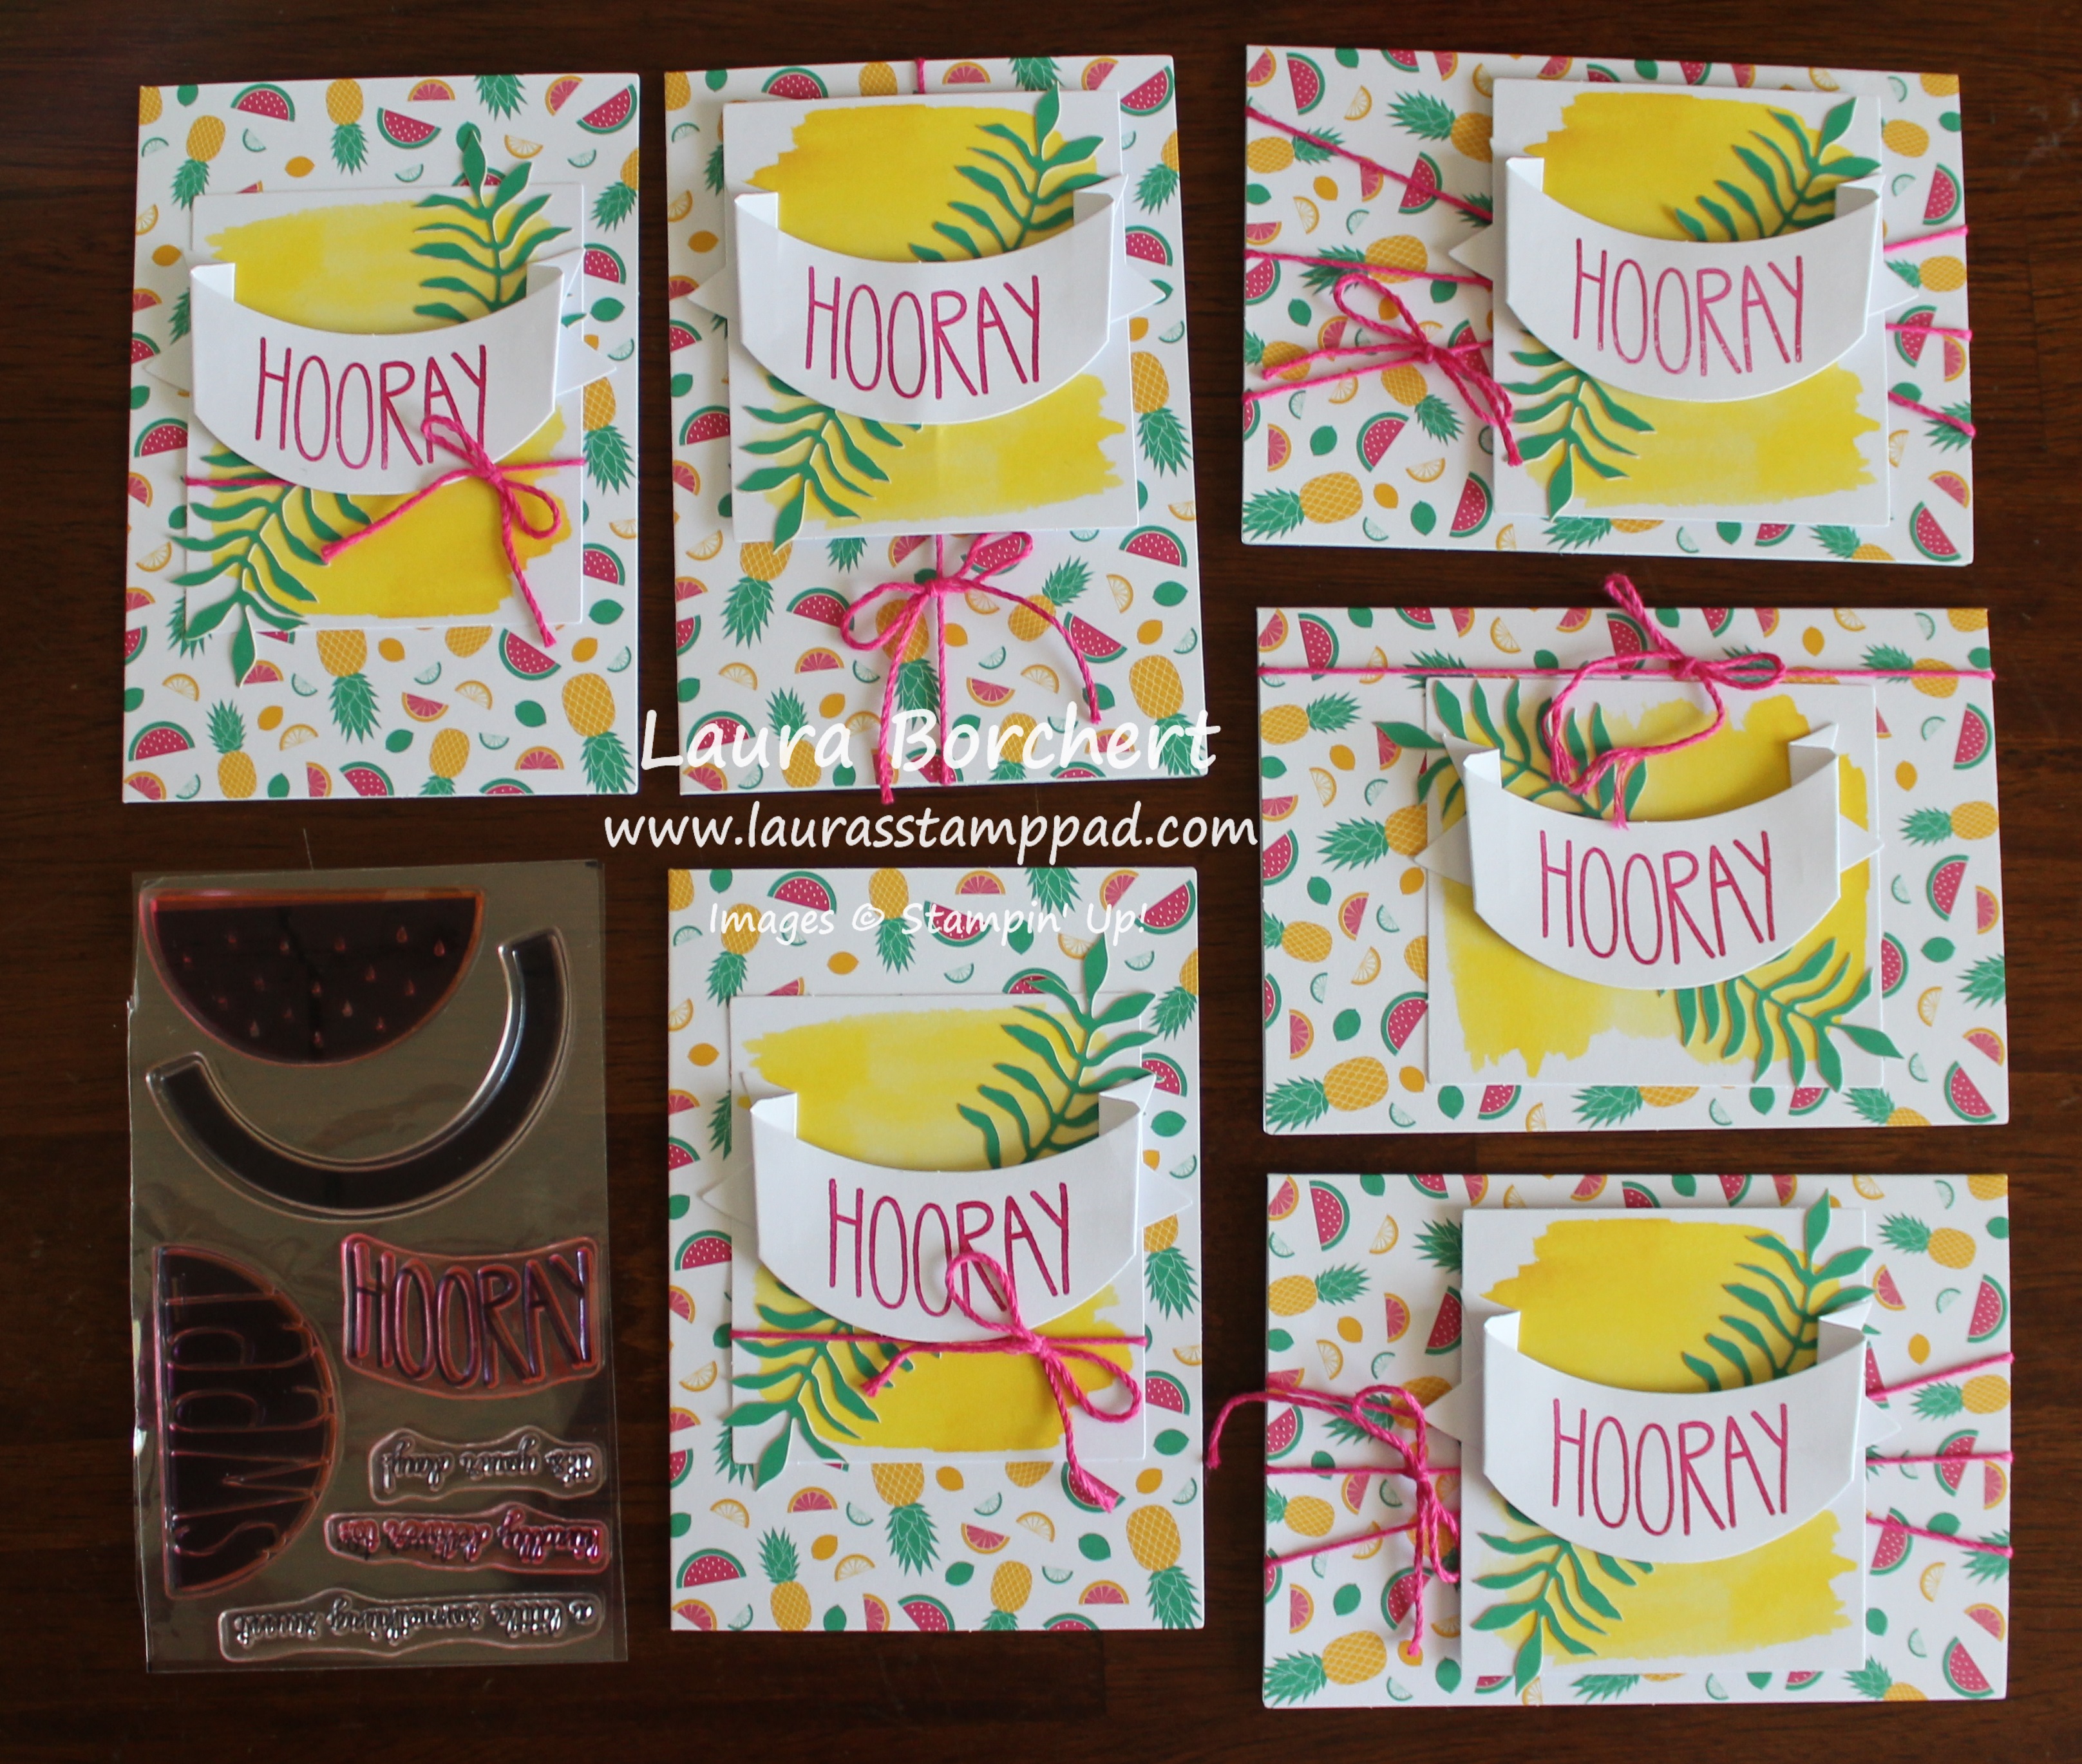
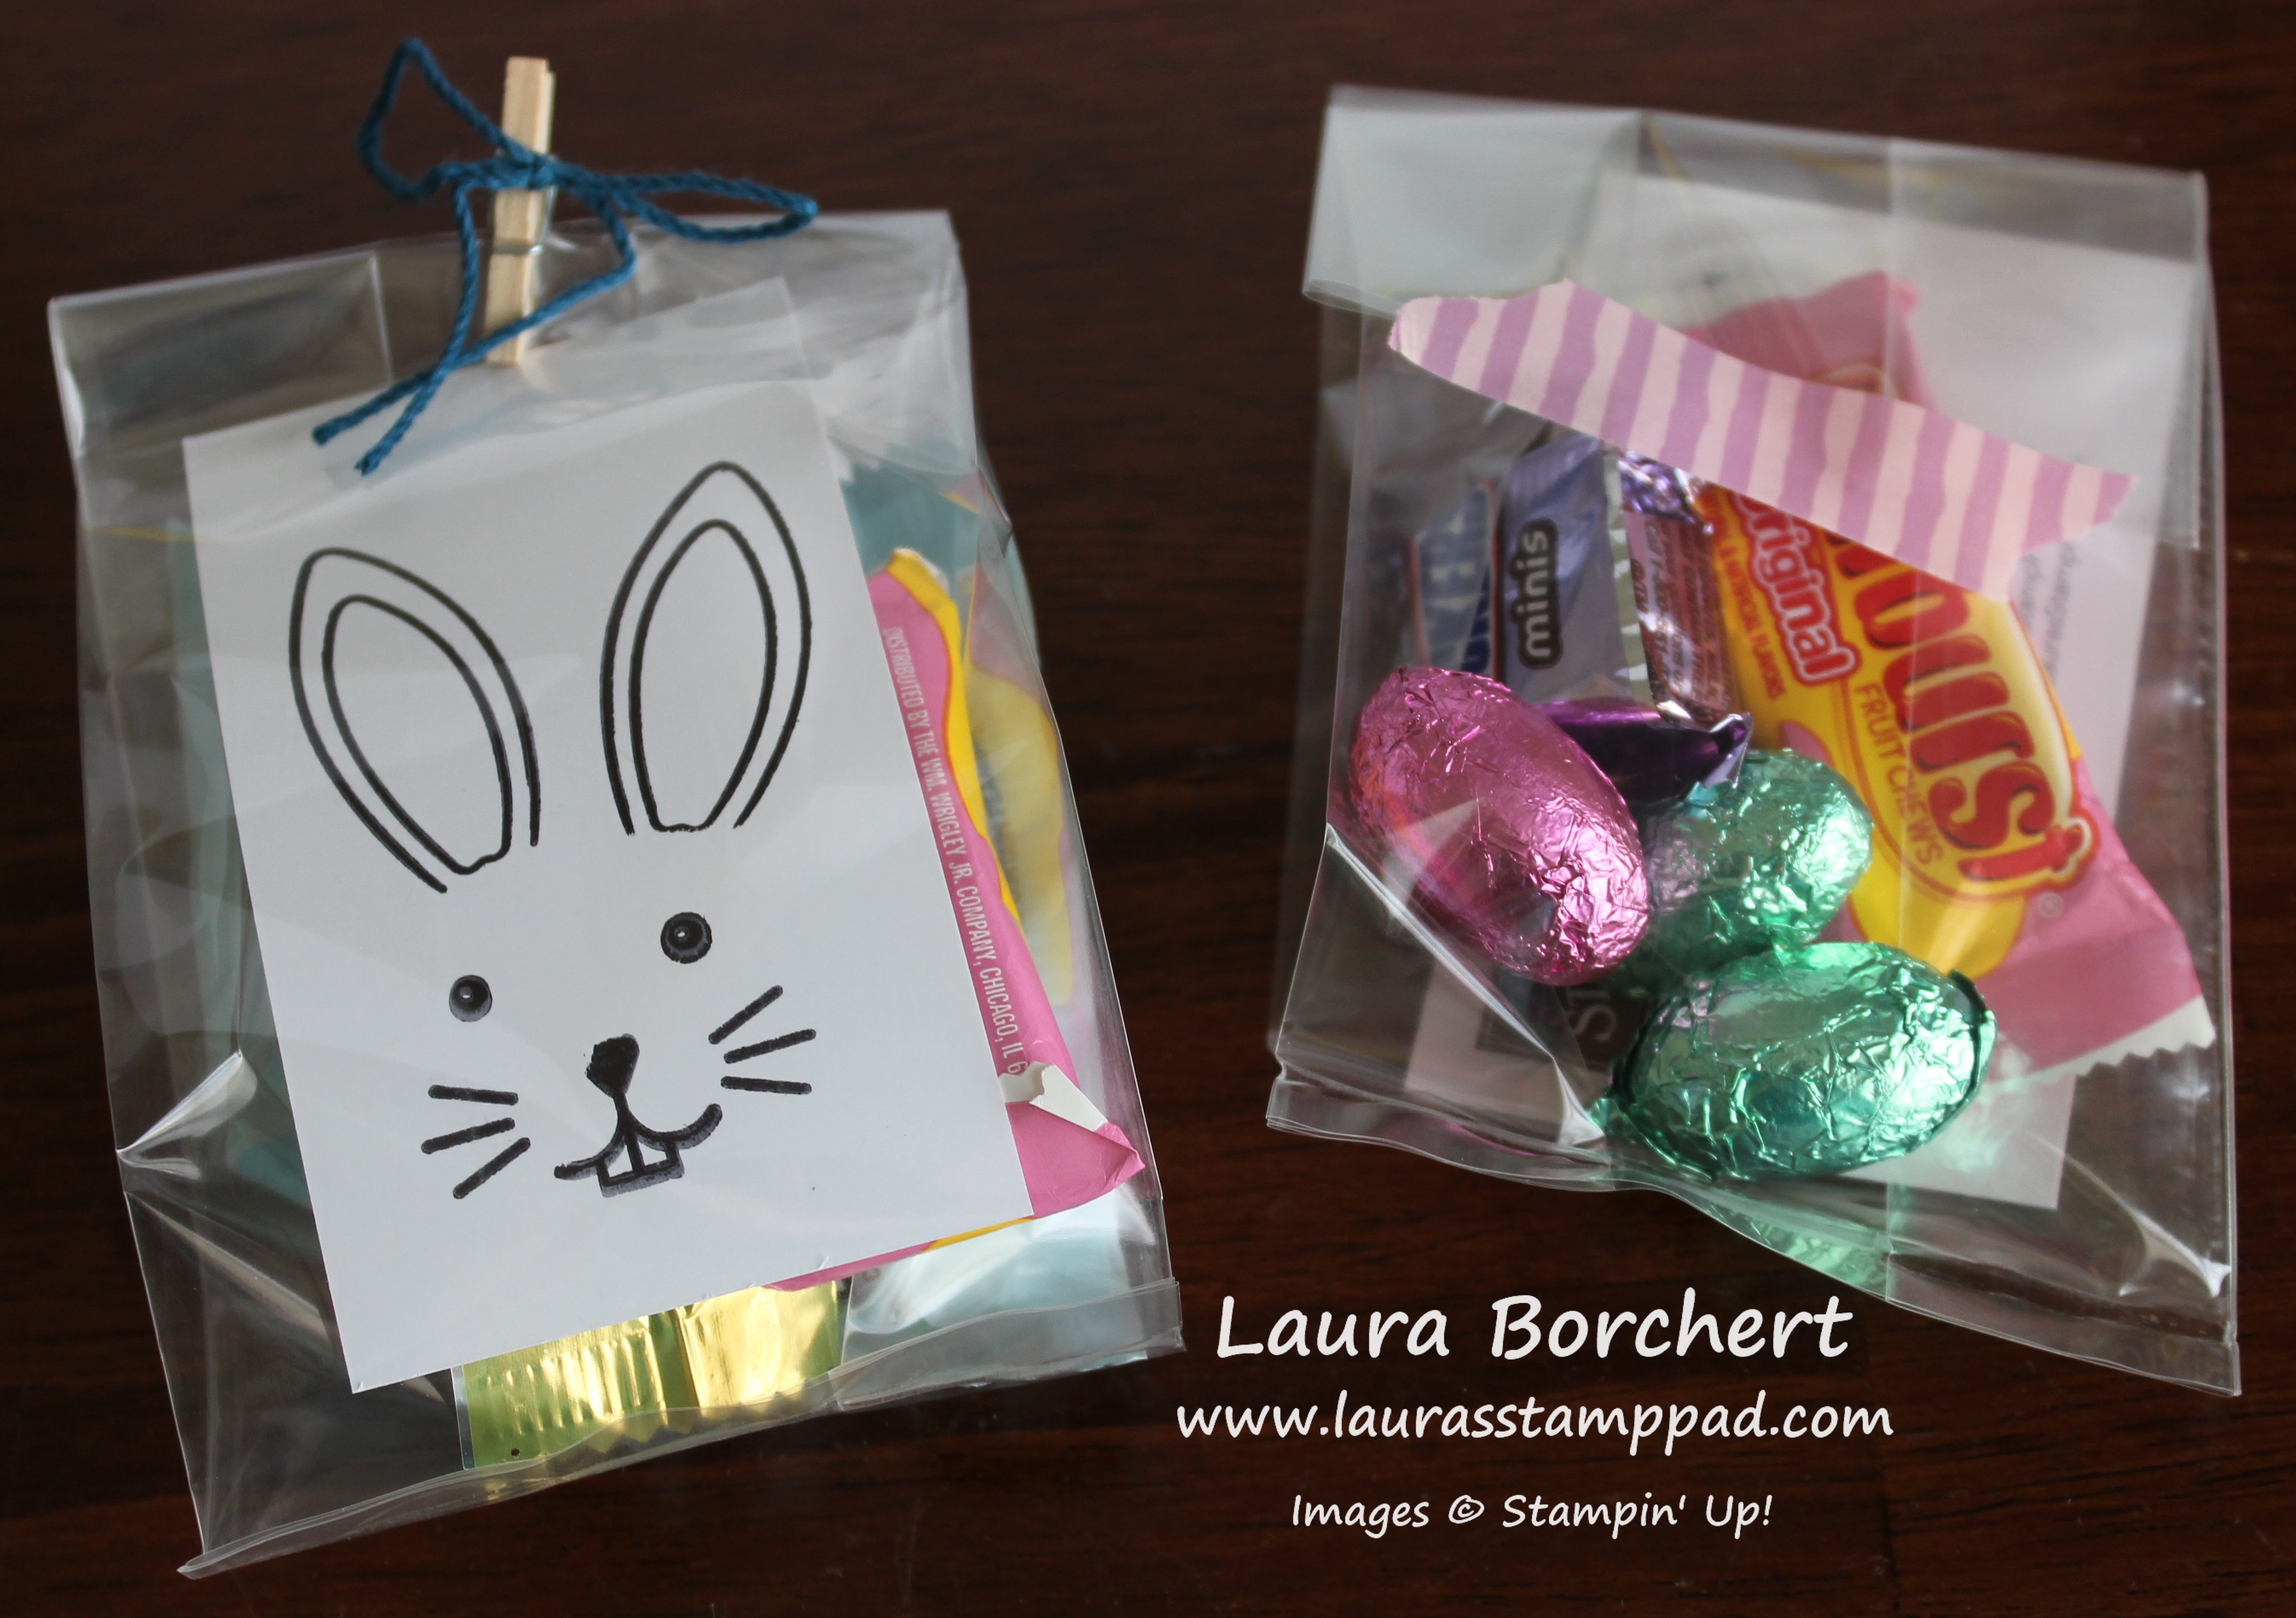
Here I added in some Designer Series Paper as decoration. For the one on the left, I used some of the Merry Little Christmas Designer Series Paper. I just added Whisper White to the back side with the stamped image and glued the two together before threading them on the twine. The tag on the right was punched into banner tips with the Banner Triple Punch. There are lots of great ways to decorate tags for any occasion. These tags are perfect for gifts, gift bags, or even to add with some ribbon on a bottle of lotion or bottle of wine! Simple and fabulous!
Product List


I hope you all have an amazing weekend. I am super excited because I’m spending it with family!!! My niece and nephew’s birthday party is tomorrow and the family reunion is on Sunday. There is nothing better than 100+ people gathering for a day of good food and great fun! I’ll see you all back here on Monday.
Happy Stampin’
~Laura
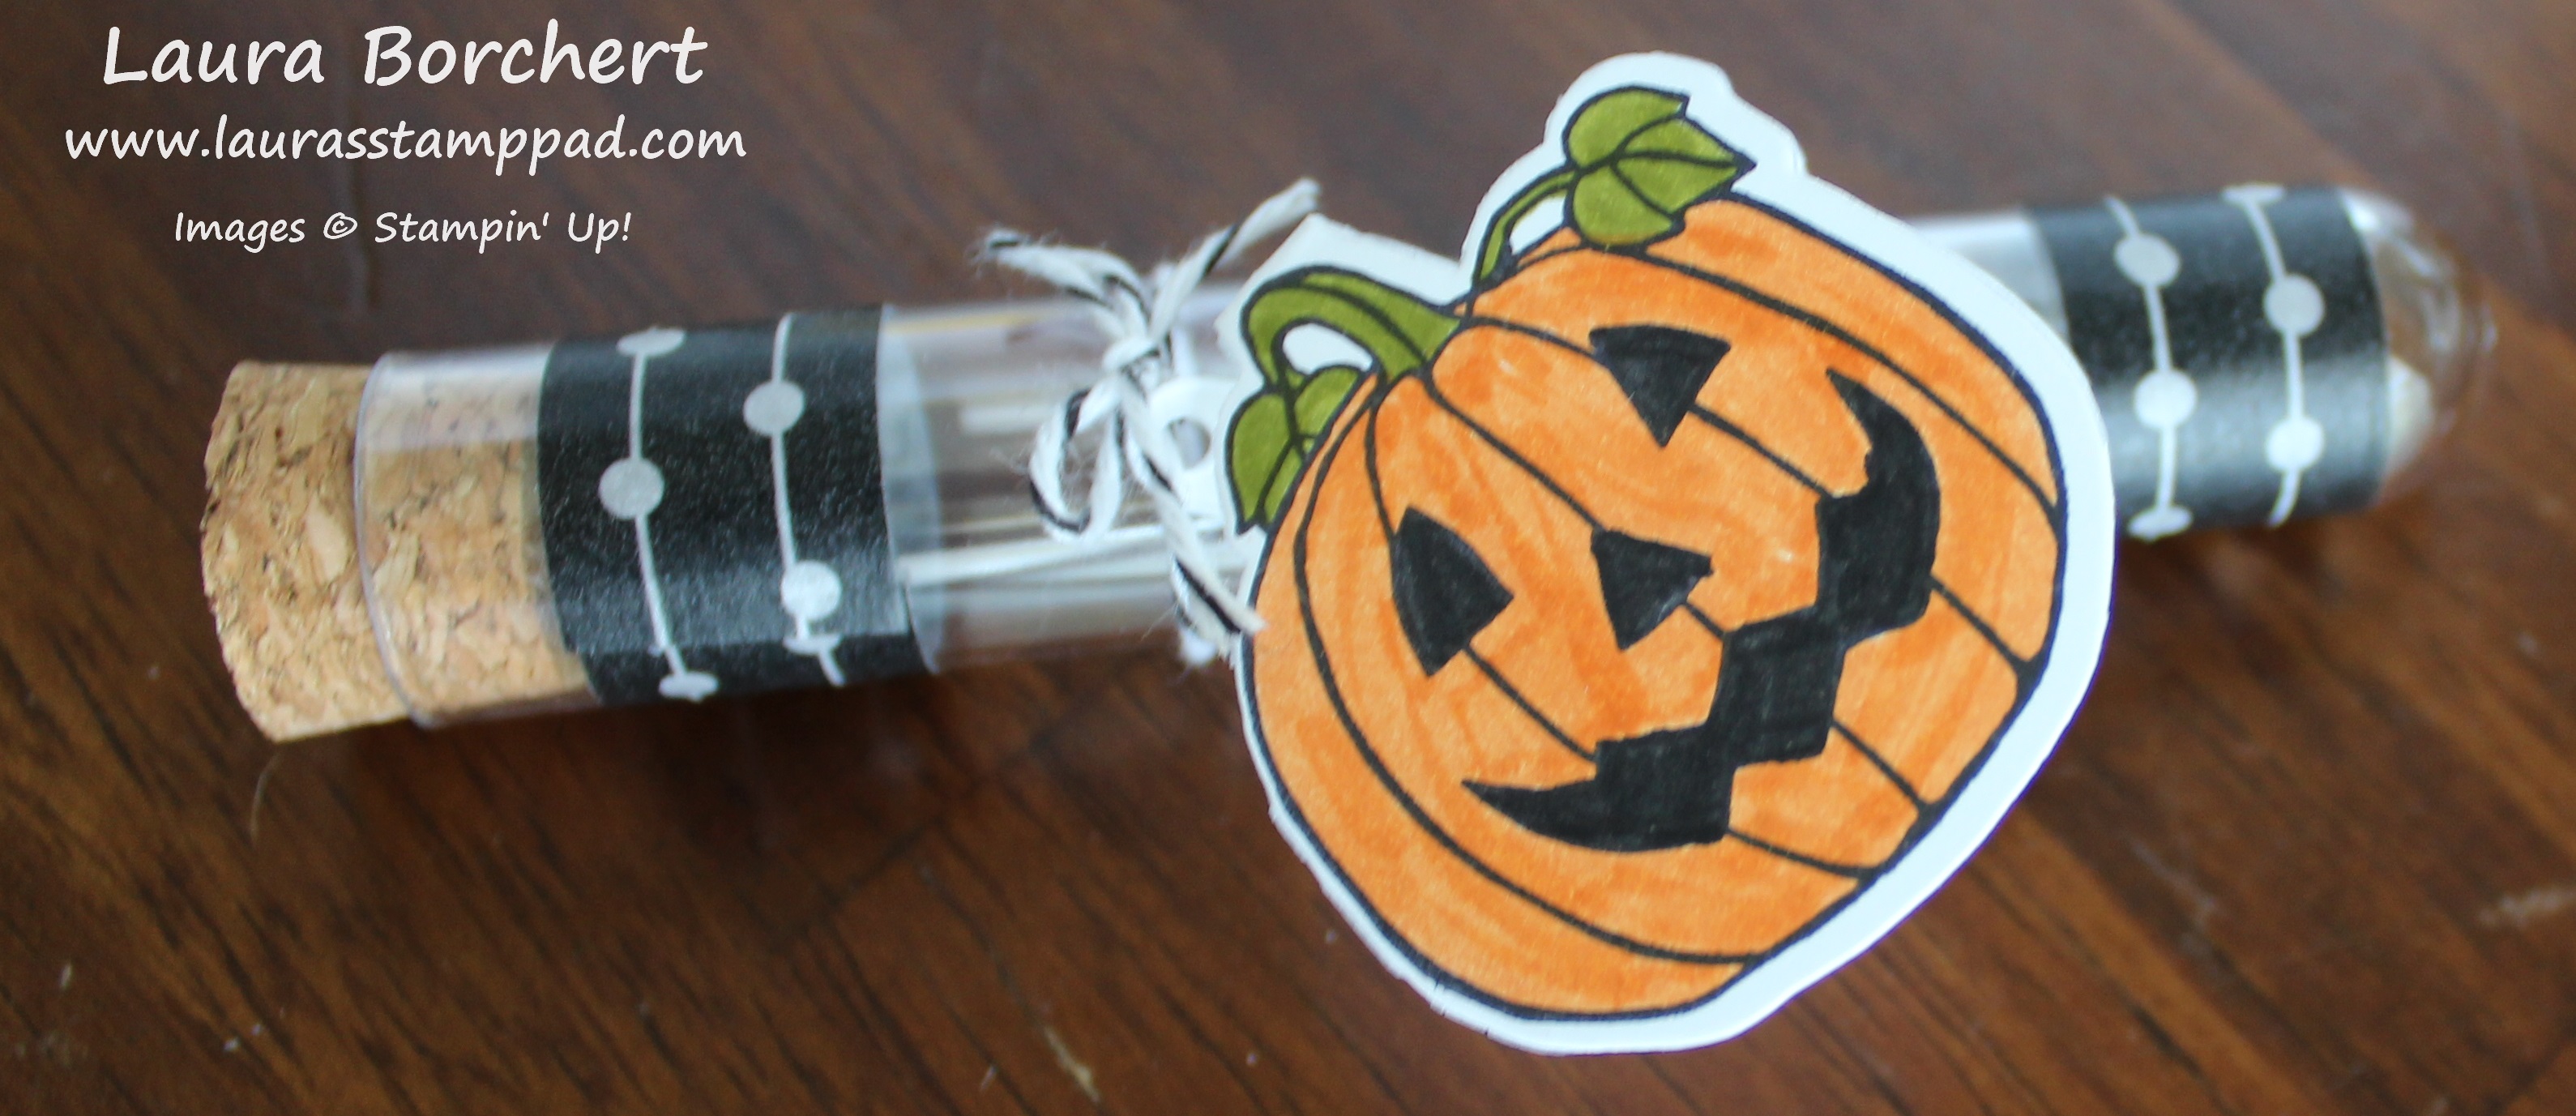
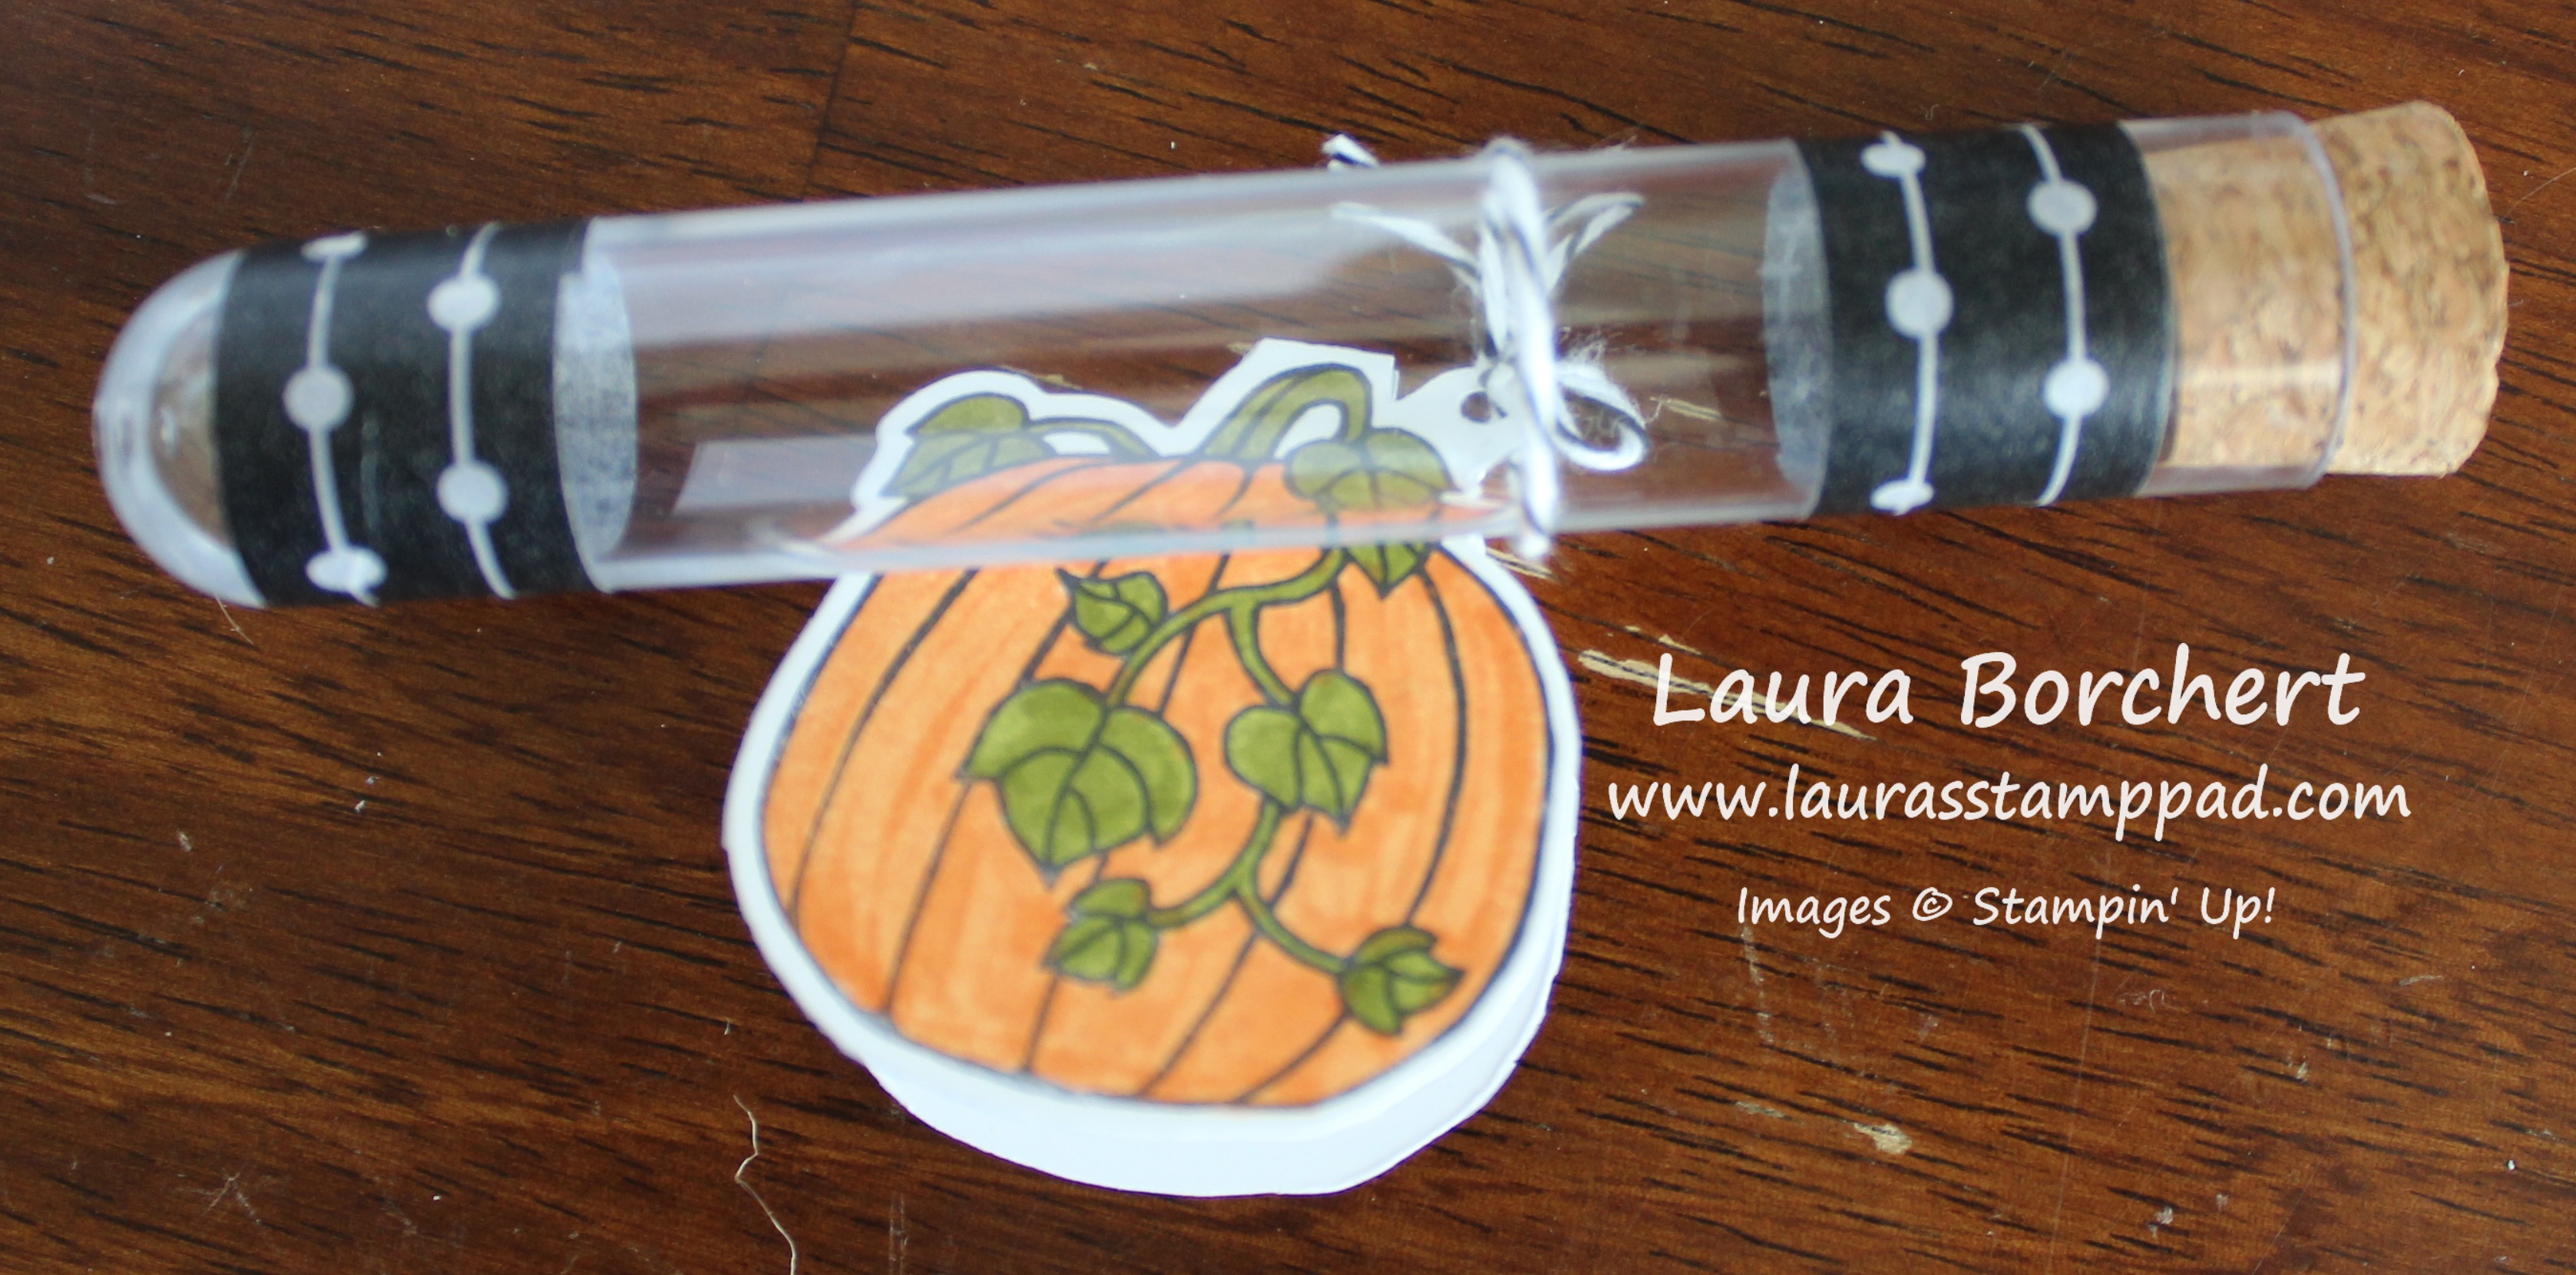
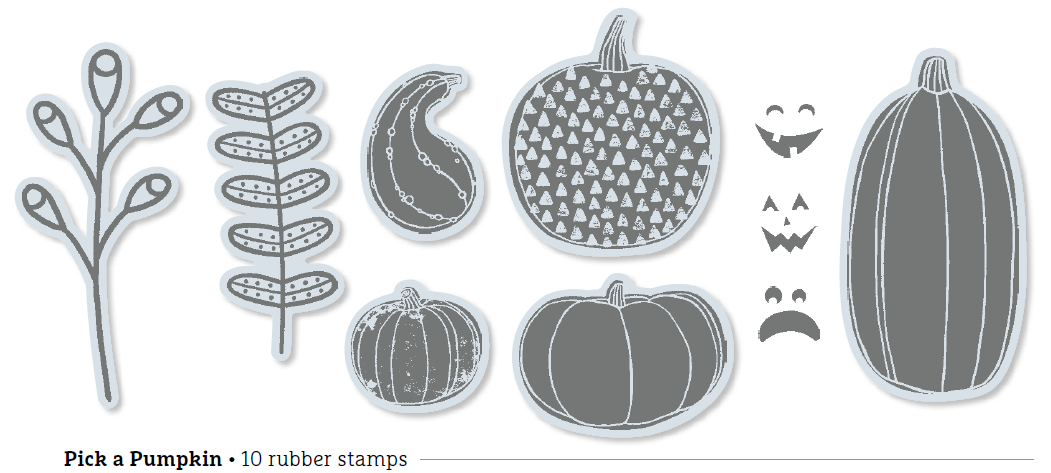 Don’t forget that this stamp set – Pick A Pumpkin is the one you can earn for FREE with a $75 order! This offer is all month long. Check out all the details here!