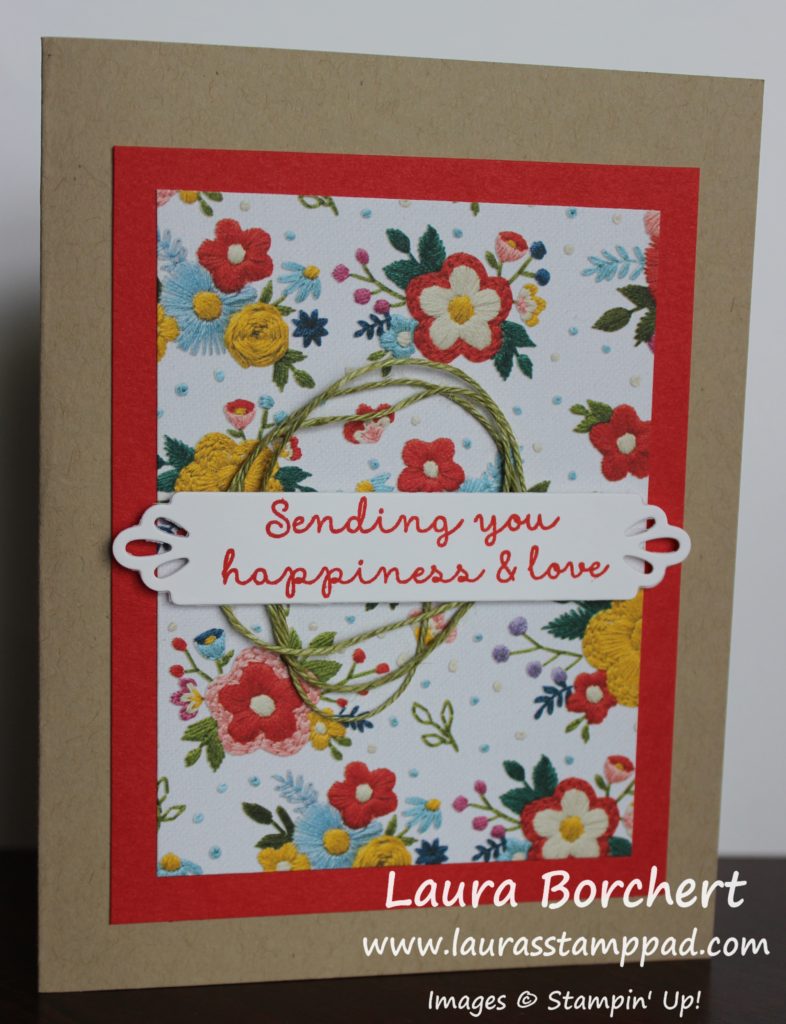
Happy Tuesday!!! You all know what that means! I have a fabulous technique today that I got from the amazing stamper Ronda Wade!!! This Pop Out Insert really takes a card up a notch. I went simple on the front since the inside is so fabulous!!!
I used the Needlepoint Nook Suite from the Occasions Mini Catalog for this card and it is just fabulous! The images look so real and that just blows my mind!!
I started with a Crumb Cake card base. Next, I layered on a piece of Poppy Parade (3-1/2″ x 4-1/2″) with some Needlepoint Nook Designer Series Paper on top (3″ x 4″). For the greeting, I die cut out the label from the Needlepoint Elements Framelits. Using the greeting from the Needle & Thread (Bundle & Save 10%), I stamped it in Poppy Parade Ink. Before attaching it to the card front, I added a few loops of Old Olive Linen Thread.
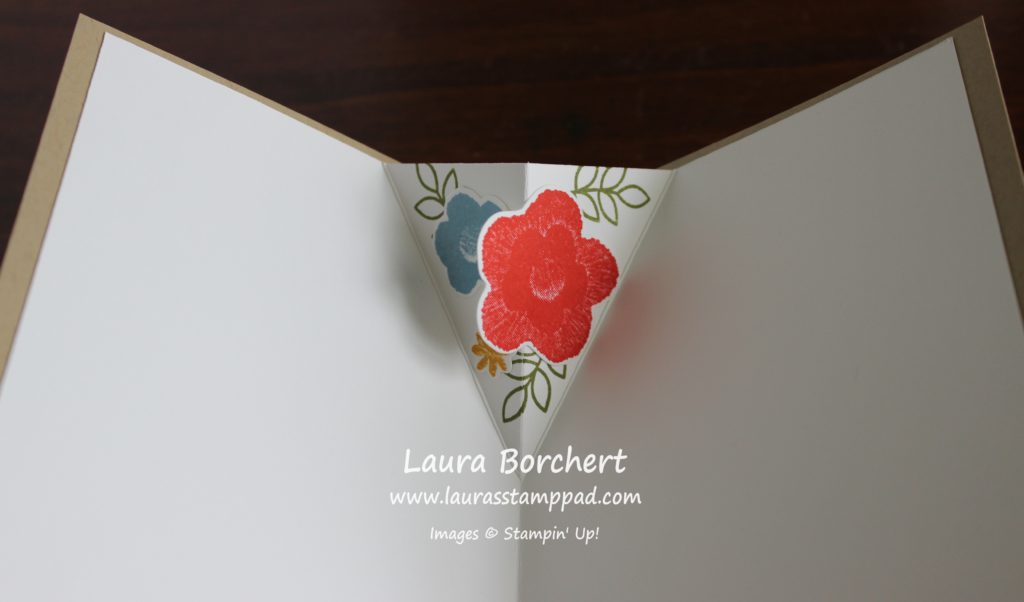
Now for the real fabulous part!!! The inside of the card has this beautiful pop out insert. This is something that can be inside any of your cards. Simply score, fold, and decorate!!! I started with a piece of Whisper White measuring 5-1/4″ x 8″ and folded it in half at 4″. Then with a pencil, I marked 1-1/2″ on either side of that center score line. Measuring 2-1/2″ down the center score line, I made another mark with my pencil. Then using the score blade on the Stampin’ Trimmer or a ruler and Bone Folder, score from the 2-1/2″ mark to the 1-1/2″ mark. This creates a little triangle. Next, I folded on all of the lines to create that pop out.
Be sure to decorate before adding it to the card. I stamped a few leaves first. Next, I stamped and die cut the flowers from the Needle & Thread Bundle. These images can hang off the top of the cardstock because they are folding down when the card closes so they won’t hang out the top.
When adding the insert to the card, I used Tear And Tape because it is super strong. Once the tape it on, place it inside the card, open the card flap, peal off the tape backing and then press the card closed. This ensures that the insert will still allow the card to close flat. Next, flip over the card and repeat. Again be sure to press the card closed to seal the adhesive for that perfect look. When you open the card it might not go all the way to the fold or seem a little off on the sides but that is okay. The important part is that it closes flat.
If you would like to see this all in action, check out the video below or click here! Be sure to give the video a thumbs up if you liked it and don’t forget to subscribe if you are new. If you would like a notification when I post a new video, be sure to click the bell right next to the subscribe!!!
Happy Stampin’
~Laura
Product List Designer Series Paper")

