Happy Tuesday, everyone! I have a little bit of a Technique Tuesday and a little Laura’s Quick Tips today! If this has happened to me, surely it has happened to you. I have my Stamparatus all lined up and ready to go. After stamping a few, I line up the next one and just as a go to stamp it down, I realize it is not lined up correctly. Did My Stamp Just Move???

Nope!!! The stamp didn’t move but the grid/scrap paper did or the foam mat did. My mind has been boggled so much on this and wondering how it moved and I could have thought I lined it up correctly. Then after looking at it more, I realize the paper or foam moved and it’s like Ahhh Hah!!! So when you think the stamp moved……check your paper and foam mat! 🙂
This fabulous card was created using the Stamparatus for that 2 step stamped image of flowers! The Stamparatus makes that image a breeze. One plate holds the folders for a fun color of your choice and the other plate holds the greenery piece! Boom Boom and you have a fabulous stamped image…..just make sure your grid and foam mat are in place!
I started with a Crumb Cake card base and then added a 2″ strip of the All My Love Designer Series Paper. I punched the bottom of it with the Banner Triple Punch to get those banner tips! Next, I added a piece of the All My Love Ribbon by just putting a little bit of Snail Adhesive down the banner and pressing the loop into it. It won’t feel secure at this time but when you place the stamped floral image over the top with Stampin’ Dimensionals, that will secure it better. For the floral piece I used Soft Sea Foam and Lovely Lipstick Inks.
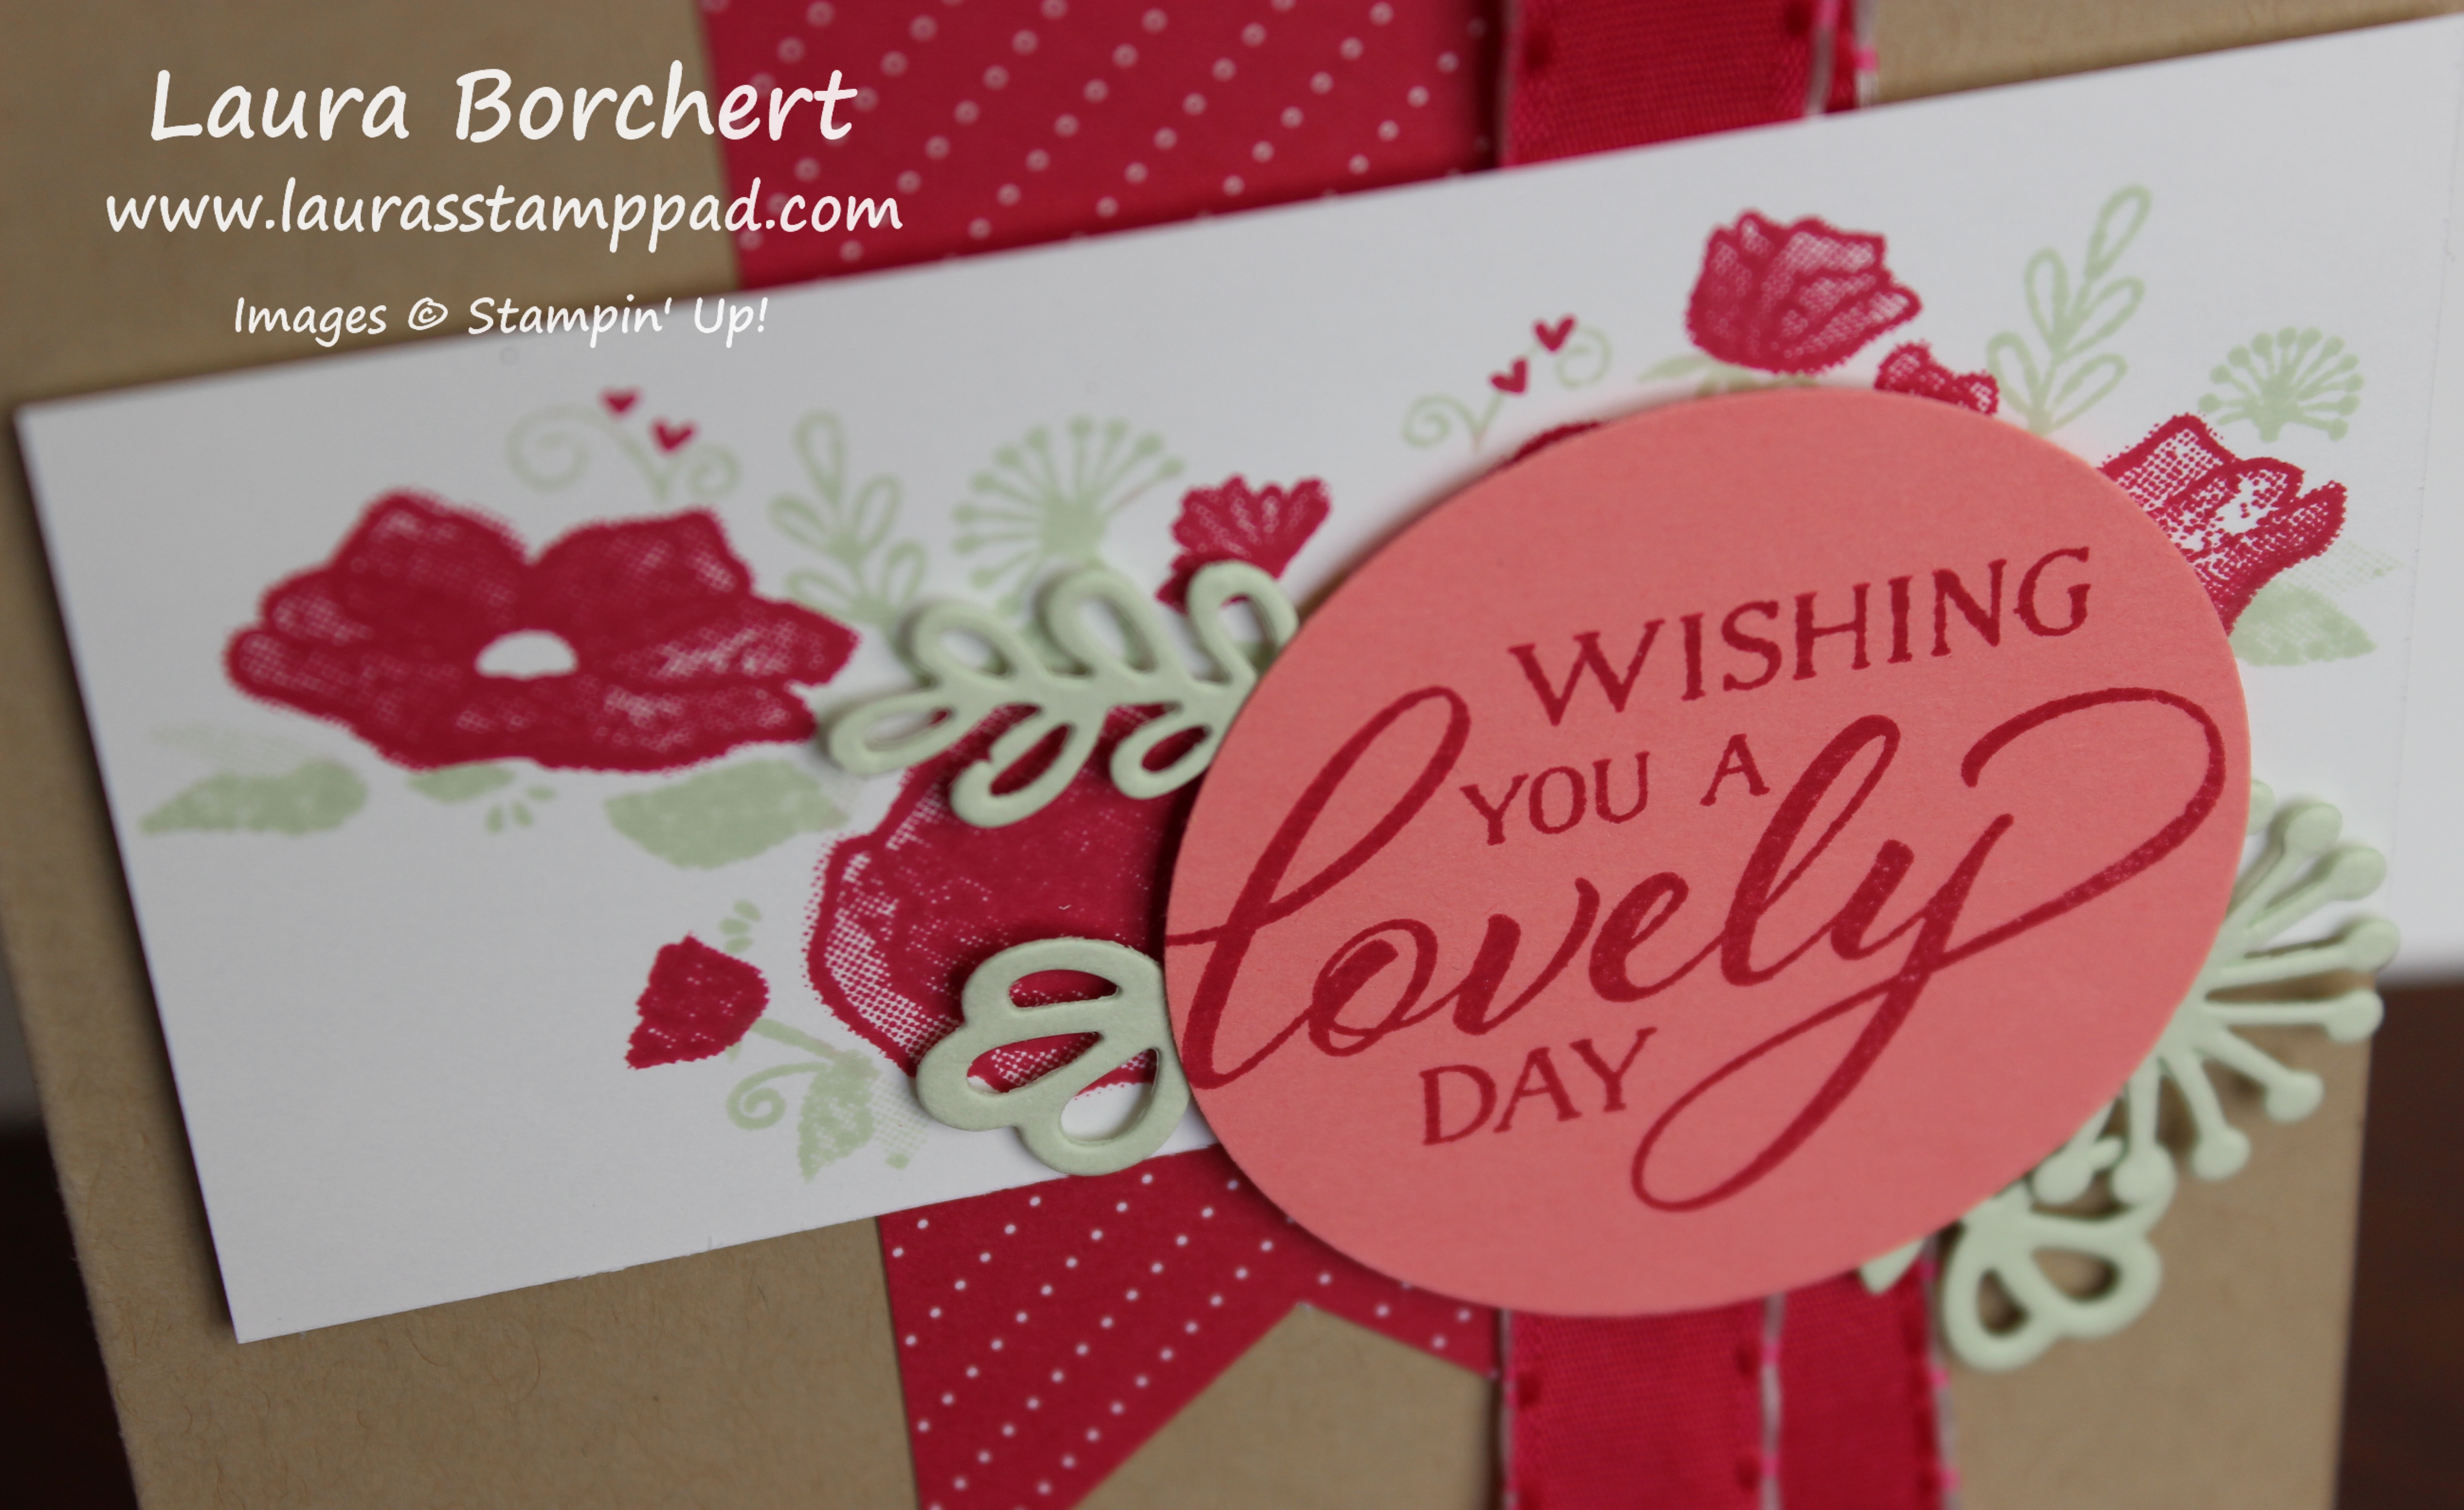
For the greeting, I stamped it from the Forever Lovely Stamp Set in Lovely Lipstick. Can I say Lovely any more in one sentence?!?!? Then I punched it out with the 1-3/4″ Circle Punch! For a little texture, I die cut some of the greenery pieces from the coordinating Lovely Flowers Framelits. One of the framelits is actually a 2 for 1 piece. There are 2 of that greenery piece in the 1 framelit. I die cut the 3 framelits in Soft Sea Foam and got the 4 pieces to use around the greeting! The greeting piece was added to the card front with Stampin’ Dimensionals as well! Just lovely! (I had to do it.)
If you would like to see this all in action, check out the video below or click here! Be sure to give the video a thumbs up if you liked it and don’t forget to subscribe if you are new. If you would like a notification when I post a new video, be sure to click the bell right next to the subscribe!!!
Happy Stampin’
~Laura
Product List


 Designer Series Paper")


