Happy Tuesday!!! You all know that means I have a fabulous technique to share with you today! I also have a warning…….spritz with care! 🙂
So this happened at stamp class and yes I did scream when I did it. The ladies all thought I saw a bug or something…..which I would have screamed over that as well. I spritzed and it was not pointed out but instead up and went all over my finger/hand/arm and all. Somehow I did save my clothes though! 🙂 All is good and it cleaned up very well!
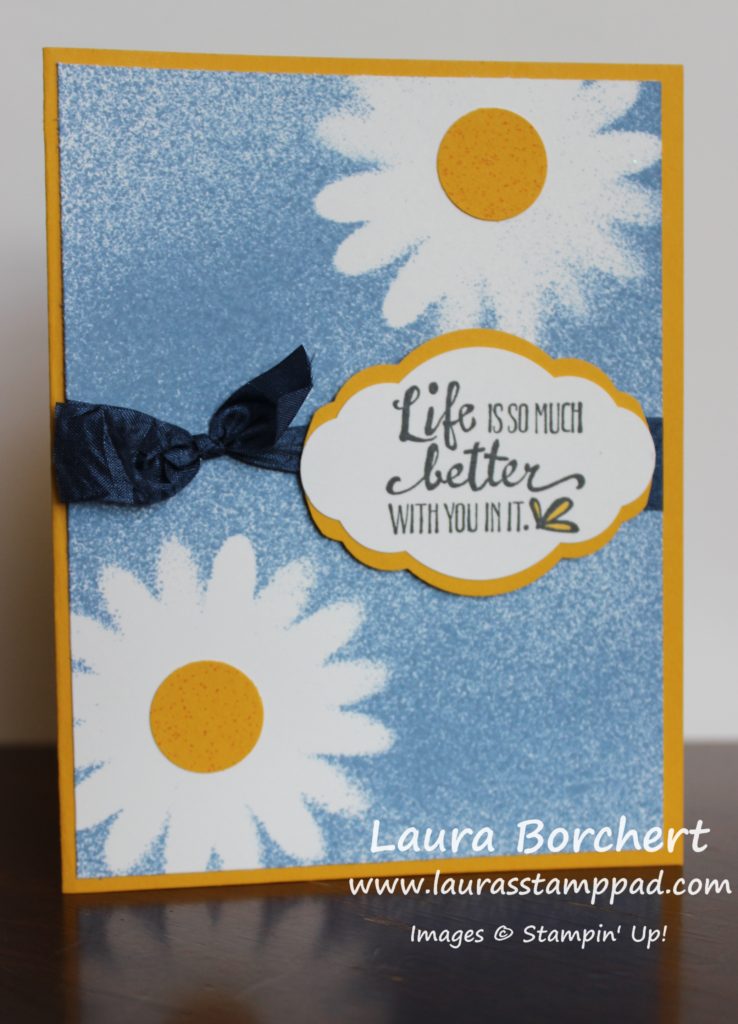
Isn’t this background super fabulous??? I just love flower and this cool background looks like it has texture and all.
I started with a Crushed Curry card base. Next, I took a piece of Whisper White (4″ x 5-1/4″) and placed it in a box for spritzing. I punched out 2 flowers with the Daisy Punch using the thicker cardboard stuff that comes in a pack of Designer Paper. It’s that white backing piece! I used this because then I’m not wasting cardstock and it holds up well for doing multiples. The 2 punched daisies were glued together in the center and off set to create this full beautiful flower. I placed one flower up high and one down low and spritzed with Night of Navy (Night of Navy and Alcohol mixture 70 Proof or less). Now the background is complete and once it was dry, I added it to the card base.
Next, I tied some Night of Navy Crinkle Seam Binding around the center. For the centers of the flowers, I took a piece of Crushed Curry cardstock and spritzed with a little Daffodil Delight and a little Pumpkin Pie. Then I punched out the circles. I love how that little bit of spritzing adds so much to the center to make it come to life! For the greeting, I used the Petal Palette Stamp Set and the Pretty Label Punch. For that added layer of Crushed Curry to the greeting, I simply punched a second one and cut it in half, adding half to the top and half to the bottom.
My Video Tutorial below shows this all in action as well as a few “mistakes” or things that I didn’t think worked as well. Check out the Video Tutorial below or click here! Be sure to give the video a thumbs up if you liked it and don’t forget to subscribe if you are new. If you would like a notification when I post a new video, be sure to click the bell right next to the subscribe!!!
Happy Stampin’
~Laura
Product List


