I am super in love with the December 2017 Paper Pumpkin – Floral & Flutter because the colors are amazing. It also makes me think of Spring with the butterflies and that makes me very happy!!!
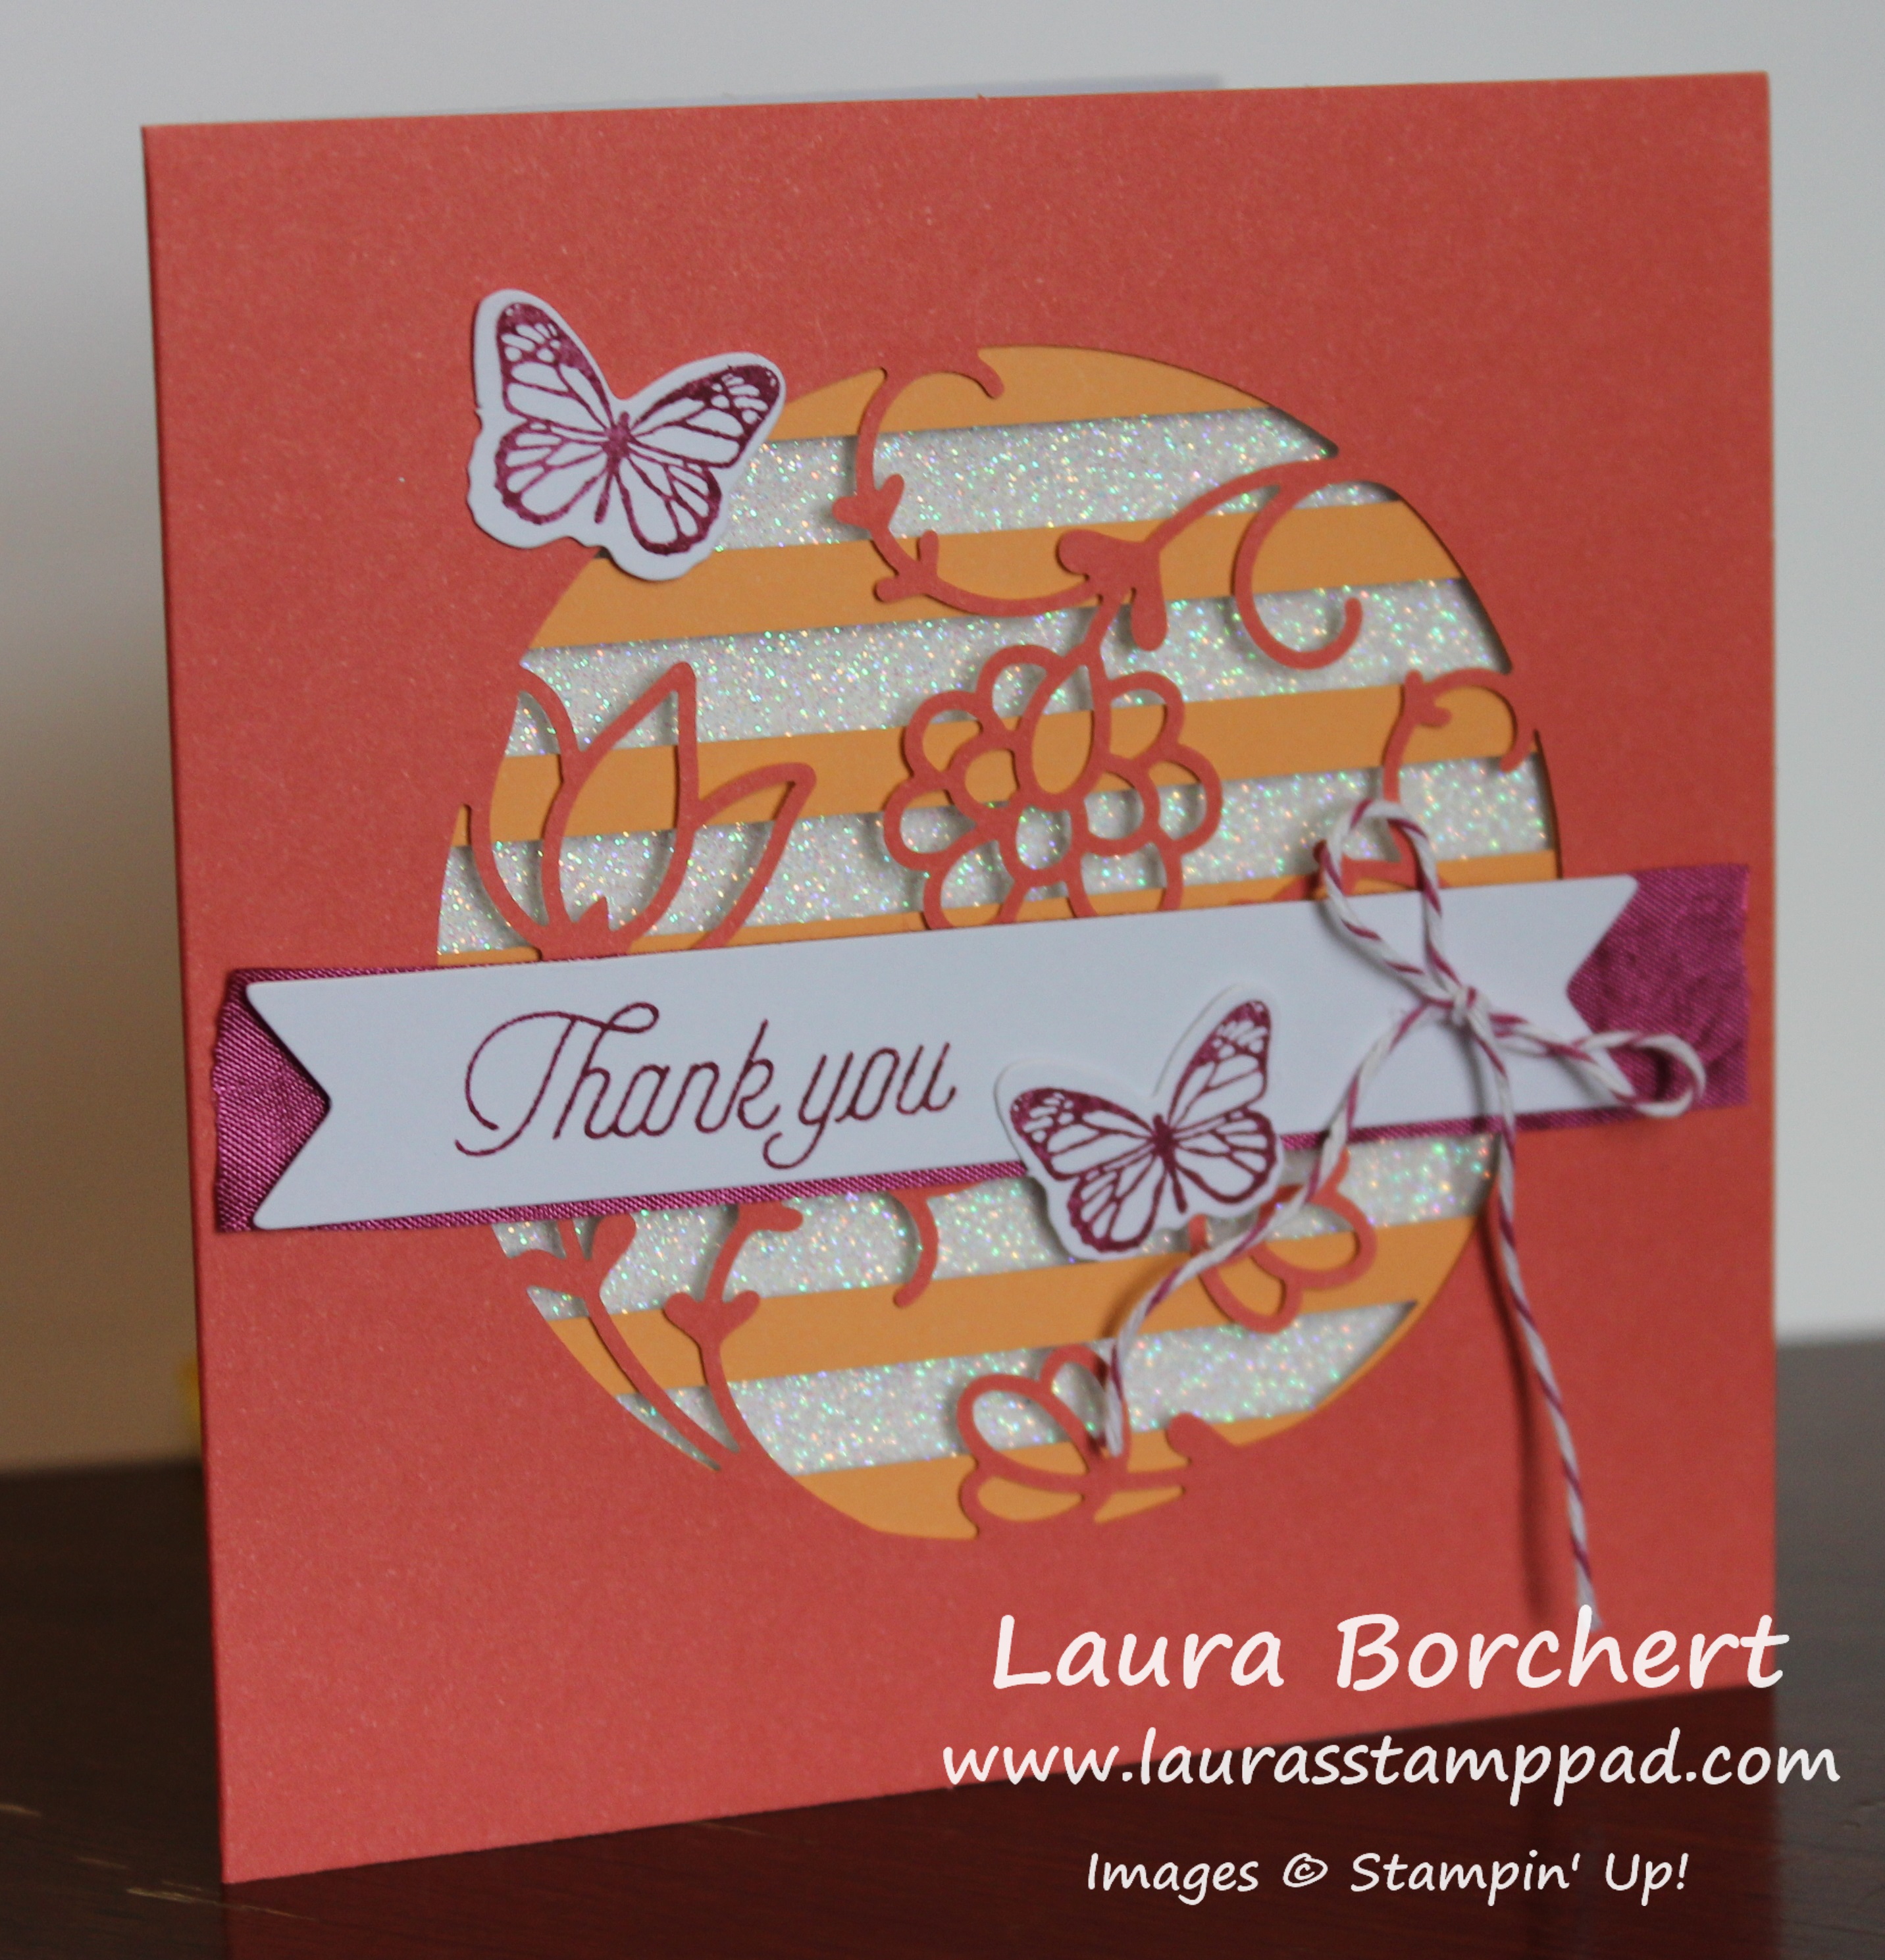
Look at this color combination!!! I am loving the Calypso Coral, Berry Burst, and Peek-A-Boo Peach! Add in the bling and wowza it’s amazing!!! I stamped all my greetings and butterflies first! Then I started an assembly line!

I actually had to read the instructions for this part. First, lay down a strip of the adhesive on the top and bottom of the cut out on the inside of the card. Next, add the peach lines piece with the peach facing down so it shows through to the front. Then place the glimmer paper face down on top and add a strip of adhesive diagonally on the back. Finally, add adhesive strips to all four sides of the solid white square. Peel off the backing of those four as well as the diagonal one and stick the square on top of the glimmer paper. This seals it all in and looks nice and clean when you open the card!
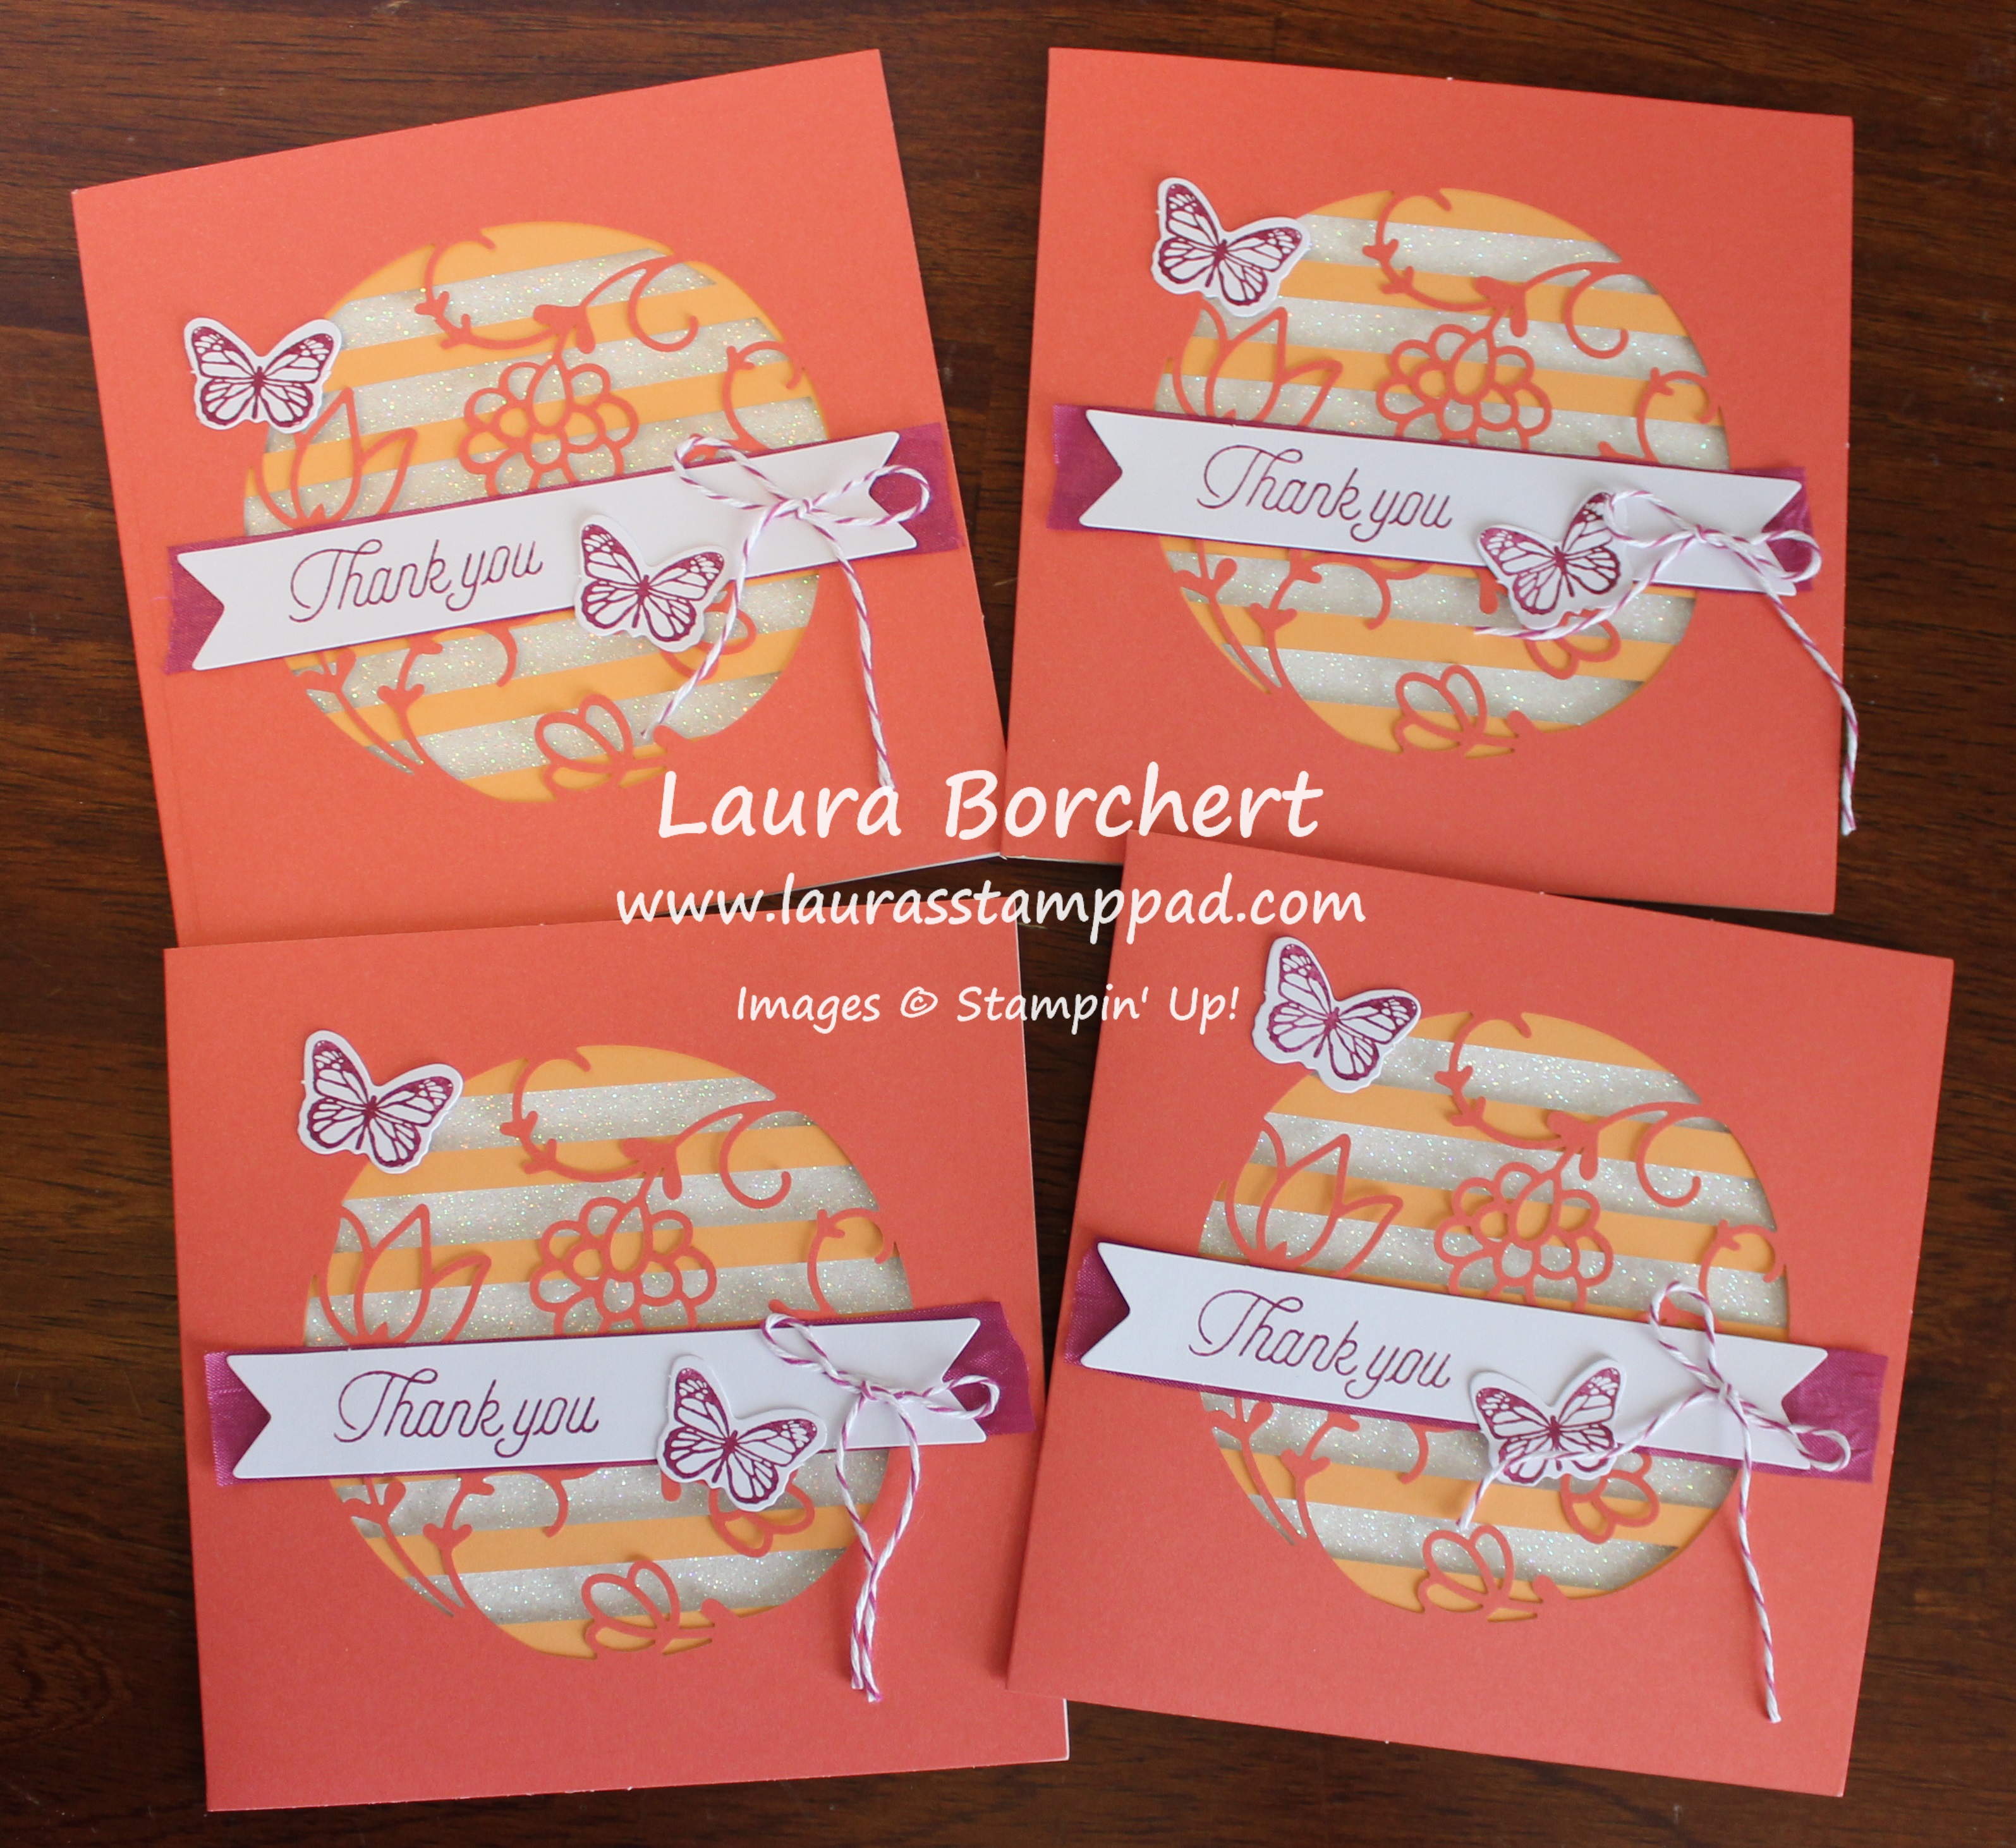
Now it’s time to decorate the front of the card! I cut the seam binding to the length of the greeting. I used the adhesive strips to adhere both the ribbon and the greeting! The kit comes with glue dots as well which I used for the butterflies and the little Baker’s Twine bow!
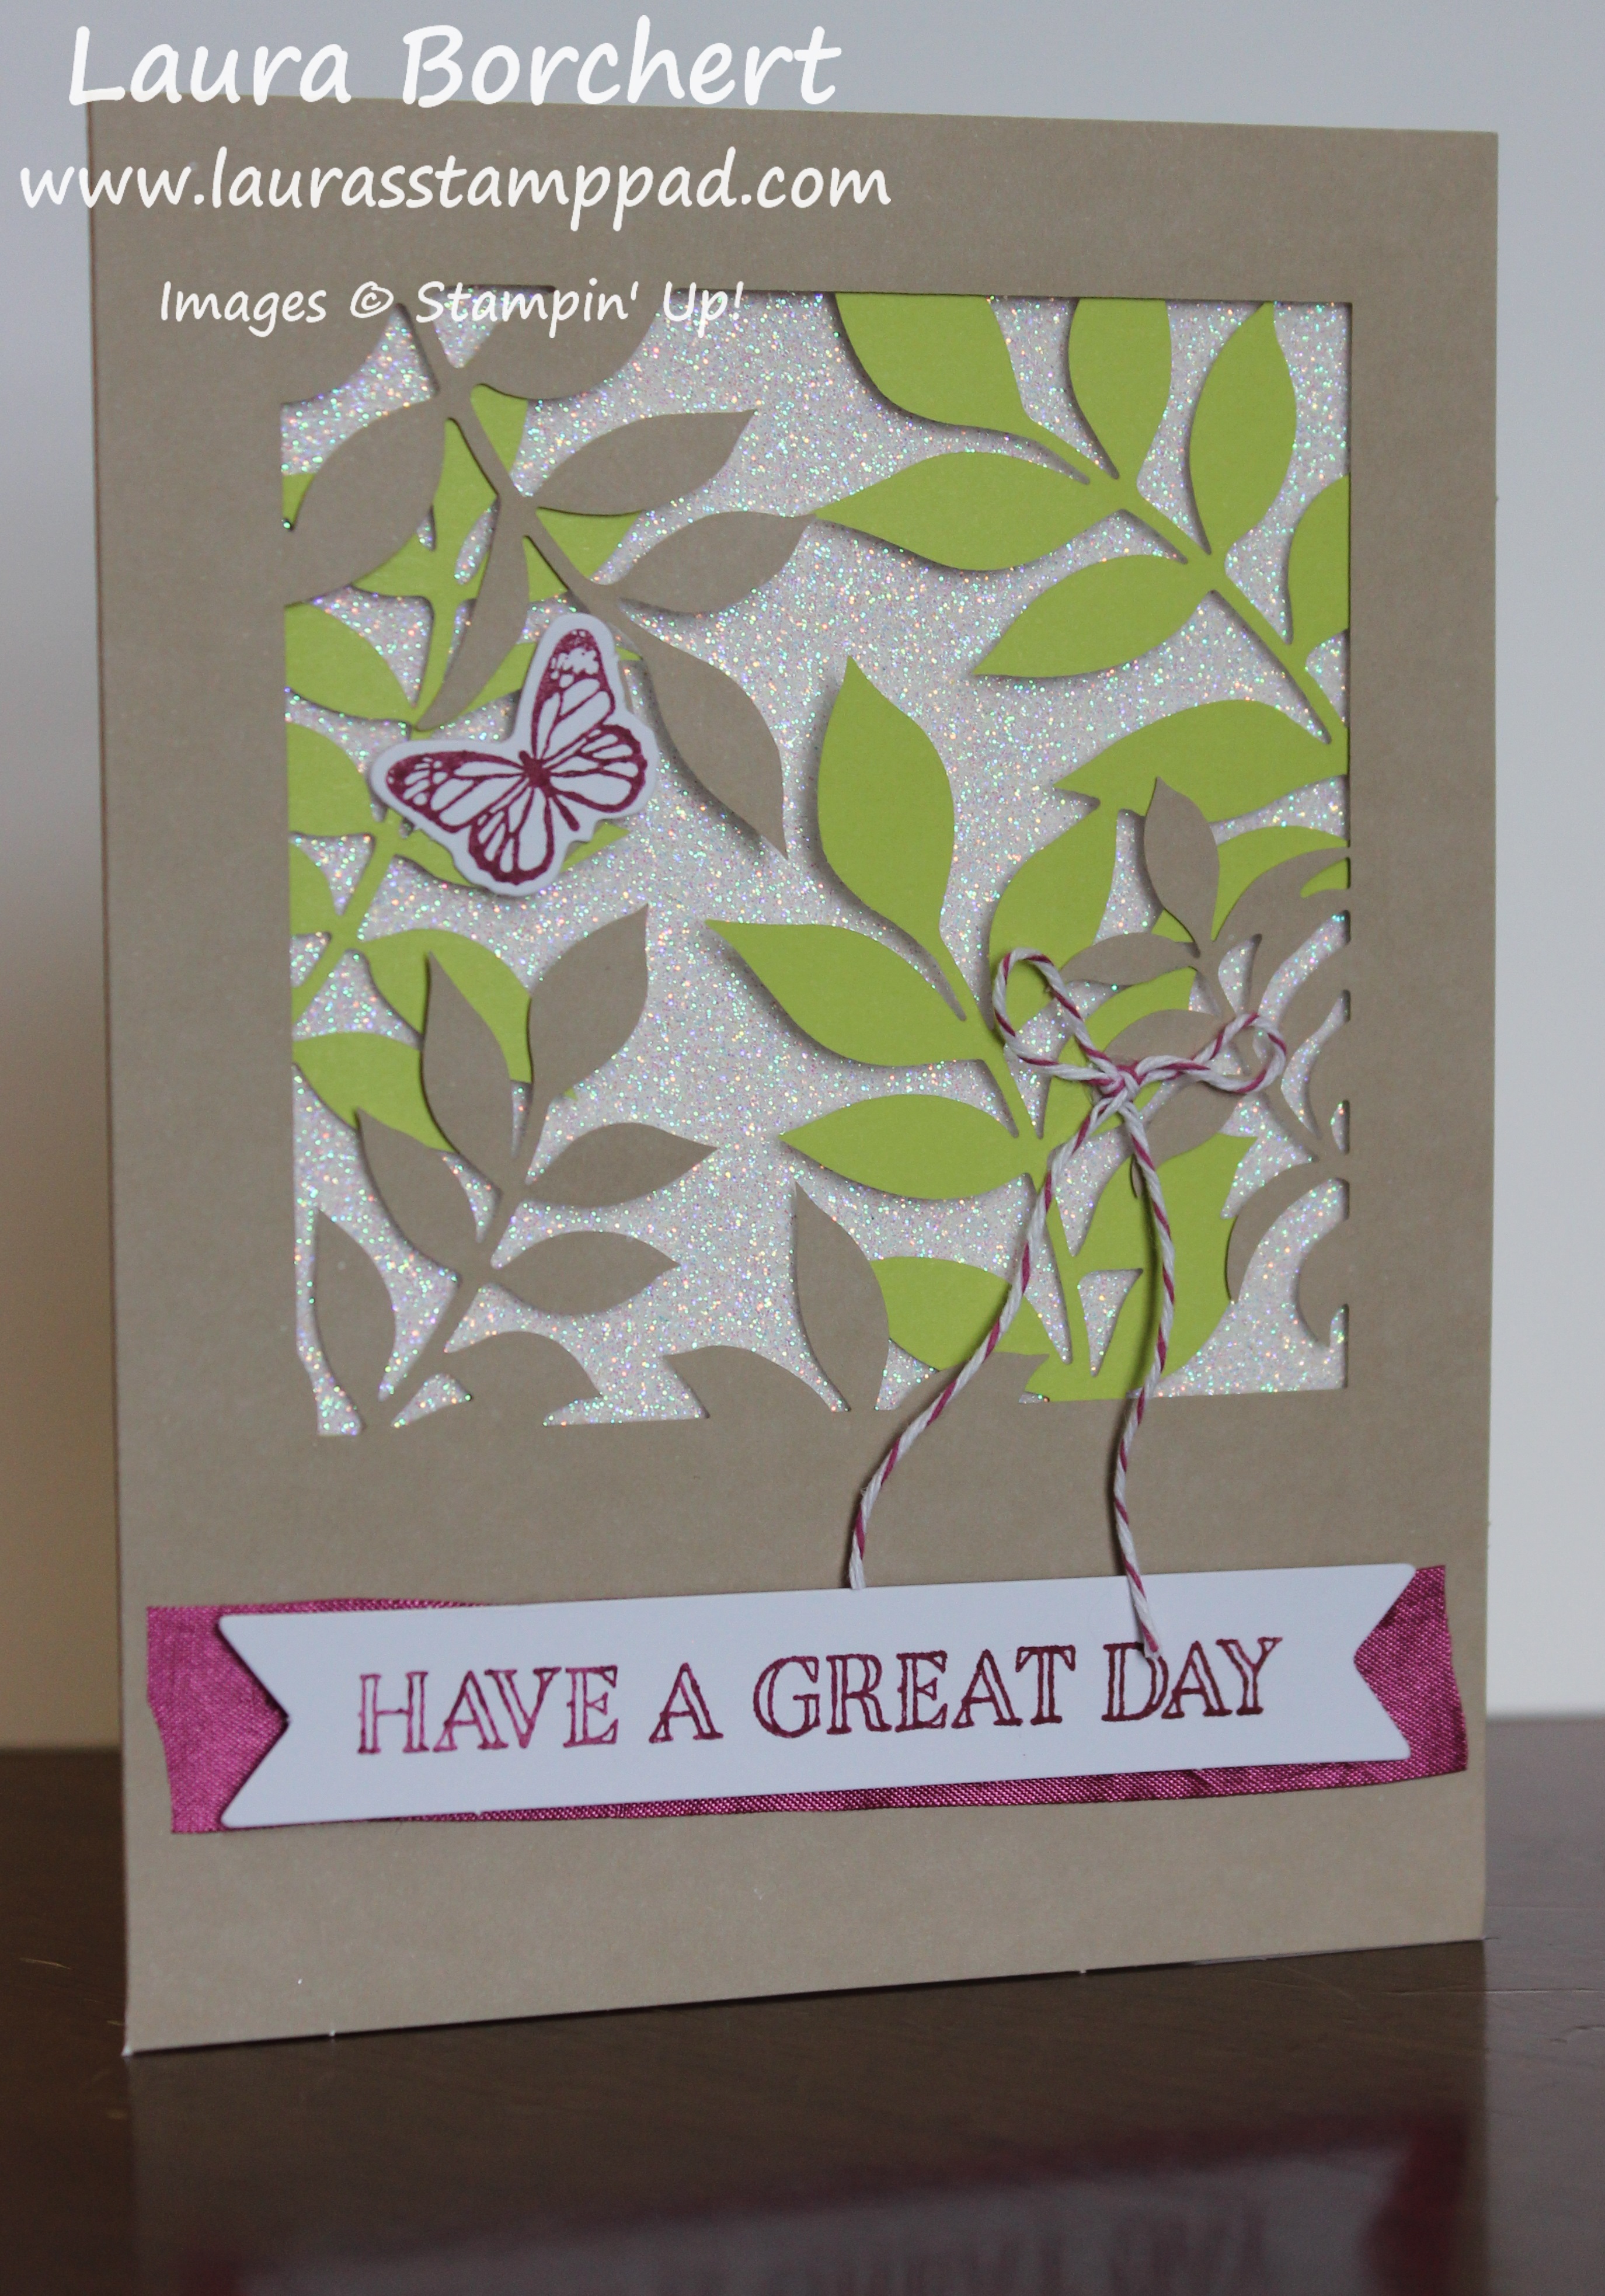
The second set of cards are regular size cards that can go in the mail!!! The pop of Lemon Lime Twist makes me happy too! I swear I could have picked these colors as they are my favorites!!!

This card is done the same way as the square cards! Add adhesive to the inside of the card (top and bottom) and place the green leaves face down. I had to double check how the greenery went down for each one to make sure it was placed correctly. Sorry no trick for you there! 🙂 Then place the glimmer piece down with a diagonal strip on the back. Add the solid white over the top!
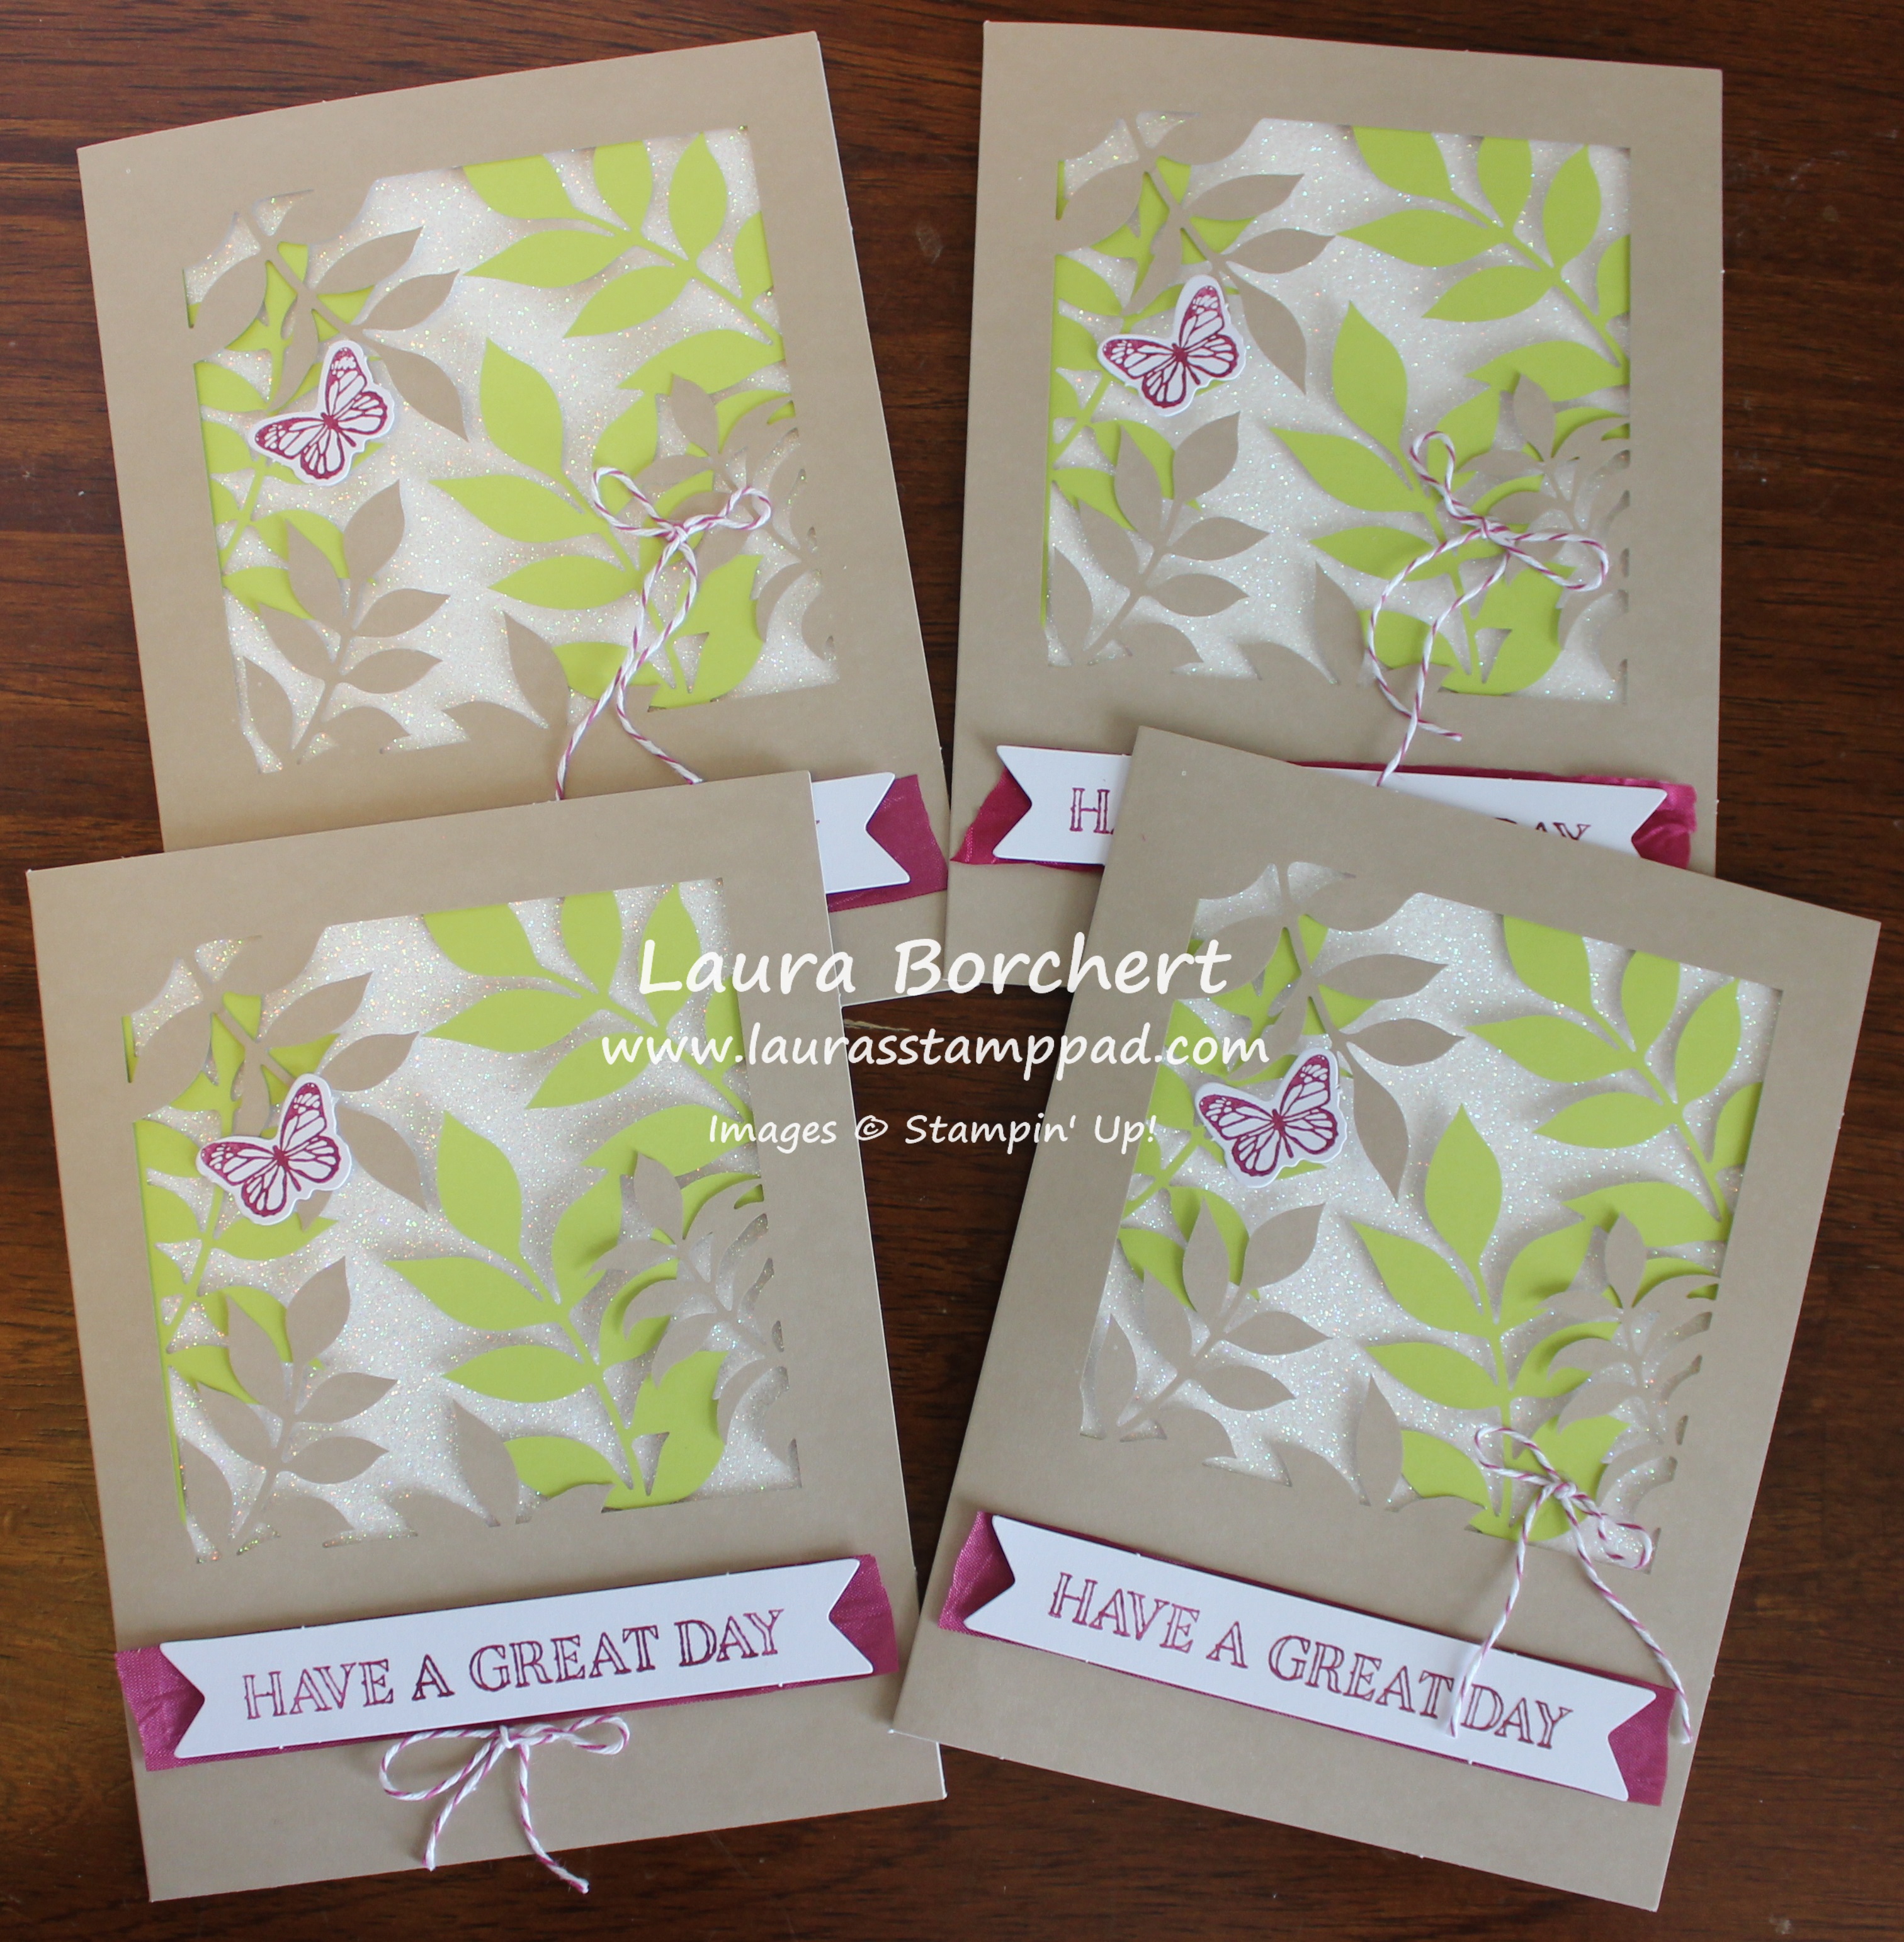
I added the greeting, butterfly, and bow to the front to finish it off! The bow is in different spots just to mix it up!

I stamped the envelopes to coordinate. I used my own Lemon Lime Twist Ink Pad for the leaf and then stamped the butterfly in the provided Berry Burst Ink!
If you want to see all of the contents of this kit, check out my Video here! To sign up for Paper Pumpkin and enjoy the fun with me, click here! All the supplies to make the kit for just $19.99 is a steal! I love the surprise each month too!
Happy Stampin’
~Laura