Happy Tuesday…..but feels like Monday! Today I’m sharing with you this amazing technique of creating a perfect beach scene! I am using the NEW Colorful Seasons Bundle from the 2017-2018 Annual Stampin’ Up Catalog which comes out on Thursday!!!!! Woot Woot! I so can’t wait!!!

How amazing is this card?!?!?! I just love it for that amazing greeting, the calming blues, and the relaxing chairs. Can you feel the sun on your face or cool ocean breeze just looking at this card? I think I can! Let’s get started on how I created it!
I started with a Whisper White card base. Next, I layered a piece of the ombre Dapper Denim from the Color Theory Designer Series Paper Stack onto some Dapper Denim cardstock (4″ x 5-1/4″). Then I stamped the greeting, Just Breath from the Colorful Seasons Stamp Set in Dapper Denim. That greeting is just amazing. I added this to the card from with Stampin’ Dimensionals for a little pop!

Now for creating a perfect beach scene, it’s time to make the sand. I took a piece of Crumb Cake (2″ x 5-1/8″) and placed it in a box to spritz. Spritzing can be messy so I use a box on it’s side to spritz into. I place the cardstock laying down flat (on the side of the box since it’s sideways). Using a Spritzer with alcohol and Chocolate Chip Re-Inker, I spritzed the bottom of the box, allowing the spray of it to drop down onto the Crumb Cake. This way the cardstock just has little dots of ink all over and not a direct splatter of ink. Also, another BIG TIP is be sure to use an alcohol of 70 proof or less. If it is higher, it will start to break down the plastic in the spritzer and it will clog.
After spritzing, I ripped the Crumb Cake in half and layered it together on the bottom of the card front. Those amazing adirondack chairs are from the coordinating Seasonal Layers Framelit. I die cut them in Whisper White and added them to the card front with the Fine Tip Glue Pen. I put the adhesive on the bottom rectangle piece as well as the arms of the chair. This allows the top of the chair to pop out a bit since it isn’t secured down and it looks more 3D! I just love it!!!
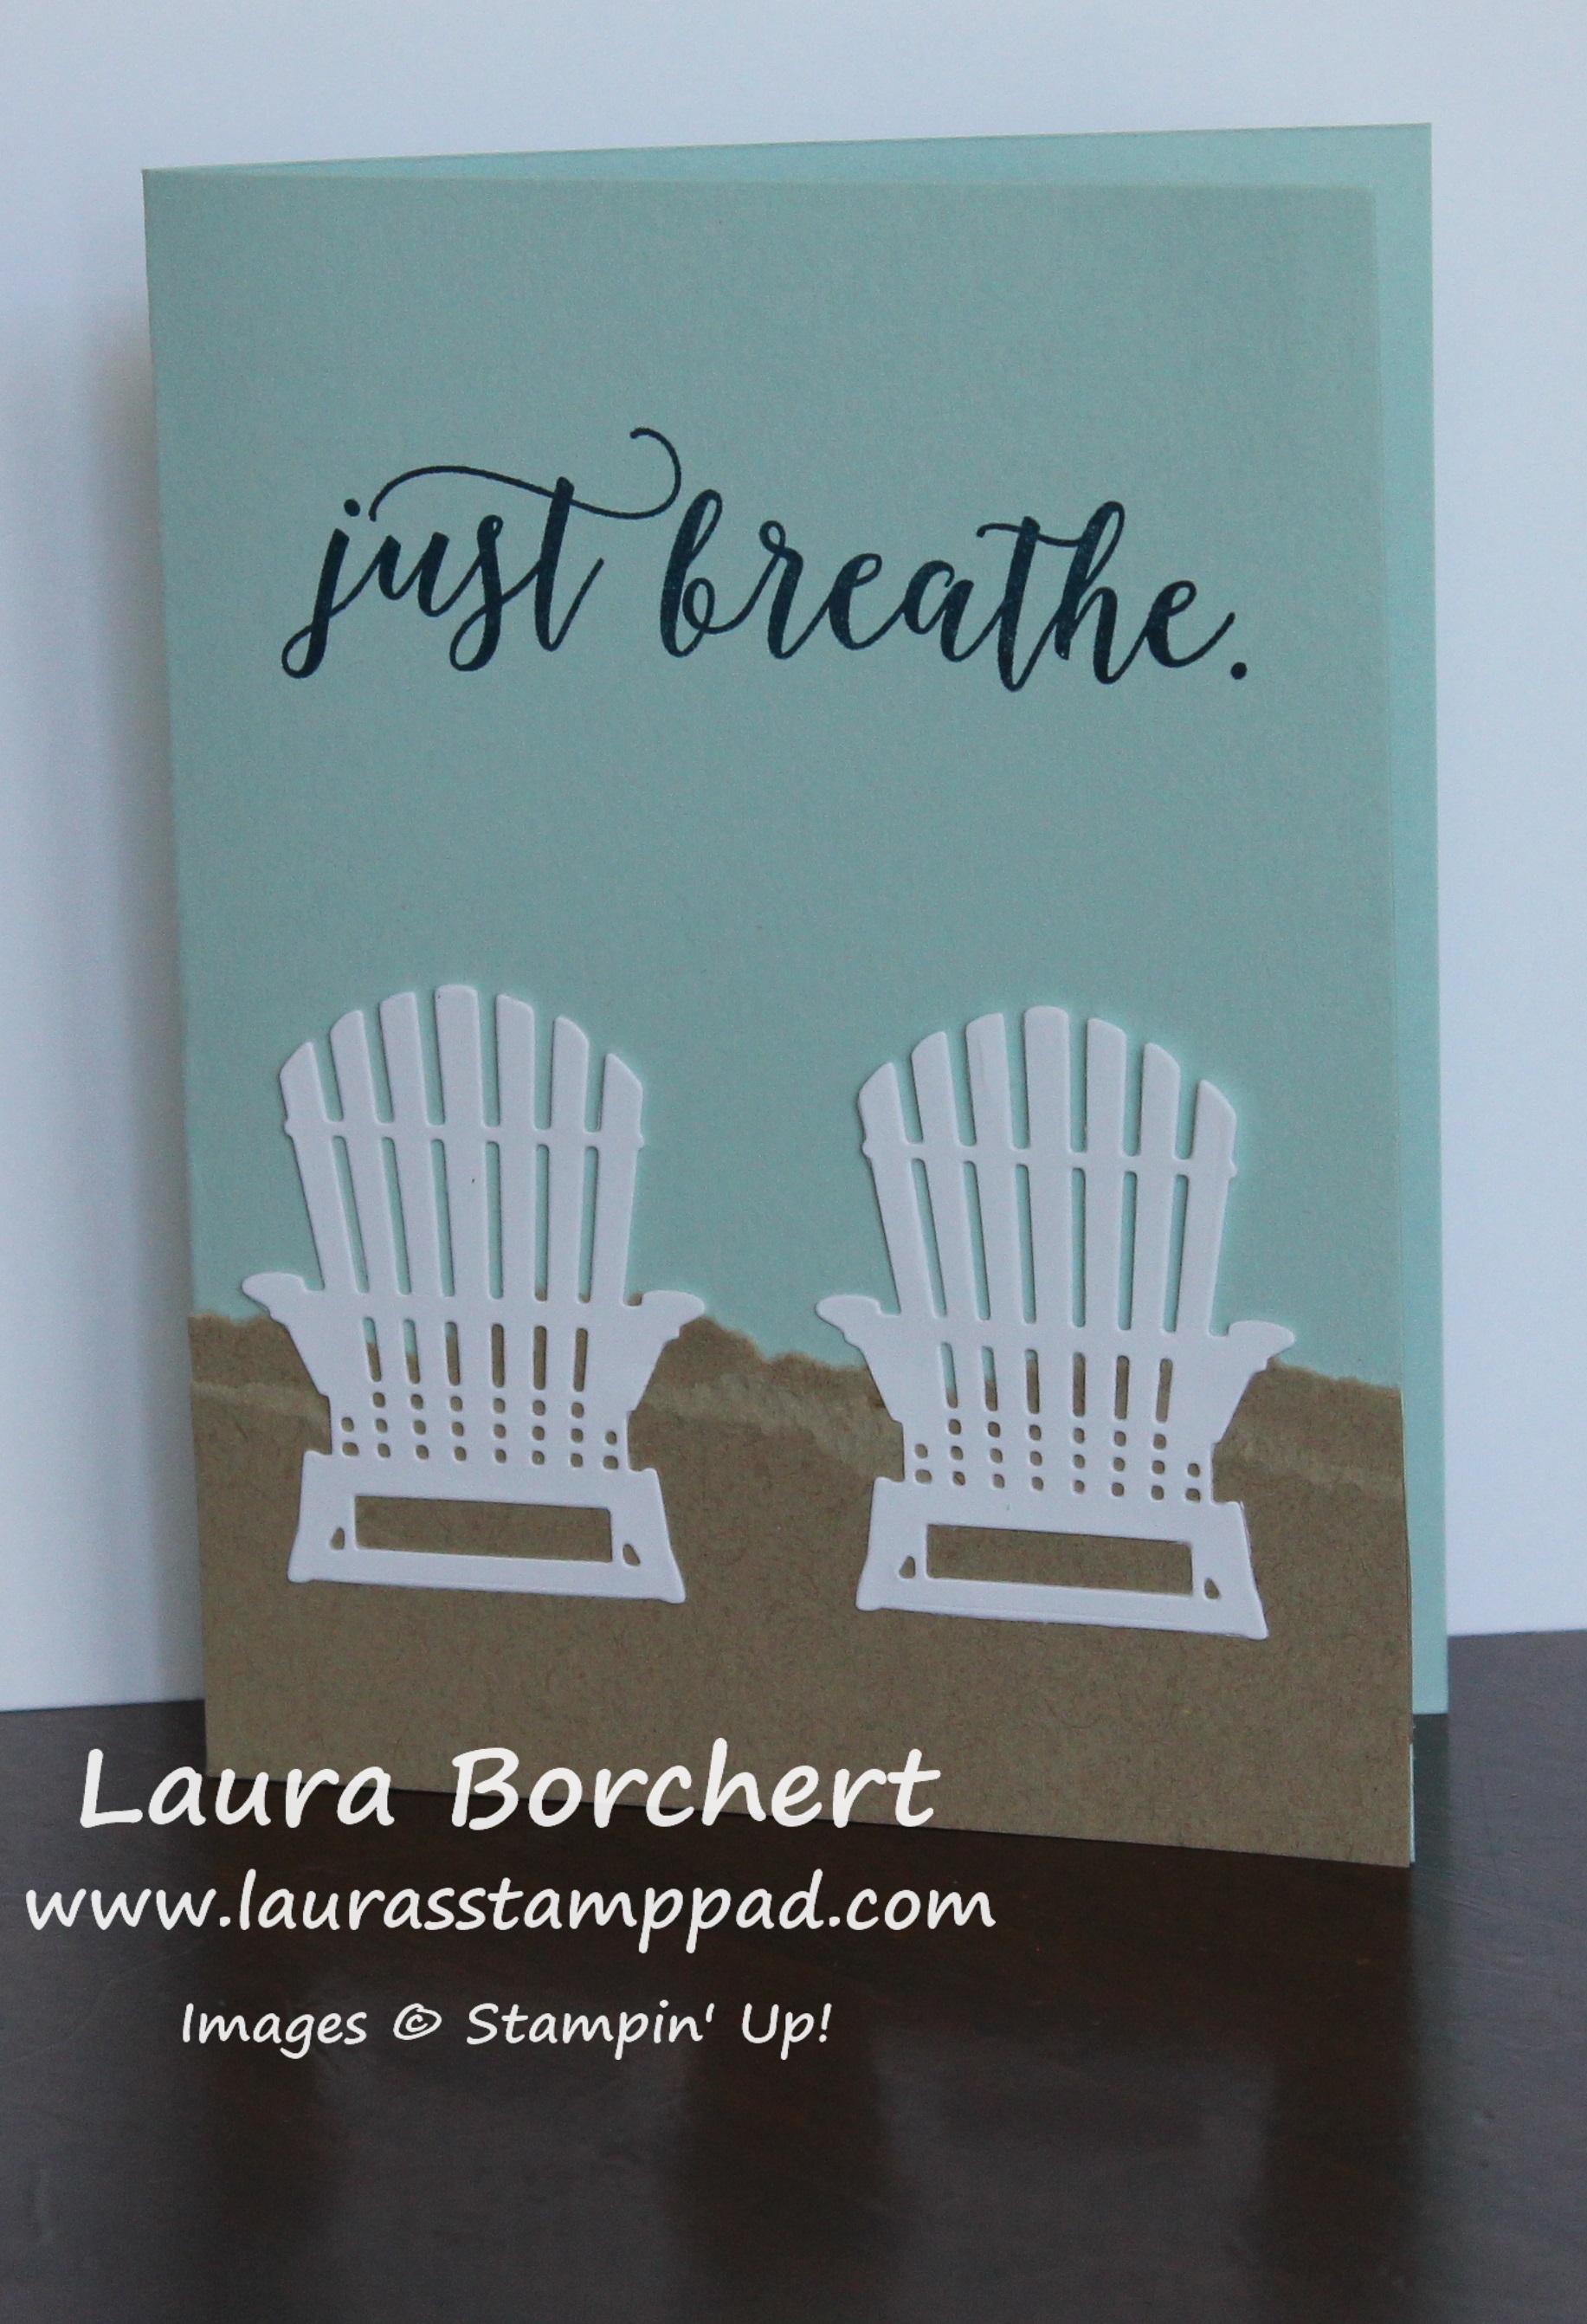
Here is another version of the same card but fewer layers. This is the simple version and the stepped up version is at the top! For this card, I used a Soft Sky card base and stamped directly onto it. Then I added the sand and chairs below. Which card do you prefer – the simple or stepped up?
If you would like to see it all in action, check out the video tutorial below or click here! Don’t forget to give it a thumbs up if you liked it and be sure to subscribe if you are new!!!
Get ready for the NEW catalog on June 1st! It’s so fabulous!!!!
Happy Stampin’
~Laura
Love this card! Thank you for sharing this new stamp set & framelit.
Isn’t it amazing?!?! Can’t wait for tomorrow when the entire catalog goes live!!! ~Laura
Pingback: My Top 5 Must Haves From the New Catalog!!! - Laura's Stamp PadLaura's Stamp Pad
Ml cute card!
Thank you!!! ~Laura
Pingback: Tempting Techniques - Color Block Card Making!!! - Laura's Stamp PadLaura's Stamp Pad
Pingback: Buy 3, Get 1 Free Designer Series Paper Special in October!Laura's Stamp Pad