I fell in love with this card style when I got a swap card last November at Stampin’ Up! OnStage. The partial front peek through is just so cool because you can see the inside of the card! Check this out!!!!

See how the front of the card is only on the top, bottom, and left hand side. The inside of the card is peeking through on the right hand side! Super fun and cool and goes perfectly with the Eastern Palace Suite. Check out these cards for more ideas using this Suite. So let’s get started!!!
I started with a piece of Fresh Fig measuring 6-3/4″ x 4-1/4″ and scored it at 5-1/2″ to create the card base. Next I cut another piece of Fresh Fig measuring 1-1/4″ x 4-1/4″ for the bottom portion. The middle section that connects the top and bottom is Tranquil Tide (1-3/4″ x 3-3/4″). I layered on some of the Eastern Palace Designer Series Paper with that gold foil! Tip: Be sure that the pattern goes in the same direction on the top and bottom!
Since I didn’t want the front of my card to fall apart, I used Tear And Tape, which is super strong, to attach the front. The Tear And Tape is the perfect slim amount too! I placed that on the top and bottom of the Tranquil Tide and pealed off the top. The sample above wasn’t done like this but I found that in the others I created it was best to line up the edge of the Tranquil Tide with the edge of the Designer Paper and place it on the top portion just enough to cover the tape. Next, place the bottom portion of the card lined up on the bottom of the card, peel off the adhesive and close the card to adhere it to the bottom.

Now that the partial front is complete, let’s stamp. I took a piece of Very Vanilla measuring 1-1/2″ x 3-1/2″ and stamped the greeting and decoration using the Eastern Beauty Stamp Set. All the little decoration pieces in that set are super fun! Afterwards, I added that to the partial front piece. For the inside, I took a piece of Very Vanilla measuring 4″ x 5-1/4″ and placed it inside the card. I didn’t adhere it just yet, just in case I made a boo boo.
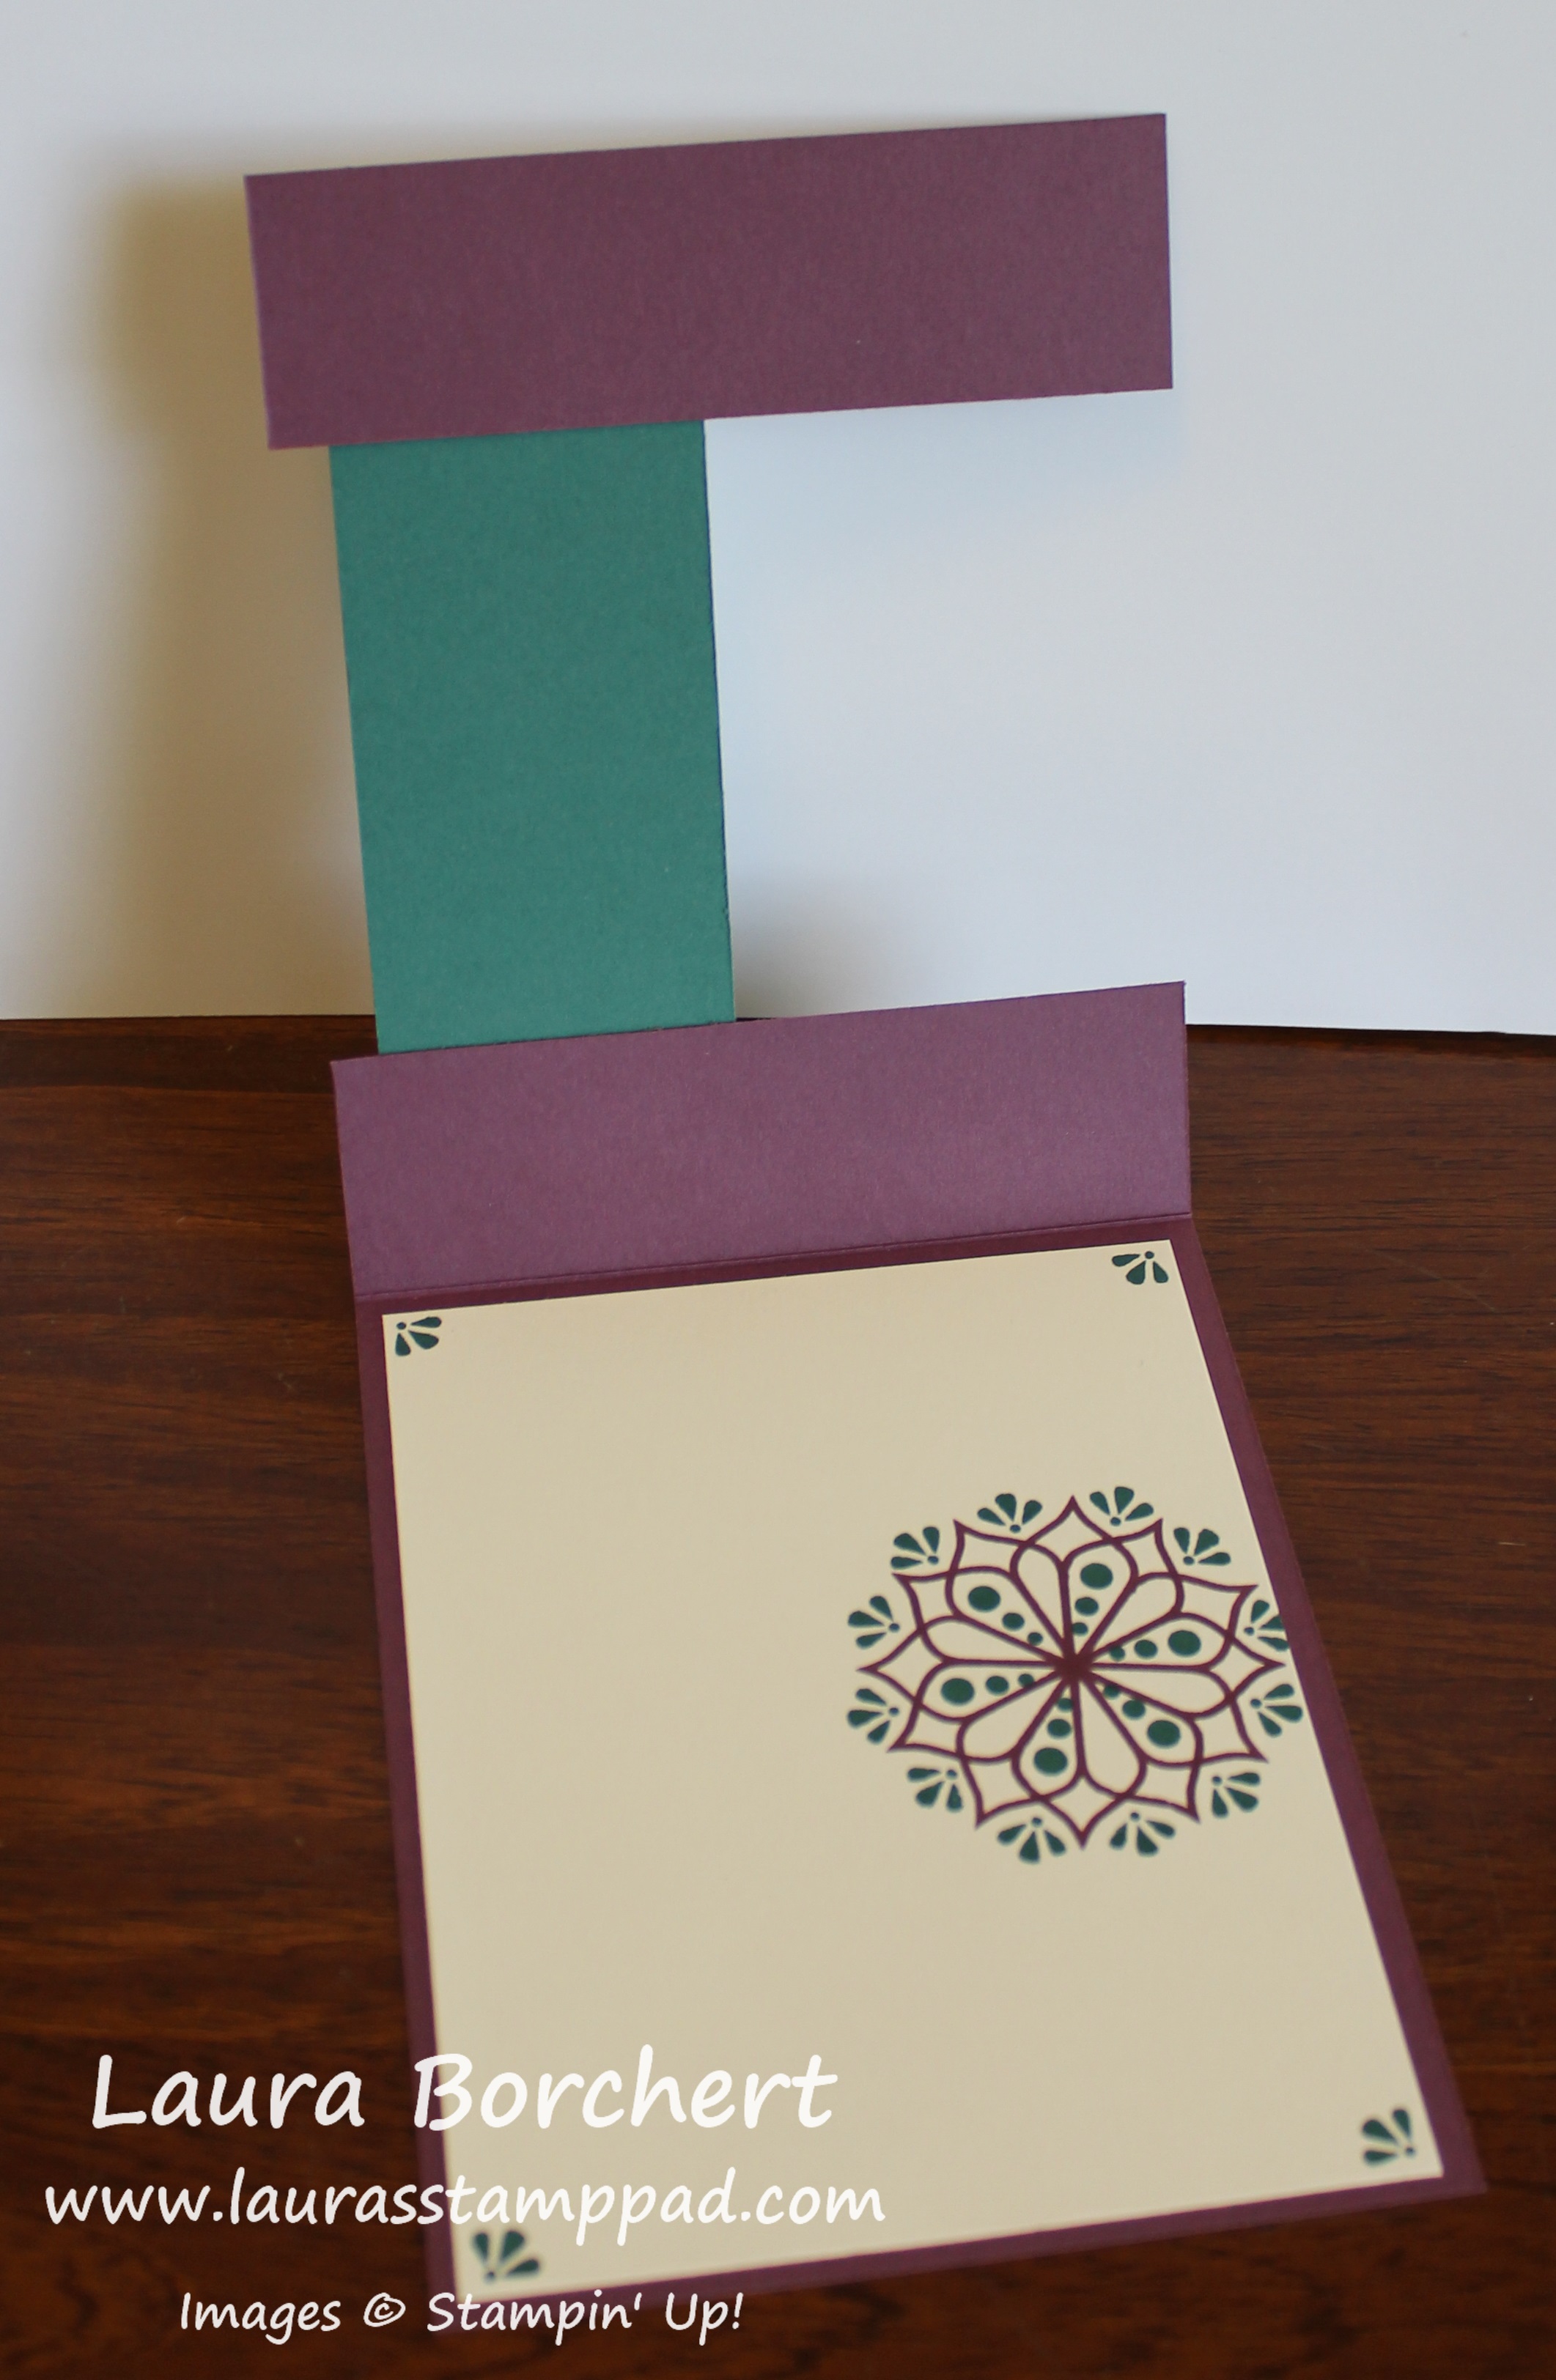
Closing the front of the card, I stamped the flower image in the opening. This way I knew it would be peaking through in the right spot! After stamping the first flower, I was all set to stamp the rest of the images so I pulled the cardstock out. For the flower, I inked it up again and stamped it over the top of the other one but rotated around just a bit. Then I filled in with the other fun images!
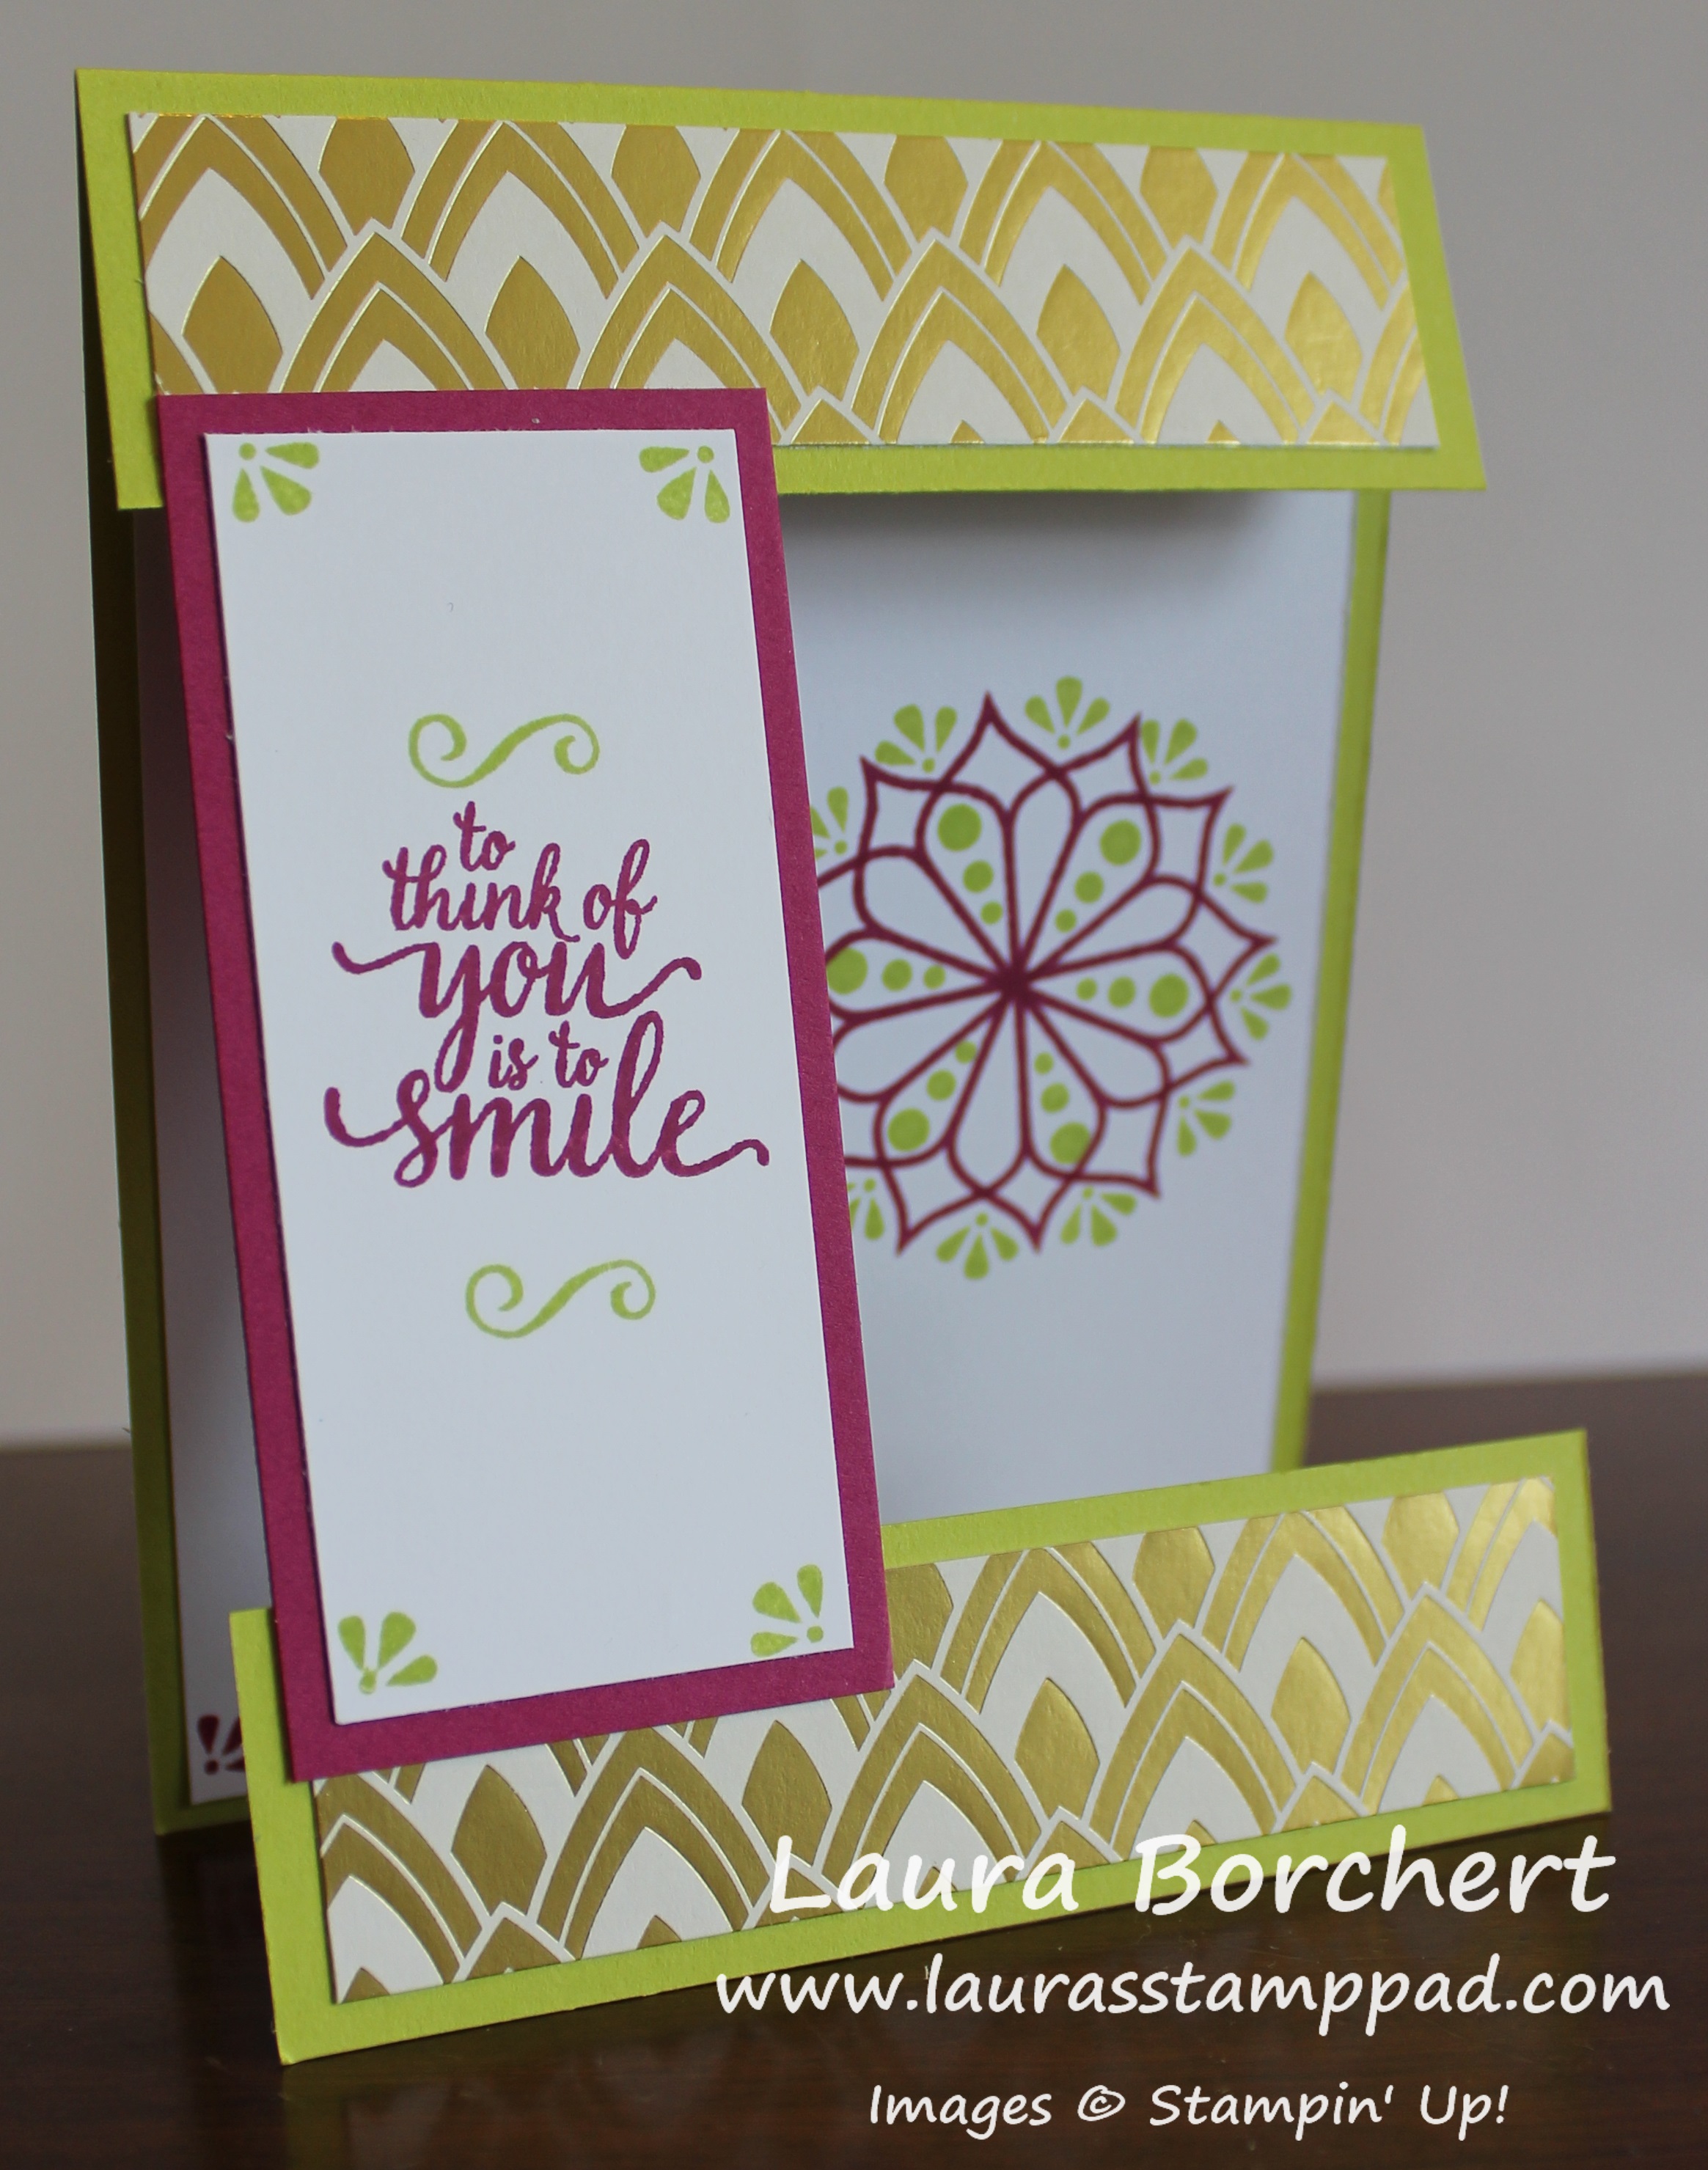
This was the sample I created in the video!!! I love the colors and it was super fun to create! If you would like to see it all in action, check out the video tutorial below or click here! Don’t forget to give it a thumbs up if you liked it and be sure to subscribe if you are new!!
Happy Stampin’
~Laura
Beautiful cards!n
Thank you!! ~Laura