I have done a few different pop up cards. You can check those out here and here! I just think a card that pops up or out is super fun because it is different than a typical card. I also love it when the card looks great on display because I always love displaying my cards for a while to enjoy whether it be on the fridge, on the kitchen table, or near my stamp desk!!! Check out this new POP up card!!!

How cute?!?!?! Love it and those gold sequins are so fabulous! I really think I am going to start using them more because they really finish a card off well!!! Let’s get started on how to make this card!!!
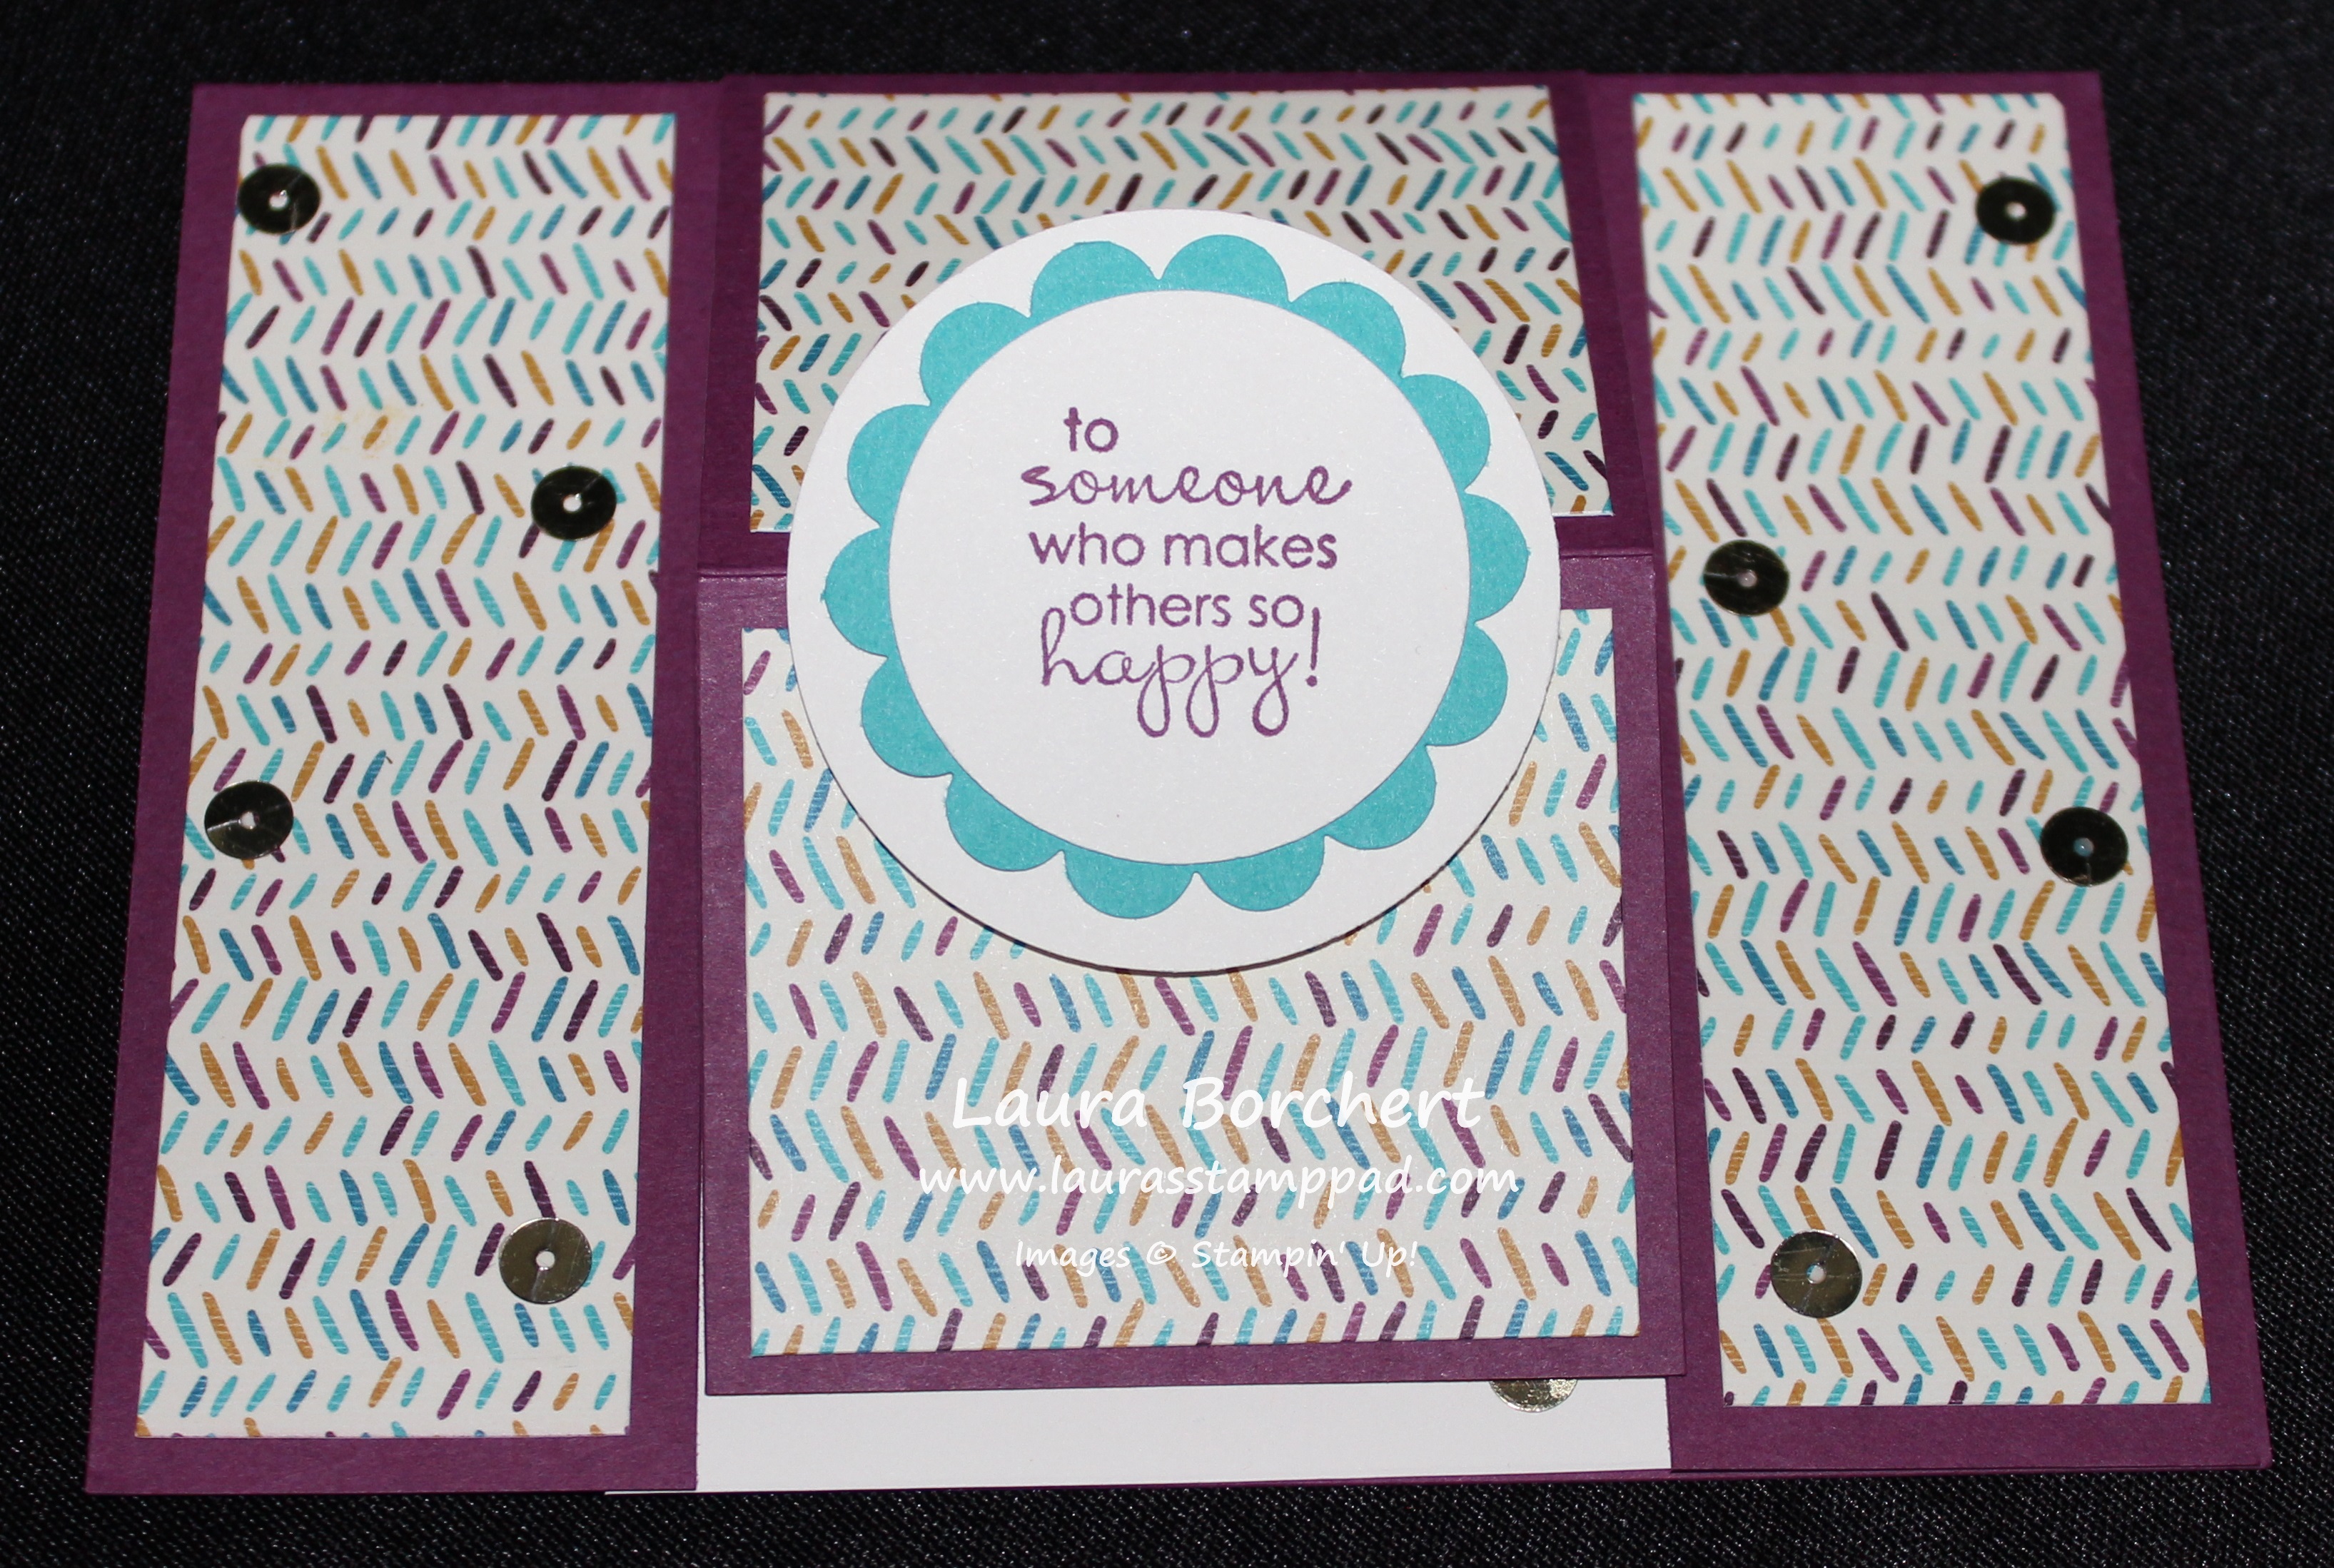
Starting with a 8-1/2” x 5-1/2” piece of Rich Razzleberry cardstock, you will fold your card in half like you did to create a typical card base. Now place it in your Stampin’ Trimmer with the 5-1/2” along the bottom. You will now cut at 1-1/4” from the bottom up to the center score line (4-1/4”). Slide it along and cut at 4” up to the score line (4-1/4”).
You will need a Very Vanilla piece measuring 3” x 4-1/4” and place that in the center of your card (on the inside). Now you can glue down the left and right sides and add your Bohemian Designer Series Paper to each panel. The Designer Series Paper side panels measure 1-1/4” x 4” each. You will also need 2 Bohemian Designer Series pieces measuring 2-1/4” x 1-7/8” for the center piece. Before adhering them on, fold the center flap in half.
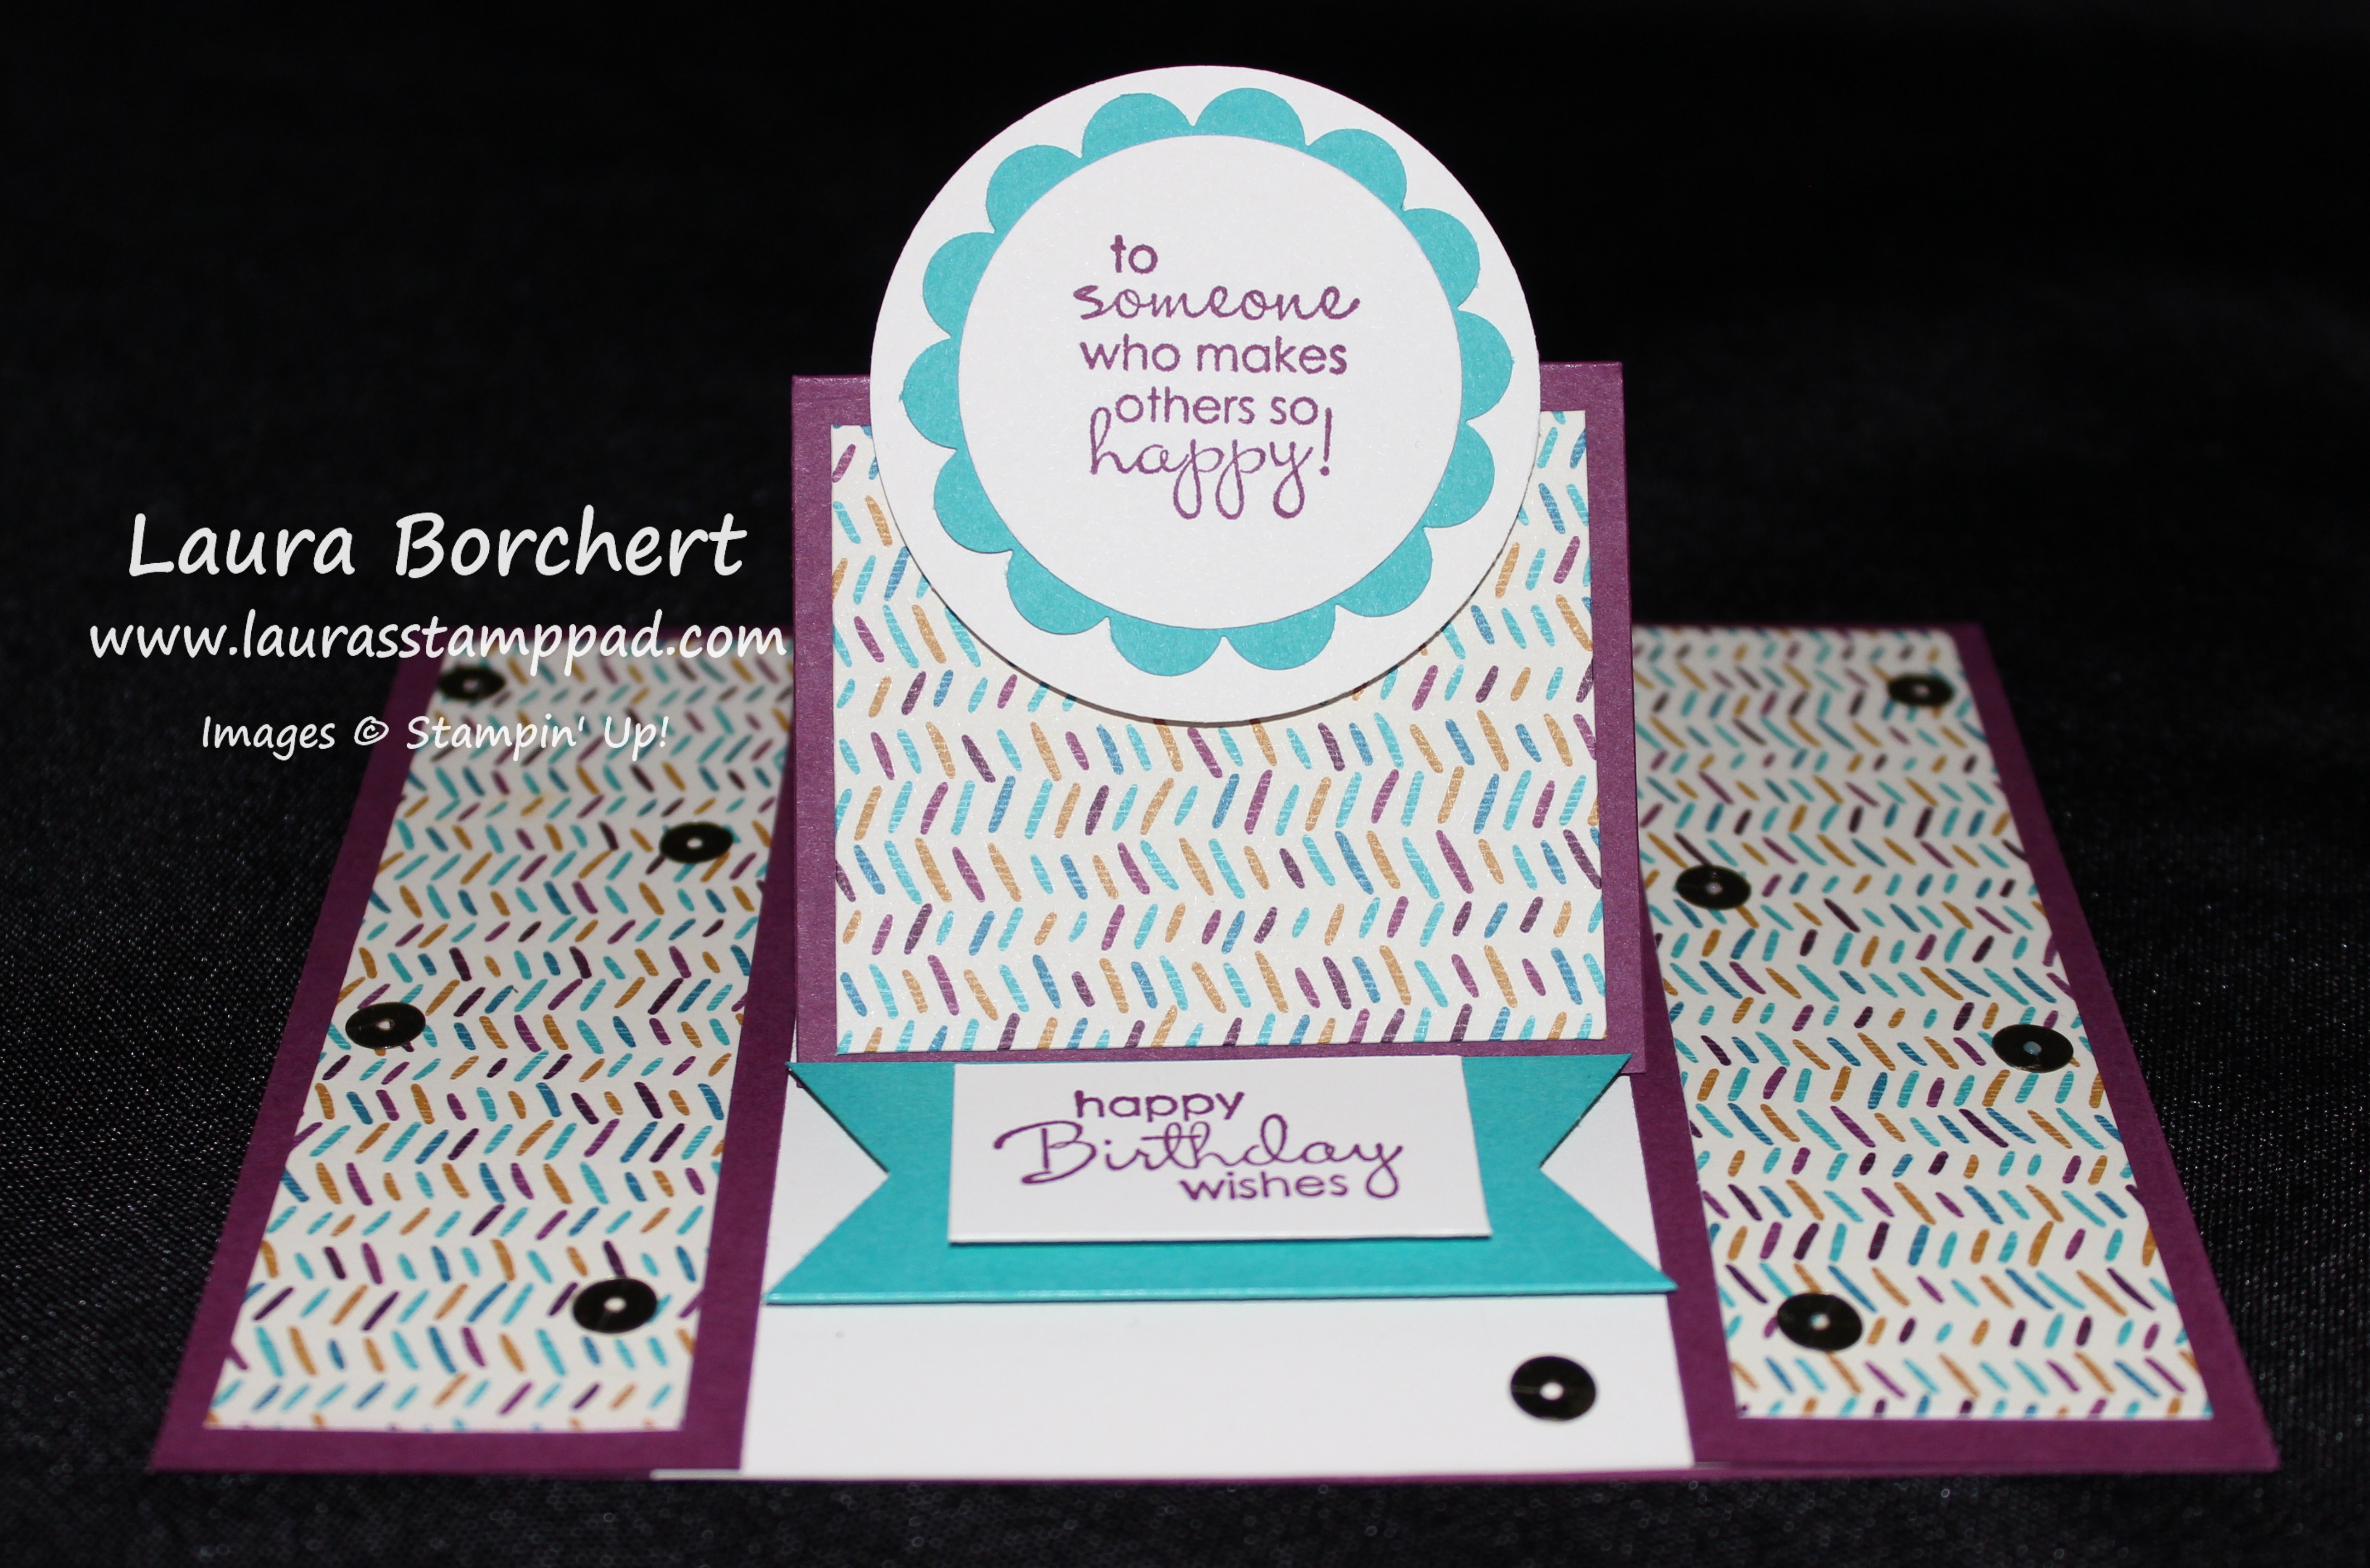
Now you can decorate. Be sure to add a greeting or embellishment to the inside with Stampin’ Dimensionals so it can hold your easel up! I stamped the greeting from the Petite Pairs Stamp Set on a scrap piece of Very Vanilla and layered it onto a piece of Bermuda Bay which I punched the ends with the Triple Banner Punch!! Both the greeting and then banner are adhered with Stampin’ Dimensionals. I wanted this part to be popped up well so it would hold the easel up!! For the greeting on the front, I stamped it in Rich Razzleberry and punched it out with the 1-1/2″ Circle Punch. That is layered on a Bermuda Bay 1-3/4″ Scallop Circle Punch and then a 2″ Circle Punch! All of these pieces are layered with Snail Adhesive. I adhered it to the card with Stampin’ Dimensionals though. Be sure to adhere only on the bottom half so that it pops up!!! To finish it off, I added some Gold Sequins. I have been using Multi-Purpose Glue but I have found that Two-Way Glue works really well and doesn’t bubble up in the middle hole!!! Super cute! Love it!
The other bonus is that this card still fit in a Regular Medium Envelope! Woot Woot!
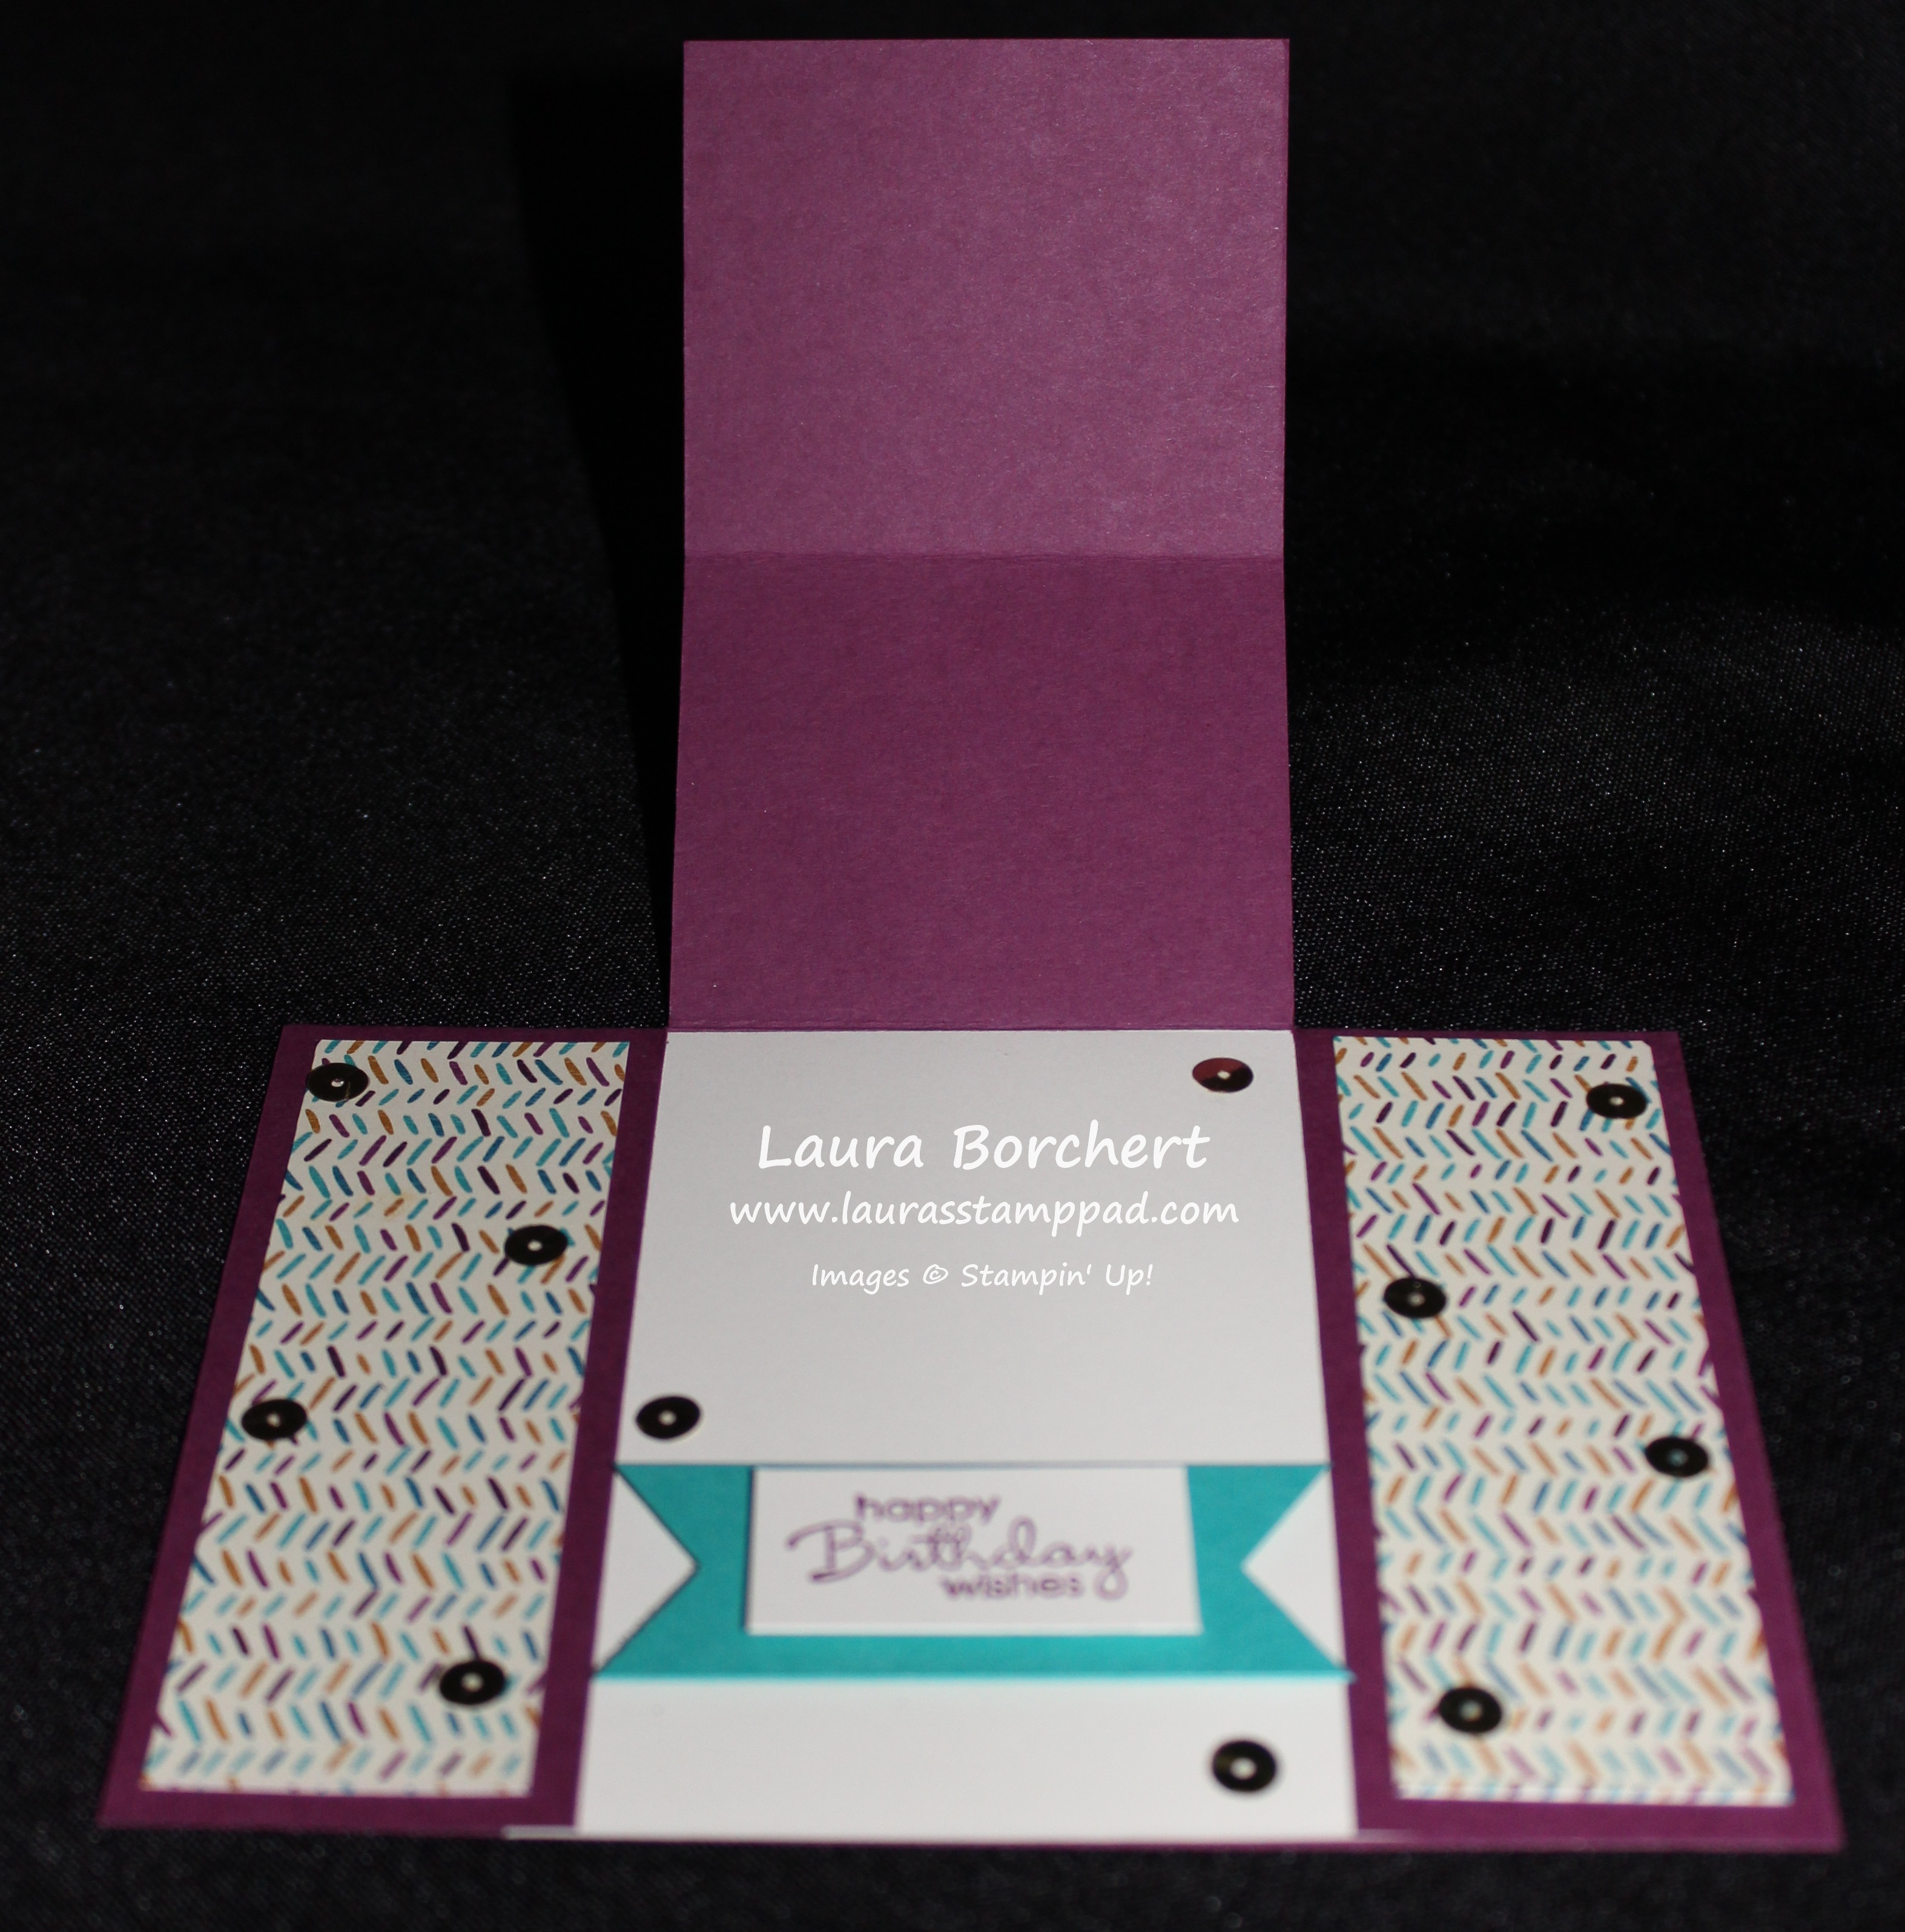
Here is the card open showing that you can still write on the inside vanilla piece or even up on the easel portion!
I got this idea from Dawn and you can check out her samples as well as a video tutorial here! I hope you try this card out! Leave me a comment down below what Designer Paper or design you use for your card!!!
Happy Stampin’
~Laura