Good Morning and Happy Tuesday!!!! Have you checked out the NEW Catalog! It came out yesterday and it is AMAZING! There are so many new stamps and products and fabulous ideas! After all the catalog is a great source for coming up with project ideas! Okay, now that you have seen that, lets show you an amazing technique – the Spotlight Technique!!!

This technique spotlights a certain section on your image with color. As you can see in the card above, I added pops of color to different areas of the butterfly. It isn’t that easy to see but each of those pops of color are actually punched out circles to there is a bit of texture and dimension to the card as well.
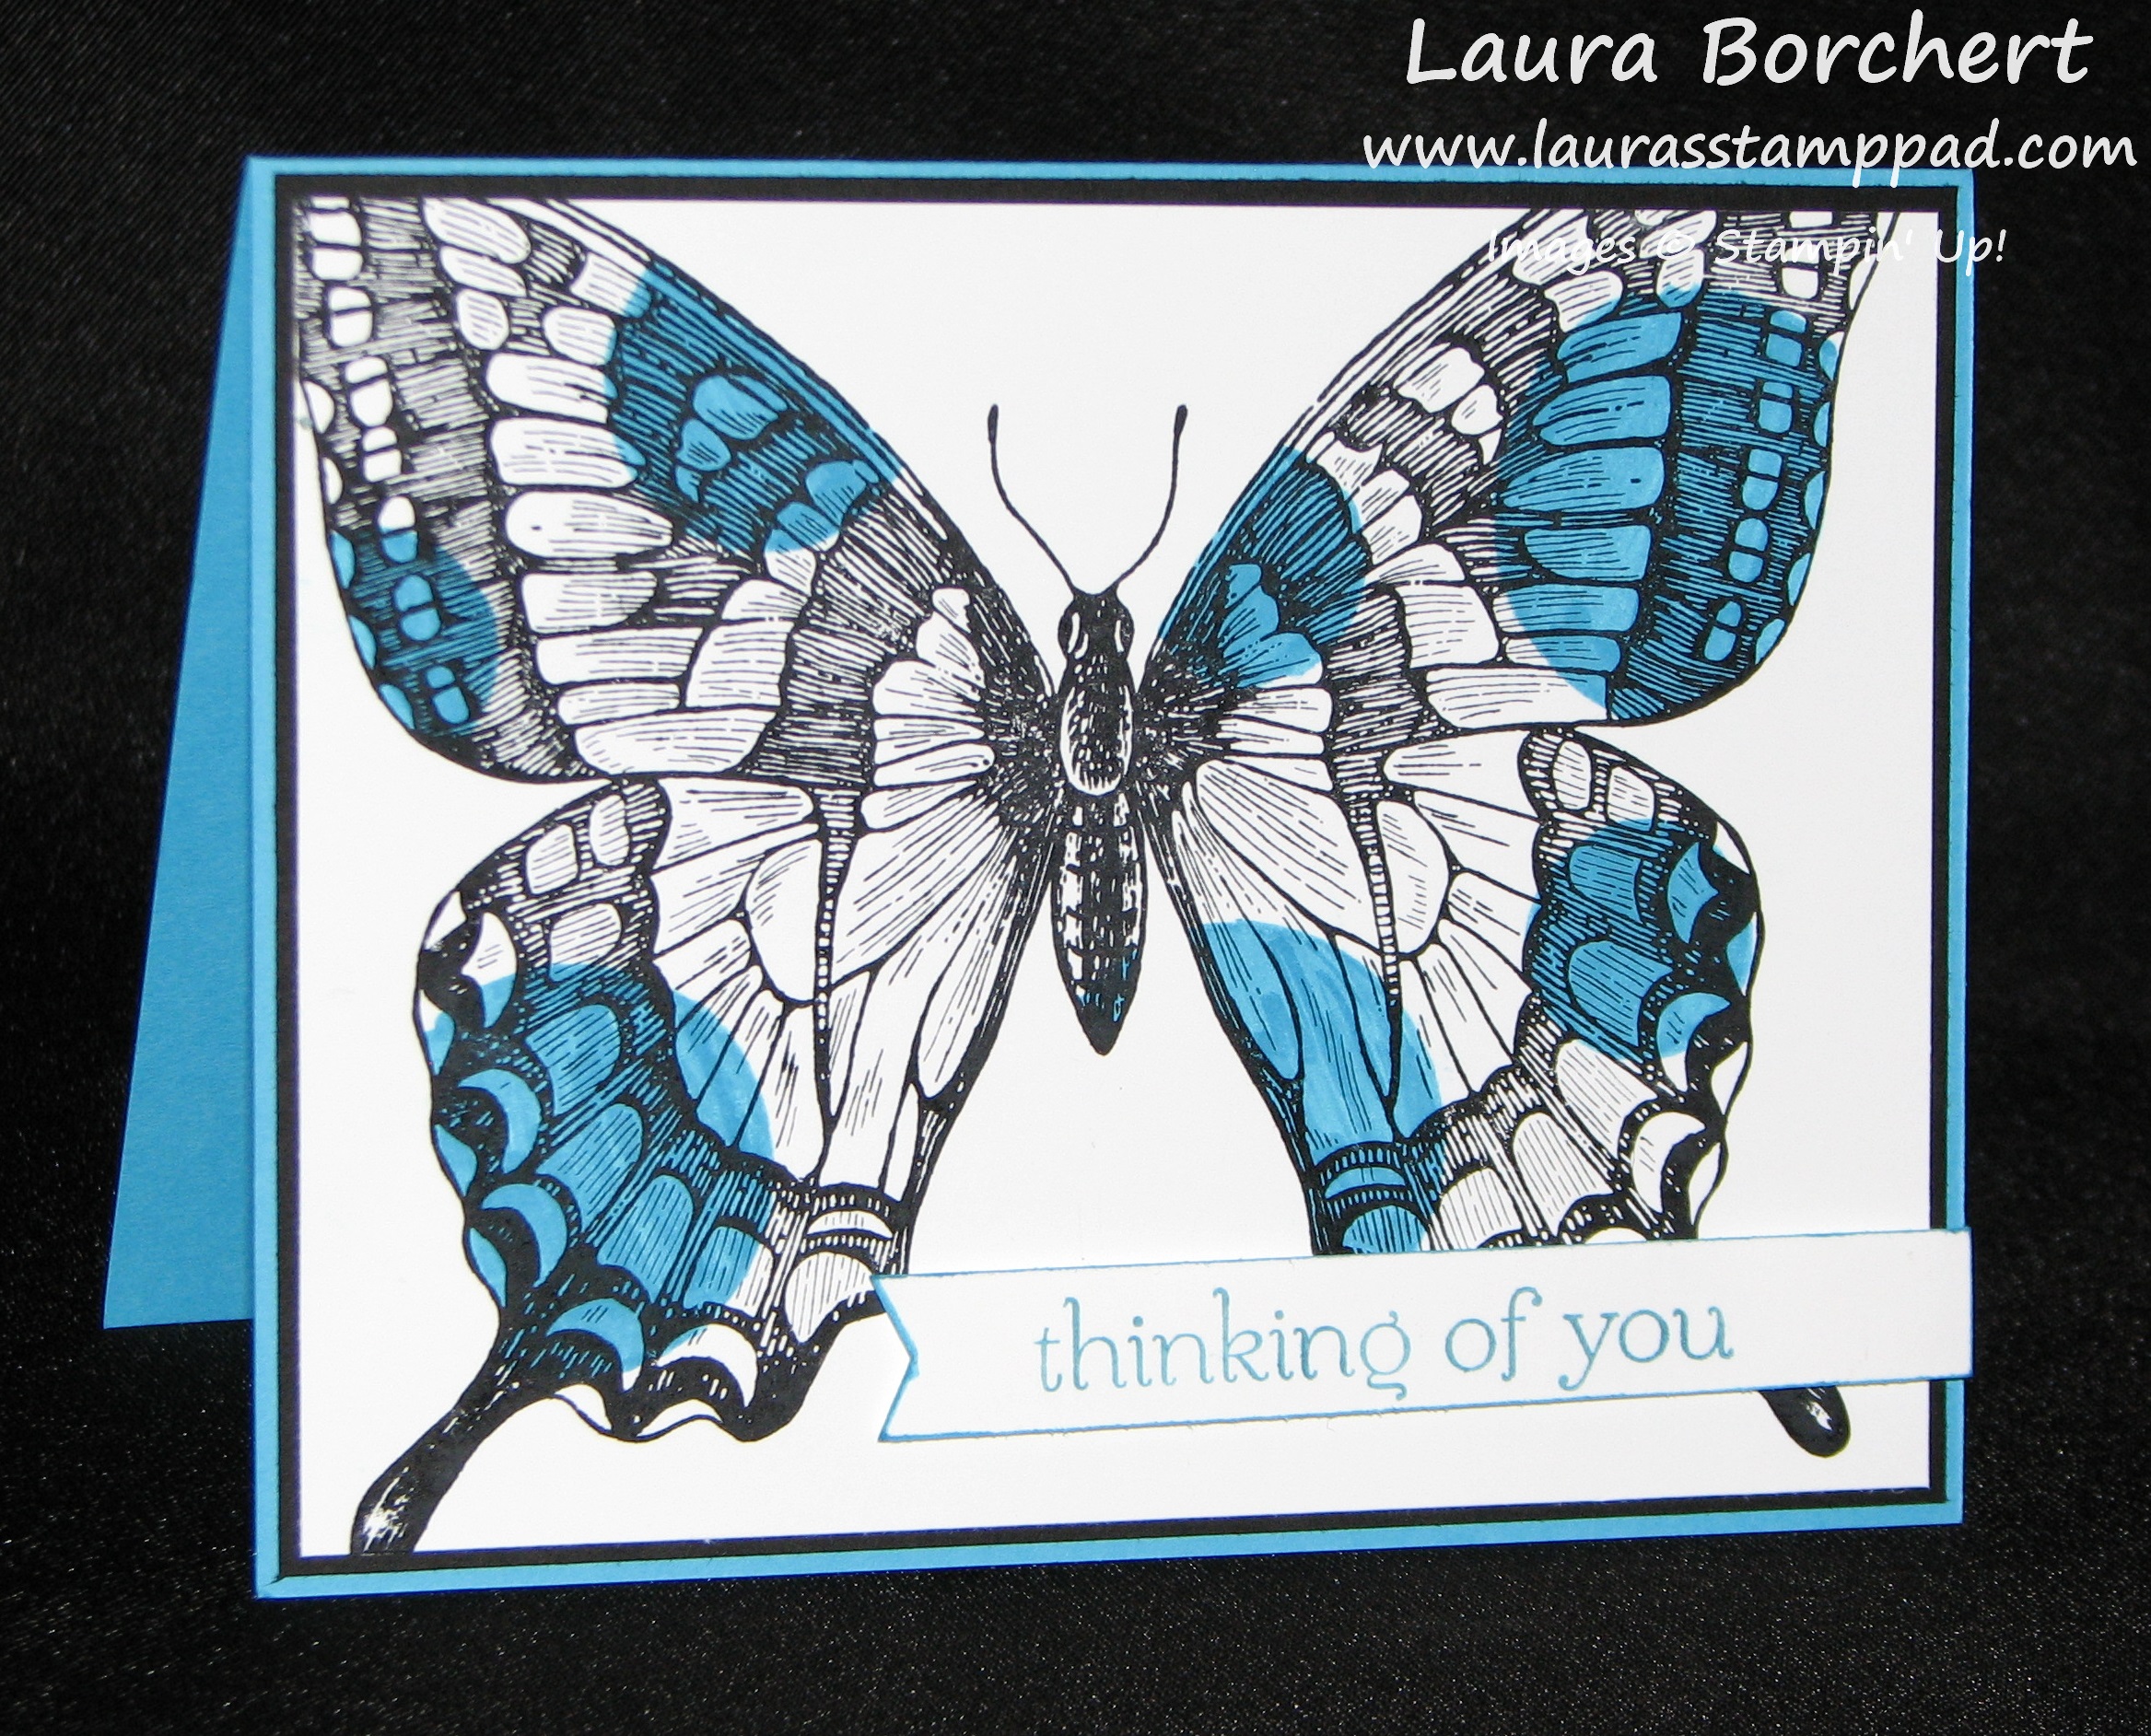
Now this one looks the same but it is just a bit different. This one I used my Markers and a template to add pops of color.
Supplies Needed: Line image stamp (something you can color in), Stazon Ink, Various Circle Punches, Markers, Cardstock
To create both of these cards at the same time, I took 3 pieces of Whisper White Cardstock measuring 4″ x 5-1/4″. You will then stamp the Swallowtail Butterfly on each of the pieces in Stazon Ink. It doesn’t matter if they are straight or diagonal and each one can be different. Then you will color in one of the butterflies completely with a marker. Using your various Circle Punches, punch portions of the butterfly out. You can punch near the edge or right in the center of the butterfly. You will then puzzle piece these punches circles onto one of your other stamped butterflies. I suggest punching and then finding the matching spot and adhering it down before moving to the next punch. This way it won’t be as hard to find out where the piece should go. Once you have punched and assembled your desired pieces, you can layer that on a card base and add a greeting!
For the second card, you will take your punched butterfly piece and lay it over the other Stazon stamped butterfly and color in the butterfly in the open areas. You don’t have to line it up perfectly, you can move the circles around as you wish! Again once you have the desired amount of color, you can layer that on a card base and add a greeting! Check out my Video Tutorial below to see it done in action! Be sure to “like” and “subscribe” to my videos so you don’t miss any of them!
I hope you enjoyed this technique and try it out! I would love to see some of your creations or variations of this technique so feel free to share them in the comments below or you can email me photos of your project. I would love to see them!
Happy Stampin’
~Laura