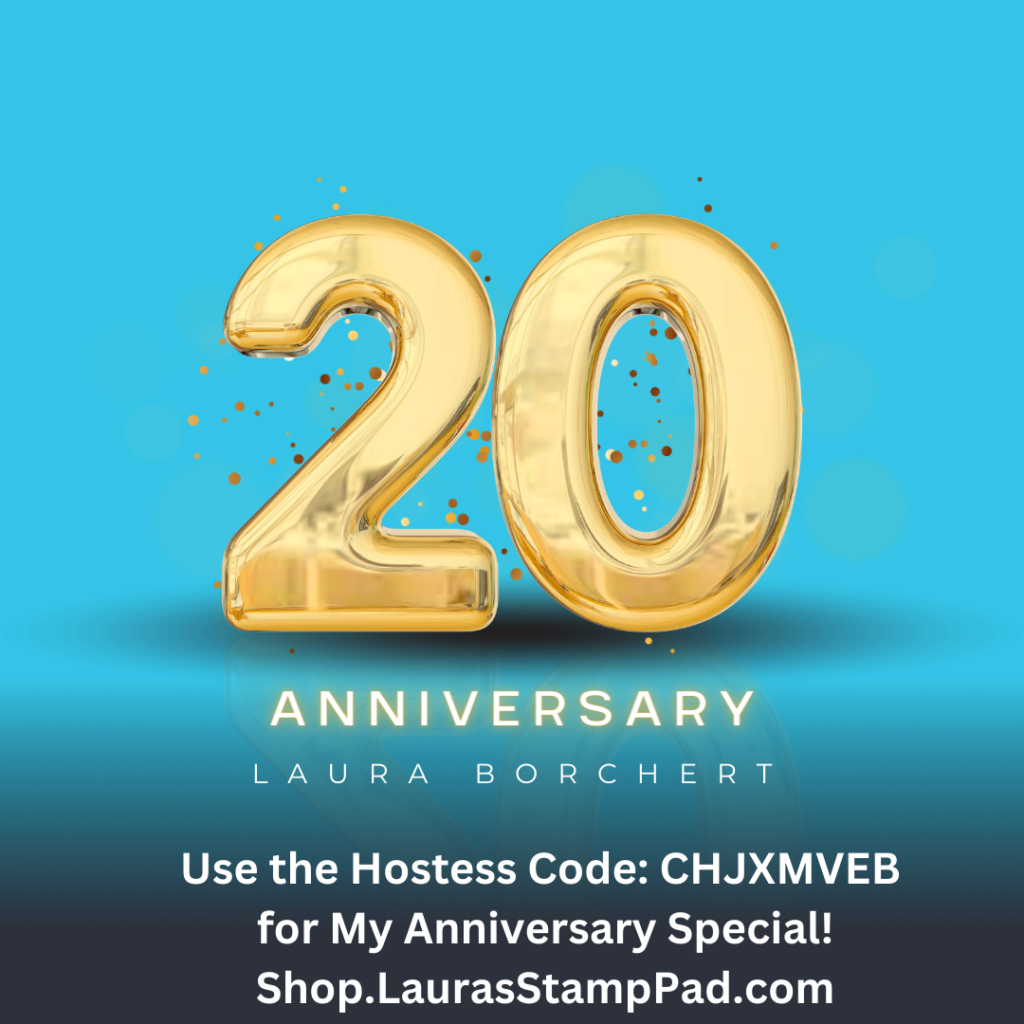
Today is my 20th Anniversary with Stampin’ Up! I am so surprised and emotional about this because Stampin’ Up! has changed my life so much and added so much joy to my life!!! I can soooo thankful for going to that workshop in college!!!
I signed up in college after attending my first workshop that a college roommate invited me too. She said, “you are a scrapbooker, let’s go!” I was game for any way to procrastinate on school stuff. My mind was blown on all of the goodies. I fell in love with alphabet stamps because then I would have endless letters rather than having to buy sticker sheets. My first product was my Starter Kit! I wanted the discount. Throughout college, I mostly bought for myself but sold to a few fellow scrapbookers too!
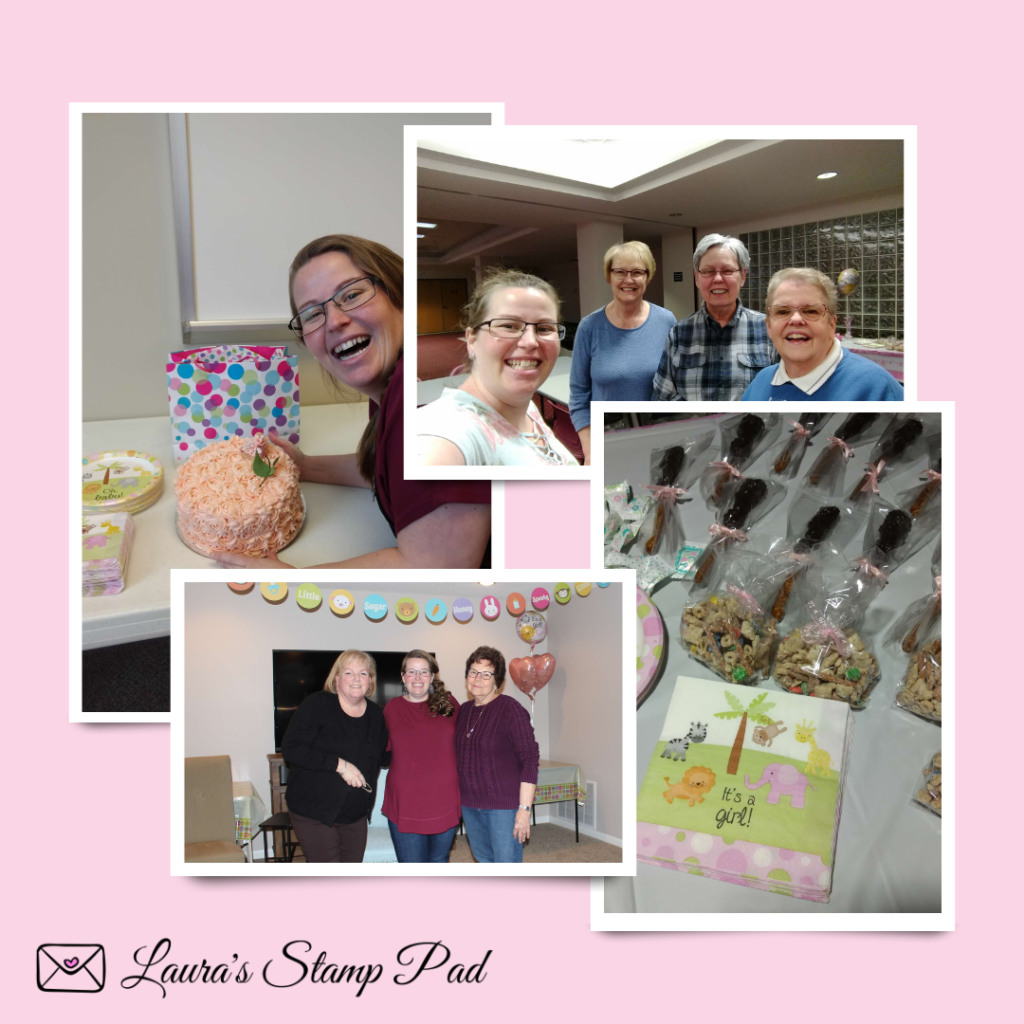
When I graduated college, I moved to Edwardsville and reached out to the local library. I started doing classes there and my business really took off from there. Craft fairs (which I no longer do), library classes, classes in my apartment (and now home), and various other events along the way kept me active and loving what I was doing. I had a full time job at a hotel during this time but that went south after while. After a year or so I looking for another job, I finally threw in the towel and we decided it was best for me to quit that job but keep looking. During this time, I started doing classes and events during the day and eventually I quit looking for another job! And now here I am still doing Stampin’ Up! full time!!!
I love the creative outlet it gives me. The flexibility that I have had through the moves, life changes, kids, etc. has been amazing! It’s crazy to see how much Stampin’ Up! has changed and also how much I have changed over the years! I’m loving what I do and sharing what I love! You can check it all out on my YouTube, Facebook, Pinterest, Etsy Page, and here on my blog!!!
Be sure to follow me for inspiration, fun, and details about upcoming events!! I would love to stamp and share creativity with you for the next 20 years! Also, if you are interested in joining Stampin’ Up!, click here to join the fun! You can also celebrate with me by placing an order with the Hostess Code: CHJXMVEB to get a 20th Anniversary Special from me. You will also get the Free Gift if your order is over $75!!! Click here to shop!
Happy Stampin’
~Laura
")
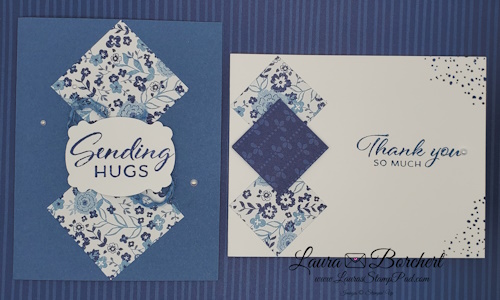
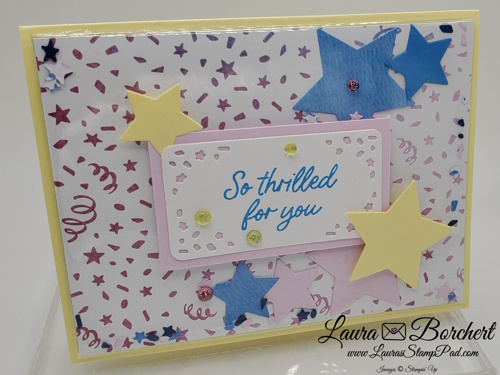
 Designer Series Paper")

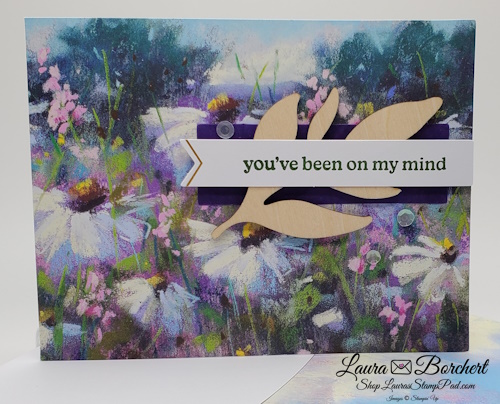
 Designer Series Paper")


")
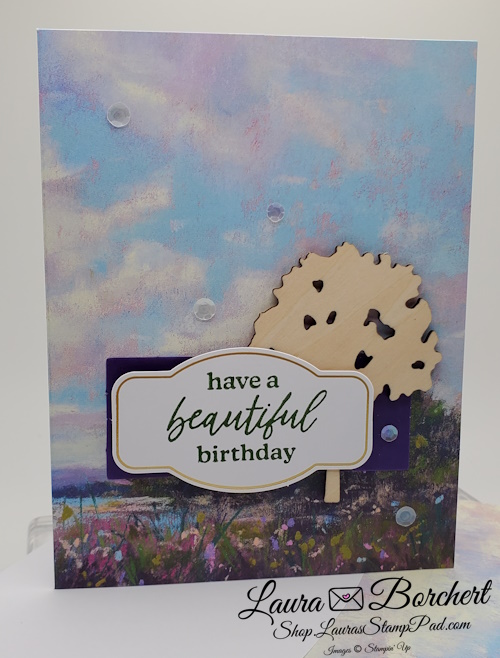
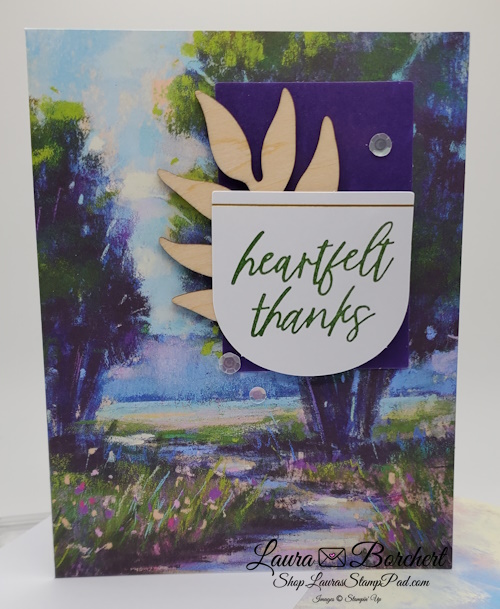
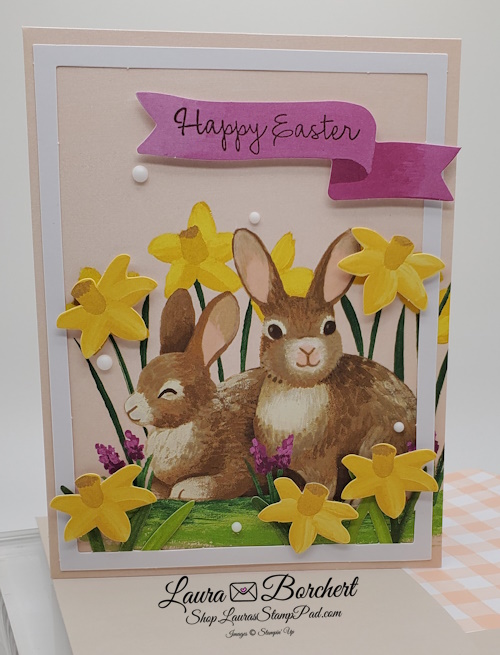
 Designer Series Paper")


")